Overview
Students will prepare for upcoming art-making lessons using close-looking, speaking, writing, and/or sketchbook prompts.
Materials and Tools
- Pencil
- Sketchbook or three to four pieces of paper
- Drawings from Lessons 3, 5, and 7
Activities
Note: The following activities are written with sample language you may use with your students. Following the art-making lesson, you may choose as many reflection activities as desired for students to work on in class or independently.
Step 1: Introduction and Discussion (5 minutes)
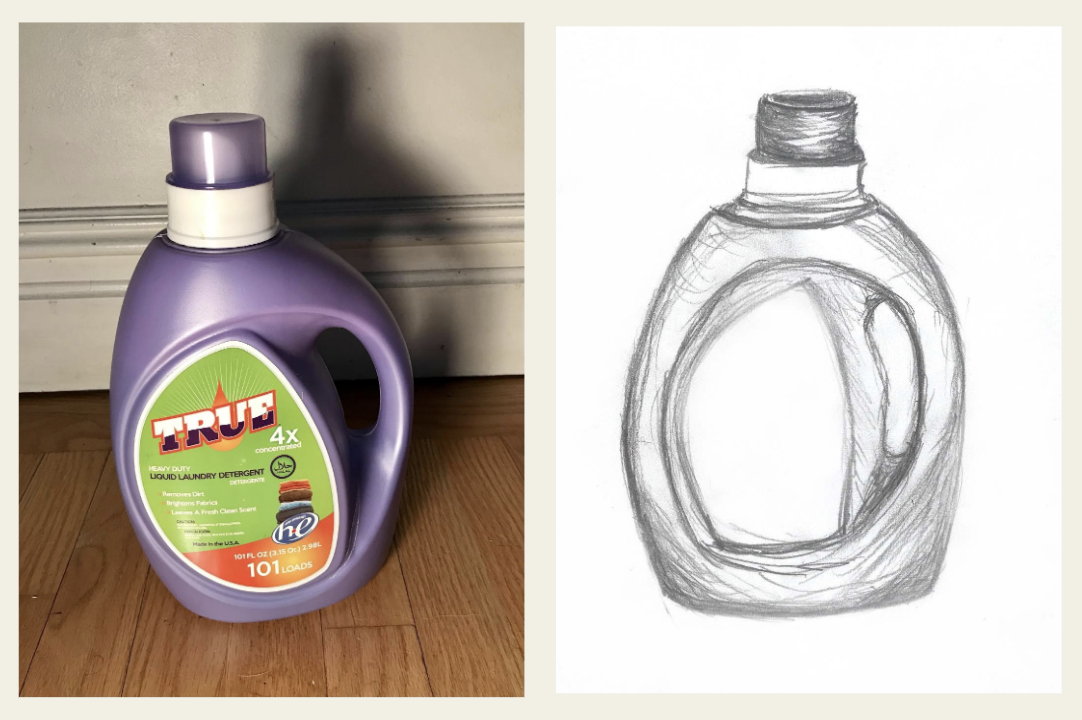
In the last lesson we explored looking at an object from different points of view to discover how our perception of it changes. Today we’re going to think about how viewing our object as something unrecognizable can help us transform it into something new.
Review your previous drawings from Lessons 3, 5, and 7. Choose some drawings in which your object is not recognizable.
- What does this drawing remind of you instead of the object you drew? What else could it become a drawing of?
Step 2: Writing Activity (20 minutes)
Write down all the things that these unrecognizable drawings remind you of:
Is it an animal? A creature? A spaceship? A machine? A mask? Or something completely new?
- If you were going to make a new drawing of a fantastical object, what are some ideas that come to mind?
- For example, what if you lived under water in Atlantis? What would the objects in your home look like? What if you lived in outer space? Stretch your imagination.
Make a list of ideas for each drawing.
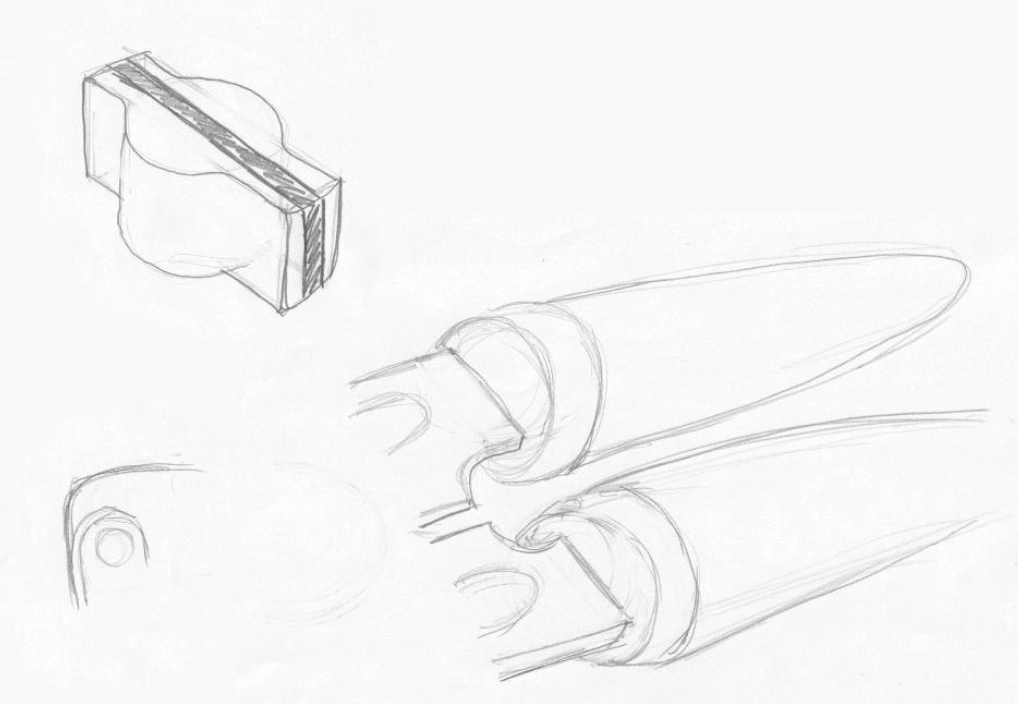
Step 3: Sketchbook Activity (20 minutes)
Trace one of your observational drawings and make it into something different.
To trace your drawing, tape or place it on a window when it is bright enough outside to illuminate the lines from behind. Tape or hold a new sheet of paper on top and trace the lines that you see. You can also make an outline of your object instead of tracing.
Now that you have this outline of your drawing, turn it into something new.

After giving students time to create their drawings, invite them to share.
- How did you transform your object?
- Why did you choose to transform it this way?
Step 4: Close Looking: Claes Oldenburg (10 minutes)
Note to Teachers: Before teaching with a work of art, spend some time looking closely at it on your own. Familiarizing yourself with the artwork will prepare you to guide the close-looking activity.
If your students are new to looking at art together, you can introduce the activity to students in the following way:
Today we are going to spend some time looking at and discussing a work of art together. When we look at art, there are no right or wrong answers. I’m going to ask you to look closely, share your ideas about what you see, and listen respectfully to each other’s ideas. Everyone’s ideas are important. We all see things differently, and when we look at art, we can learn to see through each other’s eyes.
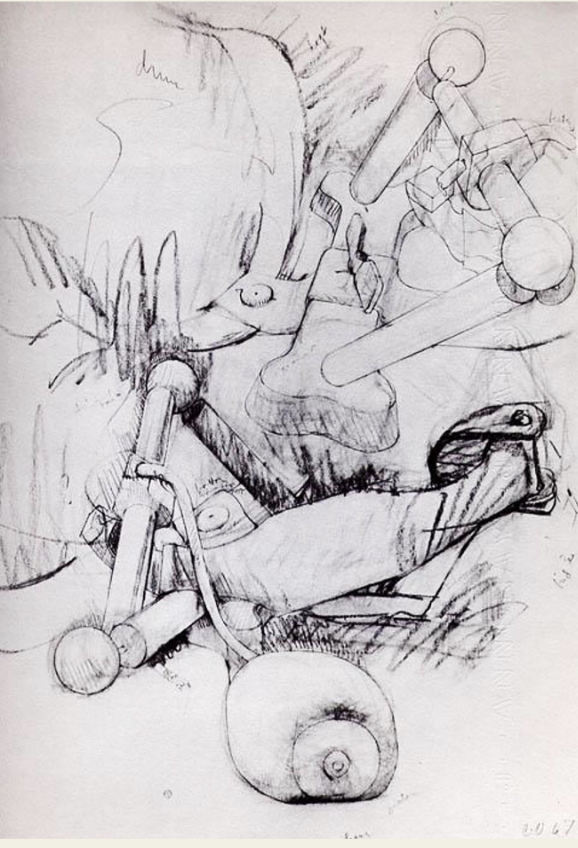
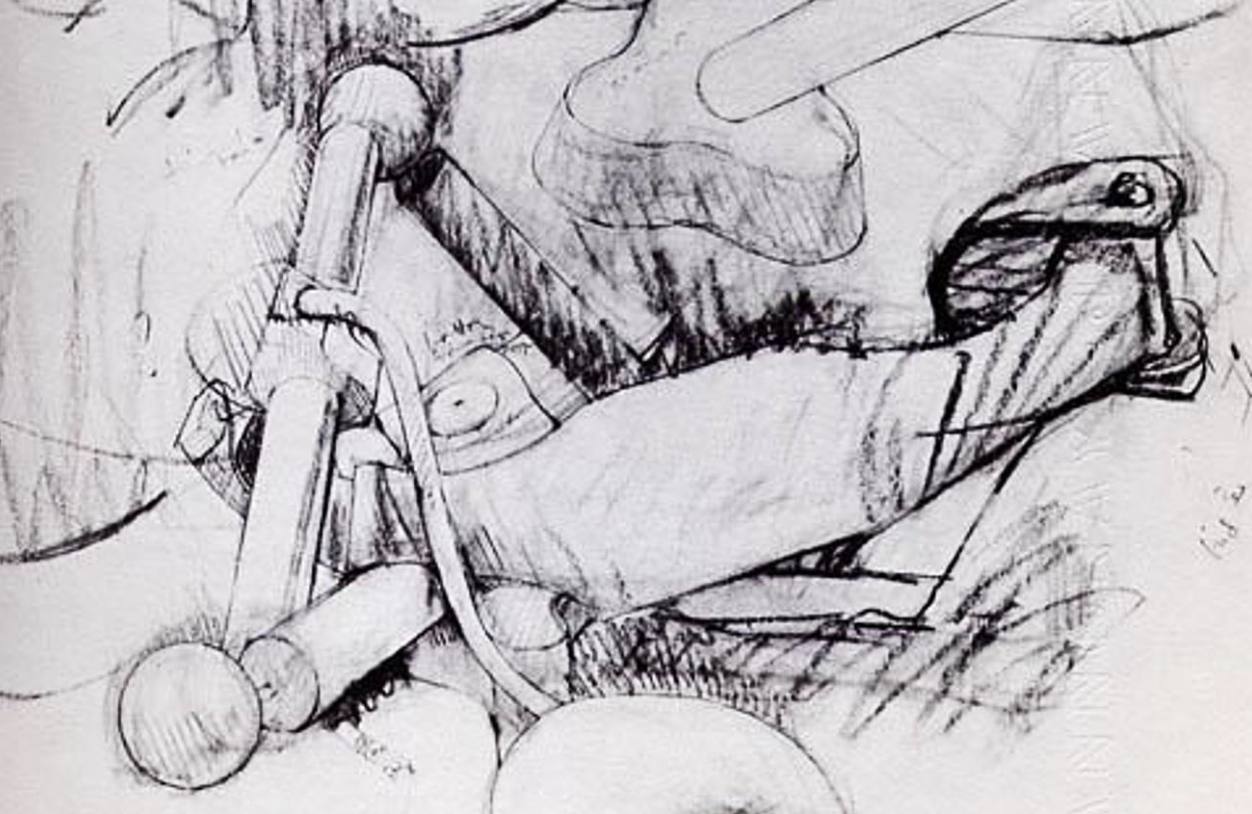
Look closely at this drawing by the artist Claes Oldenburg.
- What do you notice in this drawing?
- Are any of these objects familiar or recognizable? Why or why not?
- How did the artist transform them?
Resources
Claes Oldenburg. Drawings/Proposals for Sculptures. 1967.