Overview
Students will reflect on their art making using close-looking, speaking, writing, and/or sketchbook prompts.
Materials and Tools
- Pencil
- Sketchbook or one to two pieces of paper
- Changed paper shapes from Lesson 3
Activities
Note: The following activities are written with sample language you may use with your students. Following the art-making lesson, you may choose as many reflection activities as desired for students to work on in class or independently.
Step 1: Close Looking /Sharing Student Work (10 minutes)
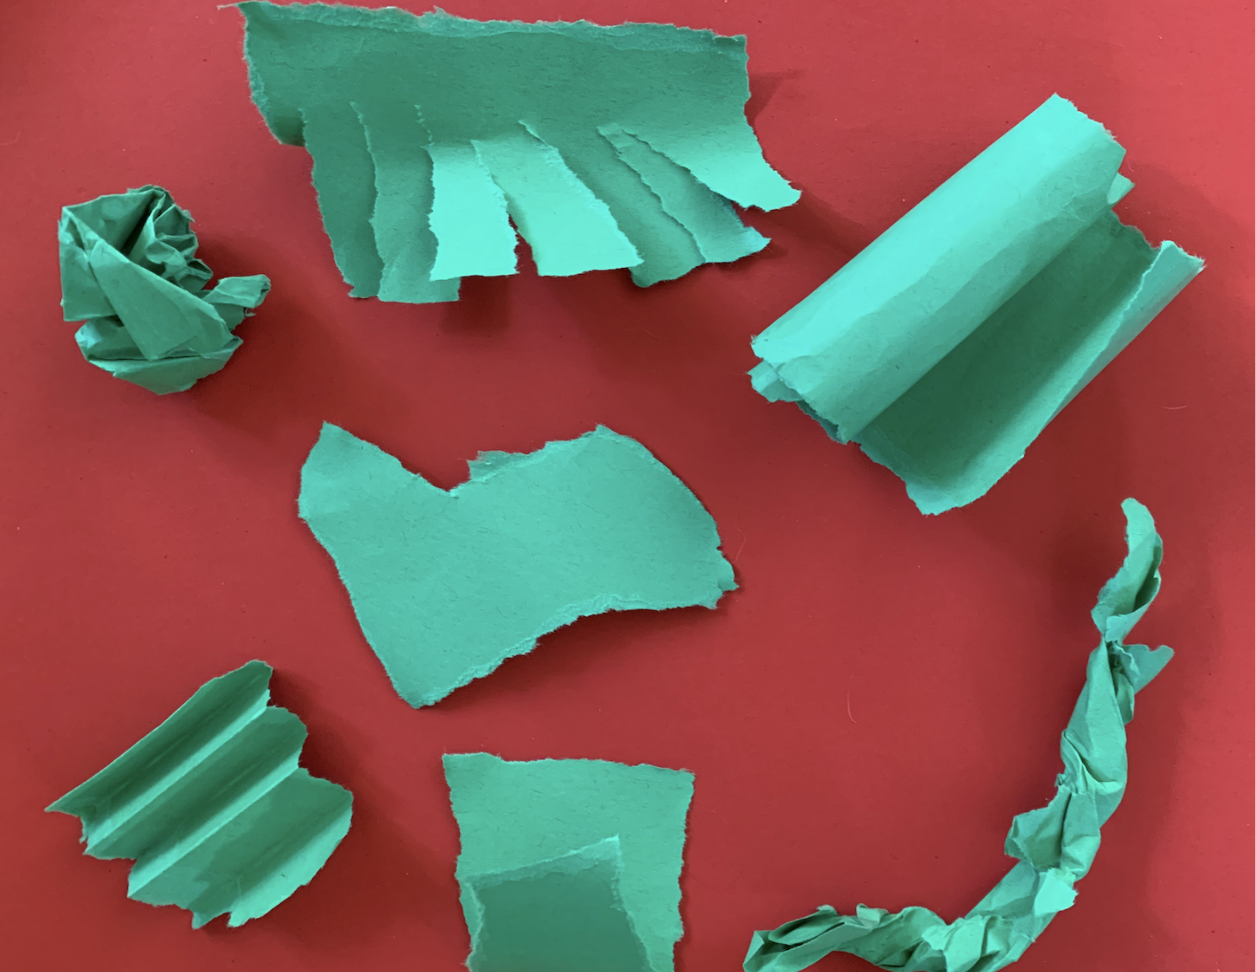
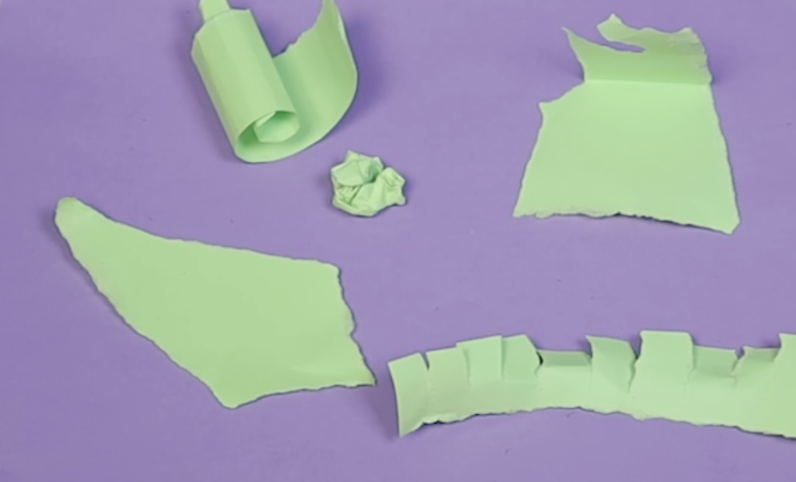
Hello, artists! In this lesson, we are going to look at all the different ways we changed paper with our hands. Using your artwork from Lesson 7, take a moment to look at the shapes you made.
- What do you notice about them?
Model holding up your own work and describing what you notice. For example, you could say: Where I folded my paper, it started to look bumpy, like stairs. The paper I rolled looks like a spiral.
Step 2: Be a Teacher (10-15 minutes)
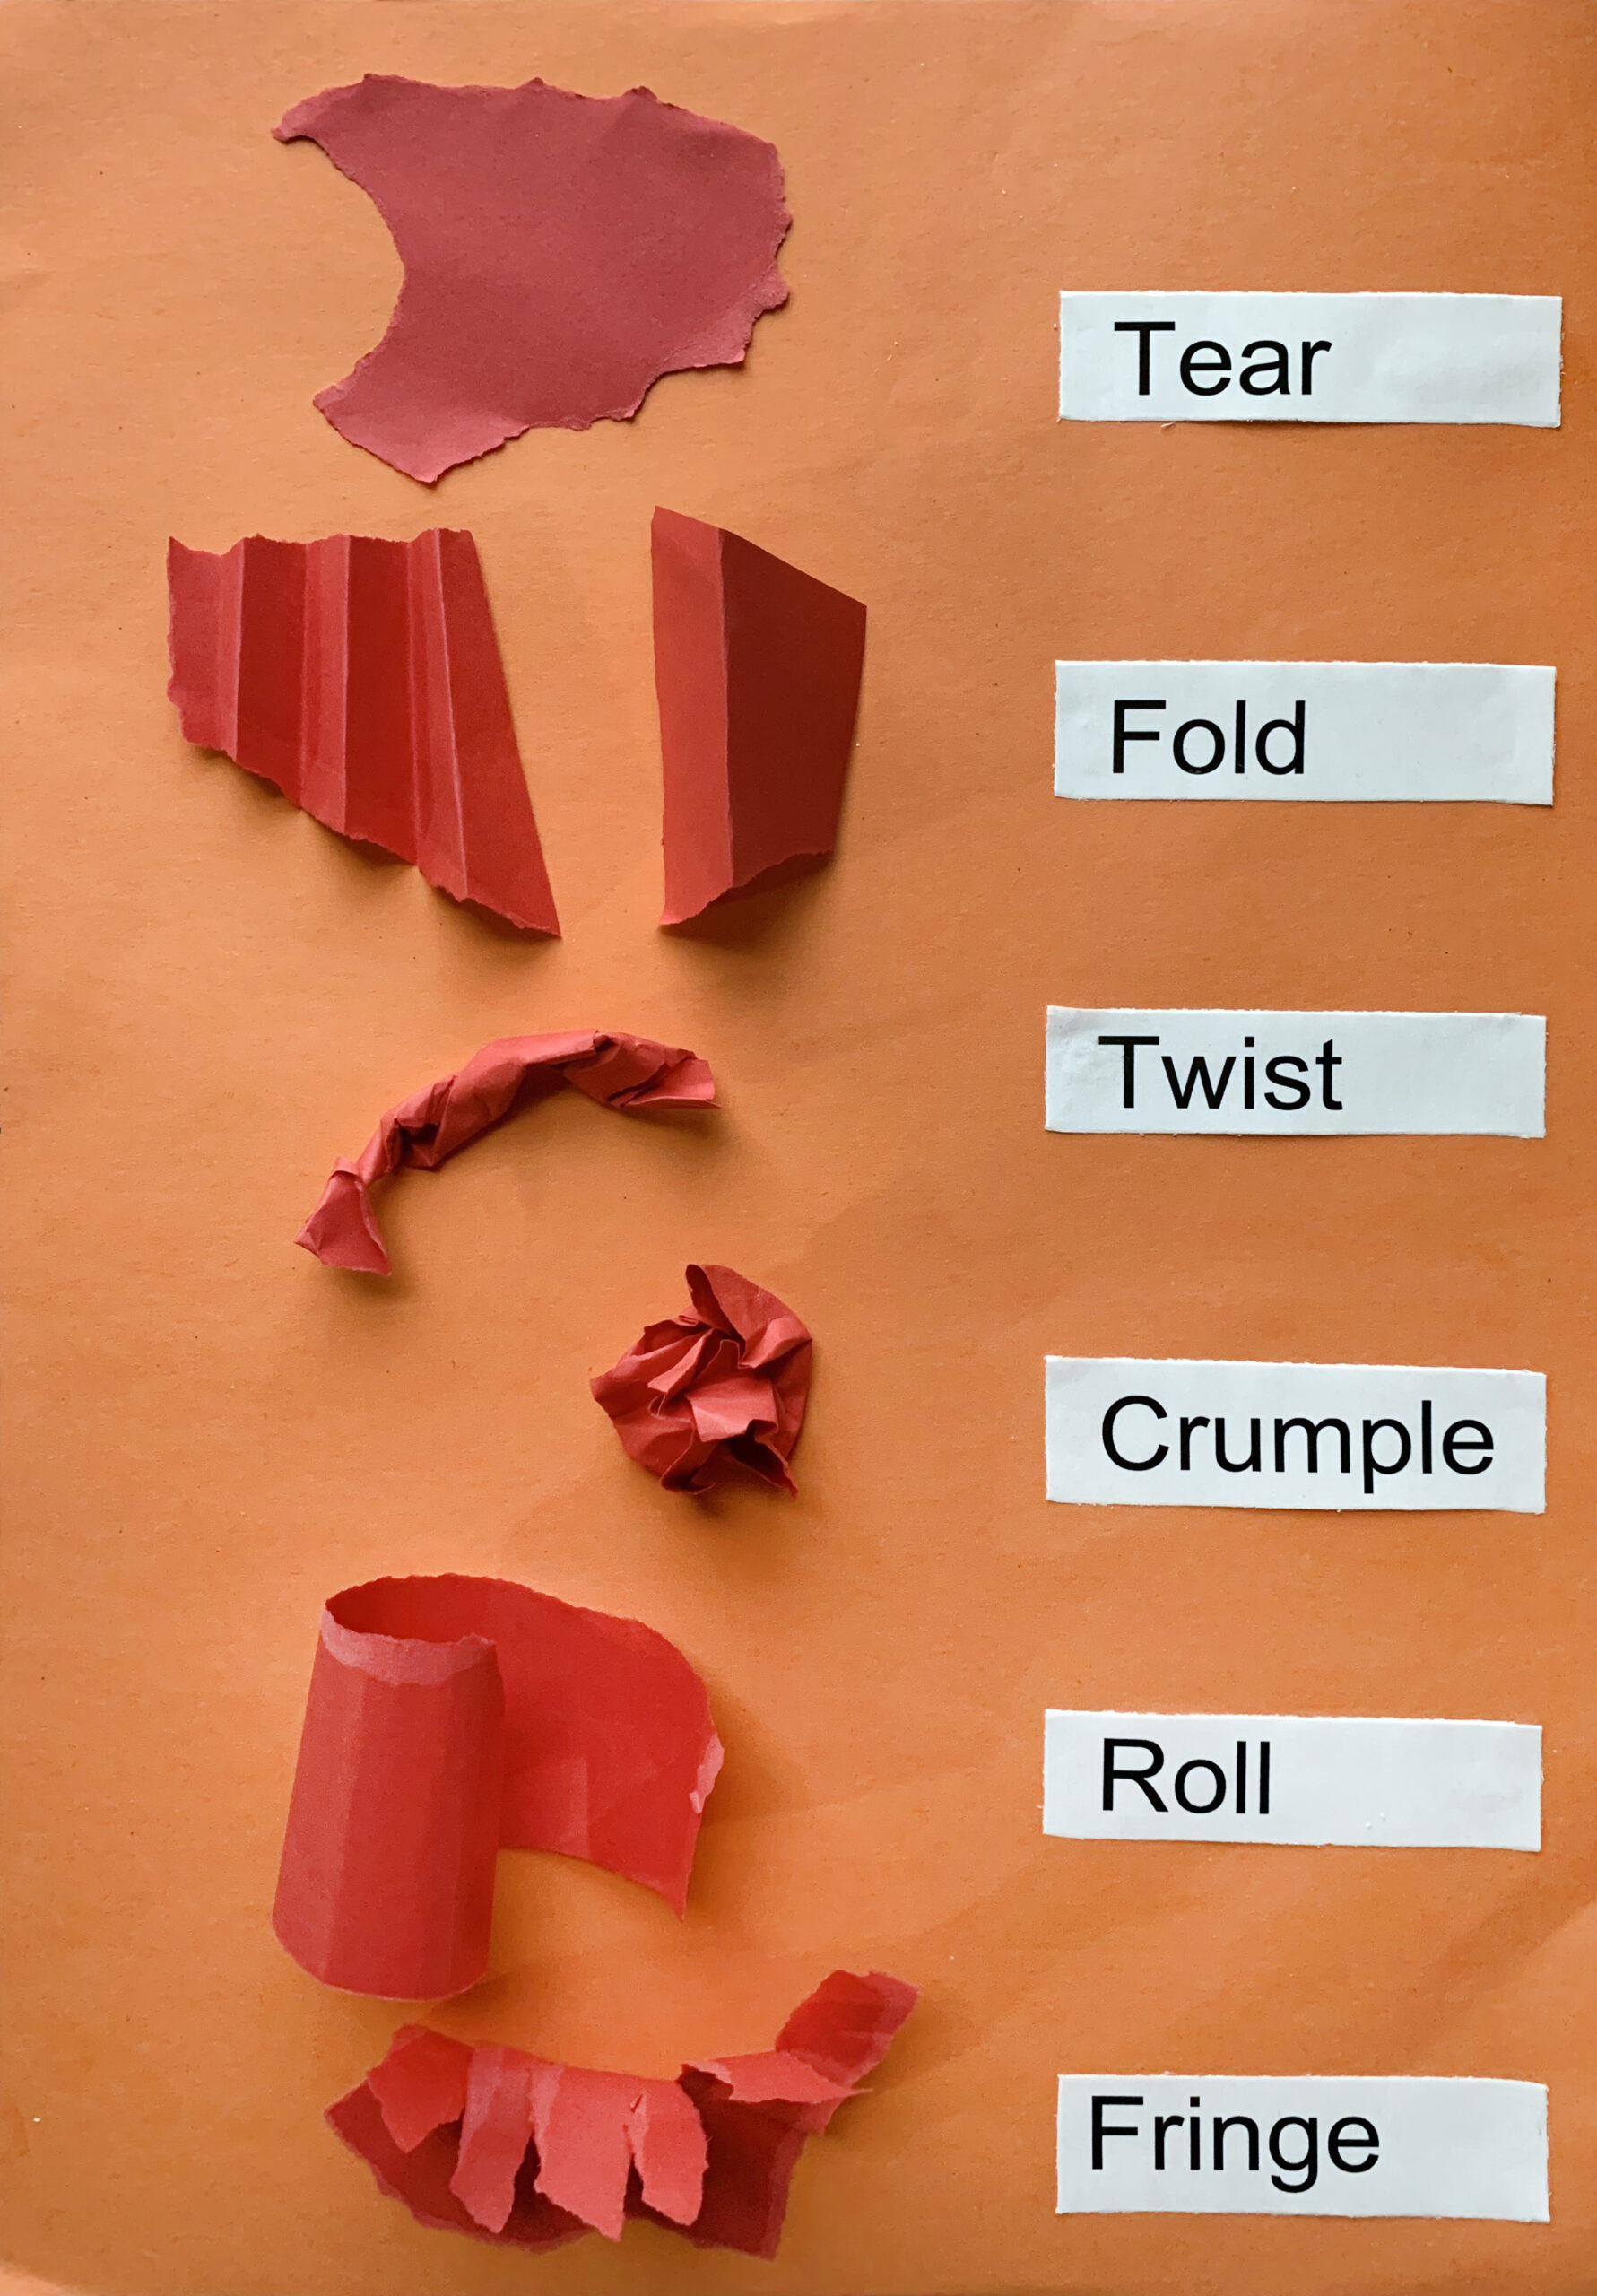
Be a teacher! Get two pieces of paper, one for you and one for someone in your family or class. Teach them the six ways that you learned to change the paper.
Make sure to say the words out loud and have the person say them too:
Tear
Fold
Roll
Crumple
Twist
Fringe
This activity can be used as an at-home assignment as all the students in the class may have already learned how to change paper.
Step 3: Writing Activity (10-15 minutes)
Now we are going to write about our artwork. Start by looking closely at the shapes that you made. Choose three of the shapes that you made and write what you did to change them.
Based on your students’ writing skills, choose from the options below:
Option 1: Write three sentences that tell us how you changed the paper to make each shape.
Option 2: Use the sentence frame below to write a sentence about each shape.
I changed the paper to make this shape by _______.
tearing, folding, rolling, crumpling, twisting, fringing
Option 3: Fill in the sentence.
I can ______ paper to change the shape.
I can ______ paper to change the shape.
I can ______ paper to change the shape.
tear, fold, roll, crumple, twist, fringe
Step 4: Sketchbook Activity (10-15 minutes)
Look at all your changed shapes and choose one. Look closely at it.
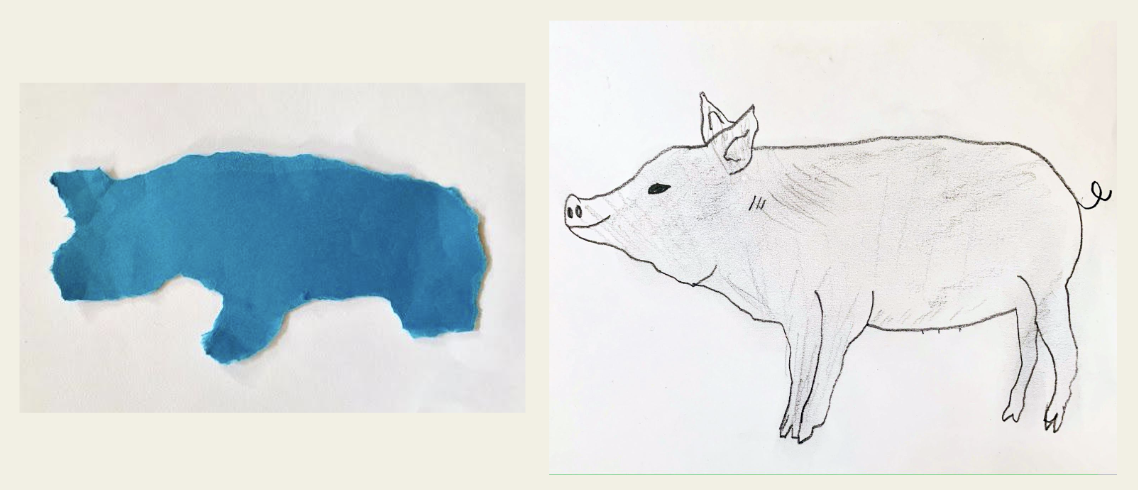
- What does it remind you of?
- What makes you say that?
Now, make a drawing of what it reminds you of.Model from your own work. For example, you can say: My torn shape looks like a bear. I drew a picture of a bear and added details. My twisted paper looks like a mustache. I drew a picture of a mustache on a face.
Vocabulary
Tear
Fold
Crumple
Roll
Twist
Fringe
Resources
Making Paper Three-Dimensional
Adaptations
For Students with Disabilities
Using bodies: Students can use their hands or whole body to show these actions:
tear, fold, crumple, roll, twist, and fringe
Extensions
Writing Activity
Have students write a sentence describing other things they do when they tear, fold, crumple, roll, twist, fringe.
Examples:
I like to roll dough.
I fold the paper when I make a paper airplane.
I twist my body when I dance.