Overview
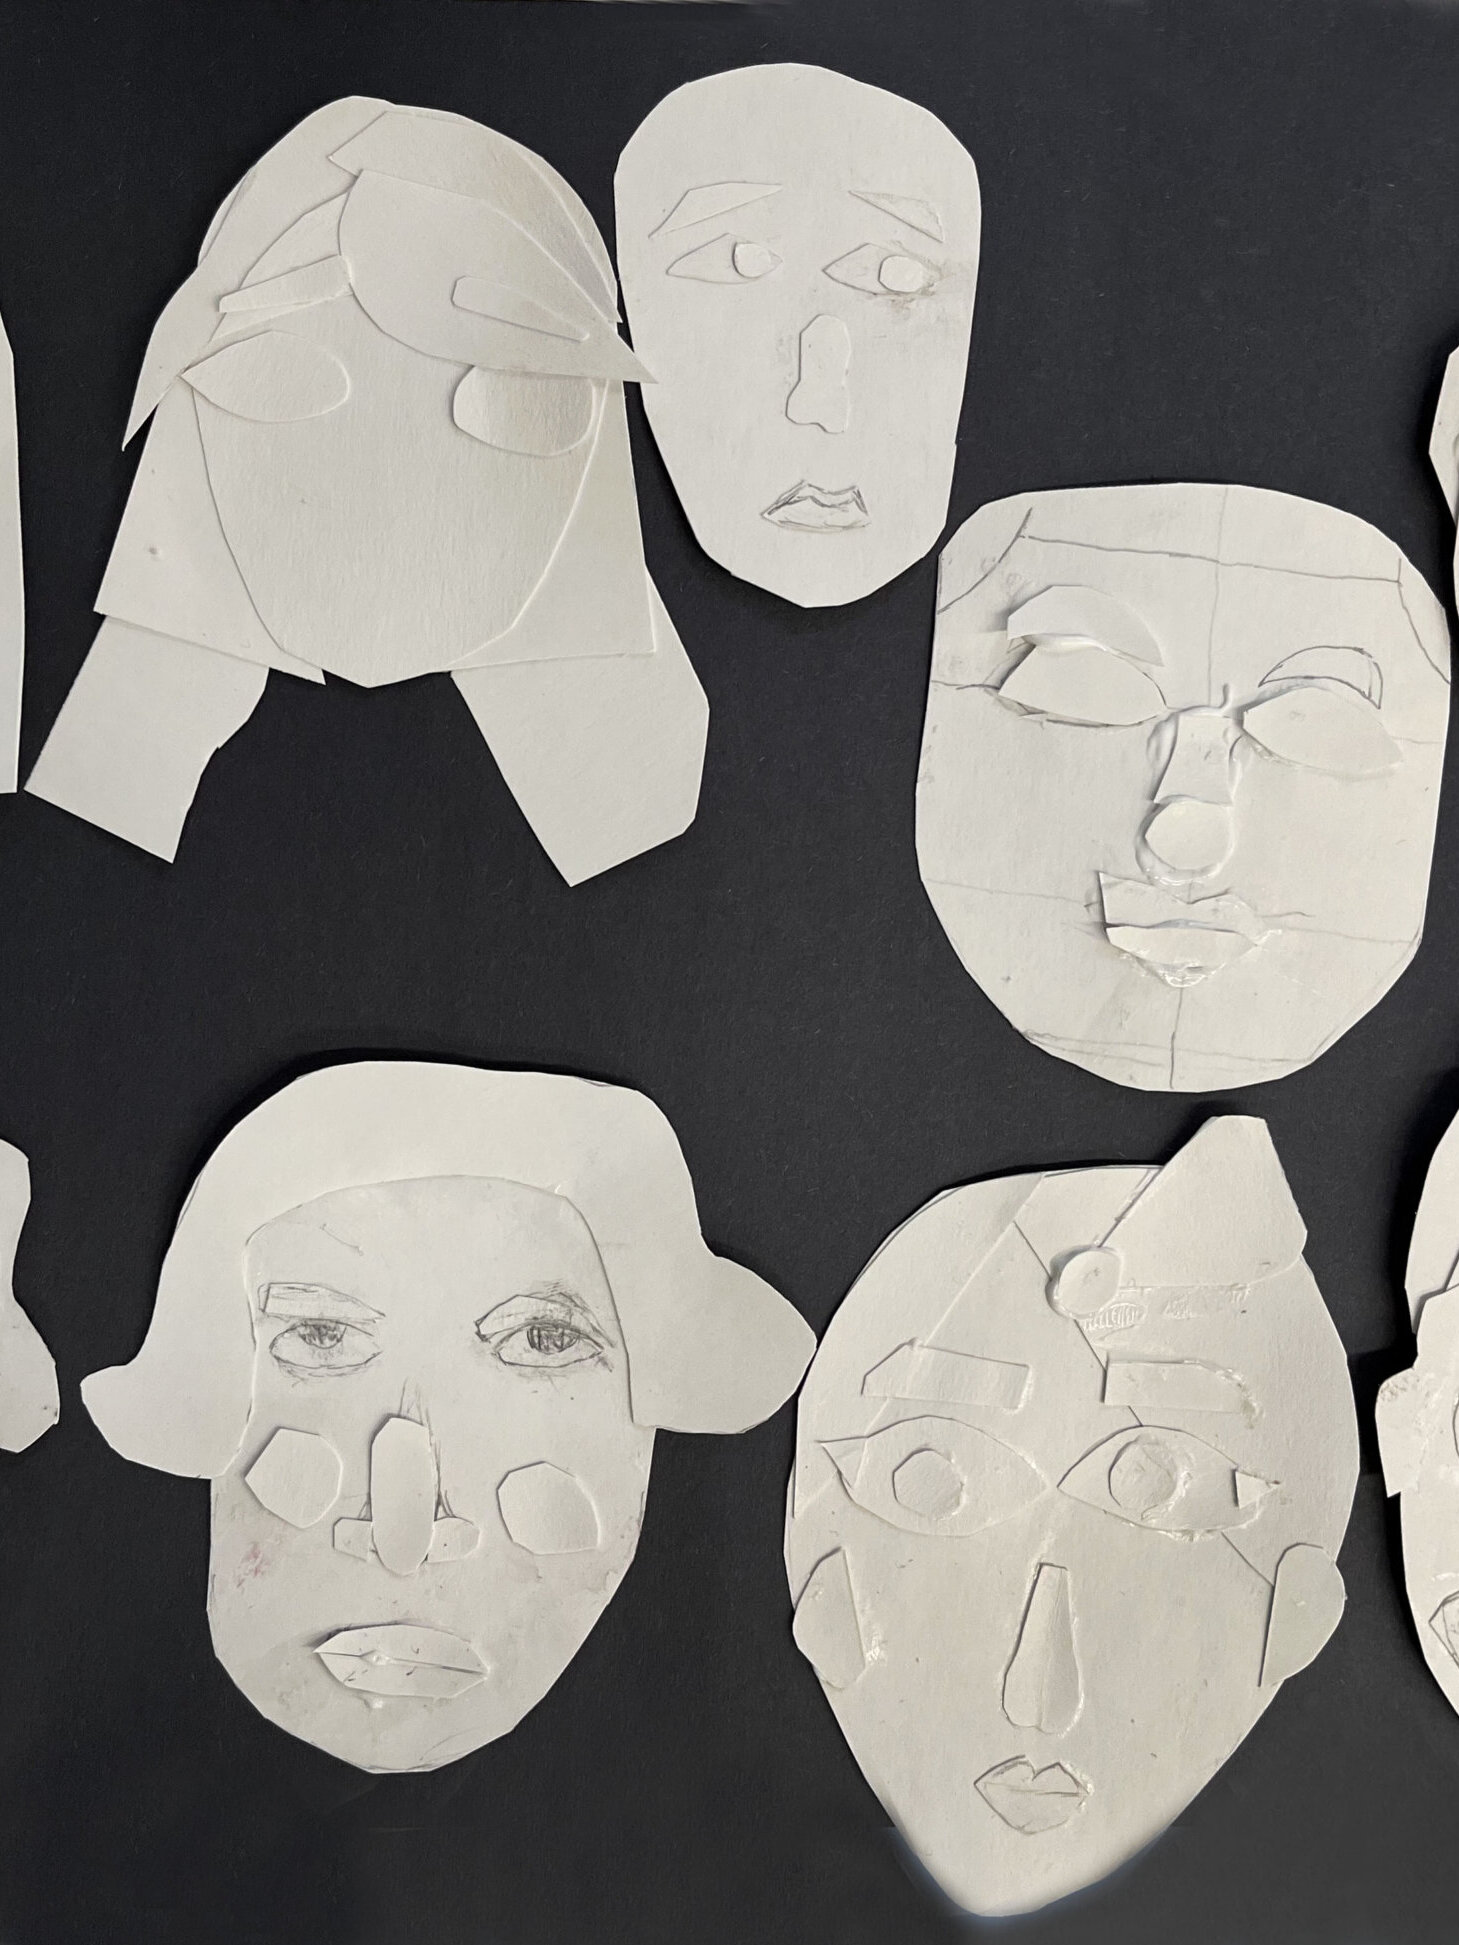
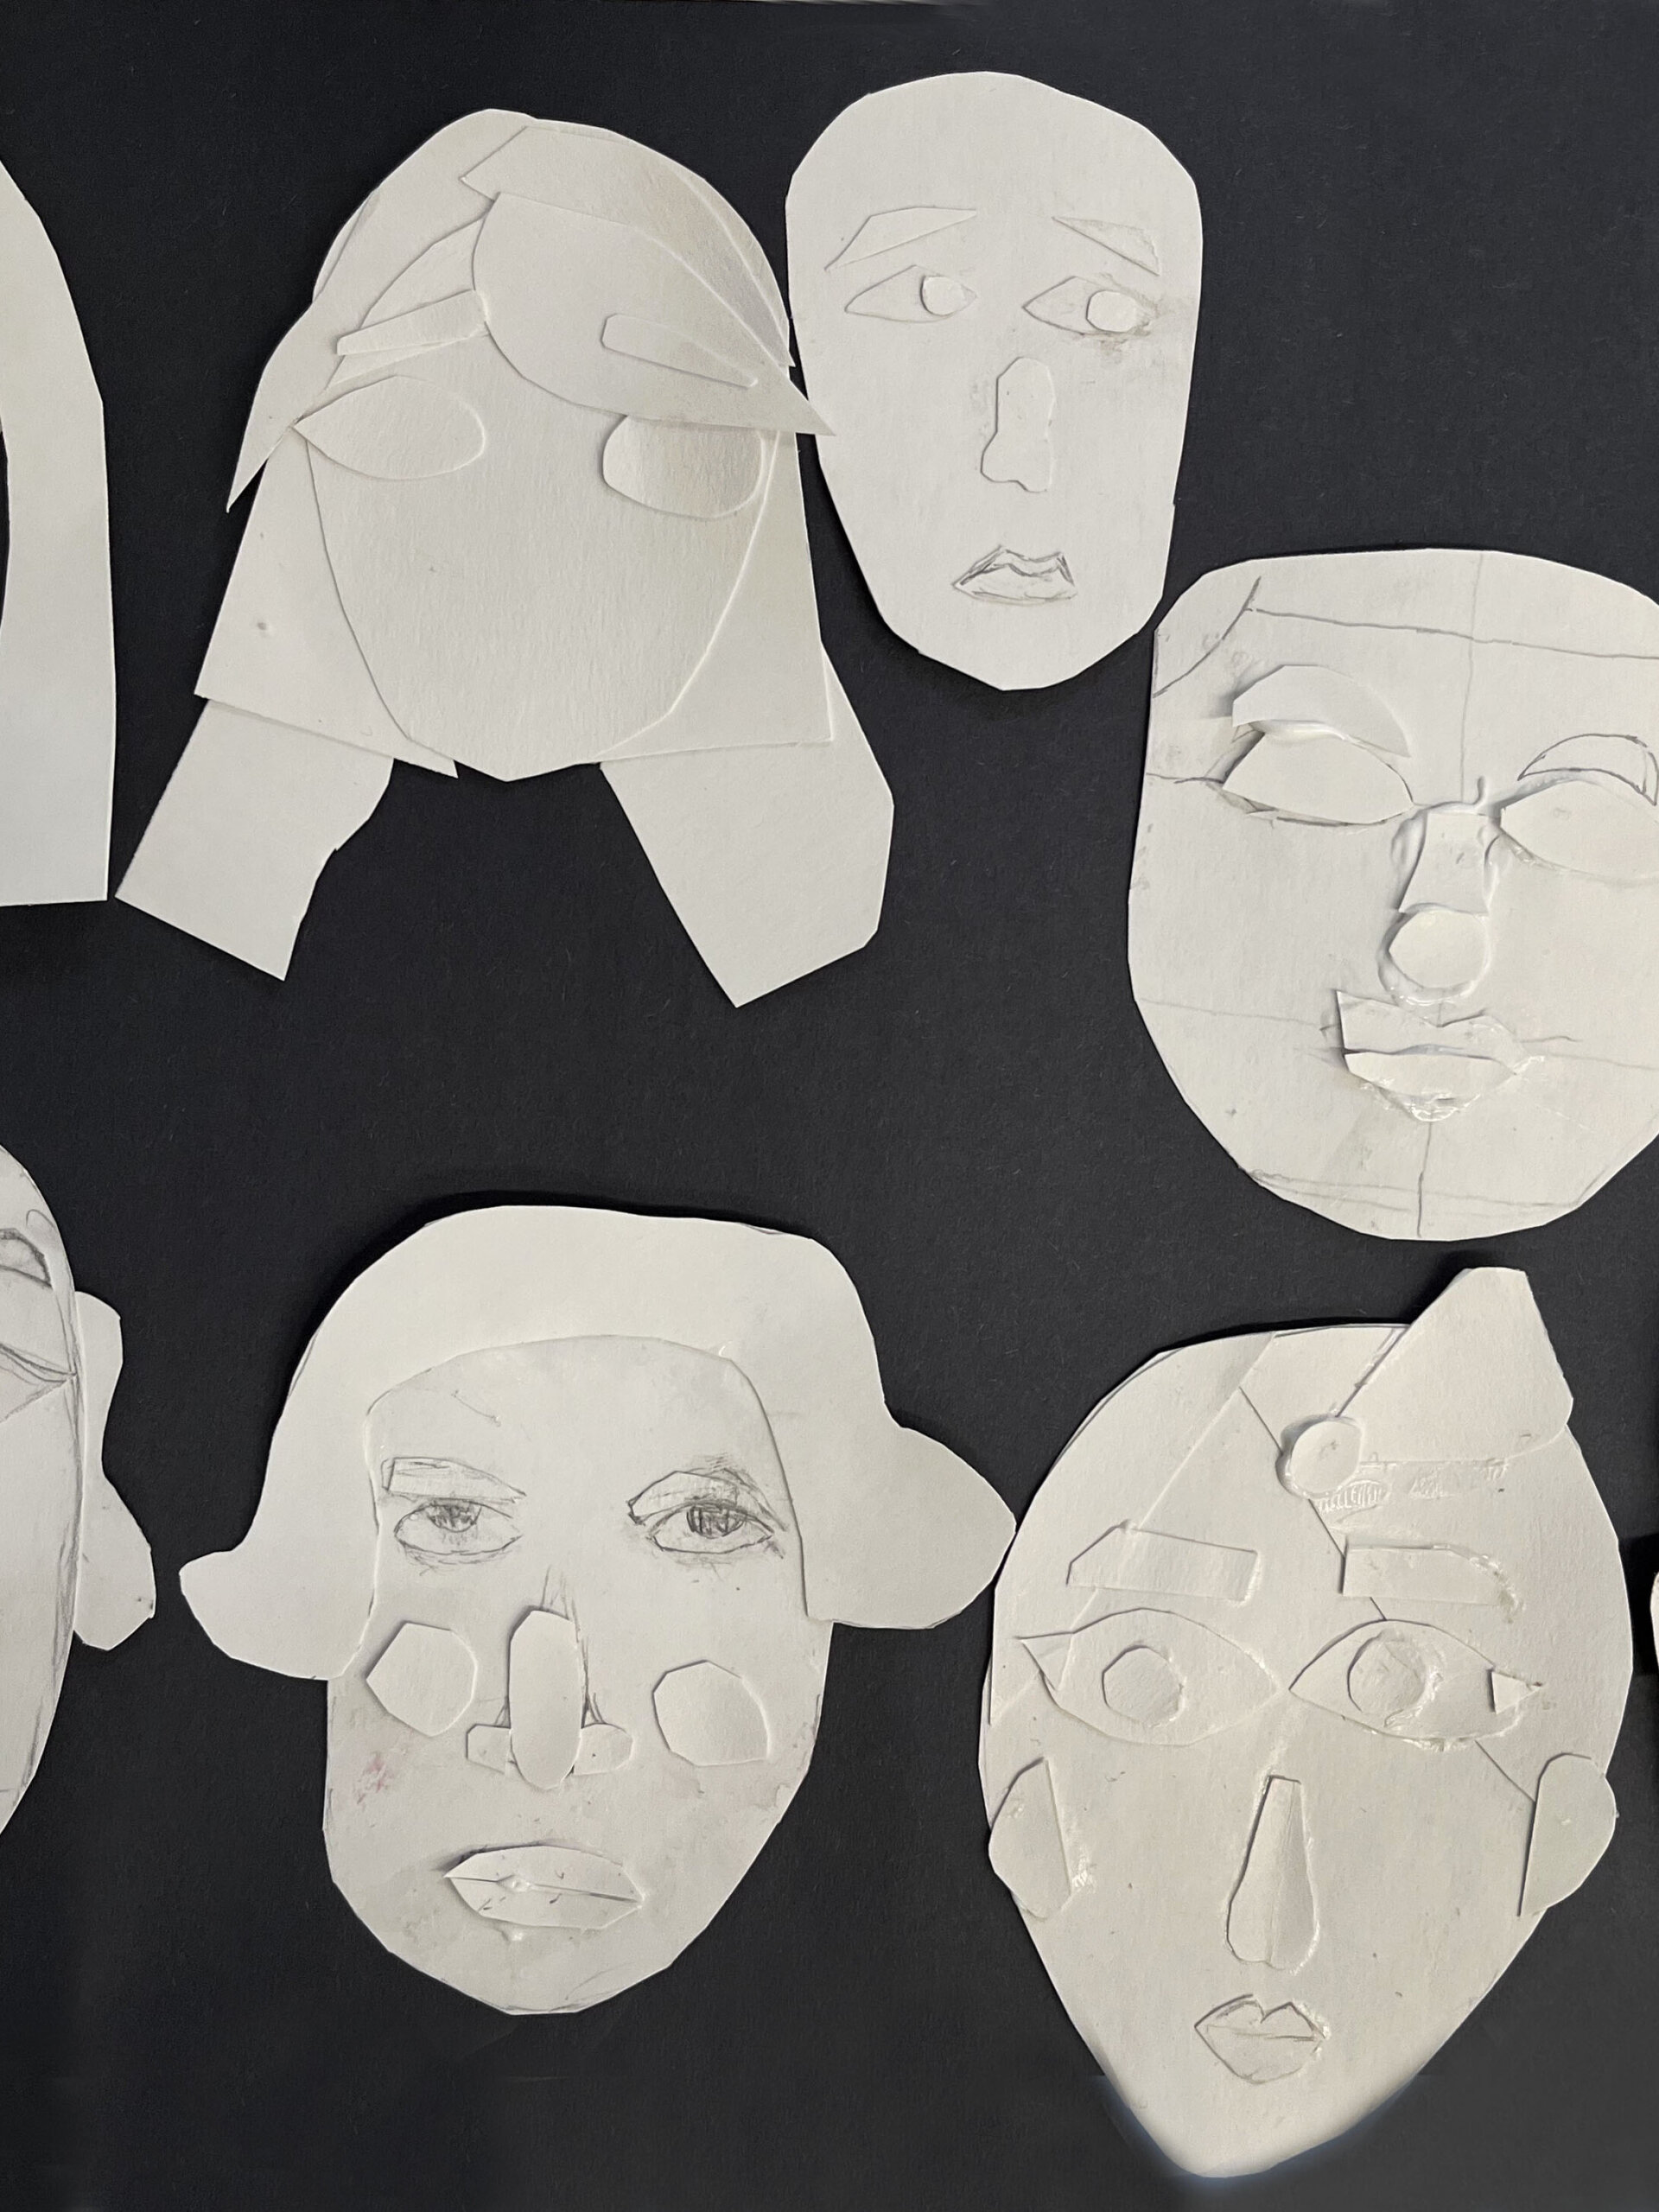
Students will cut out, arrange, and glue the shapes of the facial features of their subject from oaktag, layering details to begin making their printing plate.
Grade Level
6-8
Media
Theme/Big Idea
Artists can use collage techniques to create collagraph prints of someone they admire.
Essential Questions
- How can we honor someone through our artwork?
- How can we represent the unique qualities of an individual through full-body portraiture?
Case Studies
Materials and Tools
- Scissors, 9 x 12″ oaktag cut in half and additional oaktag pieces cut down, glue in cups, popsicle sticks
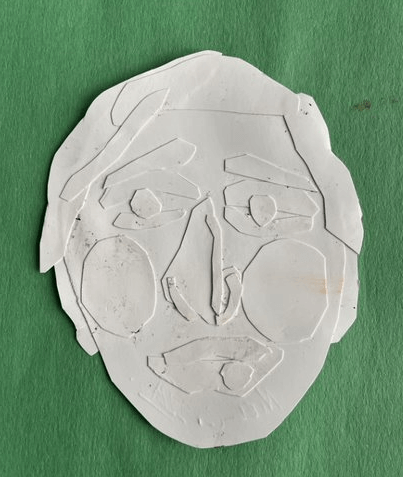
- A premade printing plate for demo
- Students’ portraits from Lesson 2
Objectives
Students will:
- Understand the collagraph printmaking process.
- Cut, arrange, and layer the shapes of facial features and details of their subject to make a printing plate of the head/face.
Activities
Note: Teacher language is italicized.
Introduction (10 minutes)
Today we’re going to explore collagraph printmaking and begin to make a printing plate. Our printing plate will be a portrait of the person you admire that you explored during the last few lessons.
A collagraph printing plate is made the same way we make a collage—by cutting, arranging, and gluing shapes. The edges of each shape will show up when we print.
Show a premade printing plate to students so they can see the shapes, then ink and print one OR make a rubbing.
Demonstration (10 minutes)
Have a student help you demonstrate the printing process, following these printmaking steps:
- First, get the paper ready that you plan to print on.
- Next, squeeze an appropriate amount of ink onto the tray. Roll and spread the ink with a brayer until you hear a slight “sticky” sound.
- Roll the ink onto your printing plate, making sure to cover the entire plate
- Pick up your printing plate and carefully place the plate onto the paper. Be sure to think about composition as you do this.
- Put a fresh piece of newsprint/newspaper on top of the printing plate. Use a CLEAN brayer (or baren) to roll and press the plate so the ink prints onto the paper.
- Finally, lift the newsprint and pull your print, carefully peeling the printing plate off the background paper.
Notice that when a plate is printed, the image is reversed!
To make our own printing plate today, we’re going to focus just on the head and facial features. We want to make it fit a 12” x 18” paper (or whatever size paper you choose to print on). We can cut out and add the facial features and details by overlapping and layering paper.
Demonstrate cutting shapes for the face, details, and hair.
We can use our sketches from Lesson 2 to help us create our printing plates. Think about the shapes you used and how you created different expressions.
Demonstrate arranging shapes to show different expressions.
After arranging, show students how to carefully glue each shape.
If it’s not completely glued, the plate won’t stay together when we print.
We don’t want to add more than three layers of paper because it creates too much space between layers and won’t print.
Demonstrate this with a small piece if possible.
Group or Independent Work (30 minutes)
What shapes will you use to create a printing plate portrait of your subject?
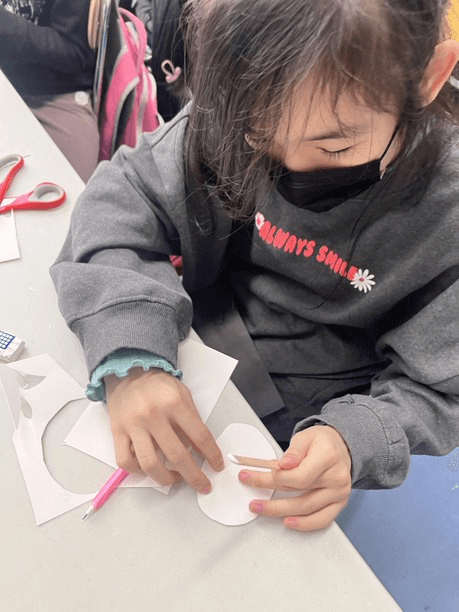
Give students half a 9” x 12” oaktag piece to cut down for a head shape. Encourage them to use the whole piece and not to cut it too small. Distribute additional oaktag for students to add facial features and details. (15 minutes)
Once students have cut and arranged most shapes, encourage them to think about expressions, then give them glue to attach. (10 minutes)
Reflection Questions for Discussion (10 minutes)
Arrange a gallery walk for students to view each other’s work, reflecting on the following questions:
- What expression did you create in your portrait? How did you create this expression?
- What details did you add to your portrait? What do those details express about the person you admire?
Vocabulary
Collagraph, printing plate, ink, brayer
Adaptations
Alternative Ways of Working:
- Students can use alternative cutting tools, modified scissors, or punches to create shapes
- Students can tear shapes if cutting is difficult.
- Students can use precut shapes to arrange
- Students can focus on the tactile feel of shapes and collages.
- Students can draw shapes and have a support person cut for them.
NYC Blueprint Strands Addressed
#1 Artmaking
#2 Developing Visual Arts Literacy
#3 Making Connections through Visual Arts