Overview
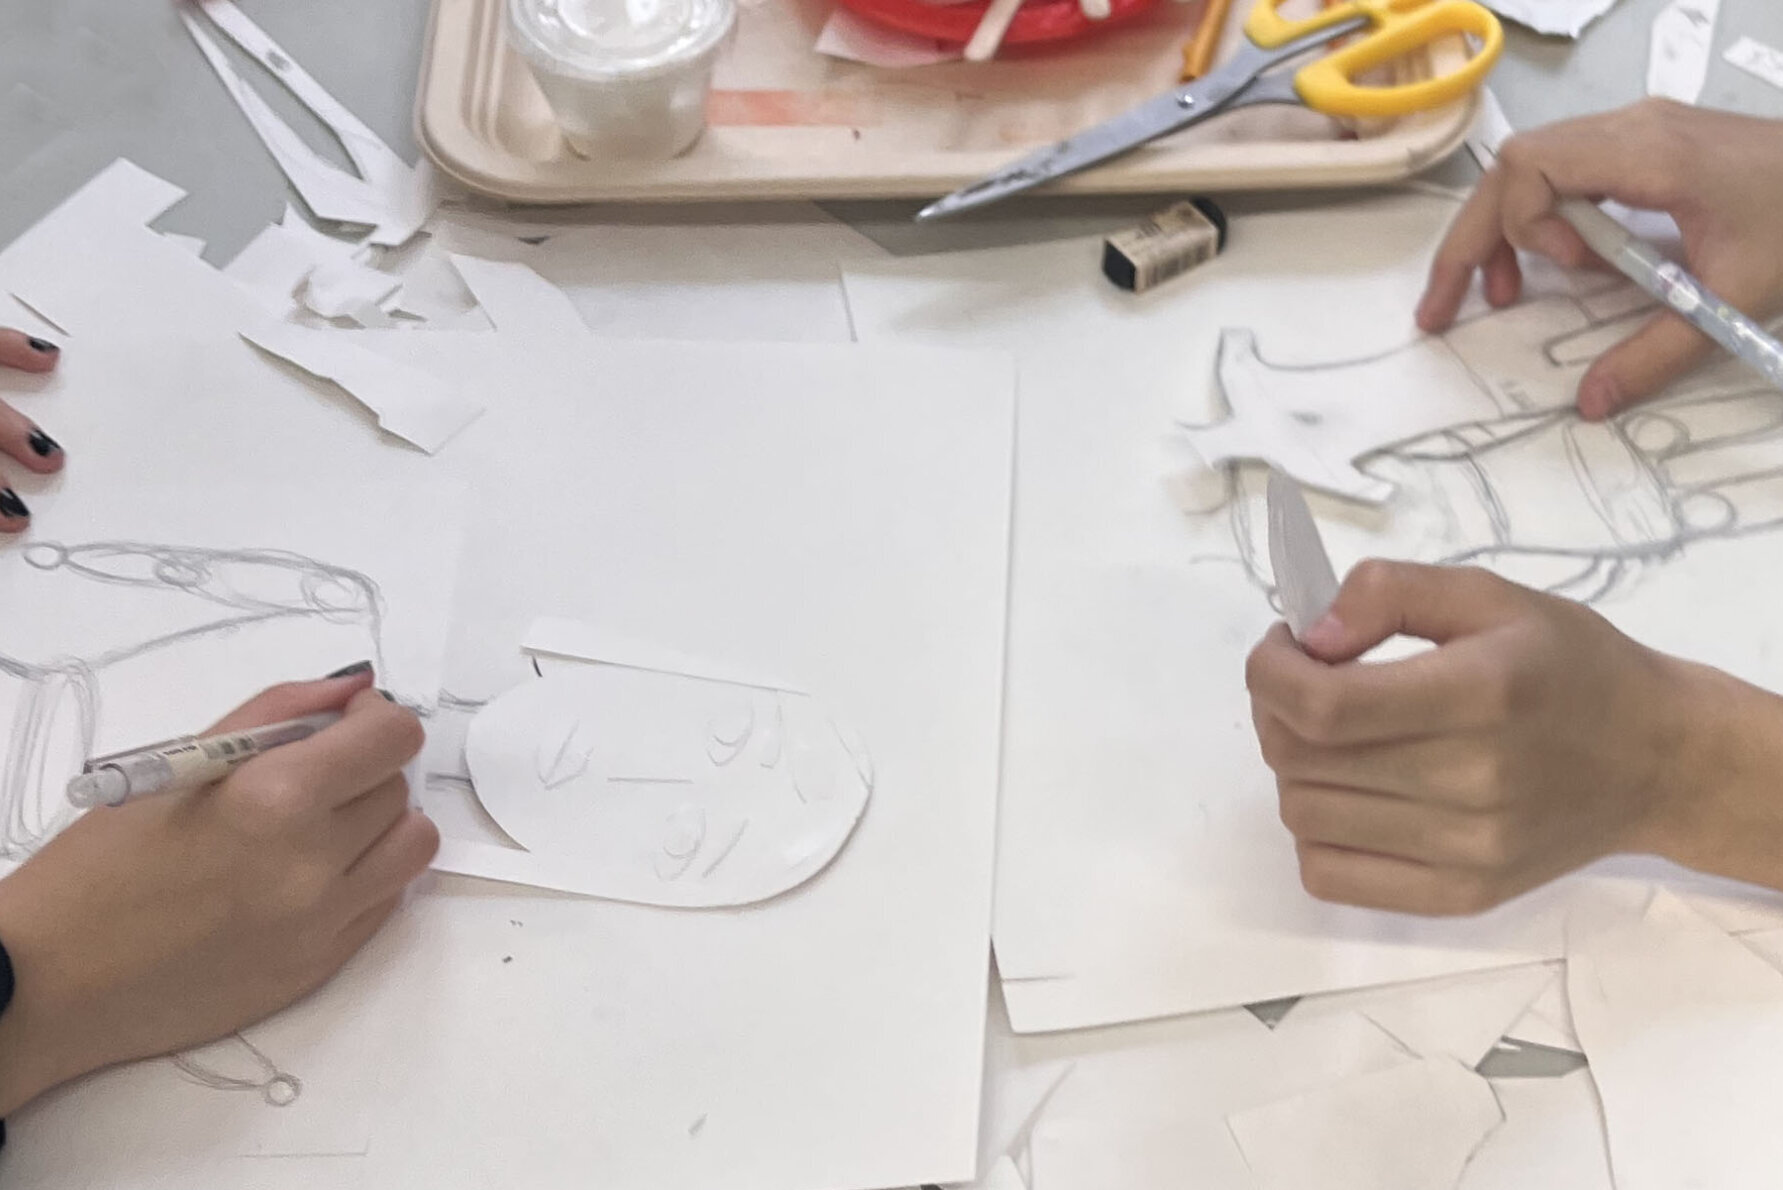
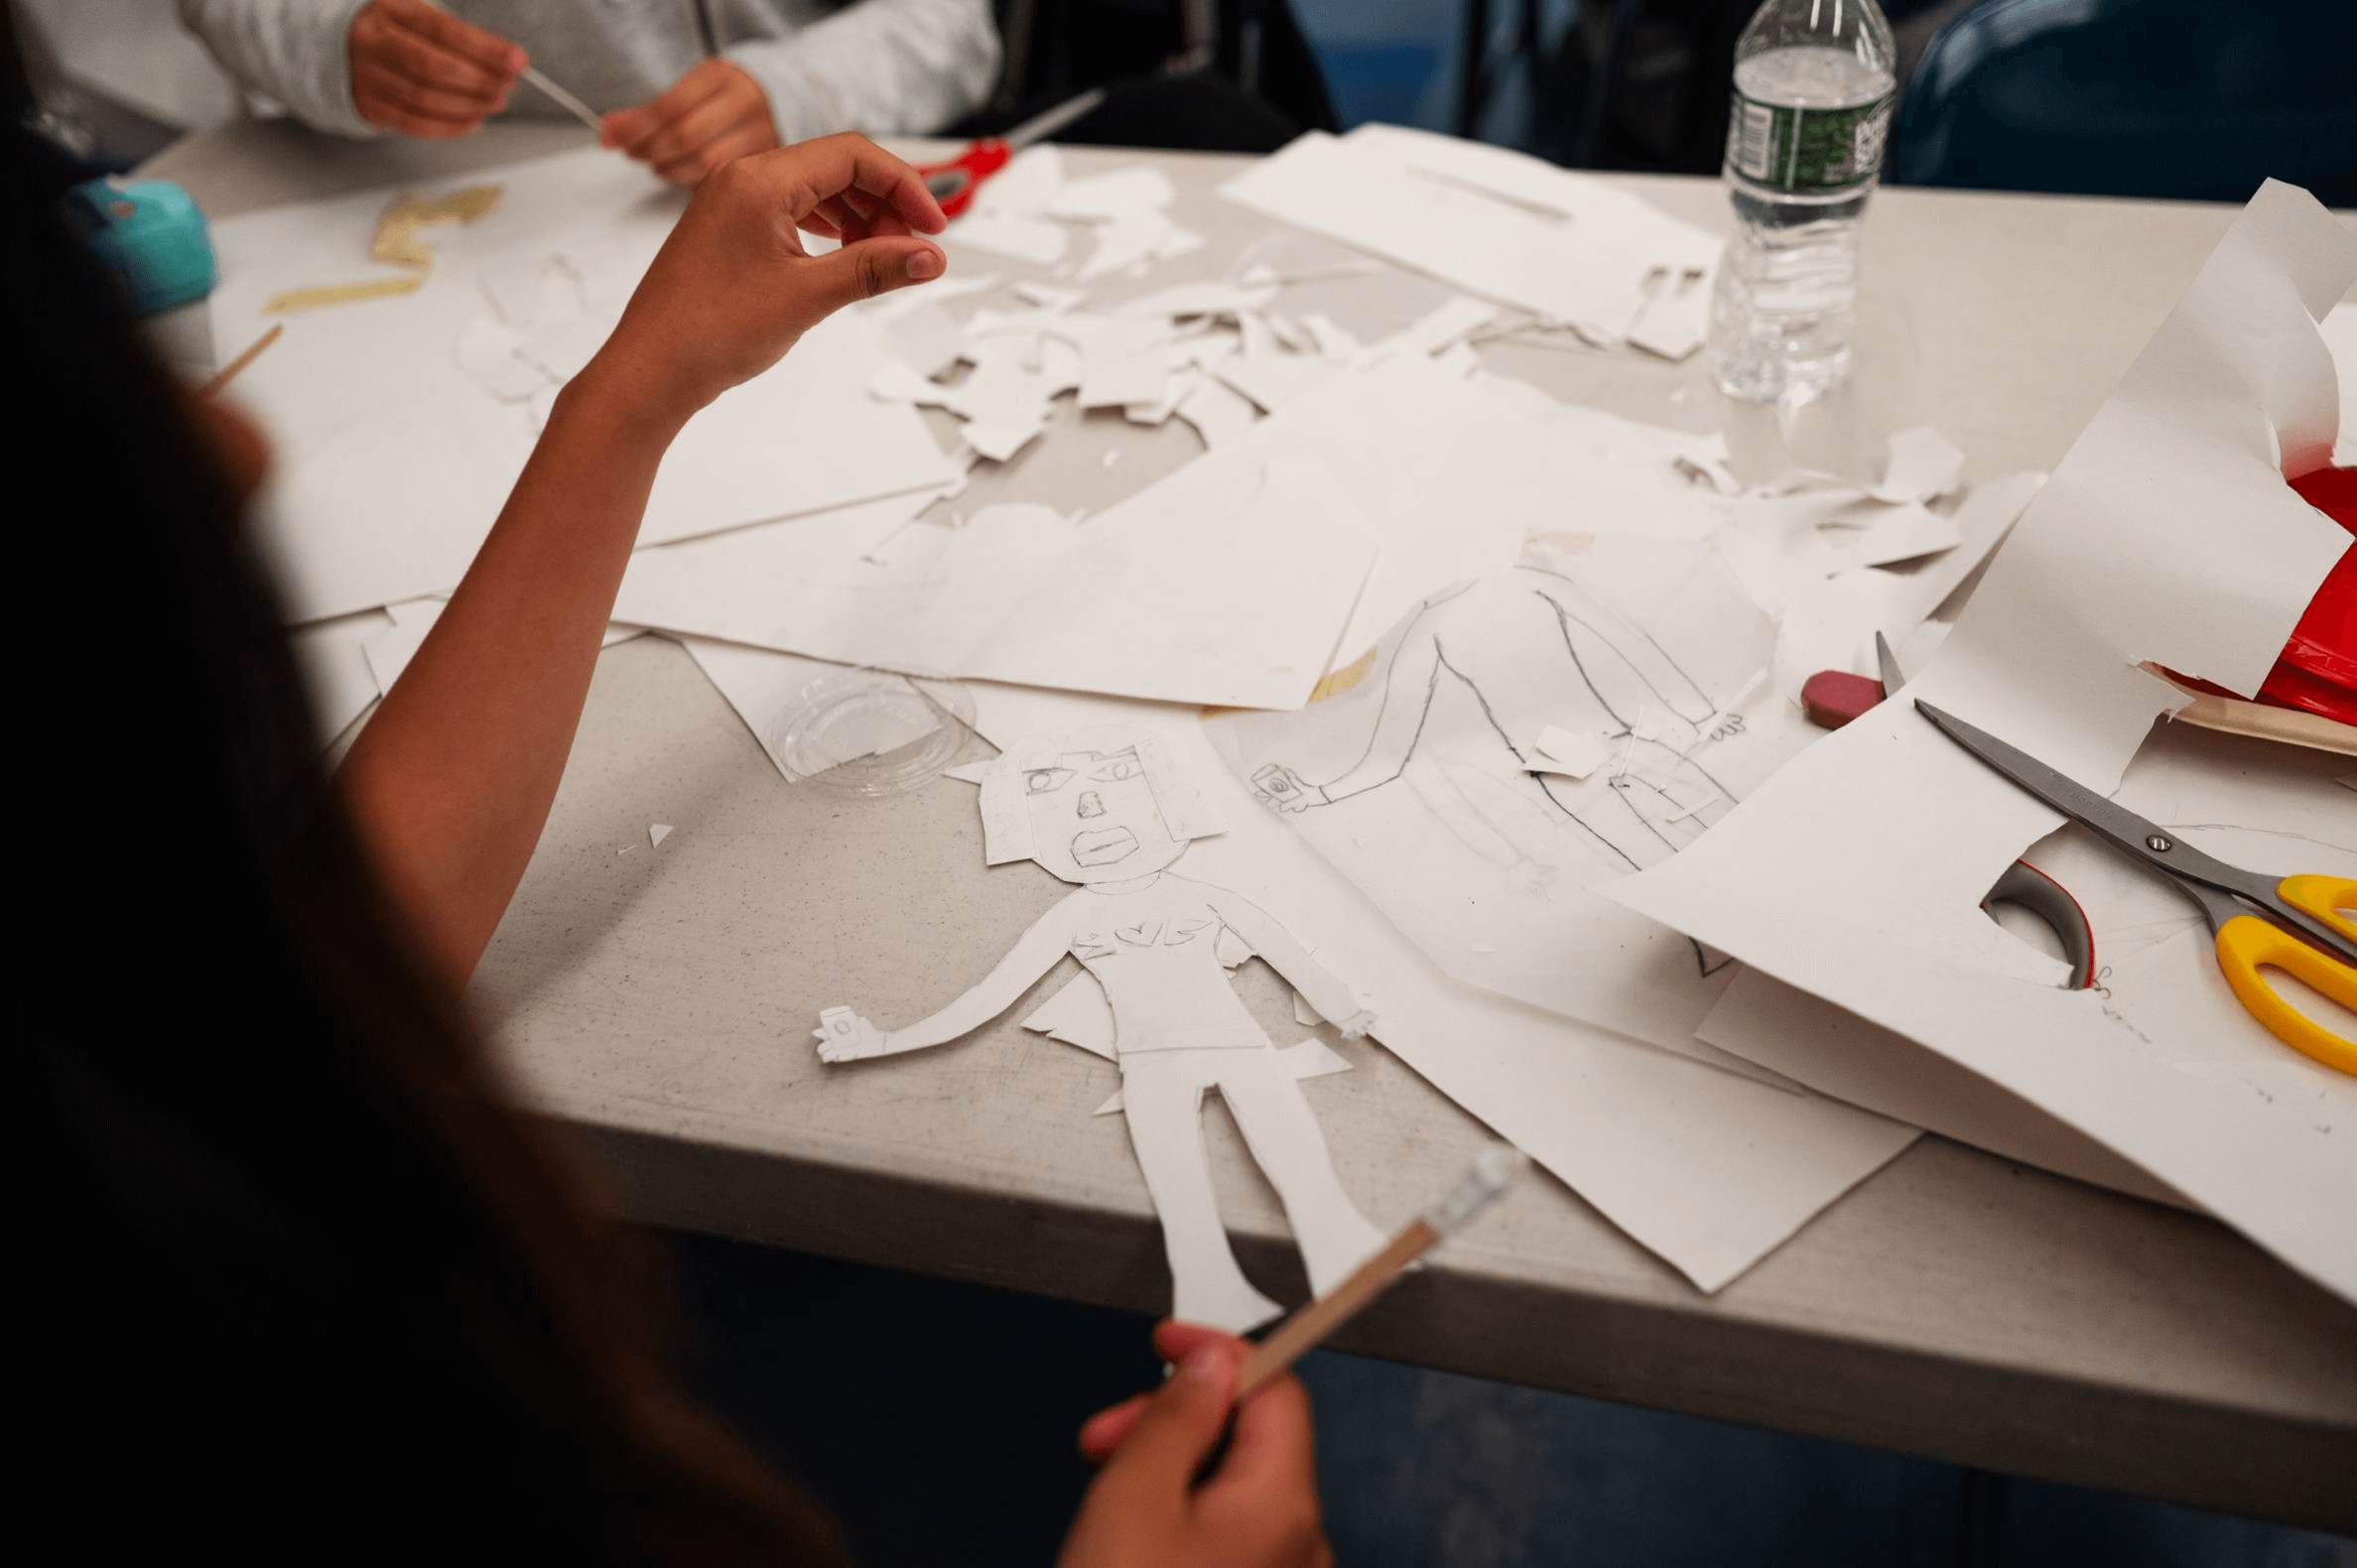
Students will cut out the shapes of the body, then arrange them in a pose that expresses an aspect of their subject.
Grade Level
6-8
Media
Theme/Big Idea
Artists can use collage techniques to create collagraph prints of someone they admire.
Essential Questions
- How can we honor someone through our artwork?
- How can we represent the unique qualities of an individual through full-body portraiture?
Case Studies
Materials and Tools
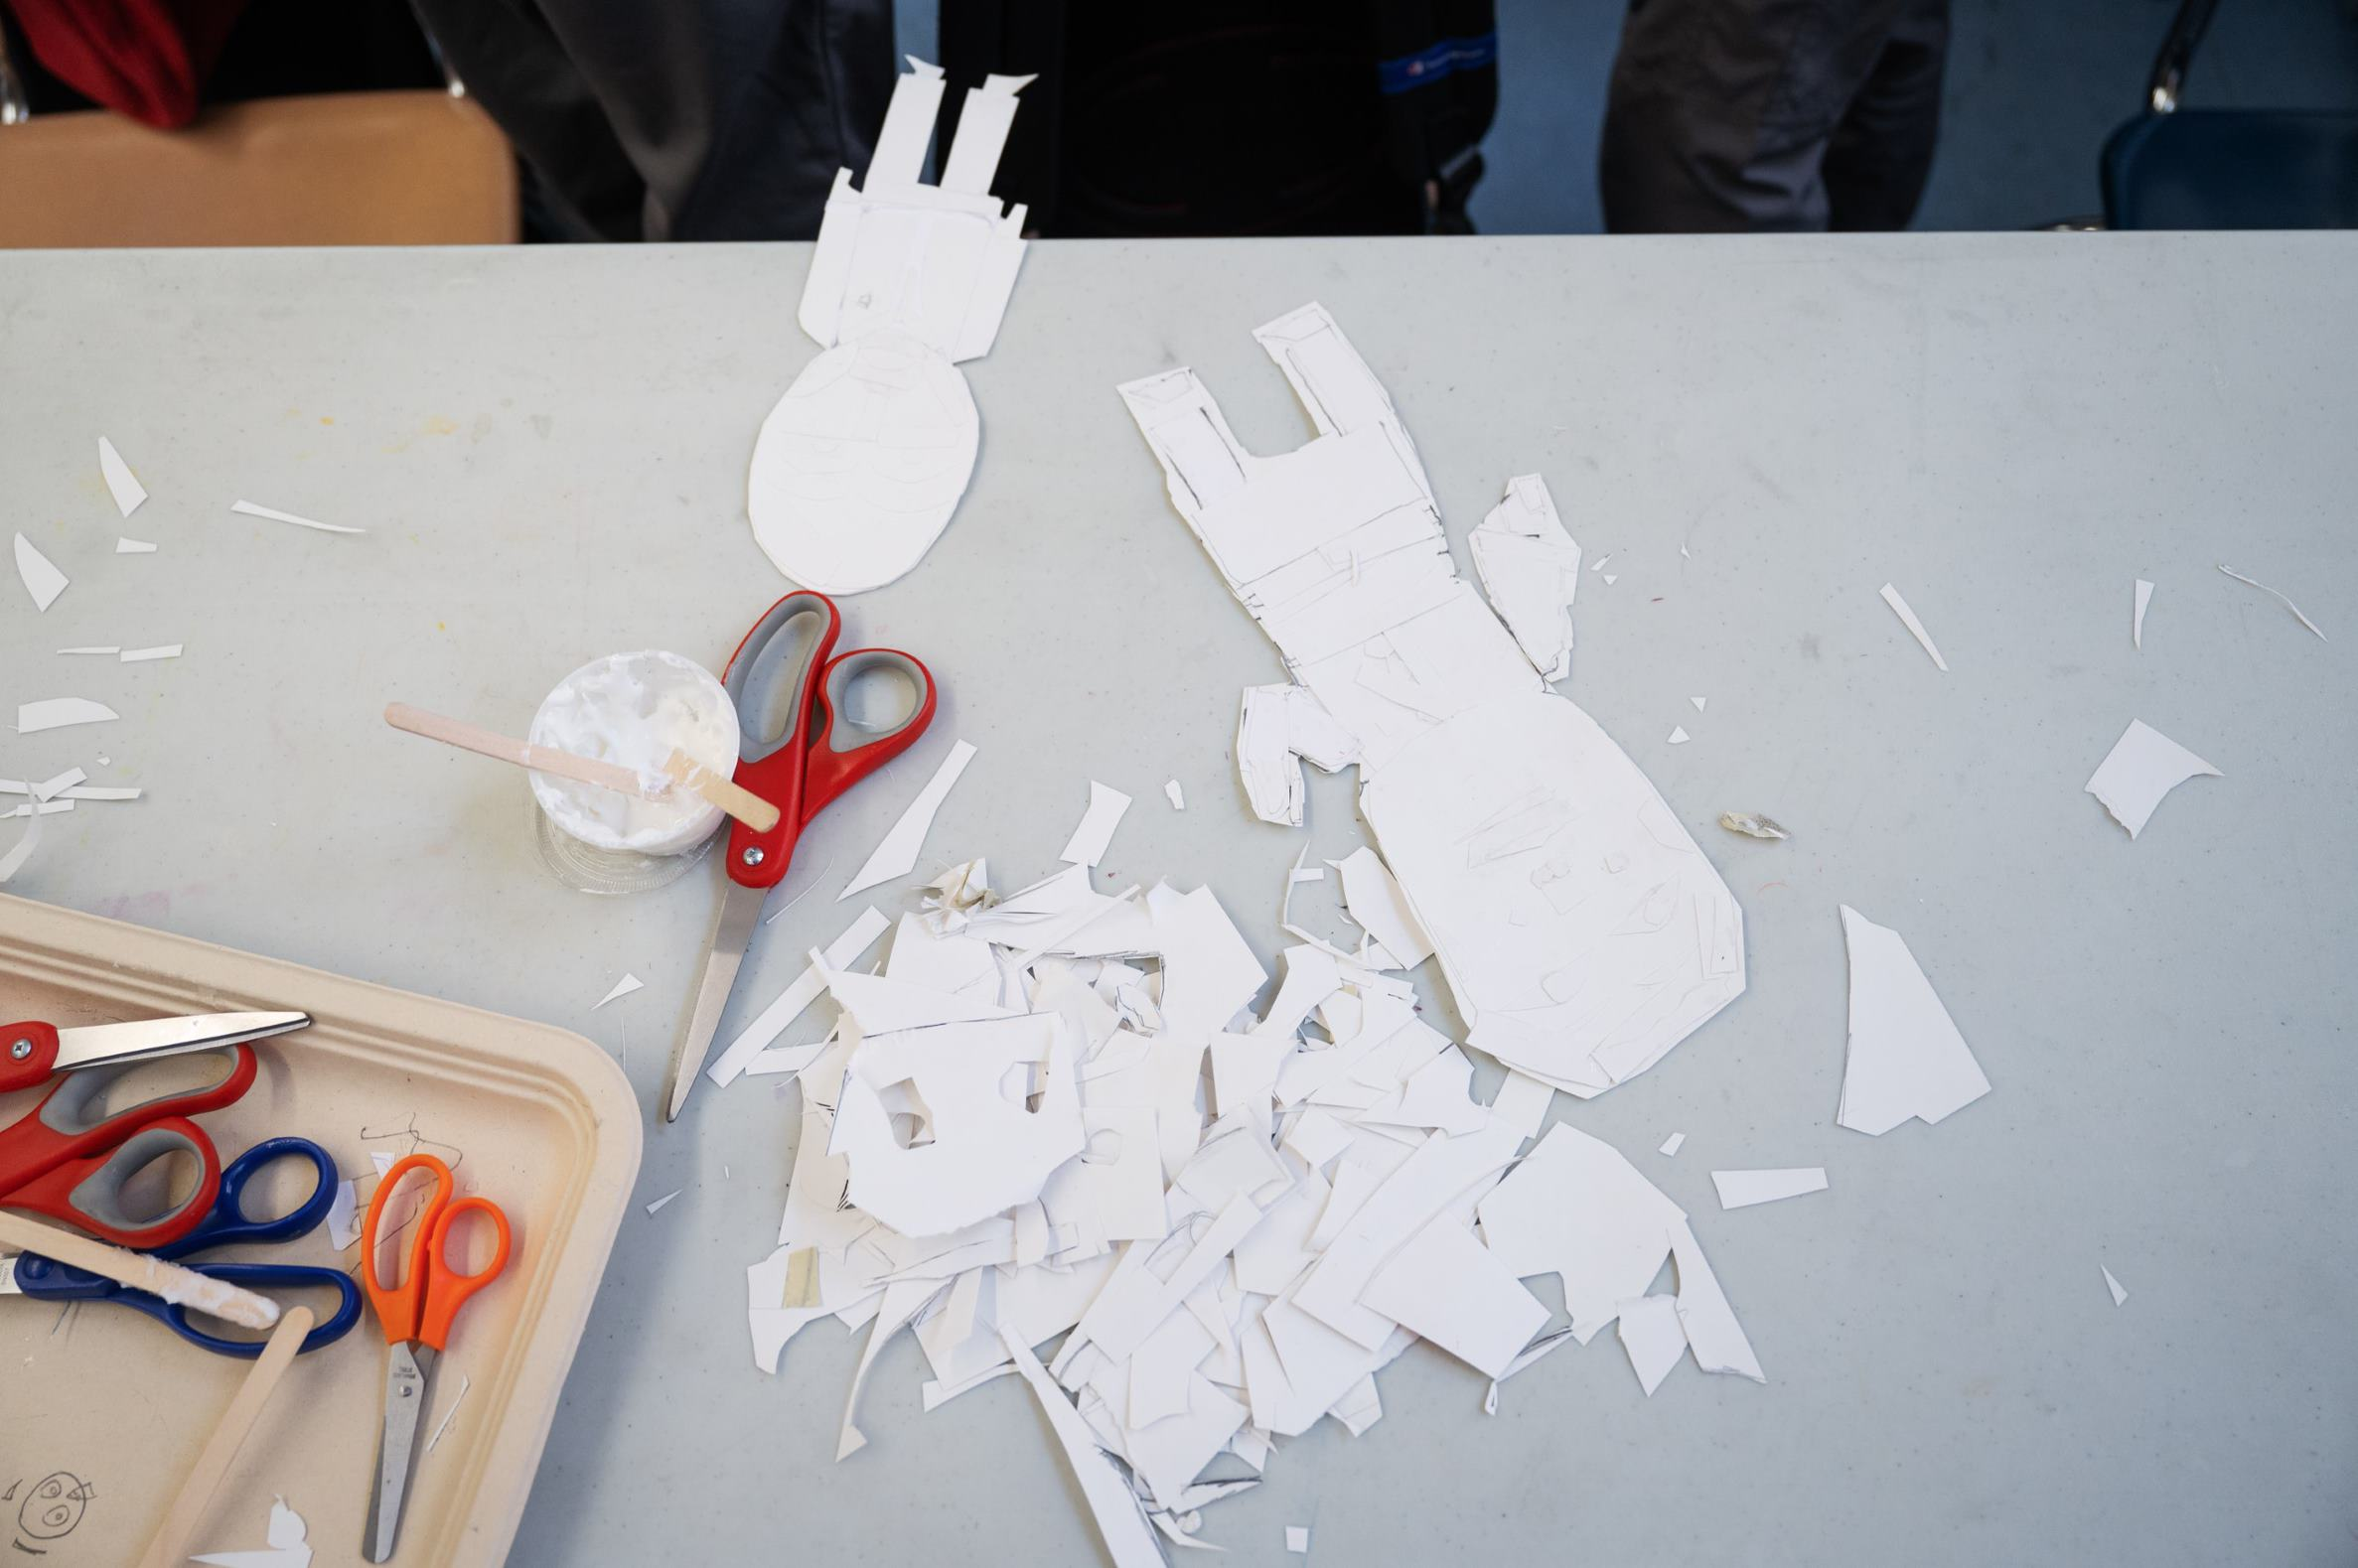
- Scissors, 9 x 12″ oaktag, glue in cups, popsicle sticks
- Students’ figure drawings from Lesson 3
Objectives
Students will:
- Identify and cut the shapes of the body, including clothing.
- Compose body parts to make a pose that expresses an aspect of the person they are portraying.
Activities
Note: Teacher language is italicized.
Introduction (10 minutes)
Now that we have a face completed for our printing plate portrait, it’s time to work on the body.
What are the basic shapes of the different body parts? How will these shapes change if we add clothing?
Demonstrate cutting out the shapes of body parts, considering proportions and clothing.
We talked about how poses show action and movement and convey someone’s personality or something that they like to do. What pose will best express the person you are portraying?
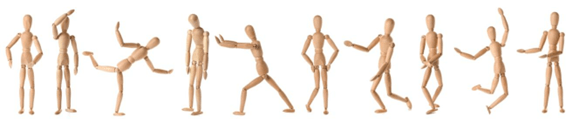
Demonstrate trying out a few different poses with your figure and think aloud about what each pose shows.
Think about all the places where the body bends in different poses. You can cut the arms or legs in half to make them bend. Bodies also bend at the neck, shoulders, waist, ankles, and wrists.
When you have a pose that you think is the most expressive for your subject, we will glue the shapes together, overlapping slightly where they meet. Do not glue the figure onto a background paper.
Note: If printing on 12” x 18” paper, try to keep full-body portraits smaller than 12” x 18”.
Group or Independent Work (25 minutes)
What shapes will you cut out for the body and clothing of your printing plate portrait? What pose will you choose to make?
Help students with cutting and refining shapes and trying to cut a new shape if needed. (15 minutes)
Encourage students to try a few different poses before gluing. (10 minutes)
Reflection Questions for Discussion (10 minutes)
Turn to a person sitting near you and share your collage, discussing the following questions:
- What pose did you choose to make for your portrait? What does that pose express?
- What other choices did you make as you cut out the shapes for the body?
After students reflect with their partners, have some students share their partner’s work and their answers to these questions with the whole class.
Vocabulary
Printing plate, pose
Adaptations
Alternative Ways of Working:
- Students can tear shapes if cutting is difficult
- Students can also use precut shapes to arrange
- Students can feel their printing plate to notice the different shapes and edges
- Use alternative cutting tools, modified scissors, or punches to create shapes
- Students can draw shapes and have a support person cut for them
NYC Blueprint Strands Addressed
#1 Artmaking
#2 Developing Visual Arts Literacy
#3 Making Connections through Visual Arts