Overview
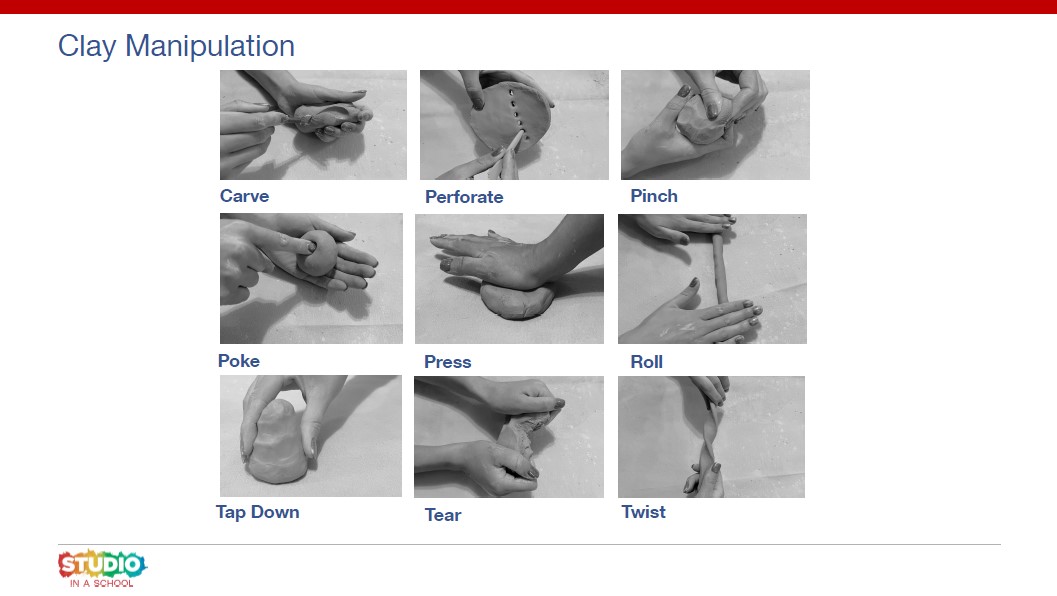
We will make an abstract sculpture by combining clay shapes. Students will be able to use their hands to manipulate clay. They will roll and tap, make coils, and attach pieces of clay together.
Materials
- Clay
- Foam trays
- Damp sponges
- Plastic forks
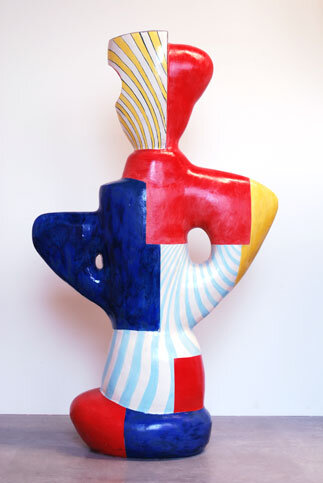
- Resource: clay sculptures by John Balistreri
Activities
Step 1
Revisit student’s clay tiles from the previous lesson.
What clay actions did you use to make your tiles?
(pressing, rolling, cutting, poking, pinching, stamping, carving)
Step 2
Introduce the clay again and review what students know about clay.
How can we change the shape of this clay?
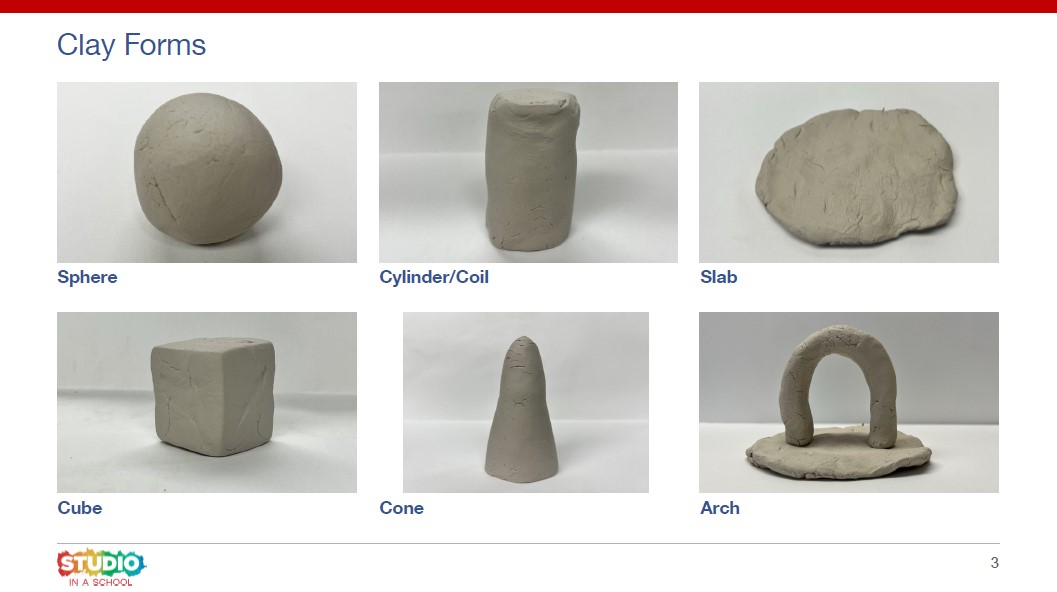
Demonstrate creating shapes with your clay – cylinders/coils, spheres, slabs, cubes, cones and arches.
Step 3
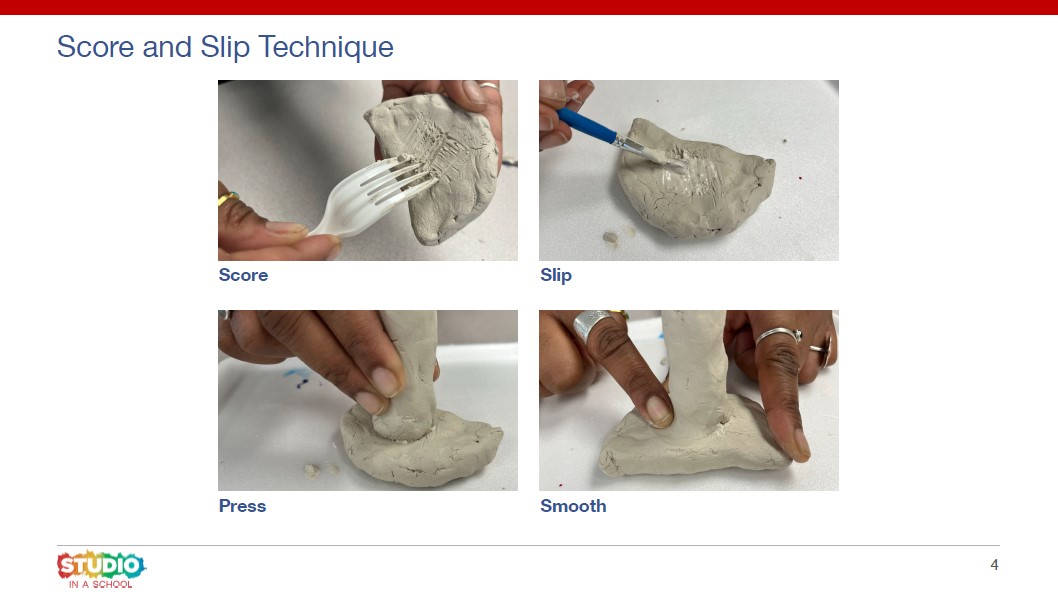
How can we make these shapes stick together?
Introduce students to scoring clay with a fork or clay tool. Demonstrate adding slip to the scores and attaching the shape to another clay form.
Step 4
Invite students to create their own clay shapes. Have them explore arranging their shapes and attaching them with the score and slip method.
Step 5
Have students look at their sculpture from different angles, considering both the inside and outside of their sculptures.
Reflection
- Can you describe one shape you created with clay and how you made it?
- How did you decide to arrange your clay shapes to make your sculpture?
- What did you notice when you looked at your sculpture from different angles?
Vocabulary
Sculpture, roll, tap, coil, score, smooth, cylinder, sphere, cube, cone, arch
Resources