Overview
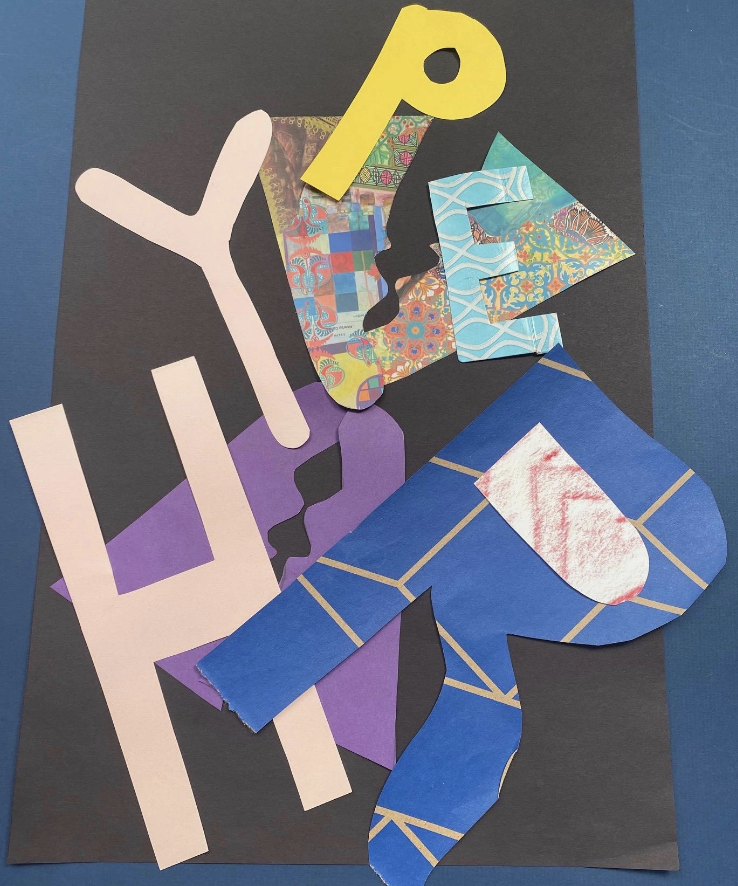
Students will combine their personal shape and word design to create an alternative self-portrait.
Materials and Tools
- Materials and tools needed:
- Two solid-colored pieces of paper for background
- Found papers from the home: newspaper, magazines, mail, bags, packing material
- Saved rubbings, cut outs, and letters from previous lessons
- Scissors
- Glue
- Tape
- Alternative Self-Portrait video
- Alternative Self-Portrait student slides
Objectives
- Students will build problem-solving skills through experimentation with composition
- Students will understand that they can express aspects of themselves through their artistic choices
Students will understand that:
- The principles and elements of art
Students will be able to:
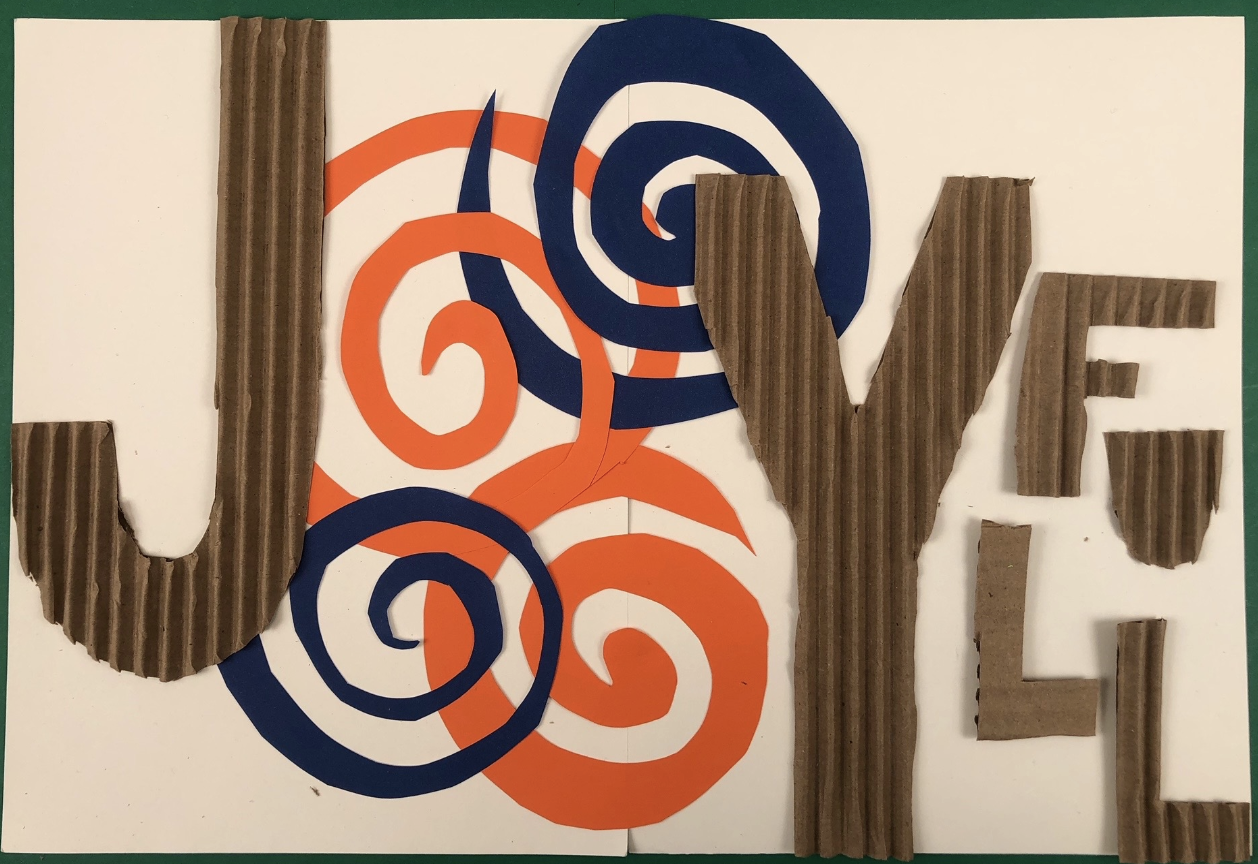
- Create a visually dynamic and meaningful alternative self-portrait
Activities
Note: The following steps are written with sample language you may use with your students as you go through the lesson. Explain to students that the slides and the video they see during the lesson will be shared with them so they can review the lesson on their own and continue to make more art.
Step 1: Introduction, Watch Alternative Self-Portrait Video (9 minutes)
In the previous lesson we learned how scale, or size, can help create meaning in a work of art. Through exploration and observation, we discovered that letter design, or typography, could express personality and mood. We also learned that different types of shapes, composition, and paper choice are important in the process of creating a design that communicates an idea. Watch the Alternative Self-Portrait video to learn how you will apply what you have learned to create an alternative self-portrait.
Step 2: Setting Up and Selecting Materials, with Student Slides #2-3 (10 minutes)
Gather your collection of letters and papers that you created in the previous lessons.
Closely observe your letters and leftover paper. Select pieces that you feel represent aspects of your personality. The letters you created through rubbing will look and feel different from the letters you created with found paper.
- What does a rough and bumpy surface communicate?
- How is this different from a printed page?
- Which papers represent you best?
Select these and put them aside.
Look at Slides #2 and #3 to review a few additional steps that will help you get ready to create your alternative self-portrait collage.
Step 3: Reflecting and Developing Ideas, with Student Slides #4-6 (10 minutes)
Arrange your chosen letters in your workspace so you can see them clearly without any visual distractions.
Look at Slide #4.
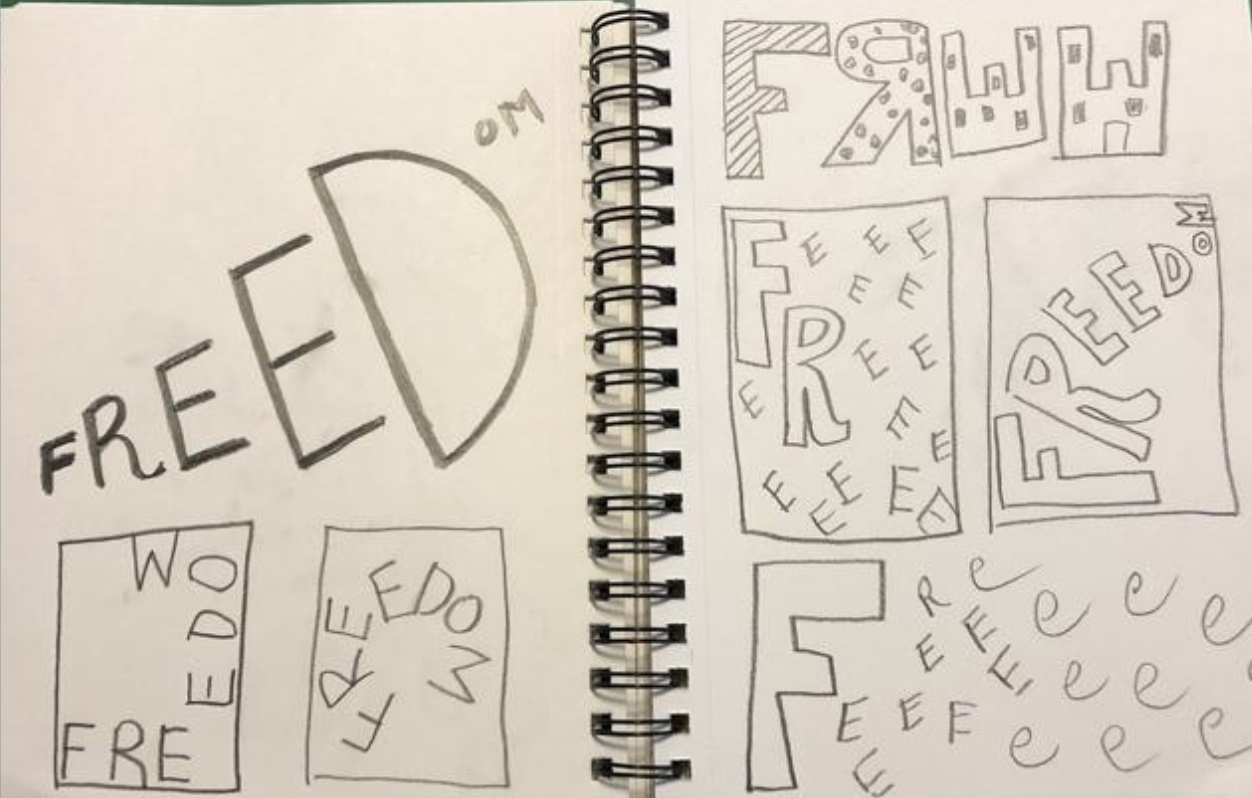
- What do you notice about the sketch on the top?
- What do you suppose the artist is exploring in the small drawings?
- What do you see that makes you say that?
- How do you think making these small, quick sketches before beginning a final work is useful?
- How would the process be different if the artists skipped this planning step?
Let’s use the drawing process to plan a composition for our own work.
Using the questions on Slide #4 and# 5 to guide your planning process, create three to five small, quick sketches to develop ideas for your final alternative self-portrait. As you work, think about what you will explore in each sketch. Remember to reference your chosen letters and papers as you draw.

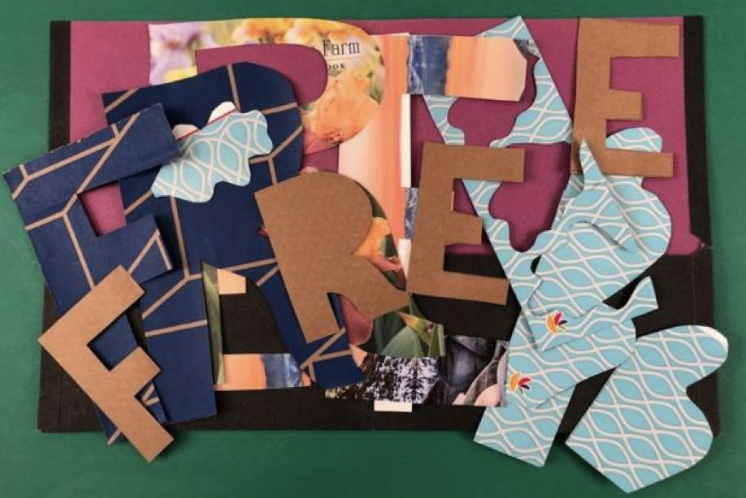
Look at Slide #6 and observe the way that different artists express different ideas about the same word based on their design choices.
- Is there something in these works that you find inspiring and would like to try out?
Sketch out one more idea inspired by what you observe in these alternative self-portrait collages.
Step 4: Finalizing and Gluing Alternative Self-Portrait Collage (10 minutes)
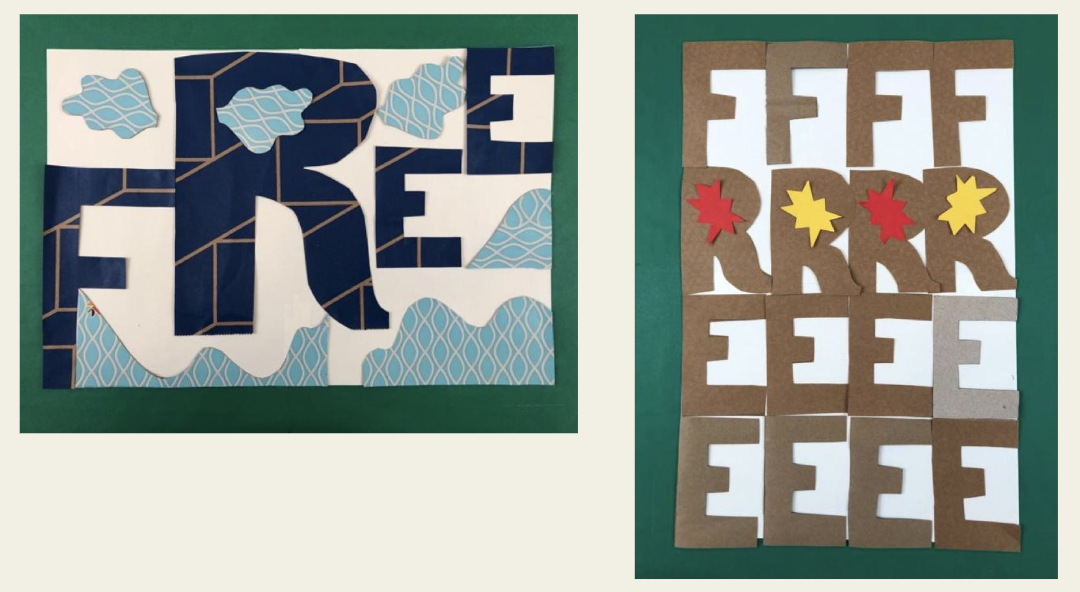
Choose your favorite sketch and compose a collage based on your idea. Try out three or four of your ideas. Once you have a composition finalized, take a photo with your phone to remind you where to glue down the letters. Using your photo as reference, glue down your final alternative self-portrait collage to your base paper.
Step 5: Reflection Questions for Discussion (10 minutes)
- What choices did you make that tell us about yourself?
- How did you use positive and negative space?
- How did you use repetition?
- What did you leave out?
- What story does your artwork tell?
Close Looking
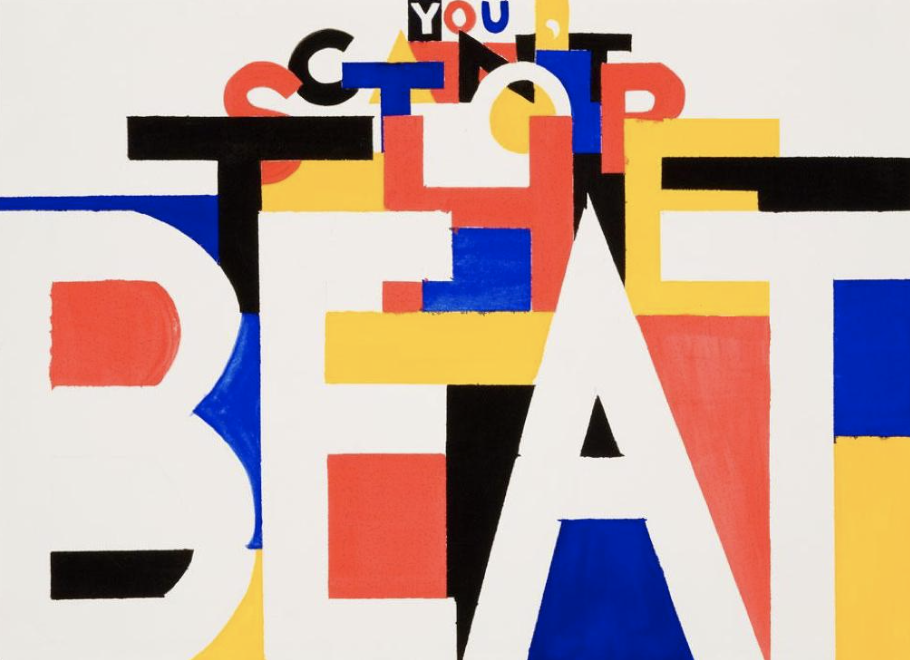
Deborah Kass is an artist who plays with words in her work. Look closely at this artwork.
- What do you notice about how the artist arranged the text?
- How does the arrangement relate to the phrase “you can’t stop the beat?”
Vocabulary
Alternative
Self-Portrait
Composition
Expression
Repetition
Resources
Deborah Kass, You Can’t Stop the Beat. 2003, https://deborahkass.com/feel-good-paintings/cant-stop-the-beat.html