Overview
Students will use two different colored inks to make two prints using their collagraph printing plates.
Note: Based on the size of your class, this lesson may take two periods to complete in order to give everyone enough time to print. Sketchbook and written prompts are provided for extensions.
Grade Level
6-8
Media
Theme/Big Idea
Artists can use collage techniques to create collagraph prints of someone they admire.
Essential Questions
- How can we honor someone through our artwork?
- How can we represent the unique qualities of an individual through full-body portraiture?
Case Studies
Materials and Tools
- Students’ printing plates, black and gray 12 x 18″ paper to print on (other colors if desired), block printing ink, trays for ink, brayers, newspapers or newsprint, paper towels
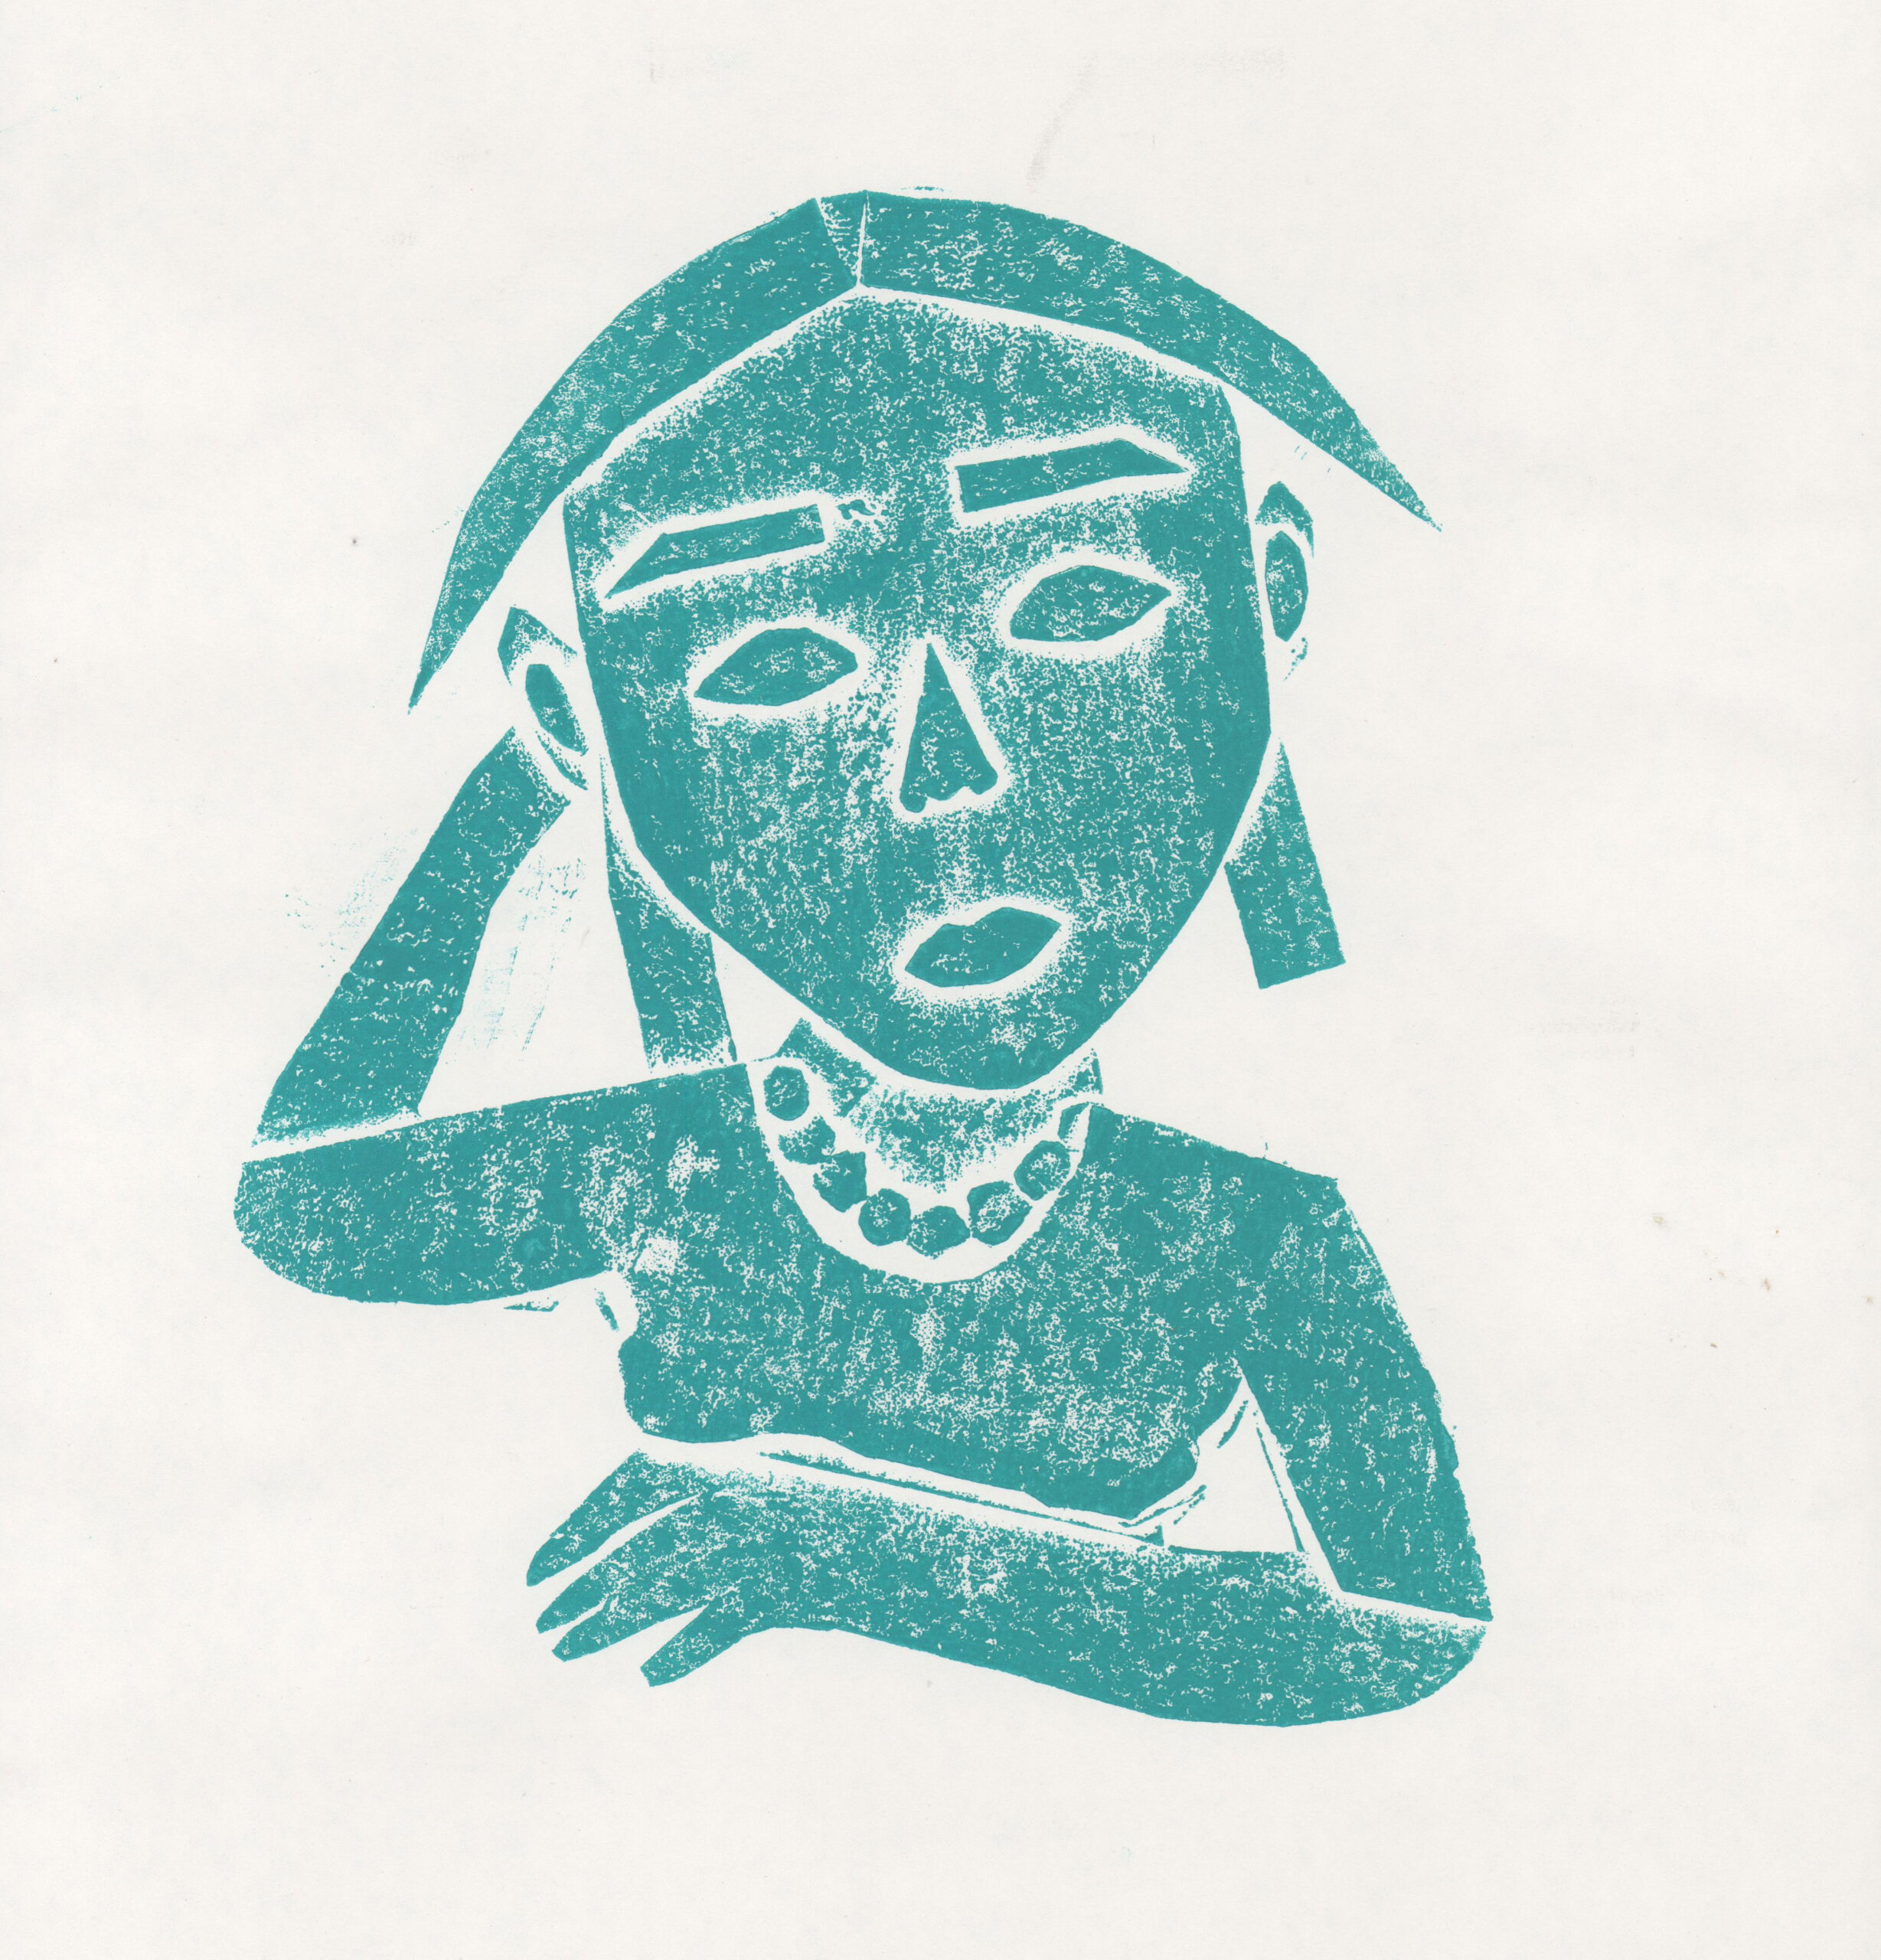
- Sebastian Campos. Untitled, Slide 22
Objectives
Students will:
- Understand and perform the steps of the collagraph printing process to make two collagraph prints.
- Make color choices to further express the subject of their portrait, experimenting with different ways to apply ink.
Note: Set up materials to make two to three printing stations, as many as you can comfortably oversee. Have a place set up for finished prints to dry.
Activities
Note: Teacher language is italicized.
Introduction (10 minutes)
Today, our art studio will become a printshop. We will revisit the steps of the printmaking process, then it will be your turn to print. If everyone doesn’t have a chance to print today, you will have a chance during the next class.
When you made your rubbing during the last class, what did you notice about making a good print?
To print, it’s important that we treat tools and materials with care. We have ink and trays to spread the ink using brayers—a tool to roll and spread the ink. We need to have a clean space to print, so we have newsprint or newspapers that will need to be changed each time we print.
Note: It is great to have students work in pairs to help each other. The person printing will get ink on their hands and the person helping can have clean hands to move the paper.
Demonstration (5 minutes)
Have a student help you demonstrate the printing process.
- First, get the paper ready that you plan to print on.
- Next, squeeze an appropriate amount of ink onto the tray. Roll and spread the ink with a brayer until you hear a slight “sticky” sound.
- Then, roll the ink onto your printing plate, making sure to cover the entire plate. Also ink any background plates.
- Pick up your printing plate and carefully place it onto the paper, thinking about your composition as you do so. Add any background elements, continuing to consider composition.
- Have your helper put a fresh piece of newsprint/newspaper on top of the printing plate. Use a CLEAN brayer (or baren) to press the plate so the ink prints onto the paper.
- Finally, lift the newsprint and pull your print, carefully peeling the printing plate off the background paper.
- Remove all newsprint with ink on it to refresh the printing station.
If there is time, demonstrate making a second print. After the plate absorbs the first layer, a second print usually comes out much better. Students can choose a different color for their second print and see how the colors combine.
It is important to keep printing stations clean so that we don’t get unwanted ink on our prints.
Group or Independent Work (25 minutes)
How can we follow the steps of the printmaking process to make successful prints?
Have students print in pairs. Have the rest of the class work in their sketchbooks while you oversee printing groups.
Reflection Questions (10 minutes)
In our portraits, we’ve used facial features, expressions, poses, objects or symbols, and colors to describe someone that we admire. Artists often write statements about their work to share more about their ideas.
- How do the choices you made describe who this person is?
- Choose three different aspects of your portrait print (expression, pose, object/symbol, or color) and write about how each reflects the person you admire.
Arrange a gallery walk for students to view each other’s completed prints, reflecting on the following questions:
- What did you notice about your final print that surprised you?
- How did the color you chose express the personality of the person in your portrait?
- How did you communicate who the person in your portrait is and what you admire about them?
Vocabulary
Collagraph printmaking, multiples, brayer, barren, ink
Resources
Adaptations
Alternative Ways of Working:
- Post simplified process steps with visuals or a sample of that step
- Students can feel their printing plate through the newsprint to notice the different shapes and edges
- Students can use adapted printing tools
Extensions
Sketchbook:
Draw the subject of your portrait in a specific setting or location.
Additional Discussion Question:
Think about the artists and artworks you’ve been introduced to in this unit and reflect on the following question:
- How have these artists and artworks affected your ideas about artists with disabilities?
NYC Blueprint Strands Addressed
#1 Artmaking
#2 Developing Visual Arts Literacy
#3 Making Connections through Visual Arts