
Overview
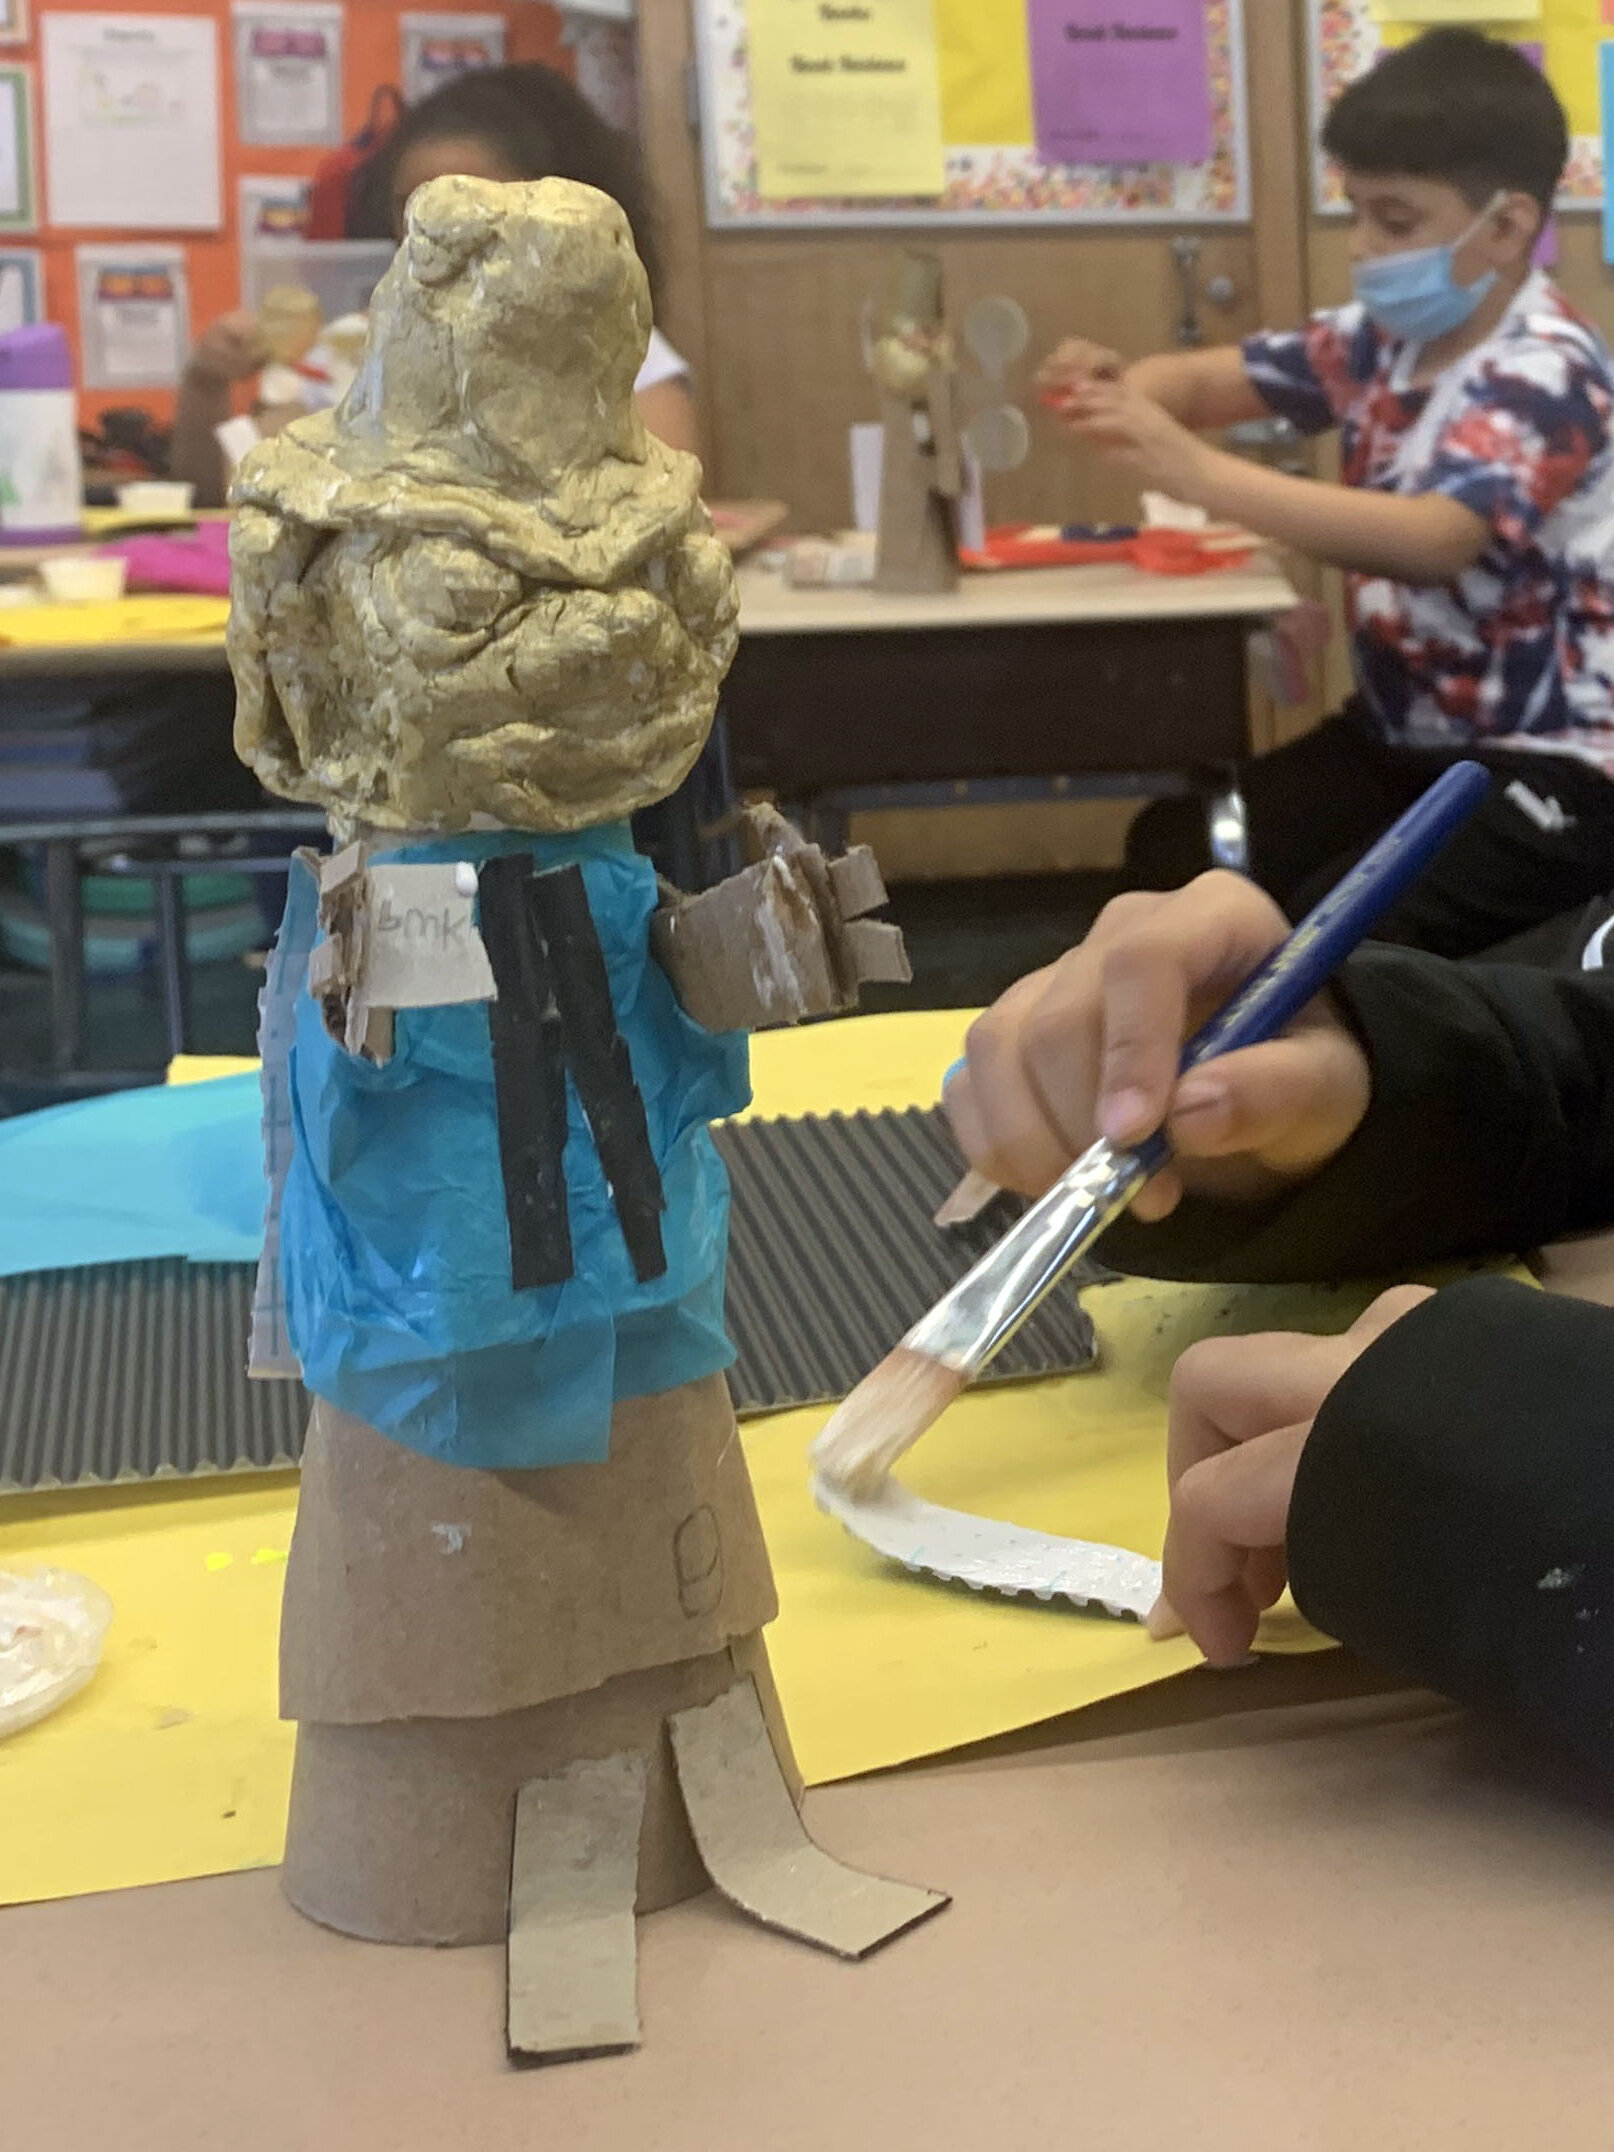
We will use 3D paper techniques to add clothes and special details to our puppets. Students will be able to add three-dimensional paper details to help develop their puppet’s character.
Case Studies

Materials
- Puppet heads and bodies
- Colored construction paper
- Scissors
- Glue
- Craft sticks
Activities
Step 1
Discuss ideas for how 3D paper techniques could be used to create clothes and details.
Step 2
Have students make and use three-dimensional paper shapes to add clothing, hair, eyes, and special details to finish puppets.
Reflection
Students will examine their finished puppet and reread their story. Students will work with their teacher and other students to revise their stories.
Look closely at your puppet and at your story. Which part of the story does the expression and action of your puppet portray?
Writing Prompt (optional):
Students will continue to form a story about their puppet.
Sketchbook Prompt (optional):
Write a final draft of your short story in your sketchbook.
Vocabulary
Relief, tear, fold, roll, twist, crumple, fringe