Overview
Students will explore point of view and how it affects the way an object looks. They will notice from what viewpoints an object looks familiar and from what viewpoints it looks unrecognizable or abstract.
Materials and Tools
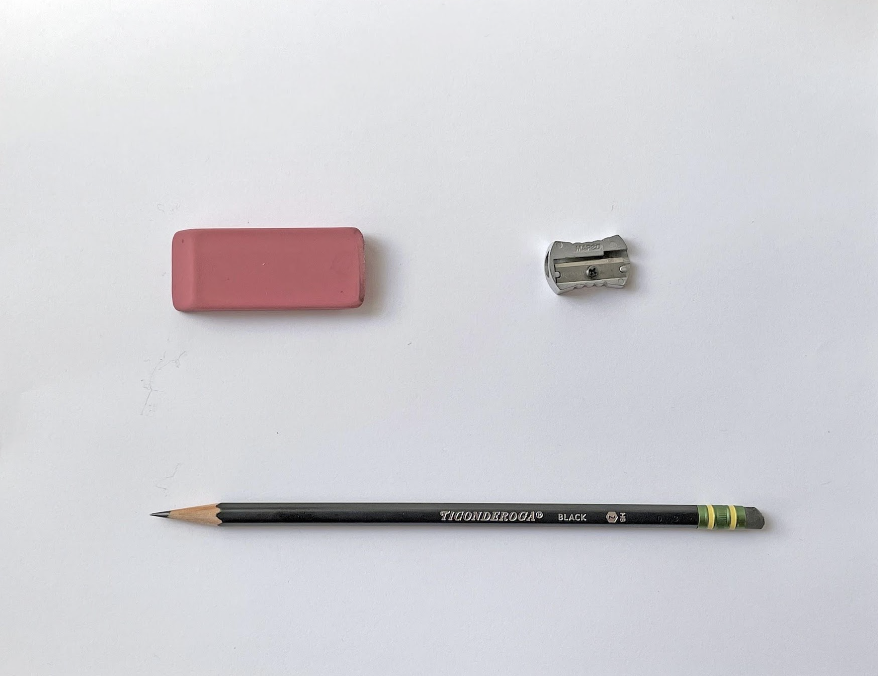
- Pencil
- Paper
- Eraser
- Pencil sharpener
- Household object to draw
- Exploring Point of View video
- Exploring Point of View student slides
Objectives
Students will understand that:
- Their point of view when looking at an object changes how they see it
- From certain angles, objects will look more or less recognizable or familiar
- If an object is no longer visually recognizable, it is called abstract
Students will be able to:
- Identify how changing their point of view when looking at an object changes what they see
- Apply their knowledge of marks, lines, and contour lines to make three to four drawings of their object from unexpected angles
Activities
Note: The following steps are written with sample language you may use with your students as you go through the lesson. Explain to students that the slides and the video they see during the lesson will be shared with them so they can review the lesson on their own and continue to make more art.
Step 1: Introduction, Watch Exploring Point of View Video (10 minutes)
Welcome, artists. Previously we explored drawing visual textures through close observation. Today we will consider another important element in observational drawing: point of view. View the Exploring Point of View video to learn how looking at an object from different angles can help us think about our subject in unexpected ways.
Step 2: Close Looking, with Student Slide #3 (5 minutes)
Look at Slide #3 and observe the drawing of a zipper by Konrad Klapheck.
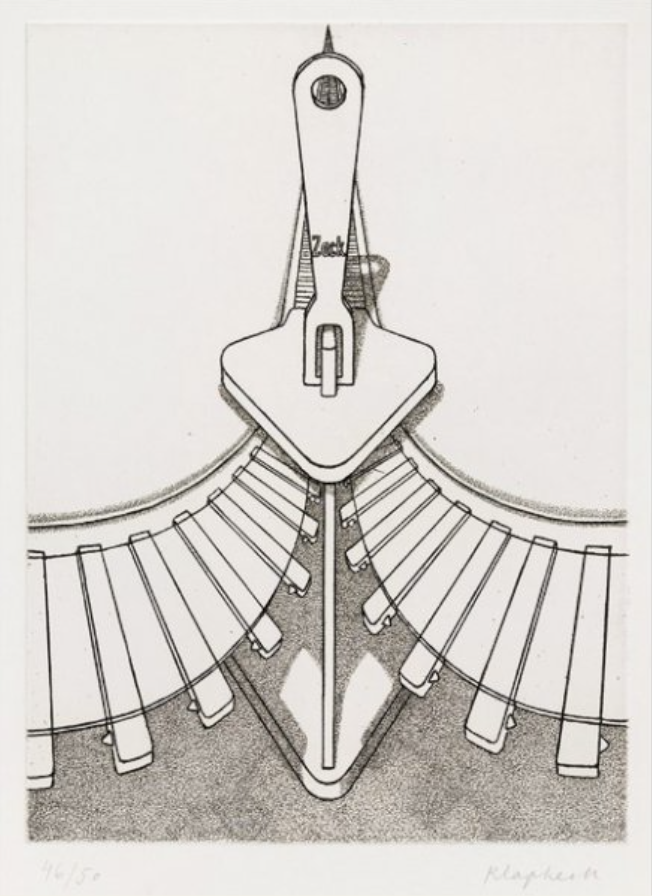
- What do you notice about the point of view the artist has used to draw the zipper?
- How is it different from the way we normally see a zipper? What do you see that makes you say that?
- Why do you suppose the artist chose to draw the zipper from an unexpected point on view?
- How does it change the way we see and think about a zipper?
- If you were asked to draw a zipper from an unexpected point of view, what perspective would you choose? Why?
- How would your chosen point of view help us think about a zipper in an unexpected way?
Step 3: Selecting and Observing an Object from Different Viewpoints, with Student Slides #4-5 (5-10 minutes)
Let’s look at Slide #4 to further explore point of view. Compare and contrast the different points of view of the stapler.
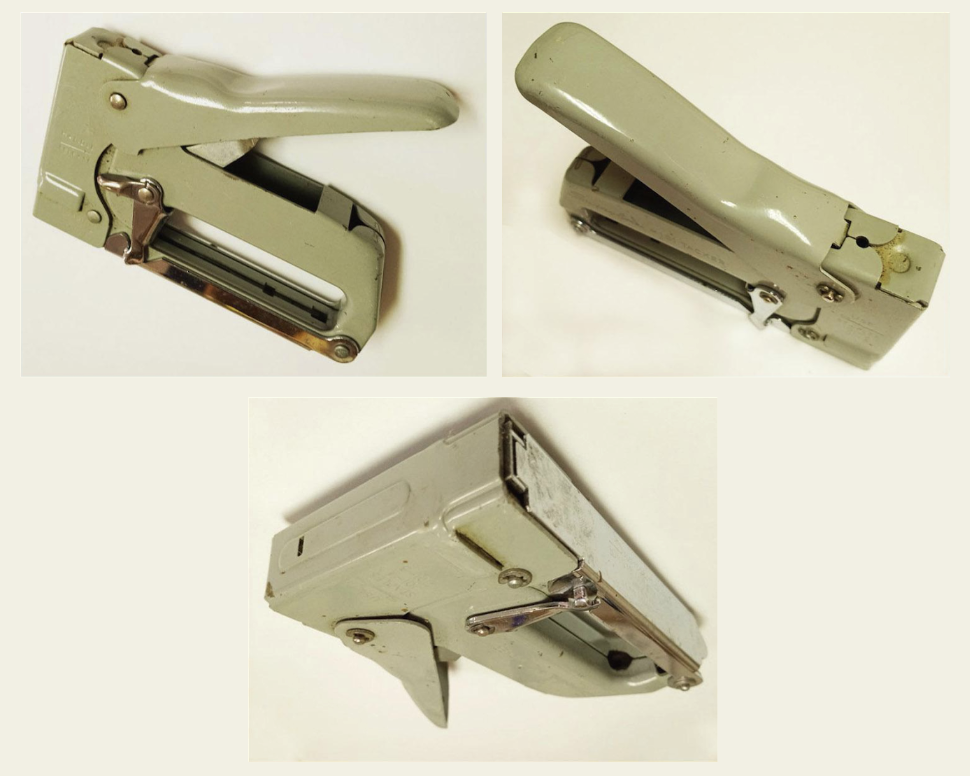
- Which view do you find most interesting? Why?
- Which point of view tells us the most about the function of the object?
- Which viewpoint hides the function of the object?
- What do you see that makes you say that?
Now it’s your turn to play with different viewpoints. Find an everyday object with an interesting contour. Look at the object from its usual angle or placement. Now rotate it in different directions.
As you do this, consider how the different viewpoints help you see your object in new and unexpected ways.
- Which viewpoint do you find most interesting? Why?
- Which viewpoint makes the object unrecognizable?
Step 4: Drawing Objects from Different Points of View, with Student Slides #6-8 (20 minutes)
It’s time to begin drawing your object from different points of view. Slide #6 shows how the artist has drawn the stapler from a bird’s-eye view, or from above. Notice how the shape of the object is simplified from this perspective and makes the object less recognizable.
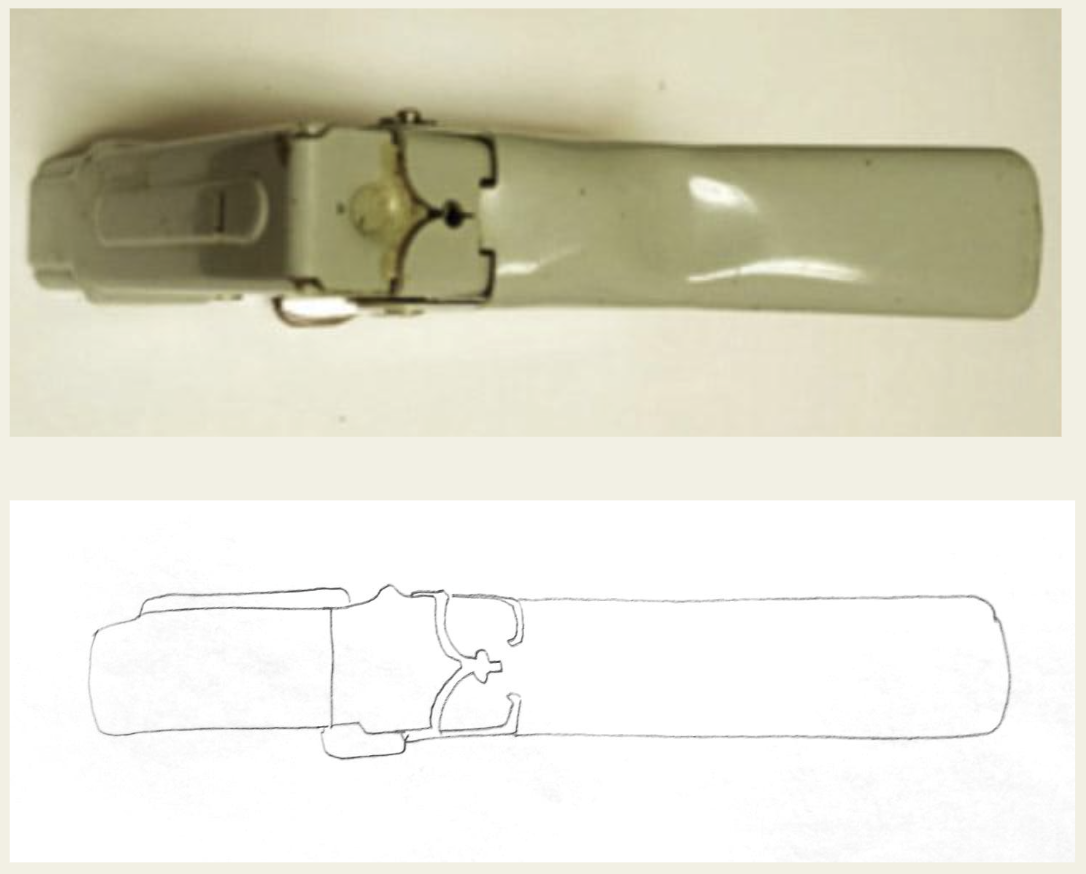
A bird’s-eye view may be a good starting point for your first drawing. Go ahead and give that point of view a try.
Slide #7 shows a second viewpoint explored by the artist.
- How is this viewpoint different from the bird’s-eye view we saw in the previous drawing?
- How has the shape of the object changed?
- What details do you see in this drawing that you did not see in the last drawing?
- Is the stapler more recognizable or less recognizable than it was in Slide #6? What do you see that makes you say that?
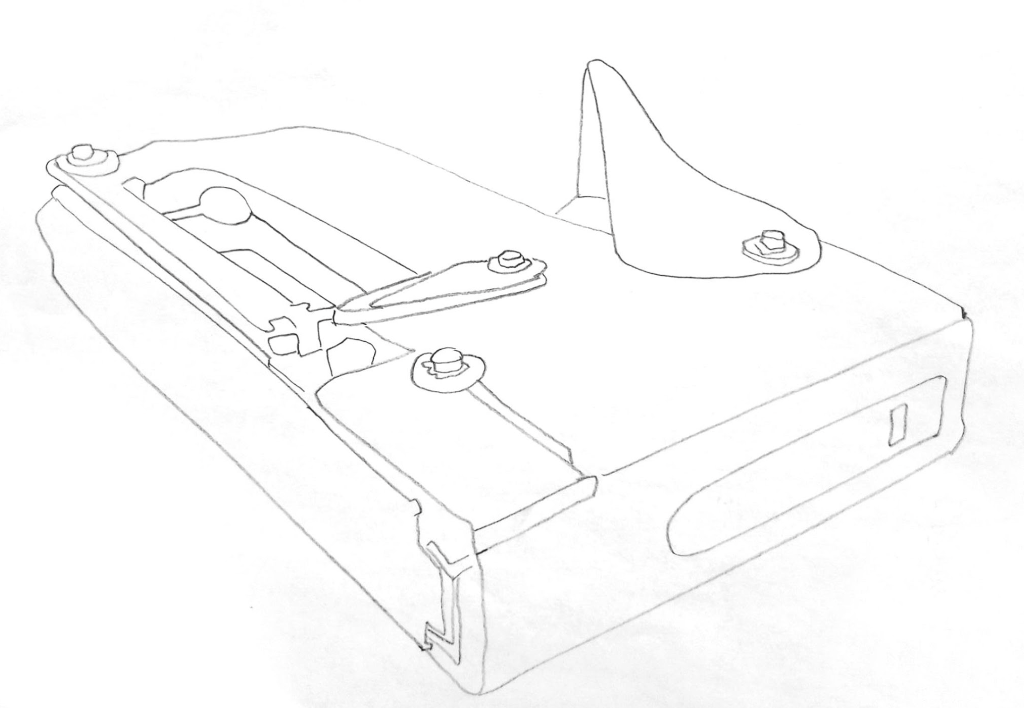
Explore making a second drawing of your object. This time you may consider using a point of view that shows more details and makes your object recognizable.
Slide #8 shows how the proportion of different parts of the object changes depending on the viewpoint.
- What part of the stapler looks larger than normal?
- How does the change in proportion affect the way you see and think about the stapler?
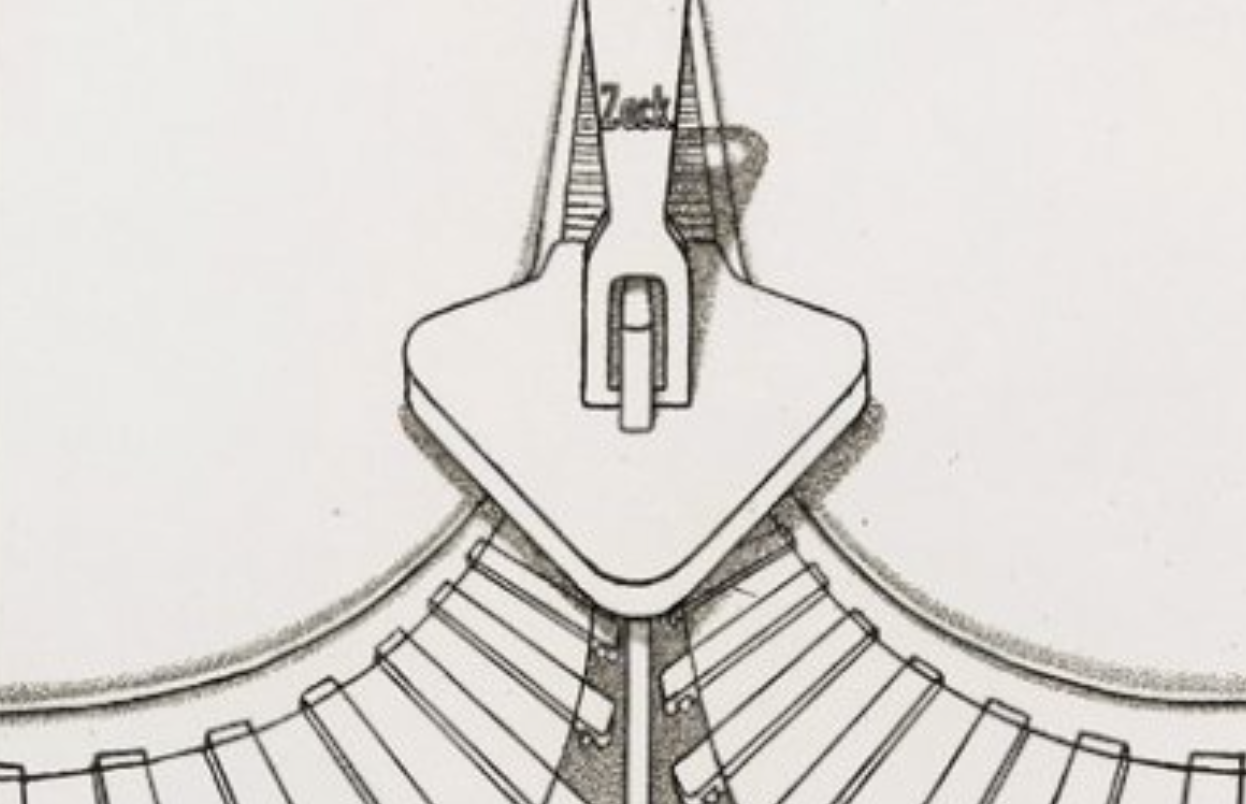
Experiment and play with proportion and point of view for your final drawing. Take a moment to revisit Klapheck’s zipper drawing. Notice how the teeth of the zipper are much larger than expected.
- How does this change in proportion add to the meaning of the work?
Now look at your object.
- Is there a particular part of your object that you would like to draw bigger or smaller than expected? Why?
Go ahead and try that out.
Step 5: Reflection Questions for Discussion (5 minutes)
- How did looking at your object from different points of view change how you think about it?
- Does it make you think that you are looking at a different object?
- What else could it be, or what else could it become? Could it become an animal? A car, truck, or other vehicle? A robot? A fantastical machine?
Vocabulary
Abstract
Recognizable
Familiar
Angle
Point of view
Perspective
Resources

More work by Konrad Klapheck: https://www.moma.org/collection/works/75502?artist_id=3126&page=1&sov_referrer=artist and https://www.ludorff.com/en/artists/konrad-klapheck
Watch an artist demonstrate contour line drawing: https://www.youtube.com/watch?v=Eu9sUWLfGng

