Overview
Students will find new materials that can be used to attach their found objects together in different ways.
Grade Level
6-8
Media
Sculpture
Theme/ Big Idea
Artists can express ideas by using different materials to make lines, shapes, and forms.
Essential Question
How can we use everyday materials to make expressive face assemblages?
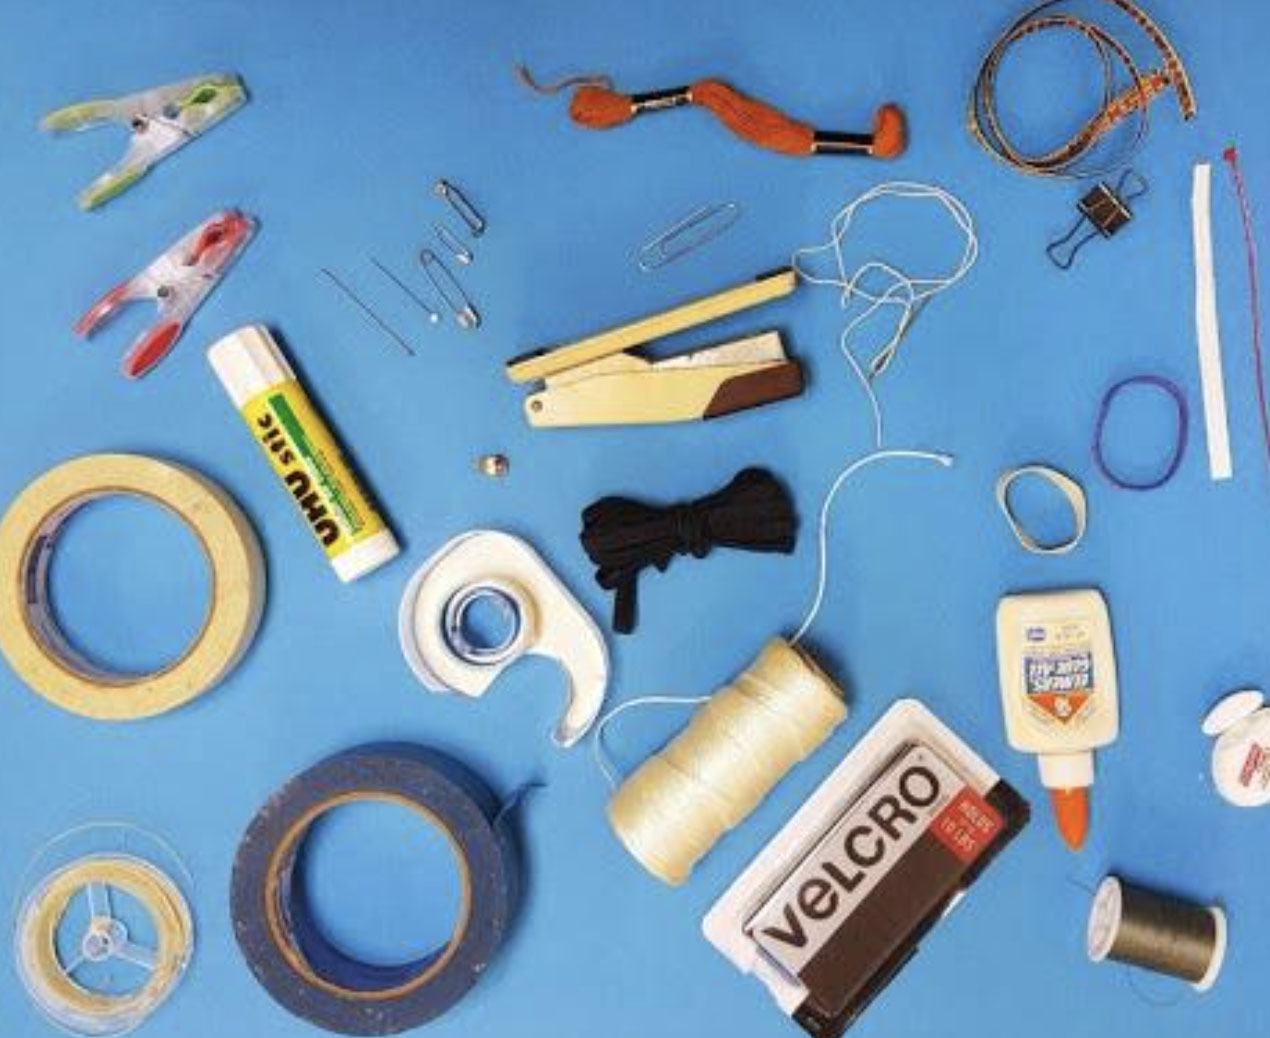
Materials and Tools
- Found household objects
- Attaching Materials video
- Attaching Materials student slides
Objectives
- Students will find and collect a variety of materials and experiment with attaching them together.
- Students will document their work to compare and contrast each experiment.
Students will understand that:
- Selection is a powerful tool of expression that demonstrates preferences and identities
- By arranging, rearranging, and attaching materials, multiple meanings can be explored
Students will be able to:
- Gain sensitivity to materials, beyond their original functions
- Develop an informed, critical eye to their surroundings
- Use a variety of materials to explore attachment techniques
Activities
Note: The following steps are written with sample language you may use with your students as you go through the lesson. Explain to students that the slides and the video they see during the lesson will be shared with them so they can review the lesson on their own and continue to make more art.
Step 1: Introduction (5 minutes), Watch Attaching Materials Video (13 minutes)
In the previous lesson we explored transforming the physical qualities and form of our found materials by using a variety of techniques such as, twisting, cutting, knotting, and weaving.
Today we will be learning how to use these techniques, and more, to explore how to attach, or permanently connect, our materials. Let’s watch the Attaching Materials video to learn how the artist instructor, Nick, connects his found materials with tape and sandwich ties. As you watch the video, notice the way he uses his tools and hands in the attachment process.
- What did you find interesting about the way Nick connected his red plastic cups?
- Which method would you want to use if securing the materials is important to you: taping or attaching though weaving and twisting?
- When do you think taping would be better suited as an attachment technique?
Keep this in mind as you work today.
Before we get started, review Student Slides #2-4 to help you in the process of gathering items that can be used to explore attachment techniques. Different glues, tape, string, thread, ribbons, shoelaces, wires, twist ties, rubber bands, zip ties, pins, staples, paper clips, sticky tack, etc. are all great options.
Step 2: Exploring and Experimenting with Attaching Materials, with Student Slides #5-8 (20-25 minutes)
Here is a list of suggestions we learned from the video.
To create holes/openings that are:
- Large: use a hole puncher
- Small: use a sewing needle
- Tight and can hold a material in place: use scissors and cut an x-shape
Don’t forget to try folding, sewing, weaving, gluing, stapling, etc.
- What more did you learn from the artist instructor?
- What method are you most interested in trying out?
As you work, record which attachment techniques work best with which materials.
Be sure to review Student Slides #5-8 for more inspiration to help guide your process. Don’t forget to document your work by photographing or drawing your attachment explorations.
Step 3: Reflection Questions for Discussion (10 minutes)
Notice which techniques are easy and which are challenging.
- Which ways of attaching worked best with each material?
- Which do you find the most interesting?
- Do any resemble facial features?
Vocabulary
Geometric shape
Straight line
Zigzag line
Curved line
Pattern
Adaptations
For Multilingual Learners
The _________ looks like the shape of a face, eyes, mouth, etc. because it_________.