Overview
Students will reflect on their art making using close-looking, speaking, writing, and/or sketchbook prompts.
Grade Level
6-8
Media
Sculpture
Theme/ Big Idea
Artists can express ideas by using different materials to make lines, shapes, and forms.
Essential Question
How can we use everyday materials to make expressive face assemblages?
Materials and Tools
- Pencil
- Sketchbook or one to two pieces of paper
- Collected and transformed objects from previous lessons
Activities
Note: The following activities are written with sample language you may use with your students. Following the art-making lesson, you may choose as many reflection activities as desired for students to work on in class or independently.
Step 1: Discussion (5-7 minutes)
Today we are going to reflect on our experience with transforming materials in the
last lesson.
- How did you transform your materials? What techniques did you use?
- What was your favorite transformation technique that you used?
- How did it feel to transform your materials?
- Did you invent new ways to transform materials, or to combine multiple techniques? Describe them.
- Which materials were easy to transform? Which were challenging?
Techniques: twisting, folding, cutting, bundling, ripping, knotting, weaving, scratching, curling, crumpling, braiding
Objects: cardboard, plastic, paper
Step 2: Sketchbook Activity (10-15 minutes)
Choose one of your collected or transformed objects and experiment with tracing an outline of it onto paper.
Try layering multiple traced object outlines, repeating the same object, or using different ones. Try making the outlines into a pattern.
When students have finished their drawings, ask them to look closely and answer the following questions:
- How does looking at an object only as a shape change the way you see it?
- What new ideas does this give you for transforming objects into sculptures?
Step 3: Close Looking: Louise Nevelson (10-15 minutes)
Note to Teachers: Before teaching with a work of art, spend some time looking closely at it on your own. Familiarizing yourself with the artwork will prepare you to guide the close-looking activity.
If your students are new to looking at art together, you can introduce the activity to students in the following way:
Today we are going to spend some time looking at and discussing a work of art together. When we look at art, there are no right or wrong answers. I’m going to ask you to look closely, share your ideas about what you see, and listen respectfully to each other’s ideas. Everyone’s ideas are important. We all see things differently, and when we look at art, we can learn to see through each other’s eyes.
Be sure to explain to the students what the sculpture is made of and how large it is, to help them imagine what it would look like in person.
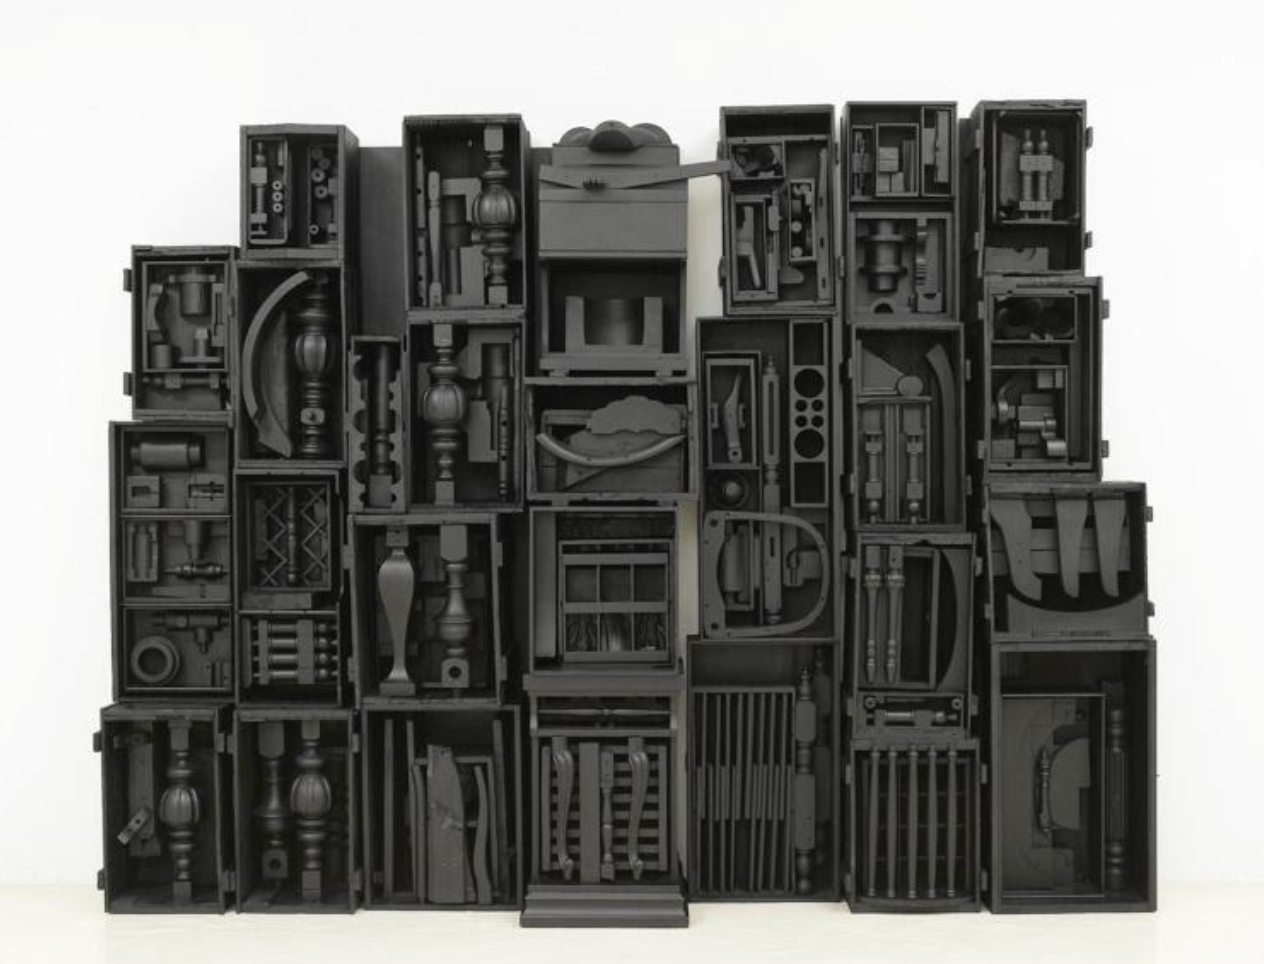
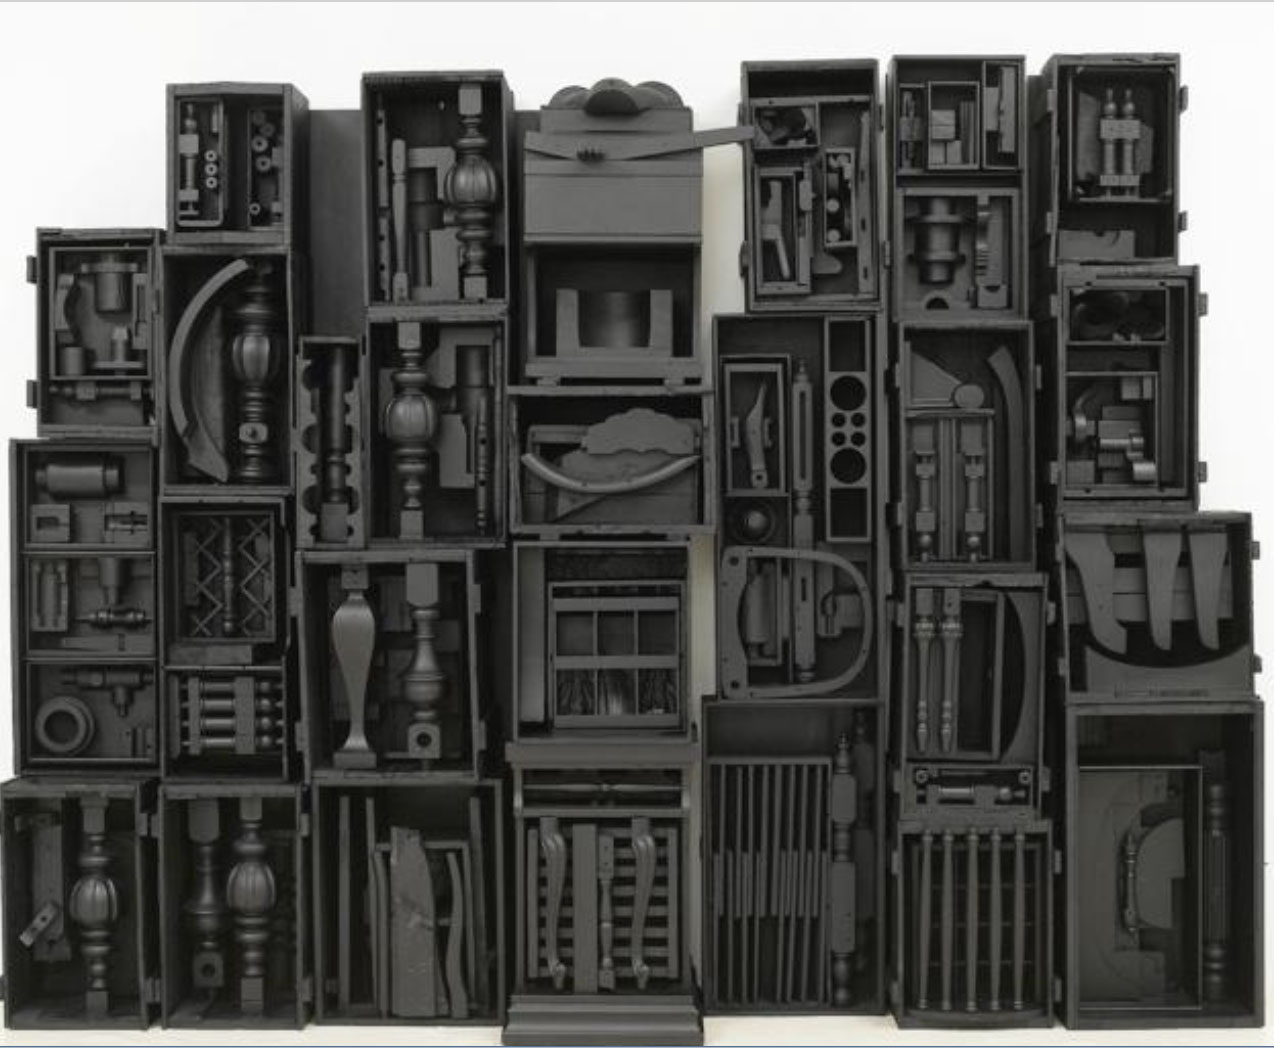
Look closely at Untitled (Sky Cathedral) by Louise Nevelson. Take a moment to look on your own.
Give students a silent minute to look.
- What do you notice about this sculpture?
- How is this sculpture similar to the tracing exercises you did in your sketchbook?
- How did Louise Nevelson transform her found objects?
- Does this sculpture give you any ideas for new sculptures you could make?
Vocabulary
Sculpture
Transform
Transformation techniques: twist, fold, cut, bundle, rip, knot, weave, scratch, curl, crumple, braid
Resources
Louise Nevelson, Untitled (Sky Cathedral). 1964, Wood painted black. Museum of Modern Art, NY.