Overview
Students will reflect on their art making using close-looking, speaking, writing, and/or sketchbook prompts.
Materials and Tools
- Pencil
- Sketchbook or three to four pieces of paper
- Optional: observational drawing from Lesson 3
Activities
Note: The following activities are written with sample language you may use with your students. Following the art-making lesson, you may choose as many reflection activities as desired for students to work on in class or independently.
Step 1: Introduction and Discussion (5 minutes)
In the last lesson, we explored looking closely at physical textures and translating what we see to create visual textures by drawing repeating marks, lines, and/or shapes.
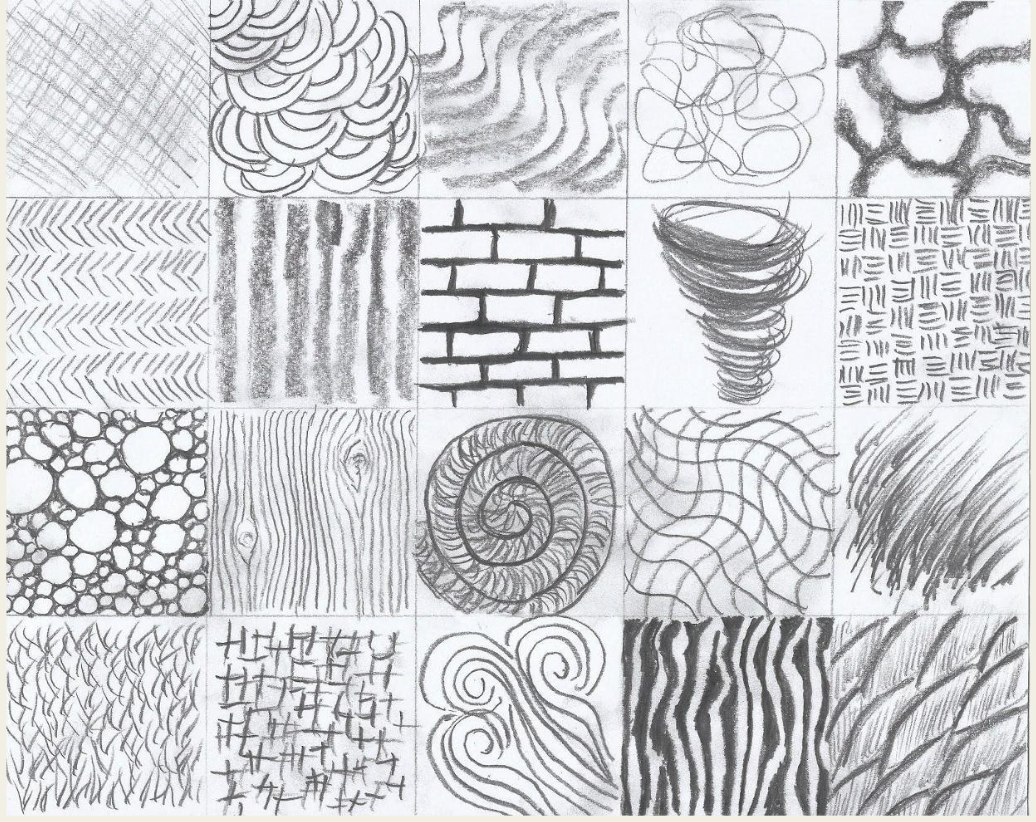
- Why do some lines seem to have a specific texture?
- Why do you think artists include texture in their drawings?
- How does including a variety of textures in a drawing impact what you see?
Step 2: Writing Activity (20 minutes)
Think about a texture that you like. It could be fuzzy, squishy, spikey, or anything that you can think of. Now think about adding that texture to an object that does not normally have texture. Write a response to each of the following questions:
- How would adding an imagined texture change your object?
- Would the new texture change the function of your object?
- Imagine holding the object. Is it gross? Funny? Pretty?
Adaptations
Explore methods to adapt this lesson for Multilingual Learners and Students with Disabilities.
Step 3: Sketchbook Activity (15 minutes)
Go back to the previous observational drawing you made from Lesson 3 (or draw a new object). Add a texture that will transform your object. This could be a texture you worked with in the last session or one that you imagine. Reflect on what you’ve learned about using repeated marks, lines, and/or shapes to create visual textures.
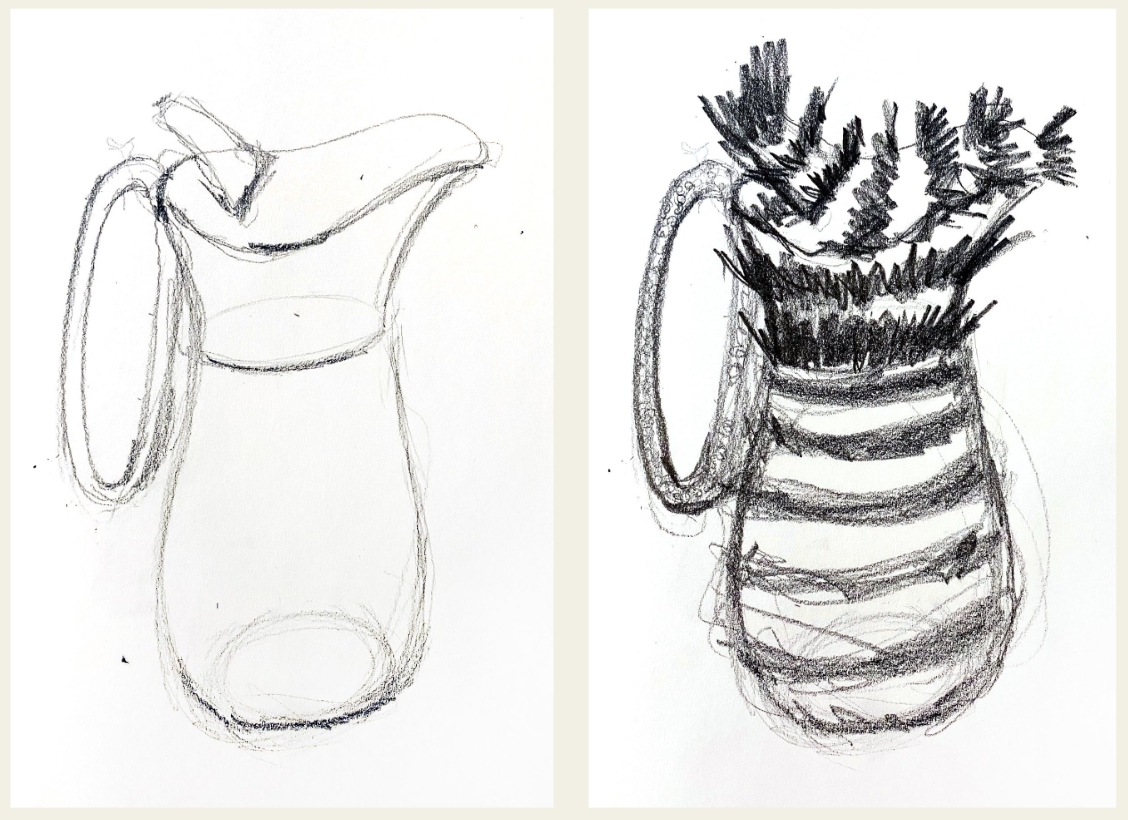
After giving students time to create their drawings, invite them to share.
- How did adding this texture change your object?
Step 4: Close Looking: Meret Oppenheim (10 minutes)
Note to Teachers: Before teaching with a work of art, spend some time looking closely at it on your own. Familiarizing yourself with the artwork will prepare you to guide the close-looking activity.
Deeper With Meret Oppenheim
In this audio clip, Curator, Anne Umland shares her insights and humor about the artist.
If your students are new to looking at art together, you can introduce the activity to students in the following way:
Today we are going to spend some time looking at and discussing a work of art together. When we look at art, there are no right or wrong answers. I’m going to ask you to look closely, share your ideas about what you see, and listen respectfully to each other’s ideas. Everyone’s ideas are important. We all see things differently, and when we look at art, we can learn to see through each other’s eyes.
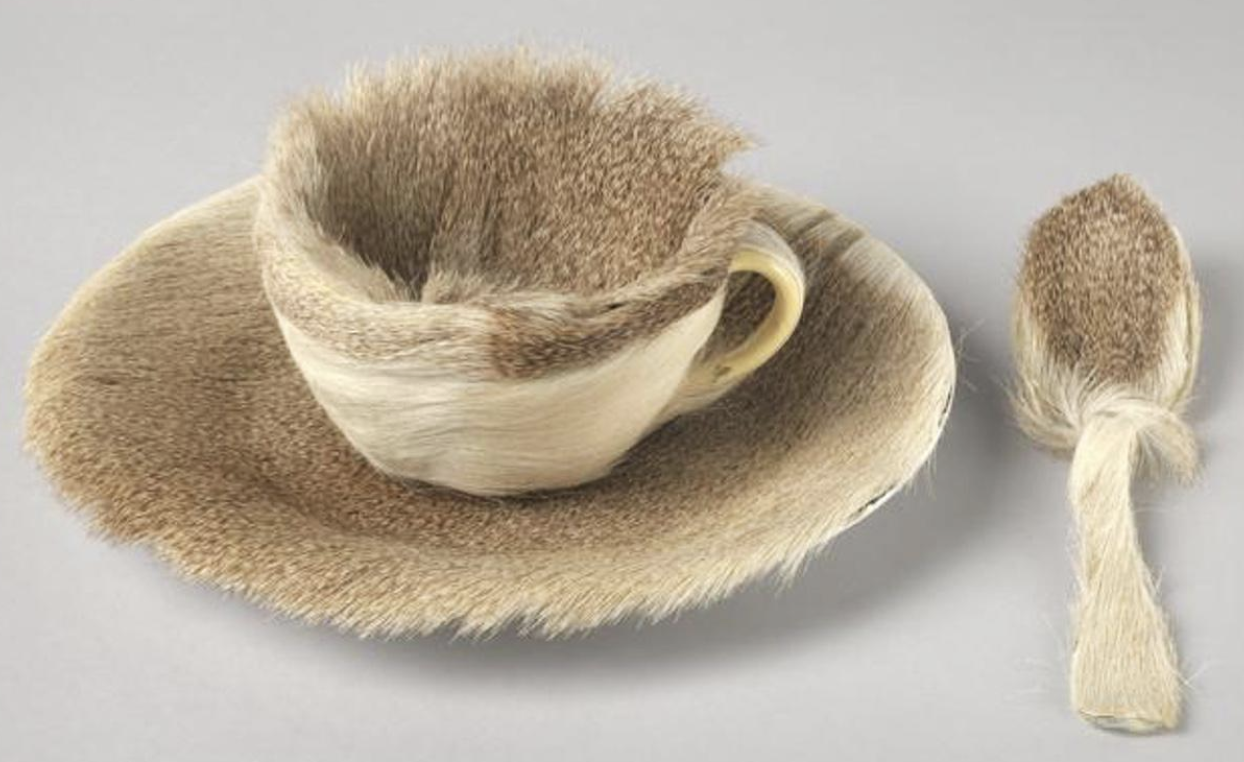
Let’s take a moment to look at this surrealist sculpture by the French artist Meret Oppenheim.
- What surprises you about this sculpture?
- Why do you think the artist chose to add texture to this object?
Want More Lessons to Your Inbox?
Resources
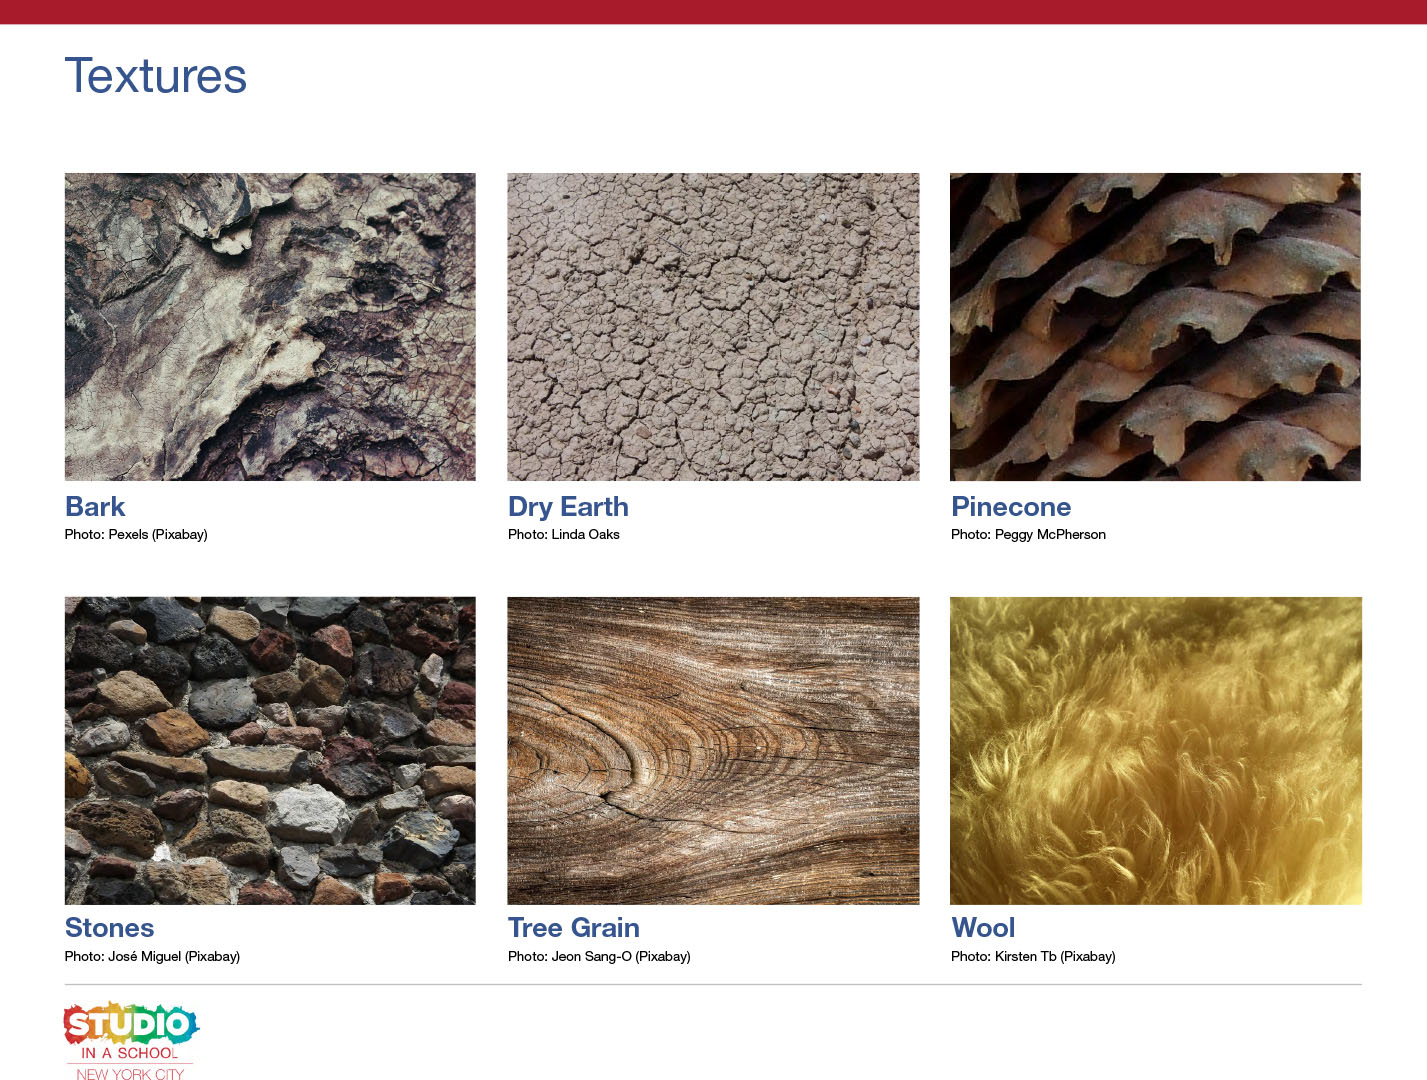

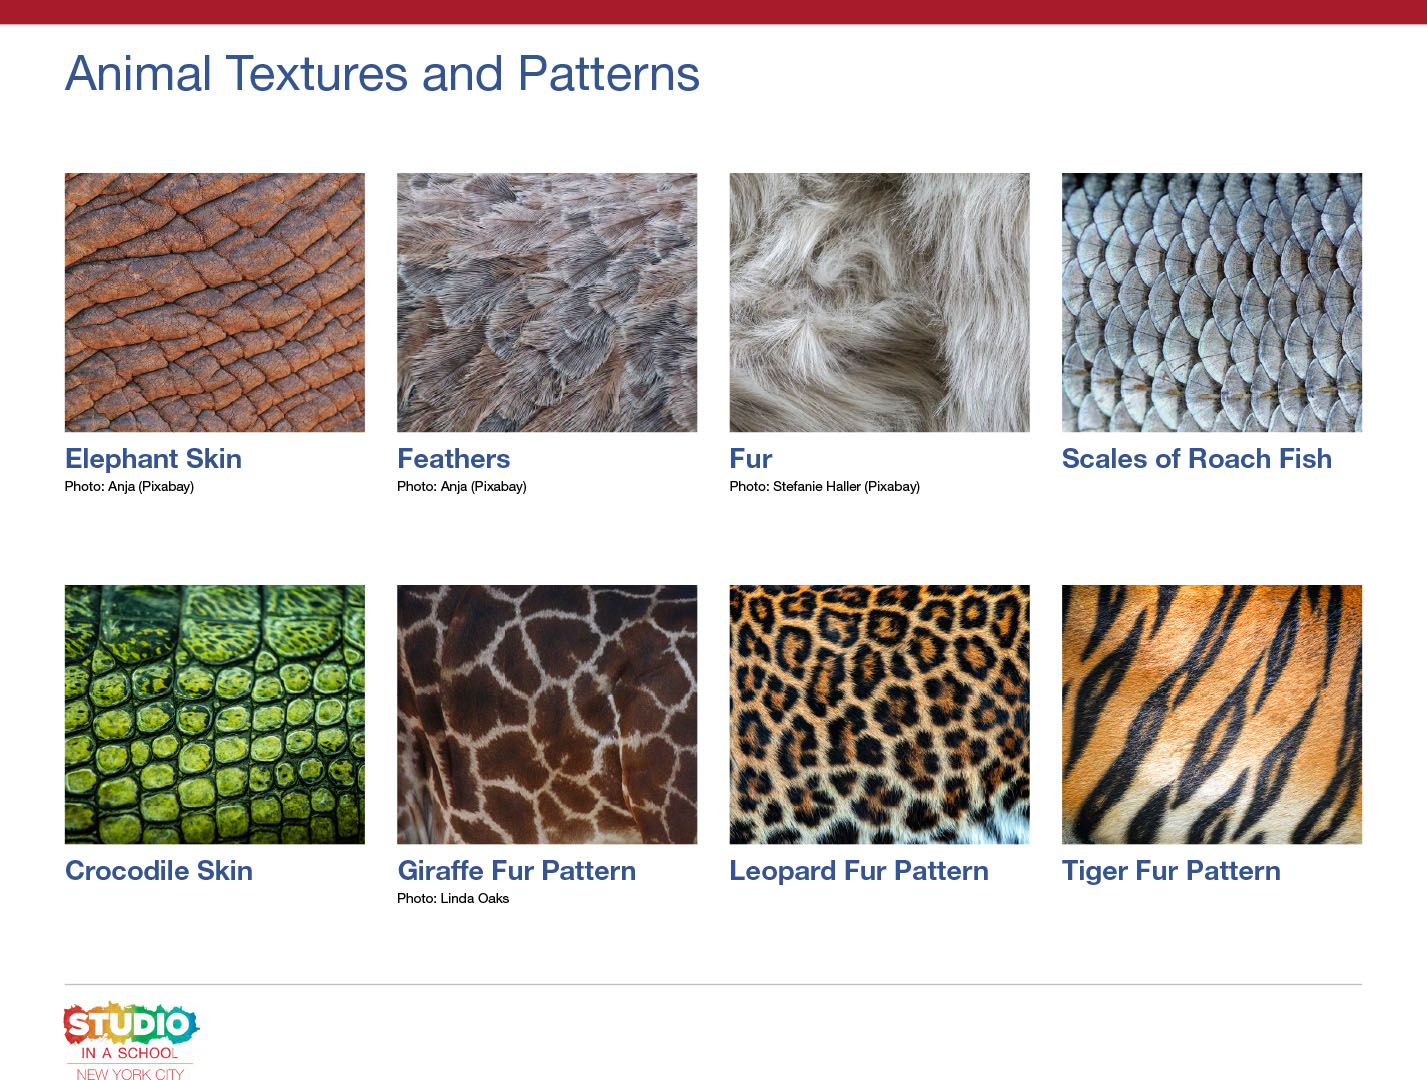
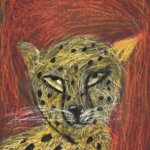
Examples of Animal Textures and Patterns
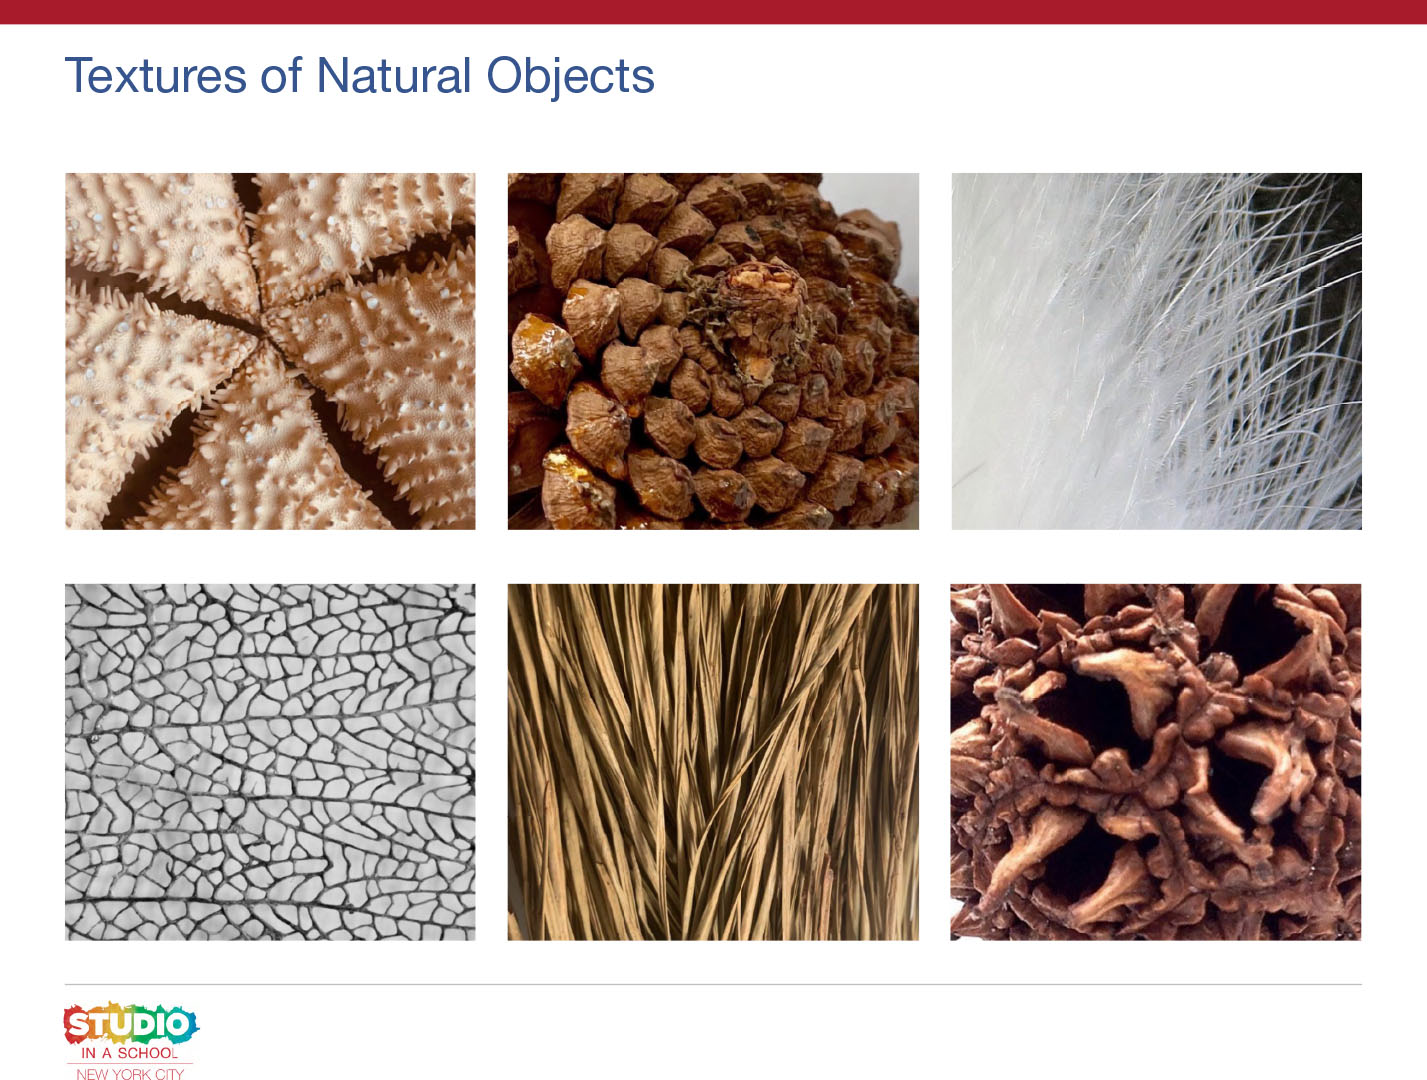
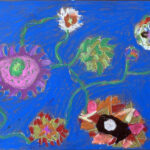
Examples of Textures of Natural Objects
Meret Oppenheim. Object. 1936, Museum of Modern Art, New York: https://www.moma.org/collection/works/80997