Overview
Students will prepare for upcoming art-making lessons using close-looking, speaking, writing, and/or sketchbook prompts.
Materials and Tools
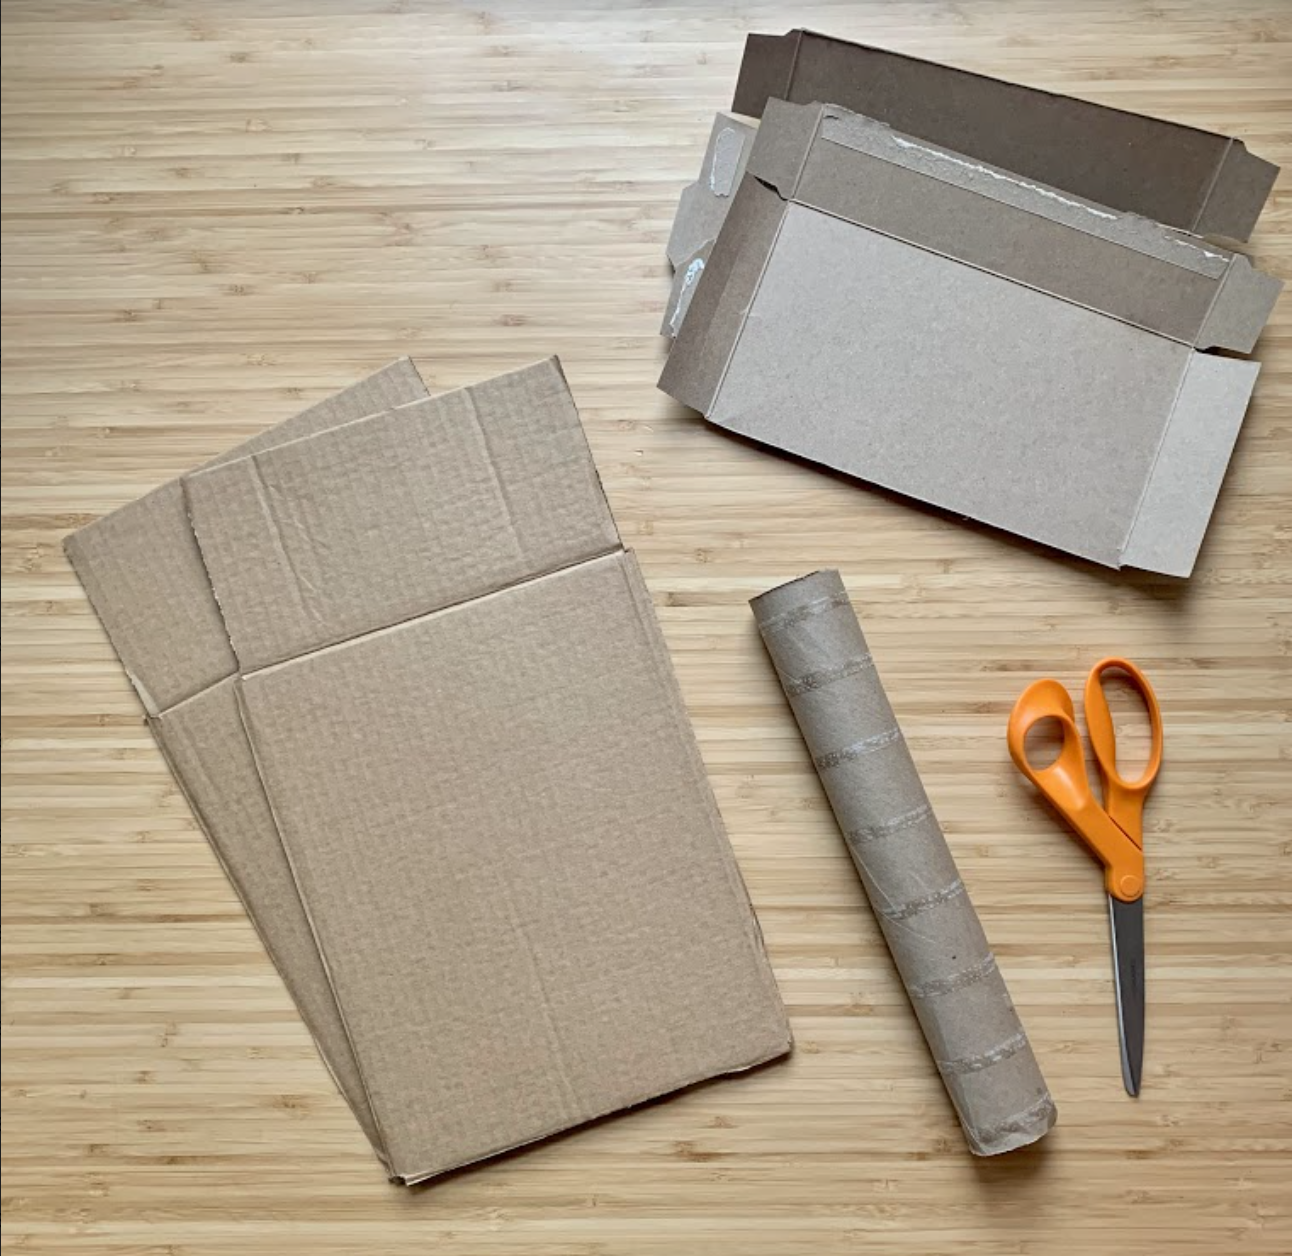
- One piece of corrugated cardboard (from a shipping box)
- One piece of thin cardboard (from a paper towel roll or cereal box)
- Pencil
- Sketchbook or two pieces of paper
- Shapes from the previous lesson
Activities
Note: The following activities are written with sample language you may use with your students. Following the art-making lesson, you may choose as many reflection activities as desired for students to work on in class or independently.
Step 1: Close Looking: Louise Nevelson (10-15 minutes)
Hello, artists! Today we are going to continue to explore our materials and identify what makes them unique. To begin, let’s look at an artwork by Louise Nevelson.
Note to Teachers: Before teaching with a work of art, spend some time looking closely at it on your own. Familiarizing yourself with the artwork will prepare you to guide the close-looking activity.
If your students are new to looking at art together, you can introduce the activity to students in the following way:
Today we are going to spend some time looking at and discussing a work of art together. When we look at art, there are no right or wrong answers. I’m going to ask you to look closely, share your ideas about what you see, and listen respectfully to each other’s ideas. Everyone’s ideas are important. We all see things differently, and when we look at art, we can learn to see through each other’s eyes.
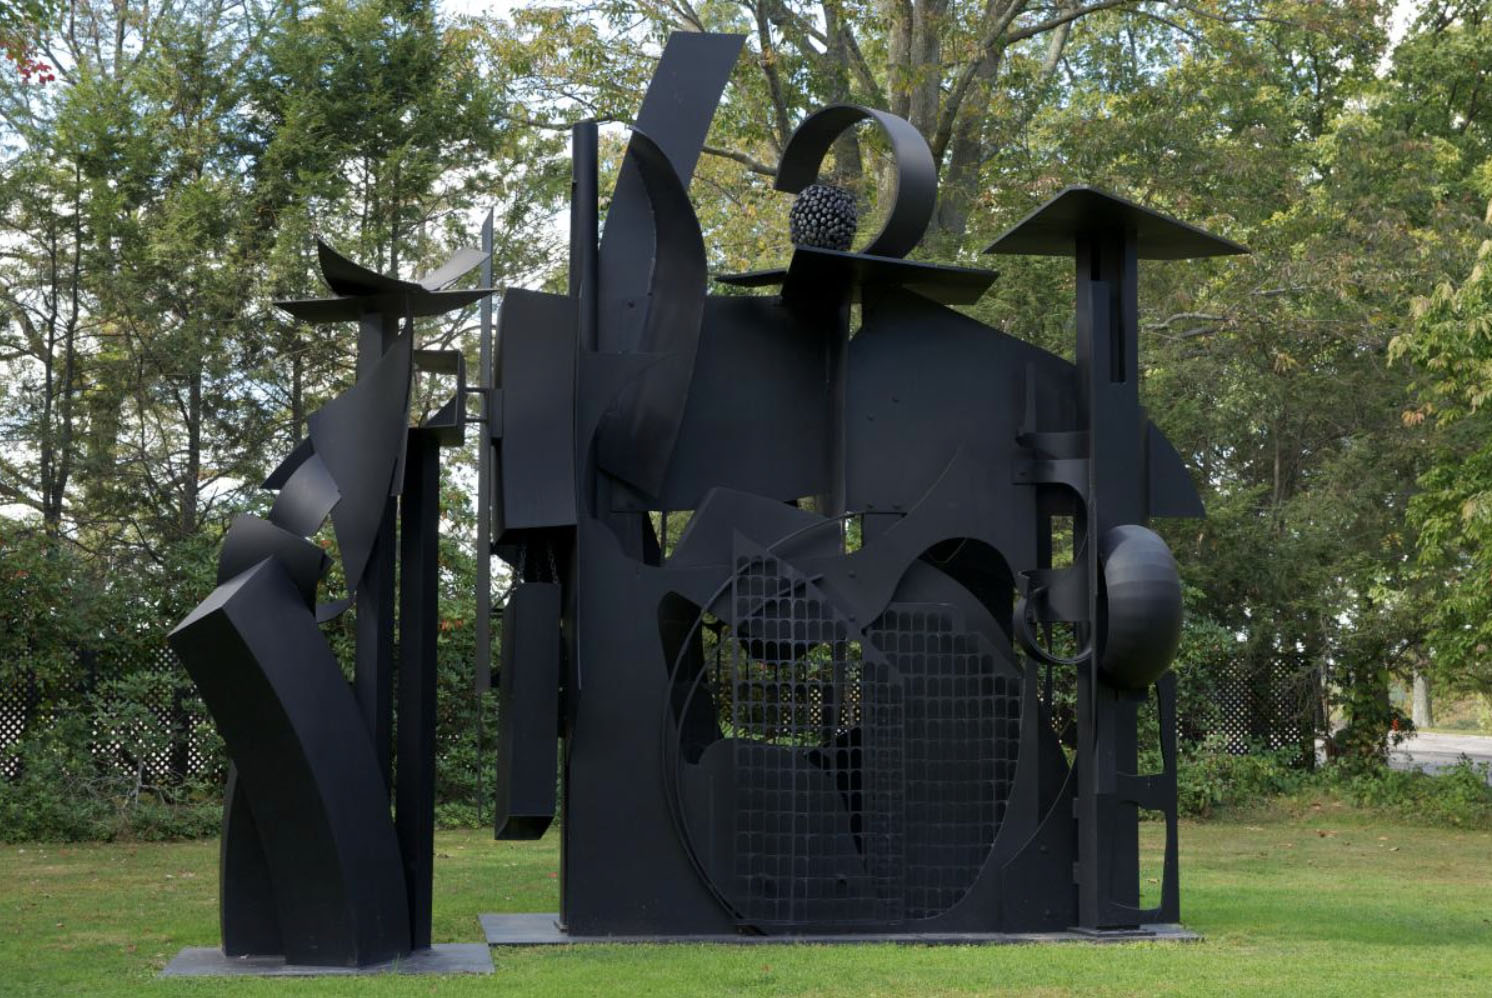
Look closely at this sculpture by Louise Nevelson.
- What lines and shapes do you notice?
- How did this artist arrange the forms?
- Where do you see forms that stand, stack, lean, and balance?
Step 2: Writing Activity (20 minutes)
Now we are going to brainstorm ideas about paper versus cardboard. Take out your paper, thin cardboard, and corrugated cardboard. Pick up each material and notice how it looks and feels.
- How are these materials the same?
- How are they different?
In your sketchbook or on a piece of paper, make three columns. Label one column “Paper,” one column “Thin Cardboard,” and one column “Corrugated Cardboard.” In each column, write three to five words that describe that material.
Based on your students’ writing skills, choose from the options below:
Option 1: Write a sentence to answer each question using the sentence starters below.
Paper, thin cardboard, and corrugated cardboard are similar because _________.
Paper, thin cardboard, and corrugated cardboard are different because________.
Option 2: Use the sentence frames below to write three sentences about your materials.
Words that describe paper are __________, __________, and __________.
Words that describe thin cardboard are _________, ___________, and _________.
Words that describe corrugated cardboard are __________, _________, and __________.
Step 3: Sketchbook Activity (10-15 minutes)
Now, we’re going to look closely at our cardboard shapes from the last class.
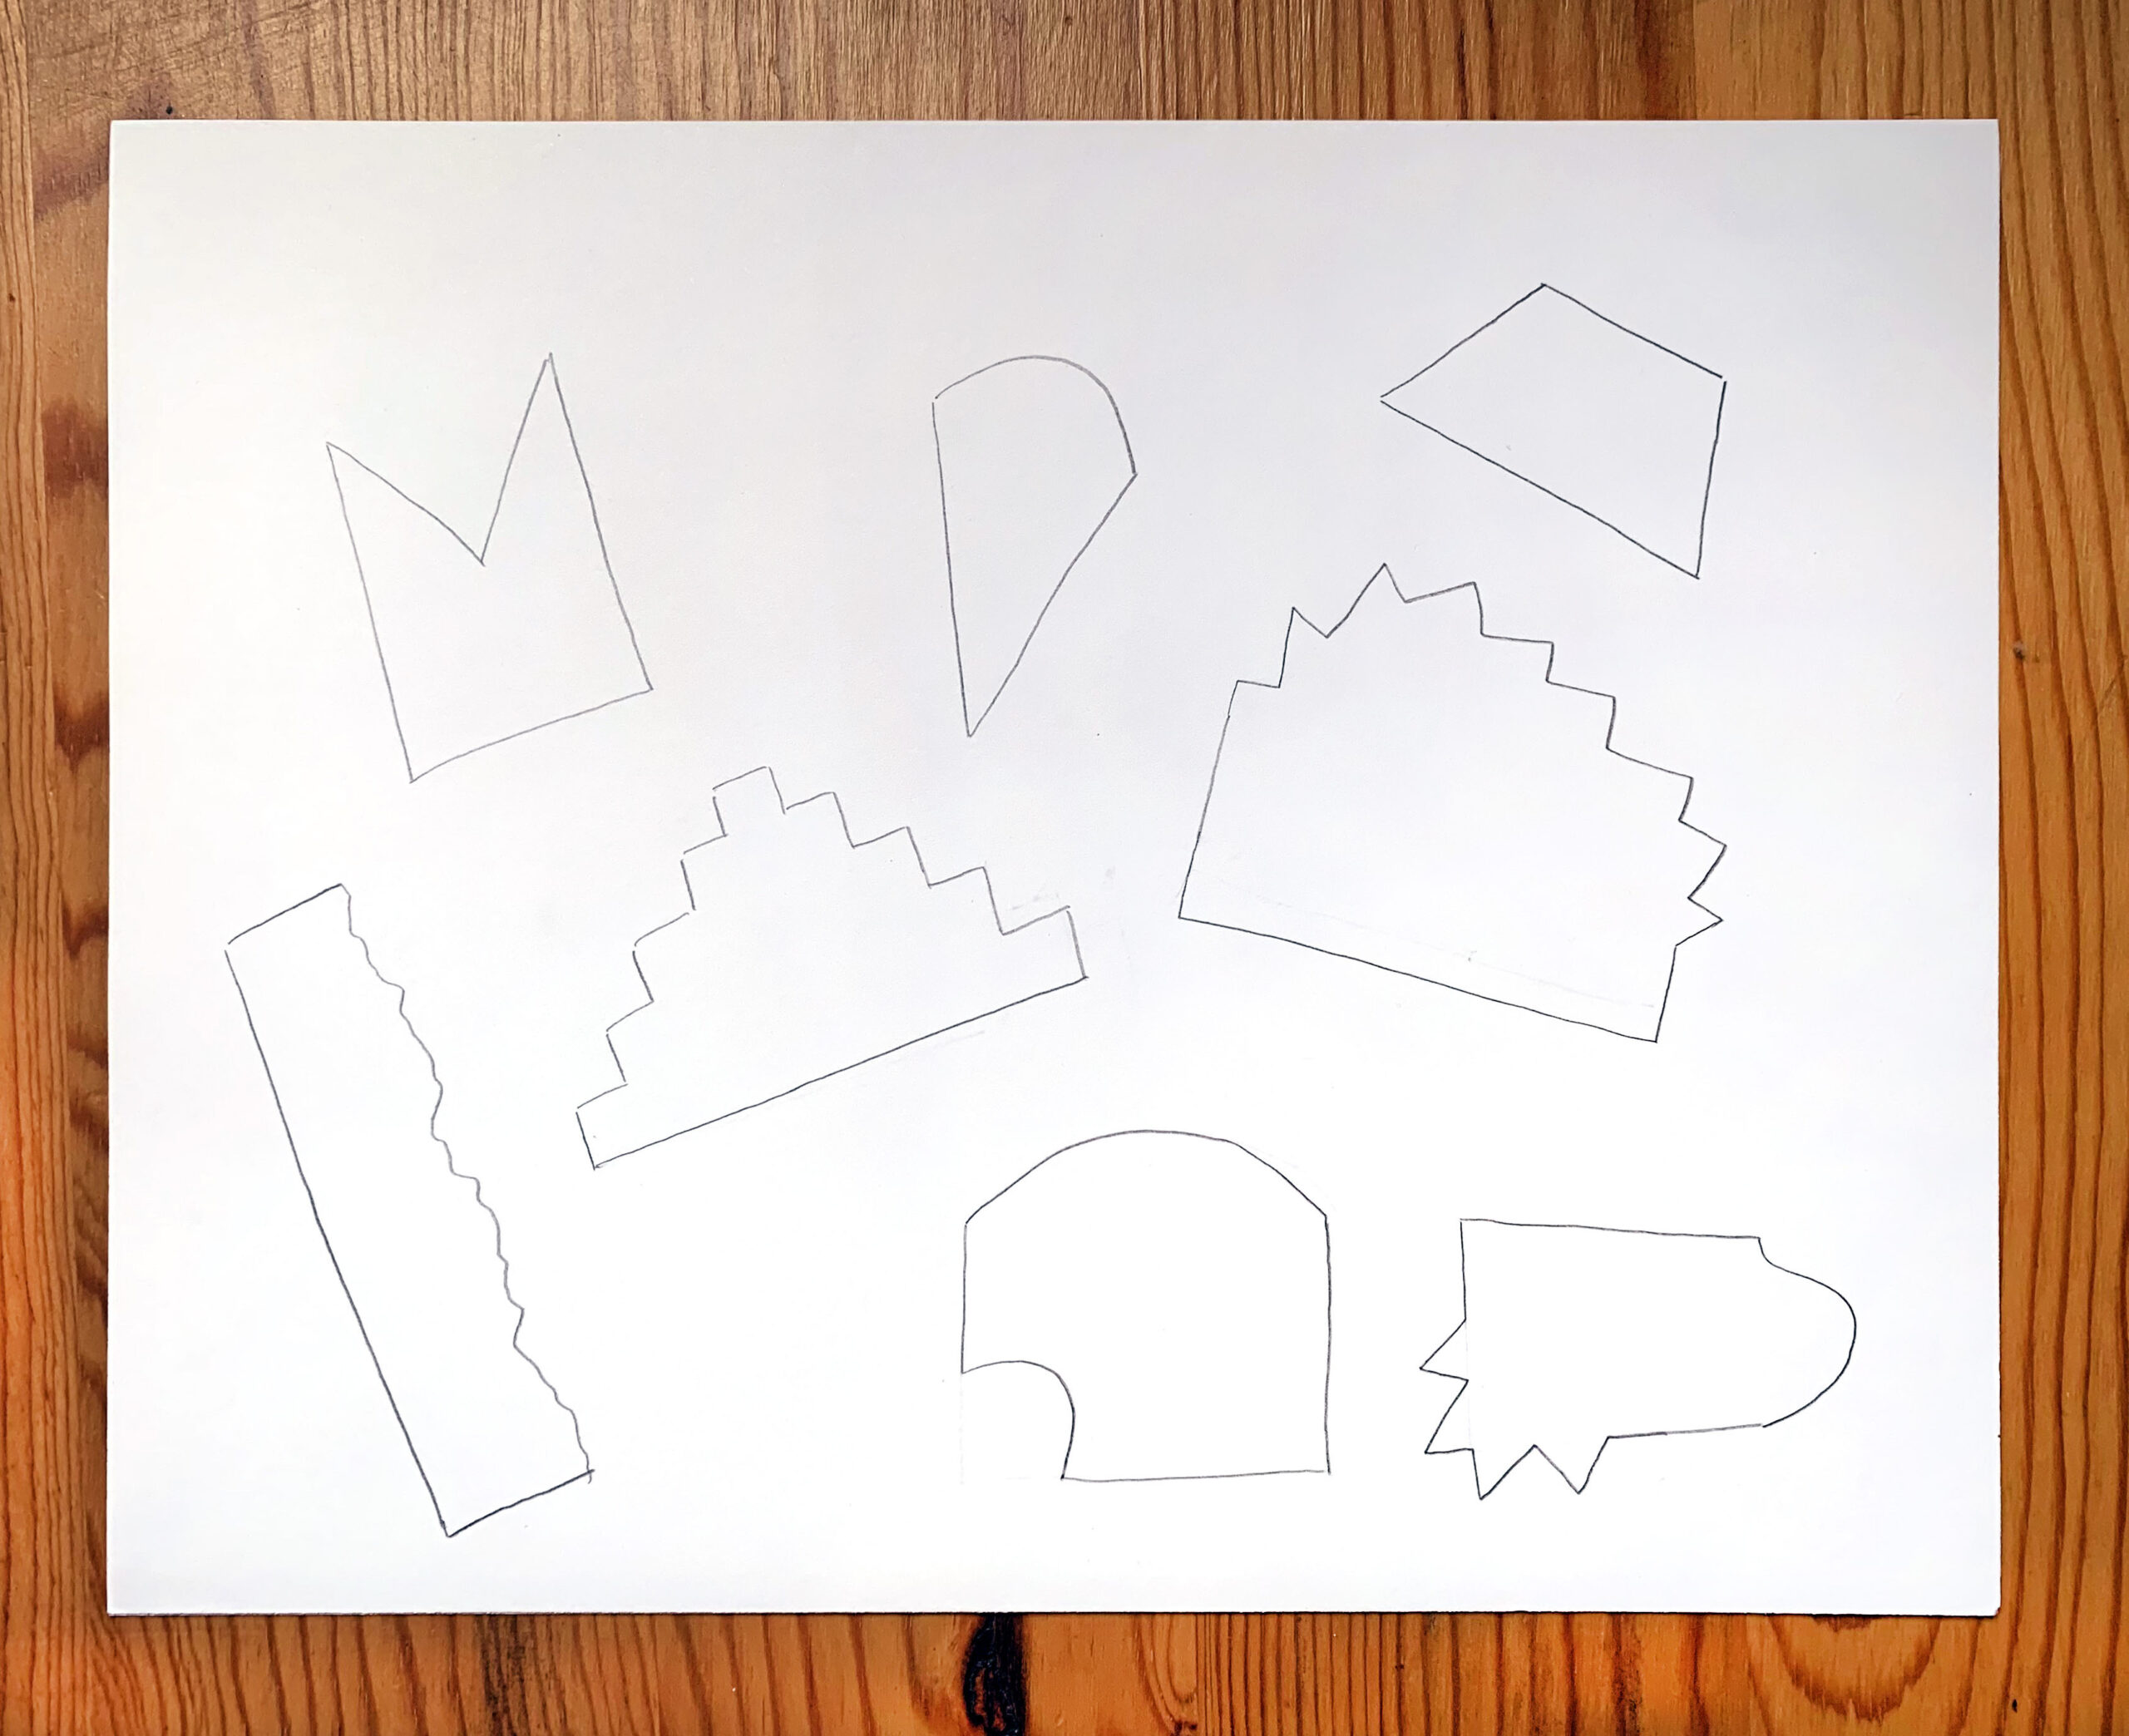
- How did you change them?
- What new shapes did you invent?
Take some time to observe these new shapes and draw them.
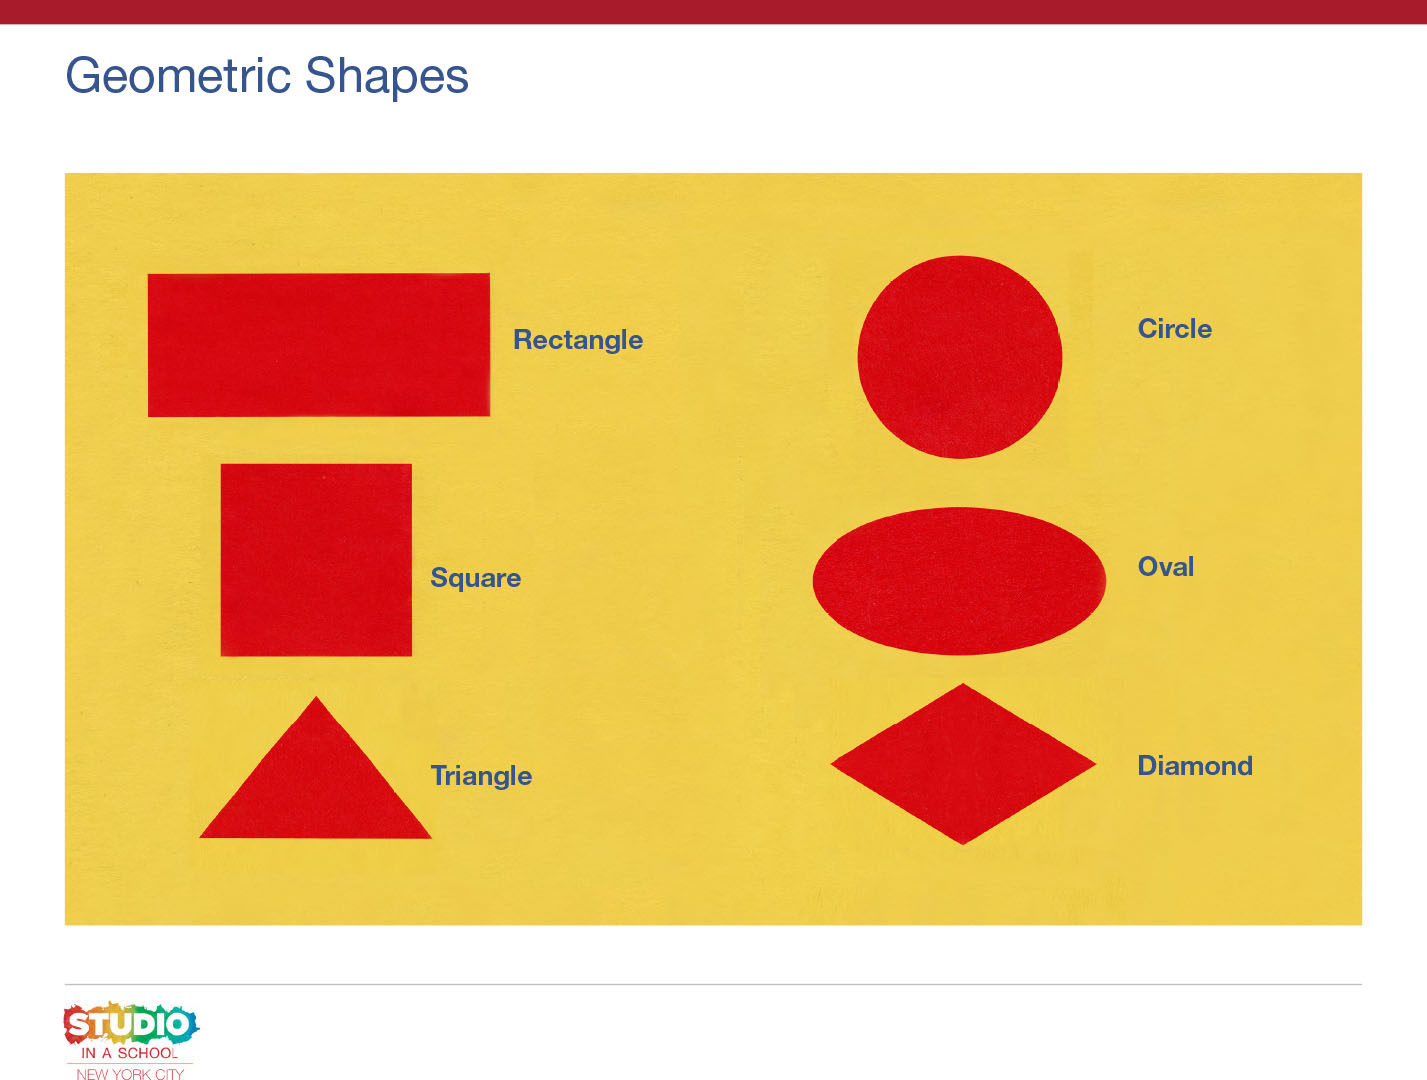
Model looking at your shapes and noticing what kind of traditional shape each looks like, what kind of edge you see, etc.
After students finish their drawings, ask:
- What did you notice about your shapes as you drew them?
Resources
Louise Nevelson. City on the High Mountain. 1983, painted steel, 20 ft. 6 in. x 23 ft. x 13 ft. 6 in. Storm King Art Center, New York.
More work by Louise Nevelson: http://www.artnet.com/artists/louise-nevelson/
