Overview
Students will explore transforming their materials by changing their form and/or texture.
Grade Level
6-8
Media
Sculpture
Theme/ Big Idea
Artists can express ideas by using different materials to make lines, shapes, and
forms.
Essential Question
How can we use everyday materials to make expressive face assemblages?
Materials and Tools
- Found household objects
- A piece of paper or cardboard
- Scissors
- Transforming Materials video
- Transforming Materials student slides
Objectives
- Students will explore transforming the form and/or texture of their found materials with their hands and a pair of scissors
- Students will explore changing their materials through folding, ripping, rolling, cutting, twisting, snapping, and scratching
- Students will invent their own methods to transform found materials
Students will understand that:
- By arranging, rearranging, and transforming materials, multiple meanings can be explored
- Artists evoke emotion through their use of materials
- Selection is a powerful tool of expression that demonstrates your preferences and unique identity
Students will be able to:
- Gain sensitivity to materials, beyond their original functions
- Understand that the meaning of an object will change according to the context
- Develop an informed, critical eye to their surroundings
Activities
Note: The following steps are written with sample language you may use with your students as you go through the lesson. Explain to students that the slides and the video they see during the lesson will be shared with them so they can review the lesson on their own and continue to make more art.
Step 1: Introduction, Watch Transforming Materials Video (14 minutes), Close Looking, with Student Slides # 1-4 (10 minutes)
In the previous lesson, we explored assembling different facial expressions with found materials. We learned that choice of materials and arrangement can create meaning in a work of art.
Today we will be considering how transforming, or changing, the physical characteristics of our materials, can also create meaning in a work of art.
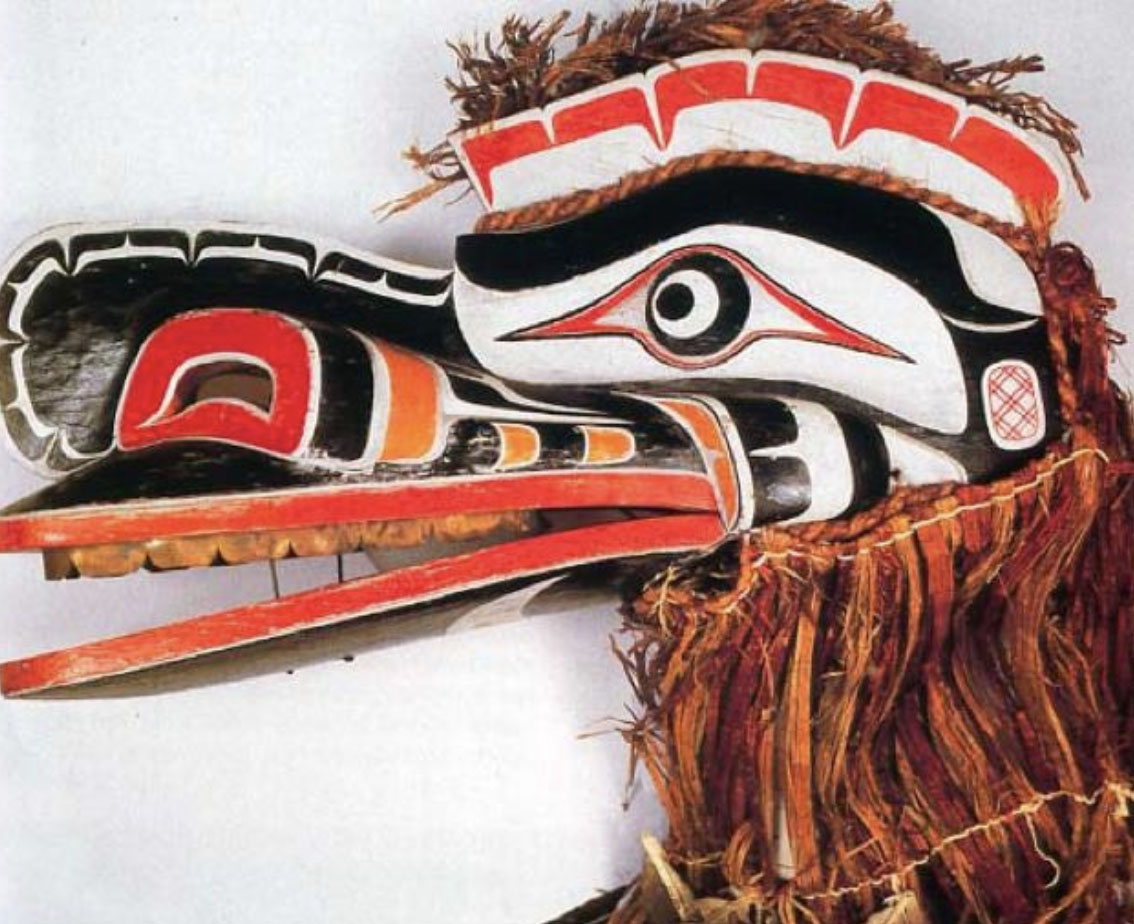
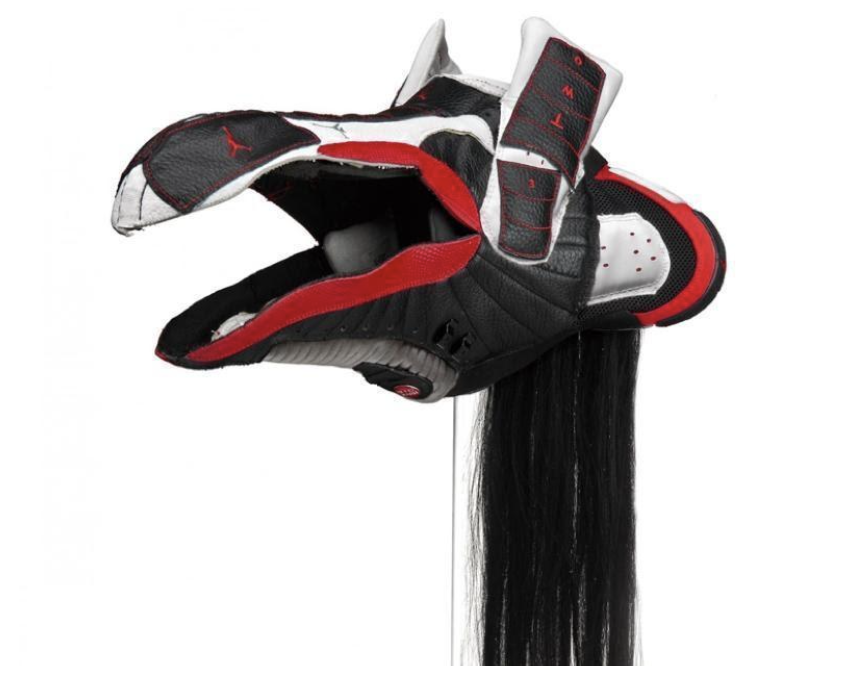
To begin thinking about this idea of transformation, look at Student Slide #2. Closely observe Brian Jungen’s work.
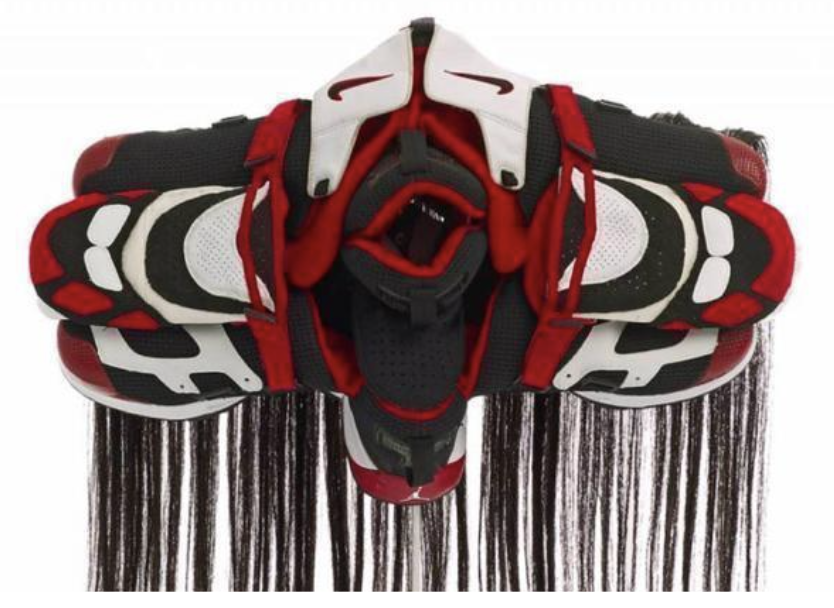
- How do you think Jungen created his artwork?
- Do you find the transformation and arrangement of the sneakers interesting? What do you see that makes you say that?
Review Slide #3 to learn about the artist. Then take a moment to consider the question on the right side of the slide.
Using your observations and knowledge of the artist, consider the questions on
Slide #4.
Jungen titled his work, Prototype for a New Understanding #11.
- What new understanding do you think Jungen wants us to consider?
Step 2: Transforming Materials, with Student Slides #6-9 (25-30 minutes)
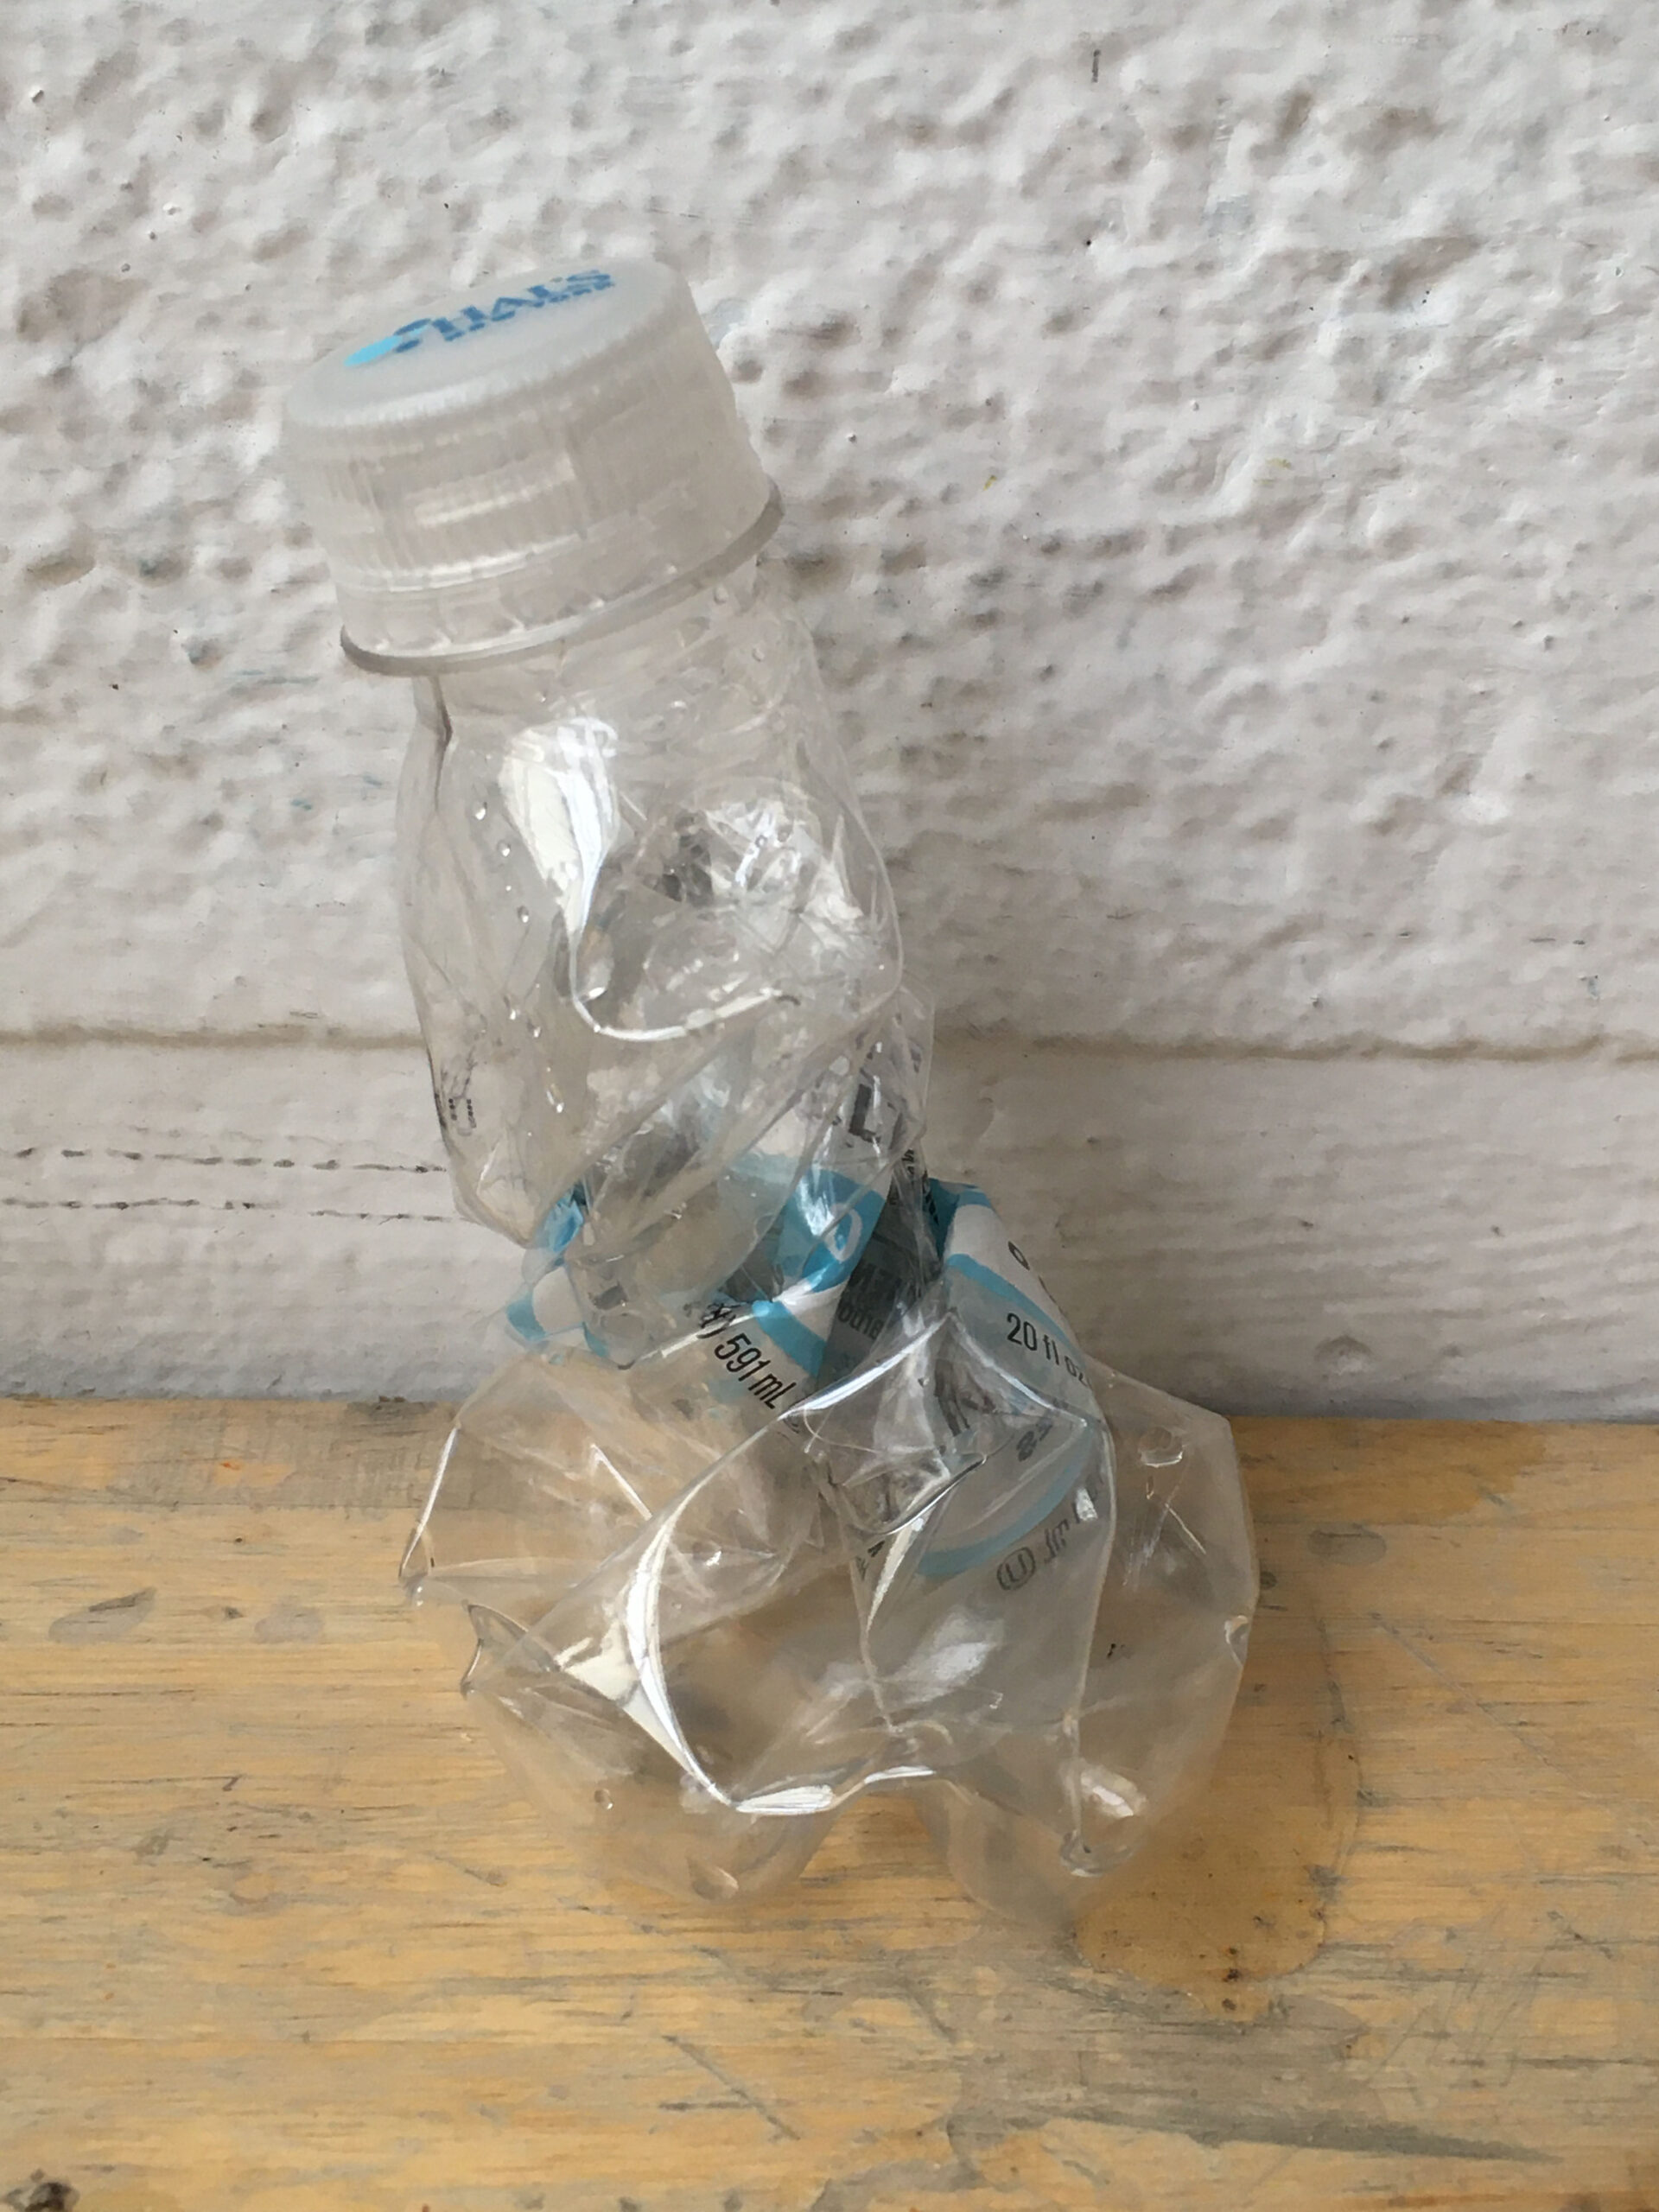
Like Jungen, we will be exploring how to change the physical characteristics of our materials using our hands and a pair of scissors. Review Slide #5 to help you prepare your materials.
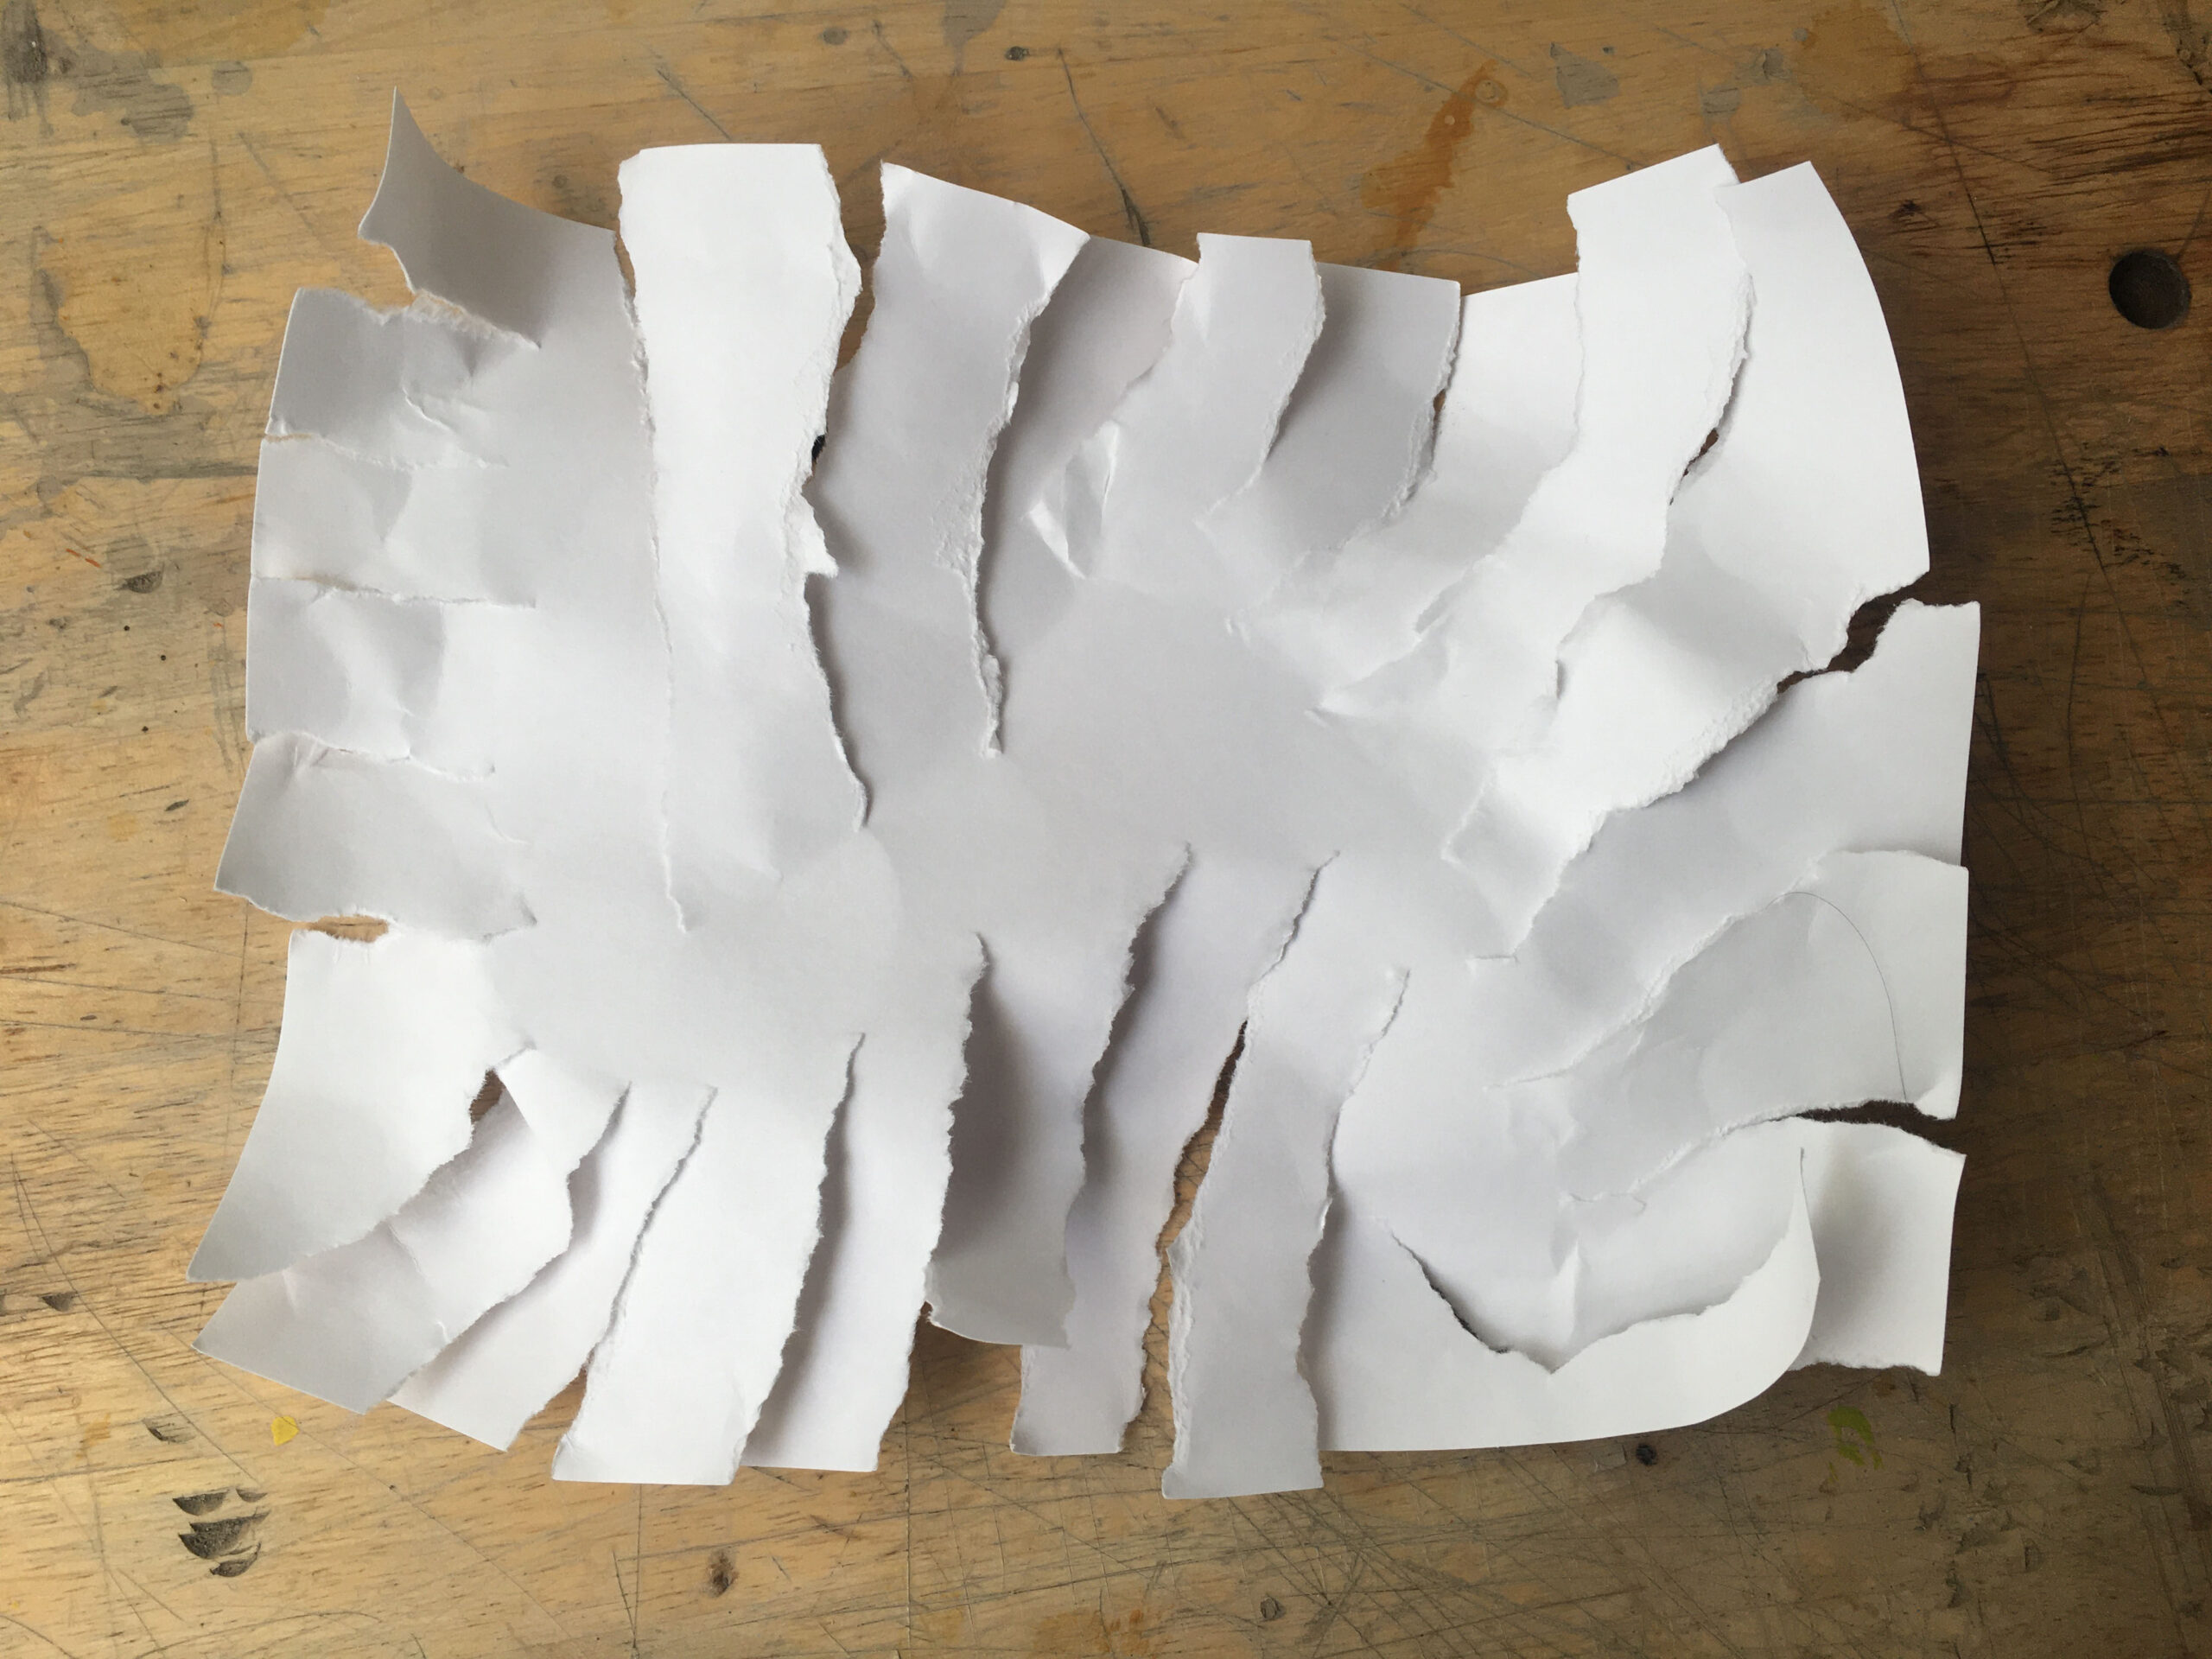
Using Slides #6-8 for inspiration, begin transforming your materials. As you work, take note of which techniques are best for creating texture and which are better for changing the overall form of your materials.
- Are there techniques that can be used to change both the form and texture of your materials?
Additionally, you may consider the relationship between the material and the technique.
- Are there techniques that work better with some materials and not so well with others?
Techniques to explore to transform your materials: twisting, folding, cutting, bundling, ripping, knotting, weaving, scratching, curling, crumpling, braiding
Step 3: Taking it a Step Further (10 minutes)
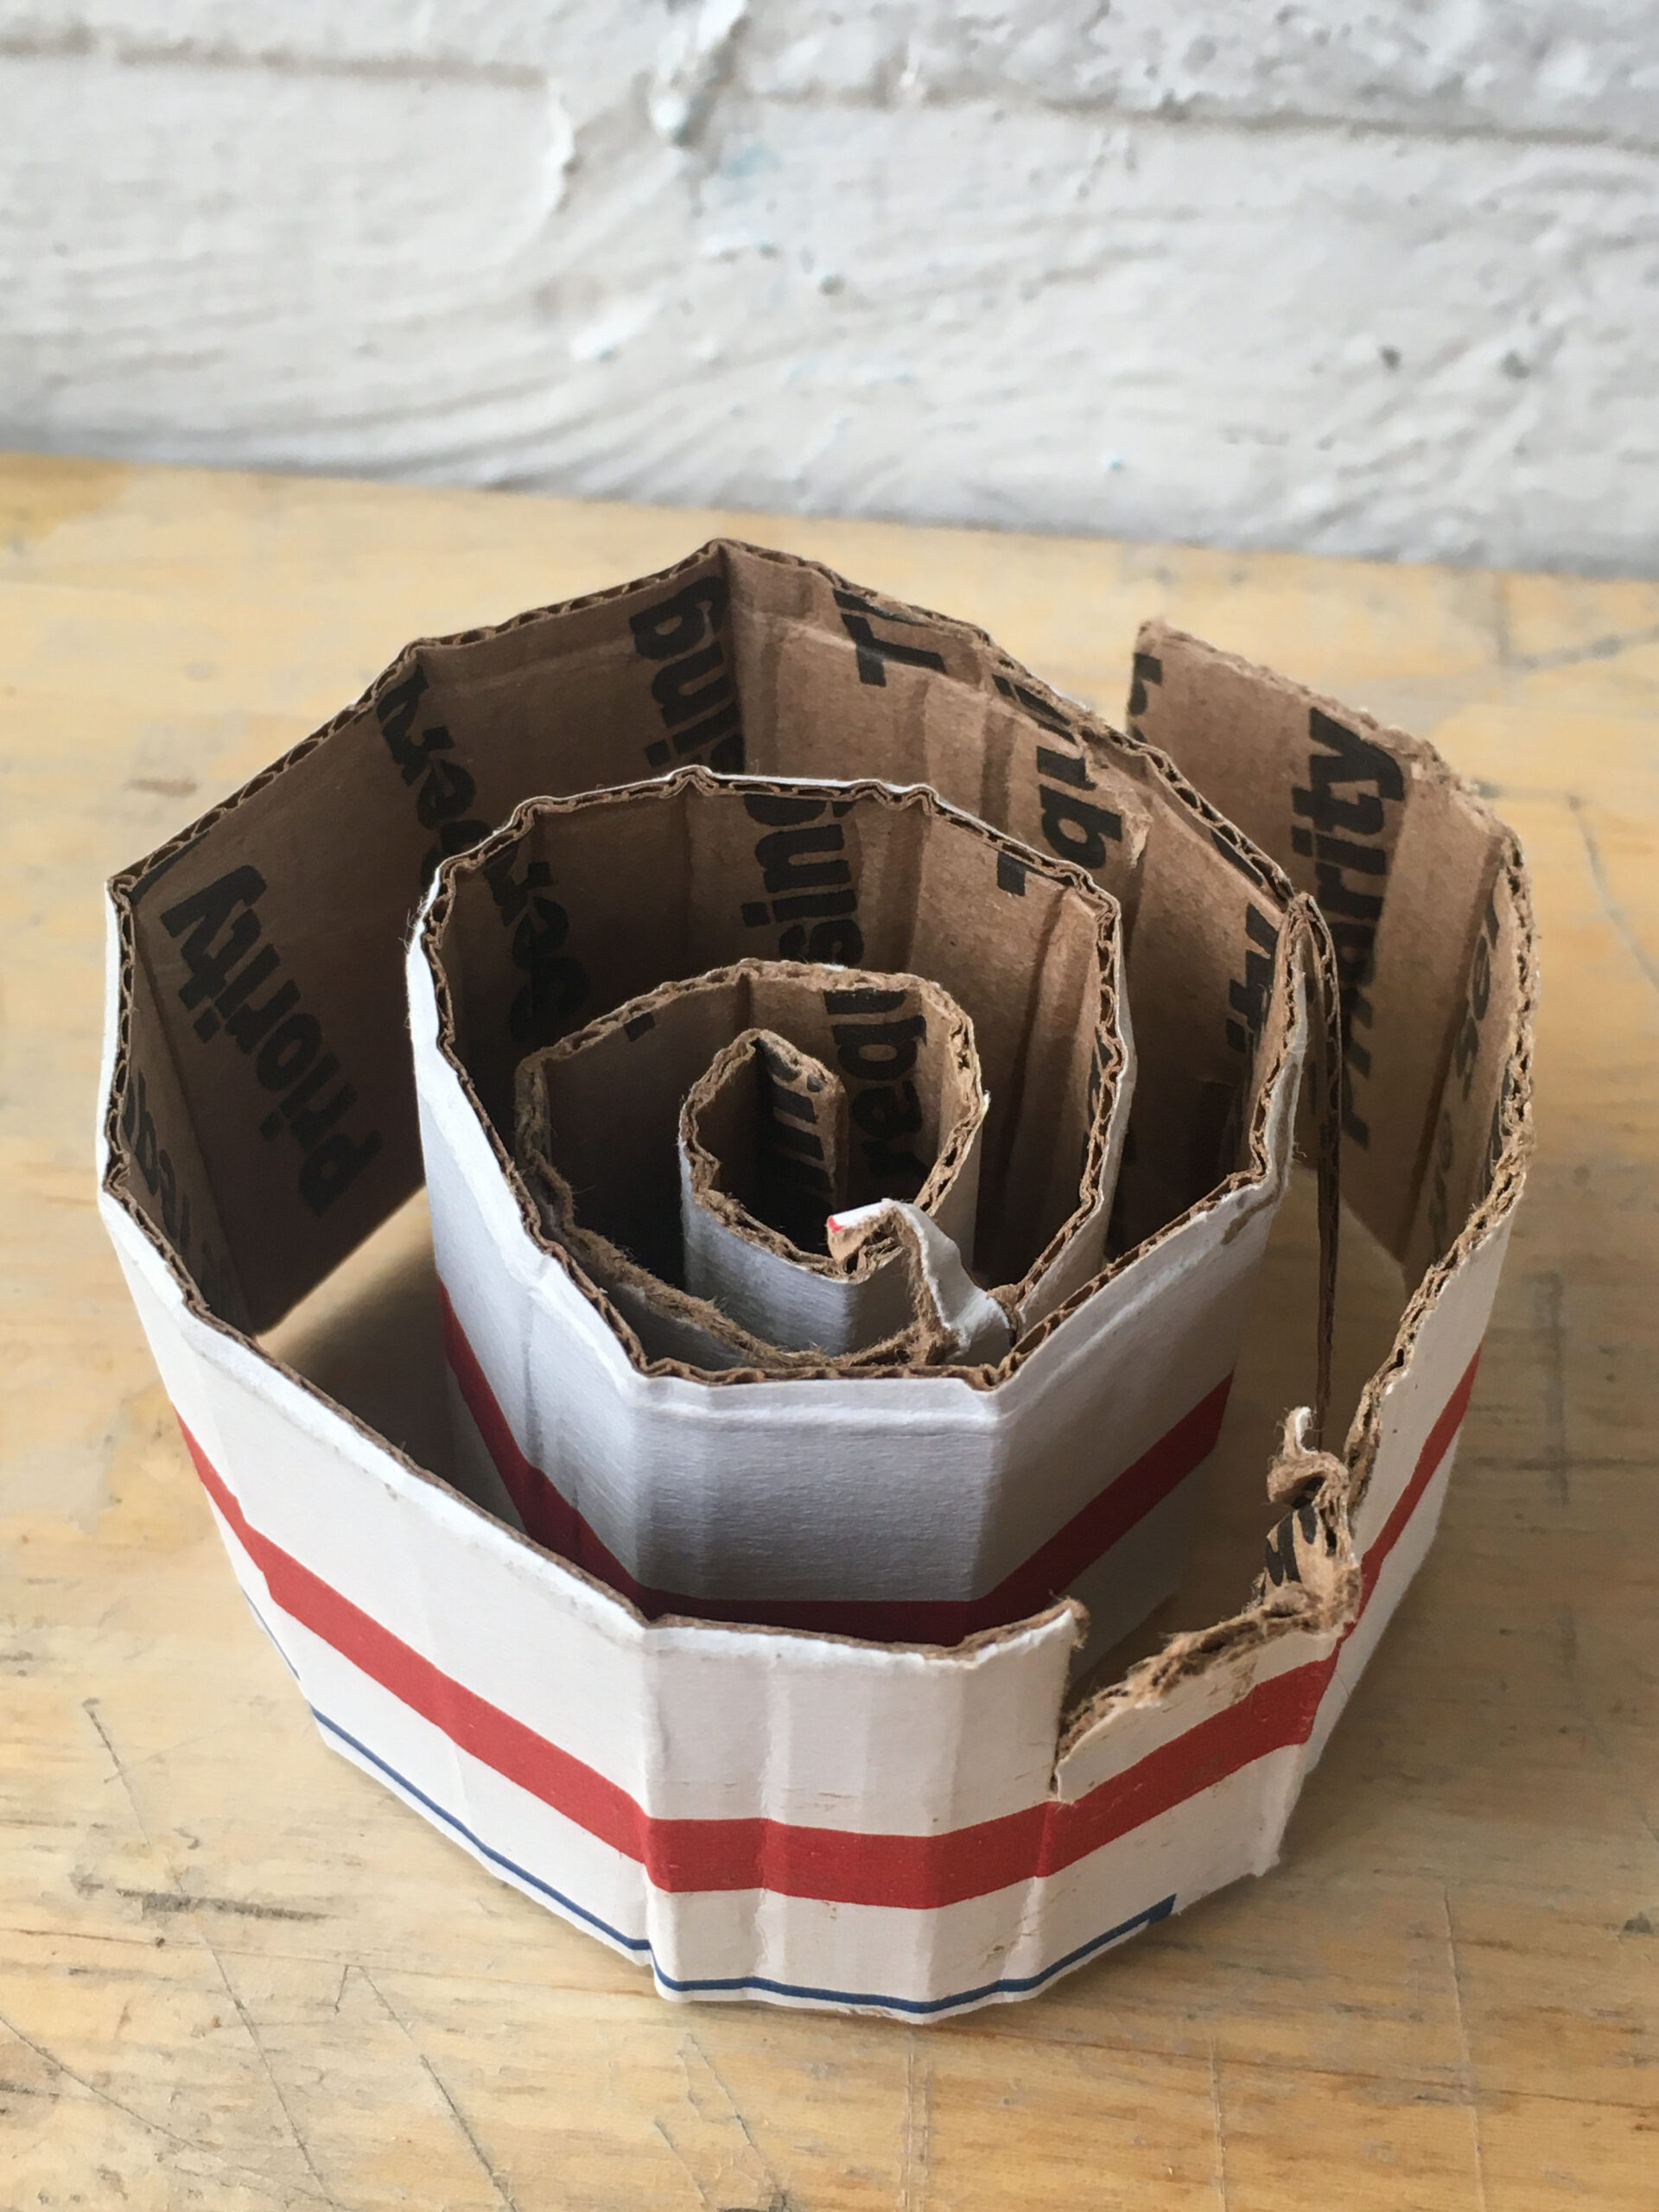
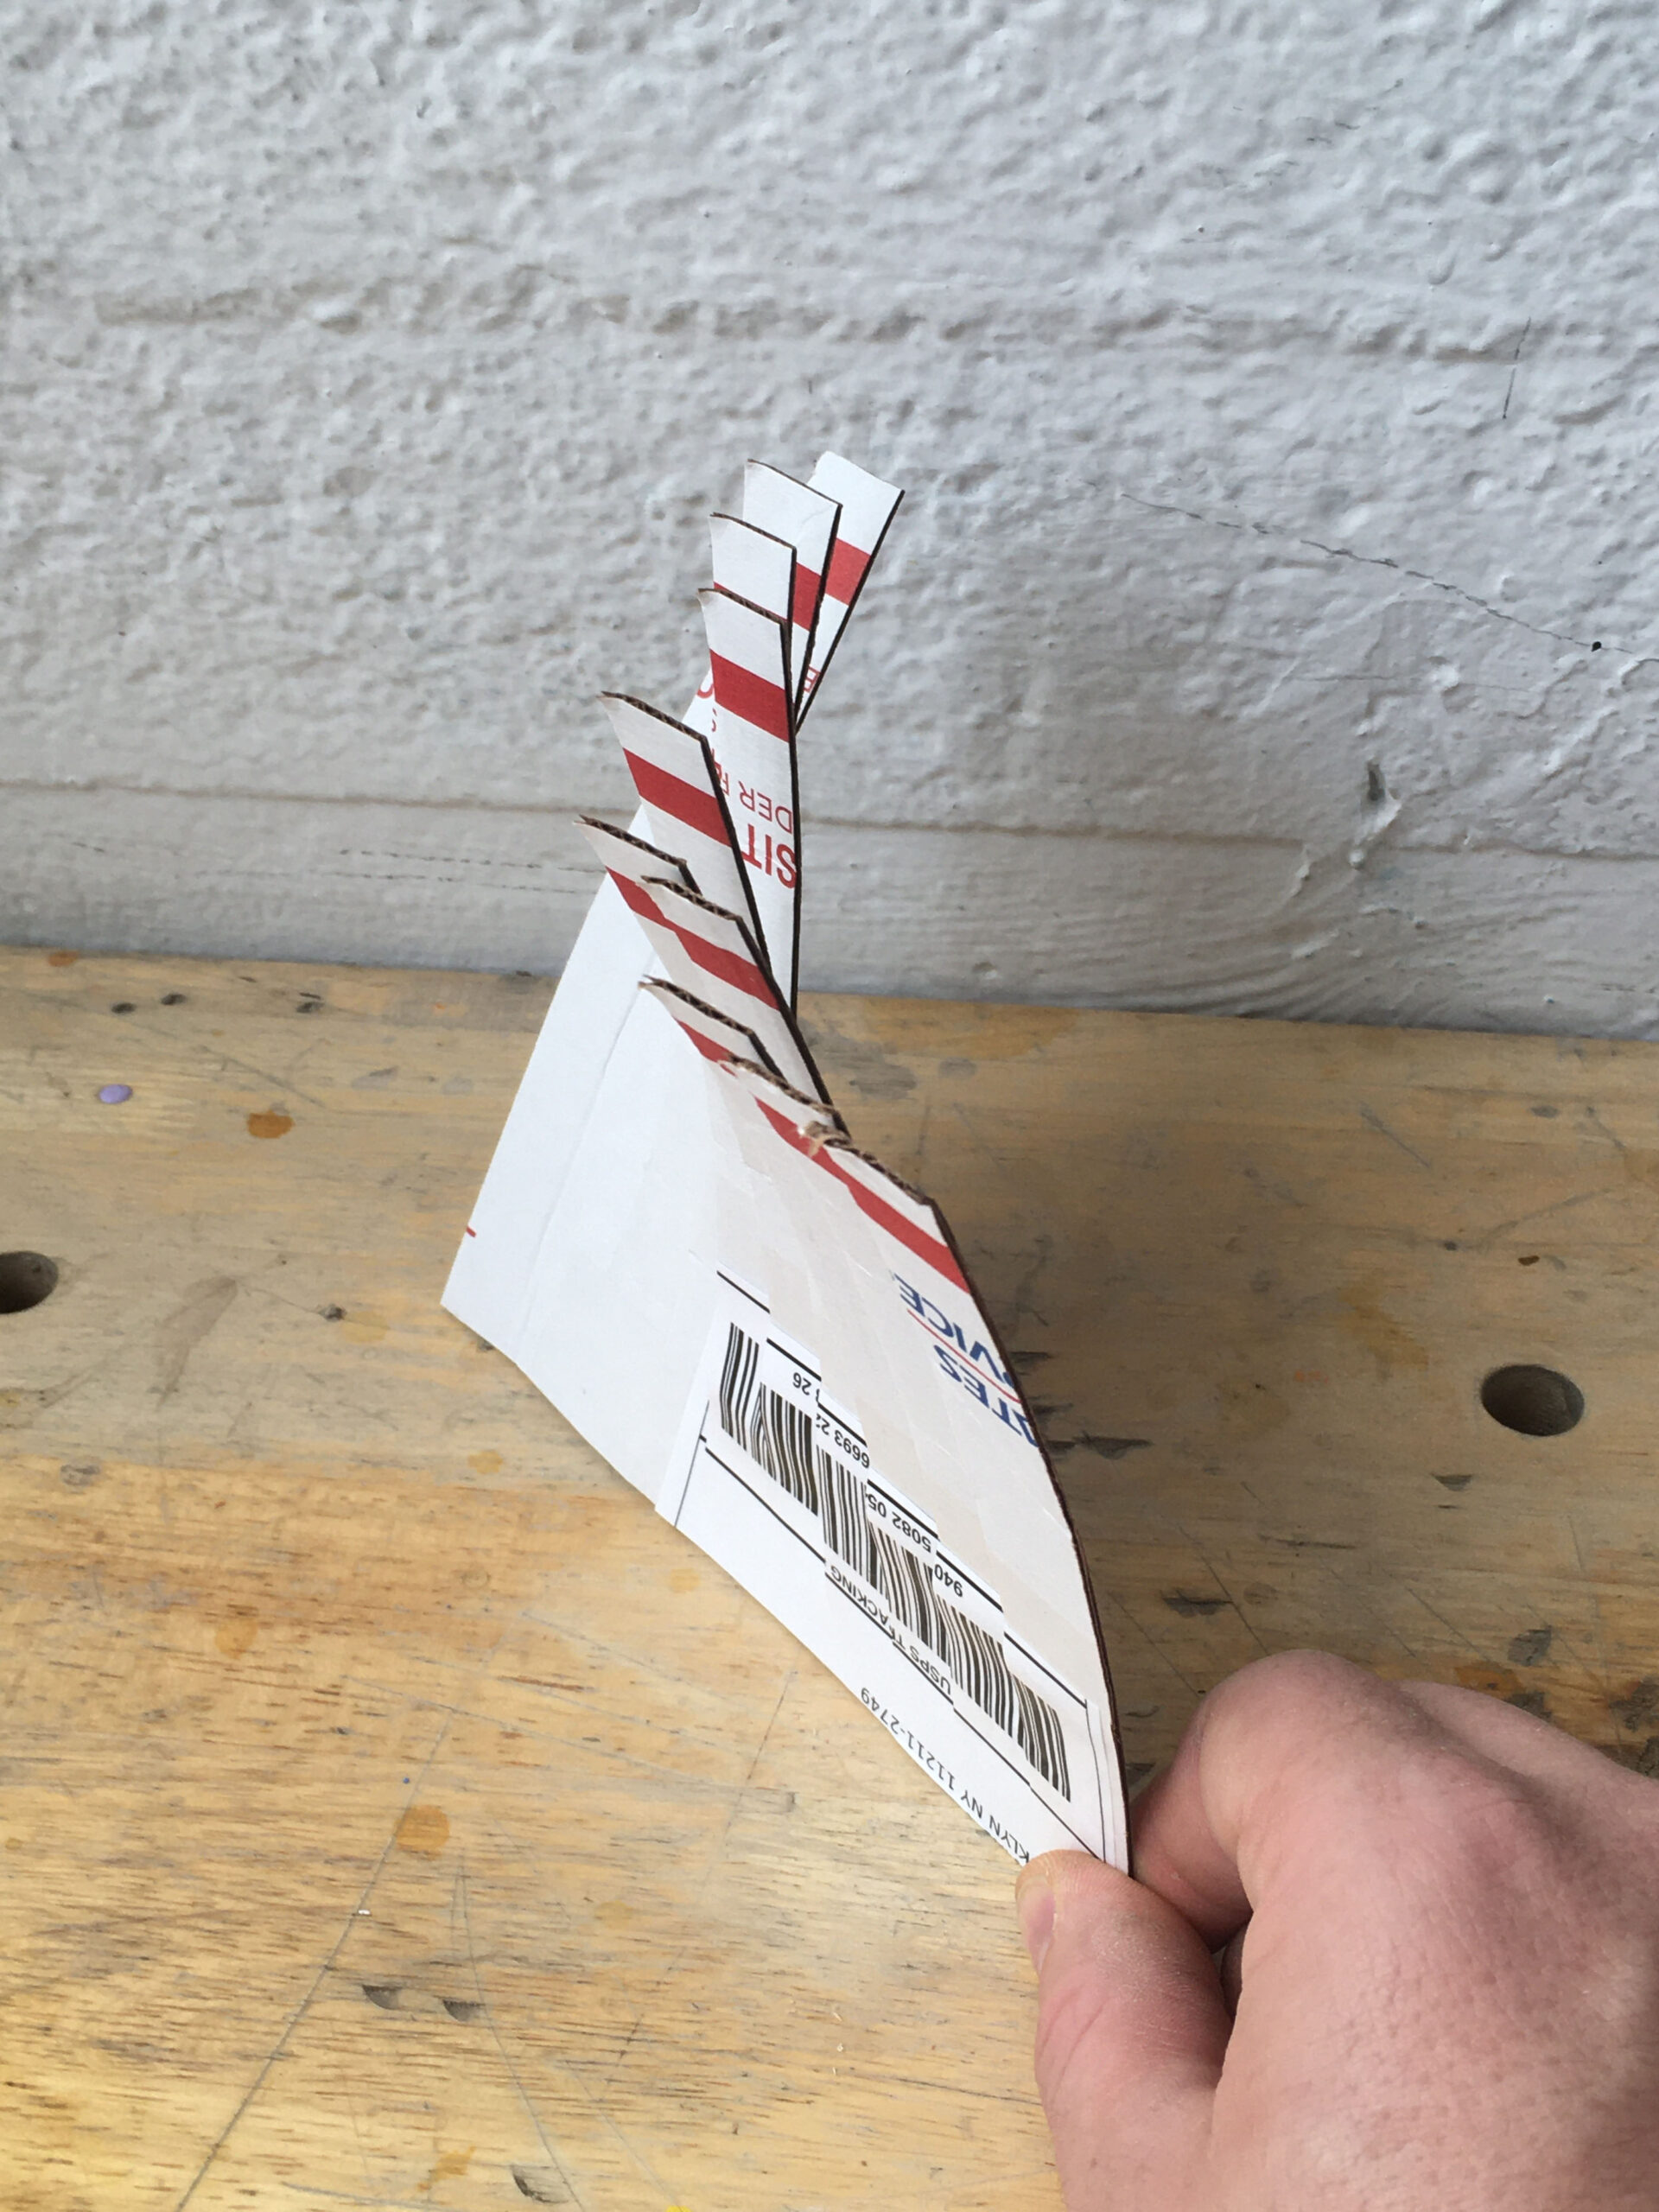
Are you ready to take it one step further? Try exploring the following to help you transform flat materials into dimensional forms that that have texture and form:
- Combining techniques
- Using one technique on different materials
- Using both your hands and scissors to transform one material
- Creating your own transformation technique
As you work, think about how your transformations are adding new meaning to your found materials. Keep Brian Jungen’s work in mind as you consider this question.
Step 4: Reflection Questions for Discussion (10 minutes)
- How did you transform your materials?
- Which techniques did you use?
- Did you combine multiple techniques?
- Did you transform a two-dimensional material into a three-dimensional object? How did you do it?
- What surprised you about these experiments?
Vocabulary
Geometric shape
Straight line
Zigzag line
Curved line
Pattern
Resources
Adaptations
For Multilingual Learners
The technique I used to transform _________ [a material] is __________.
A material that I changed from two-dimensional to three-dimensional is _____________ [material] by ___________[technique] it.
Techniques: twisting, folding, cutting, bundling, ripping, knotting, weaving, scratching, curling, crumpling, braiding, etc.