Overview
In this lesson, students will experiment with creating patterns inspired by looking at artwork. They will use their hands and scissors to create multiples of simple shapes and try different arrangements.
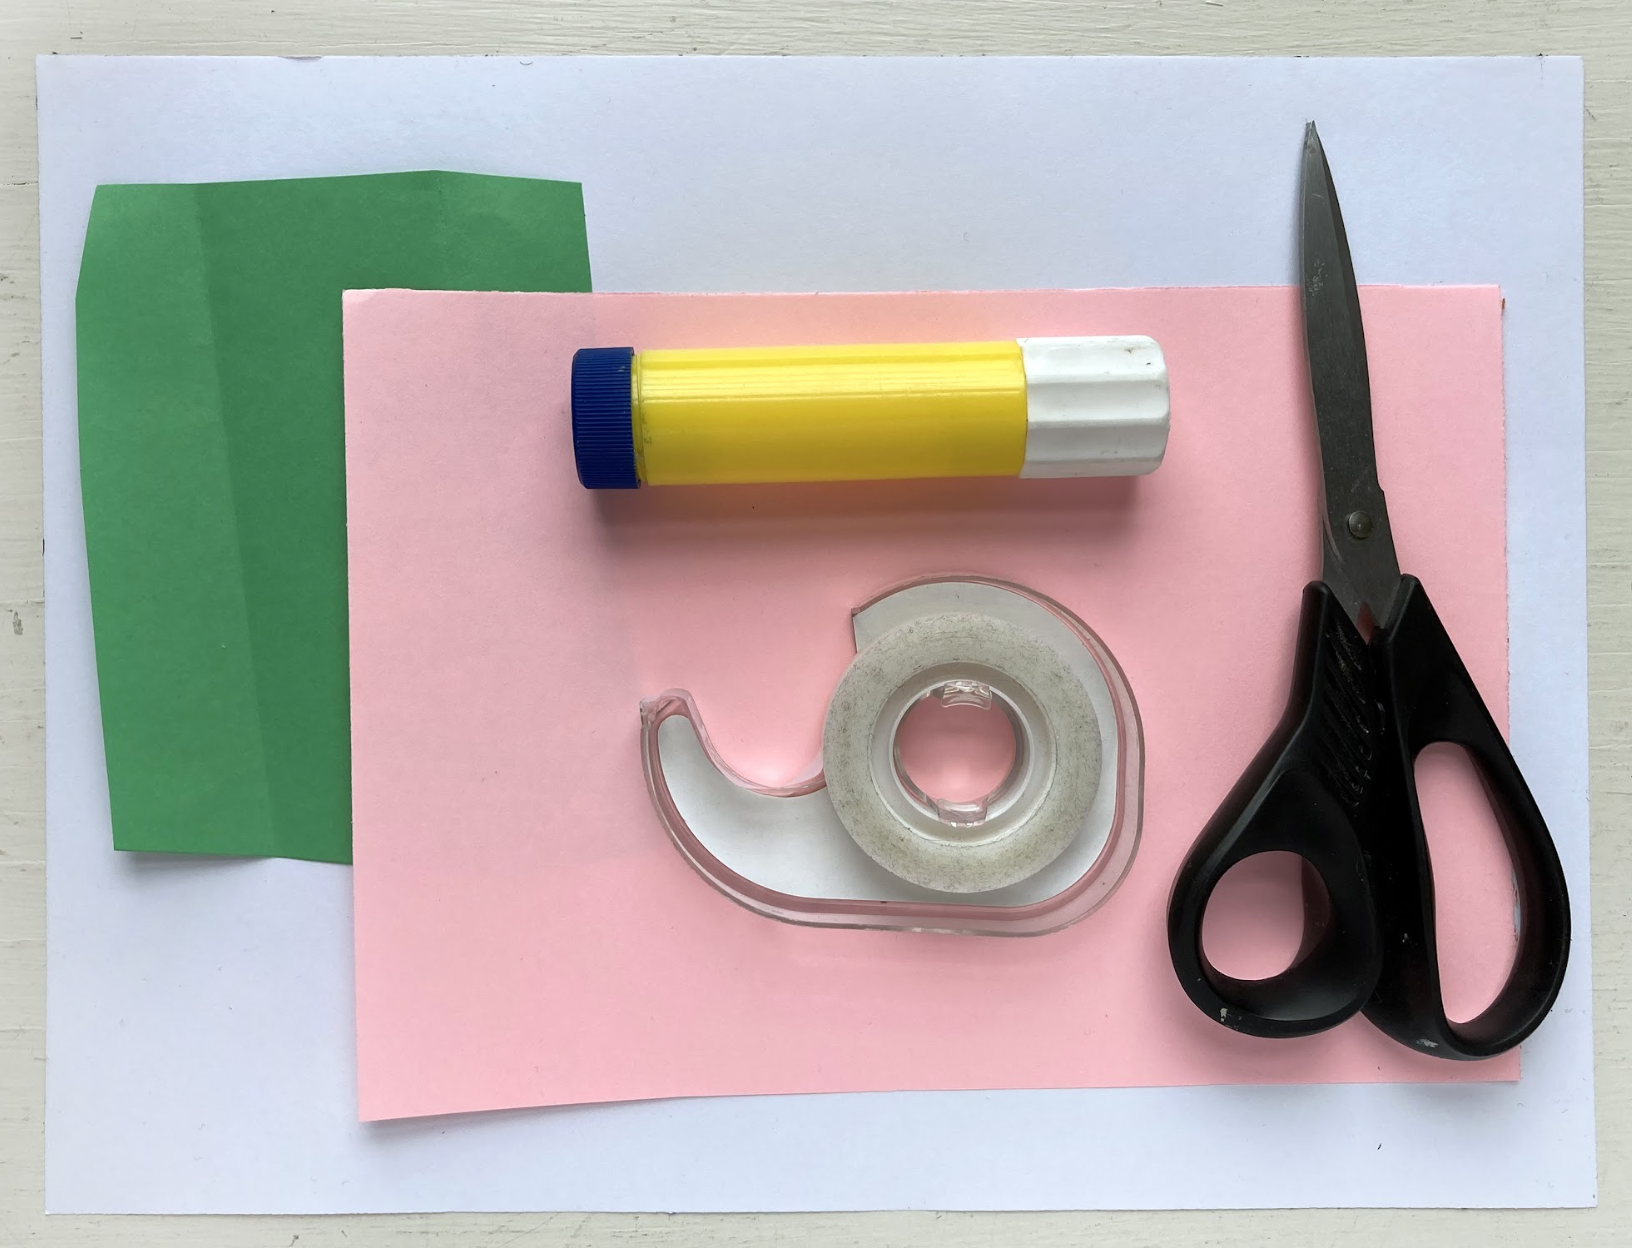
Materials and Tools
- Scissors
- Three sheets of different colored paper—one for background, two to cut
- Glue or tape
- Making Collage Patterns video
- Making Collage Patterns student slides
Objectives
Students will understand that:
- Patterns are designs made up of shapes and/or colors that repeat
- Patterns can be made by cutting and arranging collage shapes
Students will be able to:
- Identify multiple types of patterns
- Demonstrate use of scissors to cut multiple rectangles, squares, and triangles
- Demonstrate arranging shapes to create two different patterns with repeating colors or shapes
Activities
Note: The following steps are written with sample language you may use with your students as you go through the lesson. Explain to students that the slides and the video they see during the lesson will be shared with them so they can review the lesson on their own and continue to make more art.
Step 1: Introduction/Watch Making Collage Patterns Video (13 minutes)
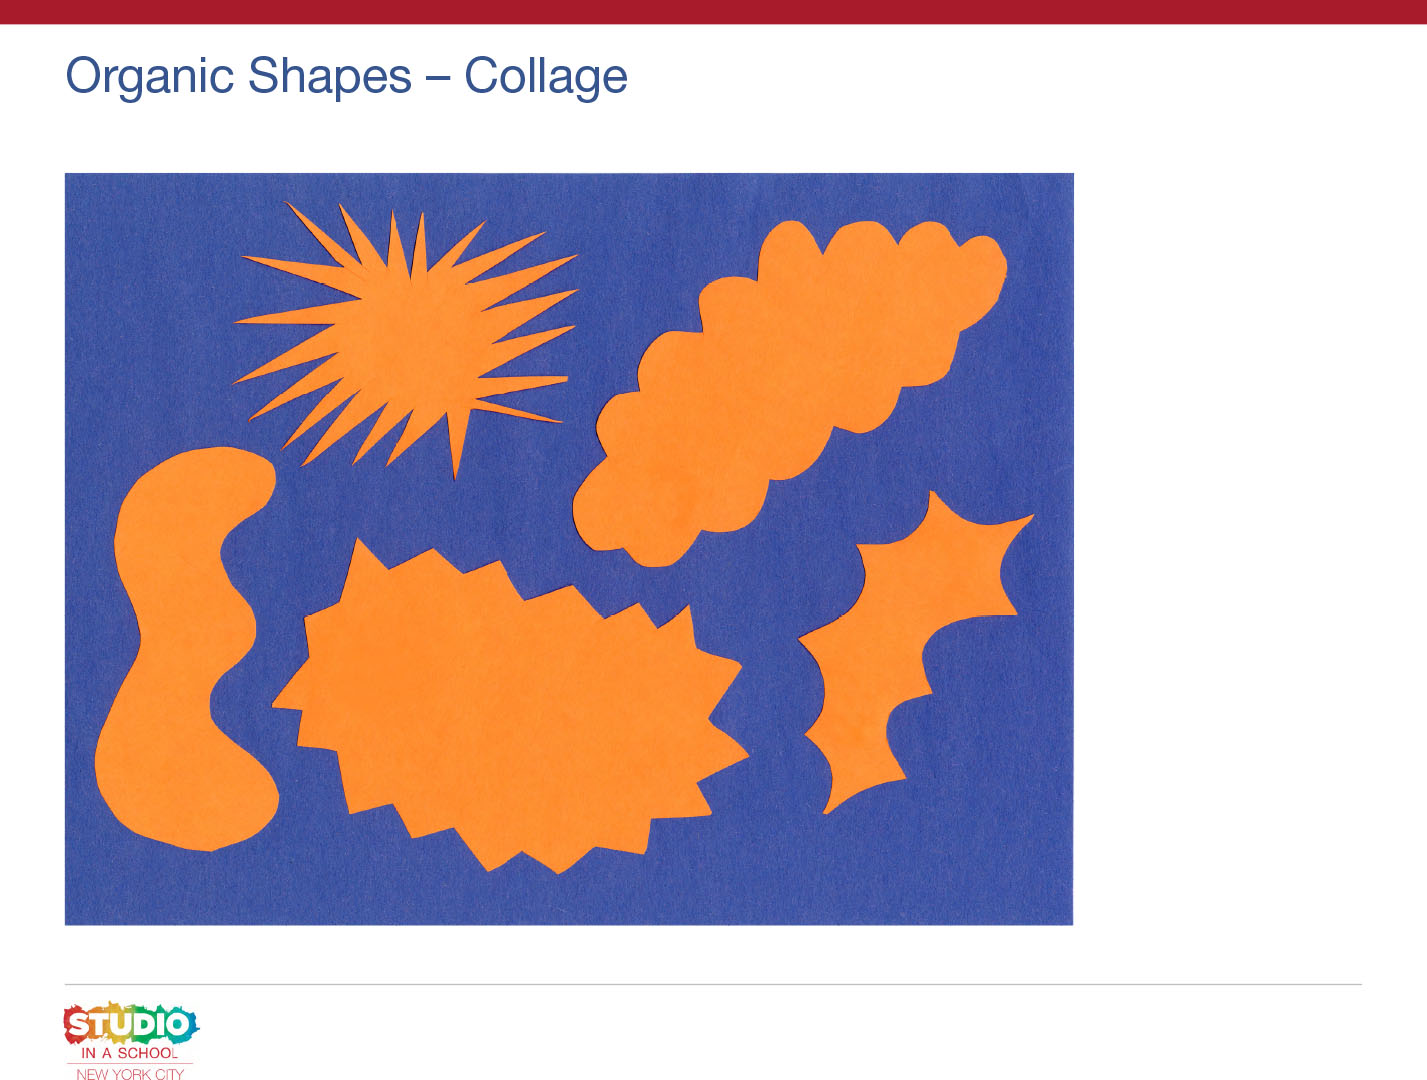
Welcome back, artists! Last time, we explored cutting organic and geometric shapes.
- What is one piece of advice you would offer other artists on cutting like an artist?
- What do you like better, cutting or tearing shapes? Why?
Today we are going to continue practicing our cutting skills by making geometric shapes of different sizes. We will then arrange our shapes into different patterns. Watch the Making Collage Patterns video to discover how to make patterns with different shapes.
Step 2: Close Looking, with Student Slides #2-3 (5 minutes)
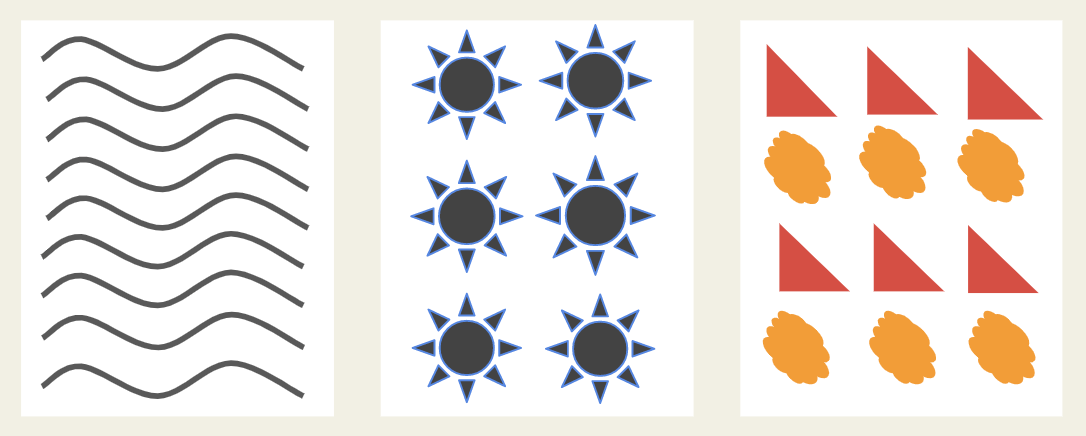
Let’s look at examples of patterns in Slide #2.
- How are these patterns similar and different?
- What do you see that makes you say that?
- Which pattern has organic and geometric shapes?
Look around your home.
- Can you find a pattern with geometric shapes?
Don’t forget to look down, there are lots of interesting patterns on the ground. As you begin cutting your shapes, use the patterns in your environment for inspiration.
Slide #3 shows us the way artists put patterns to work. This artwork is by Clare Youngs and is called gorilla. Look closely at the image of the gorilla in the slide.
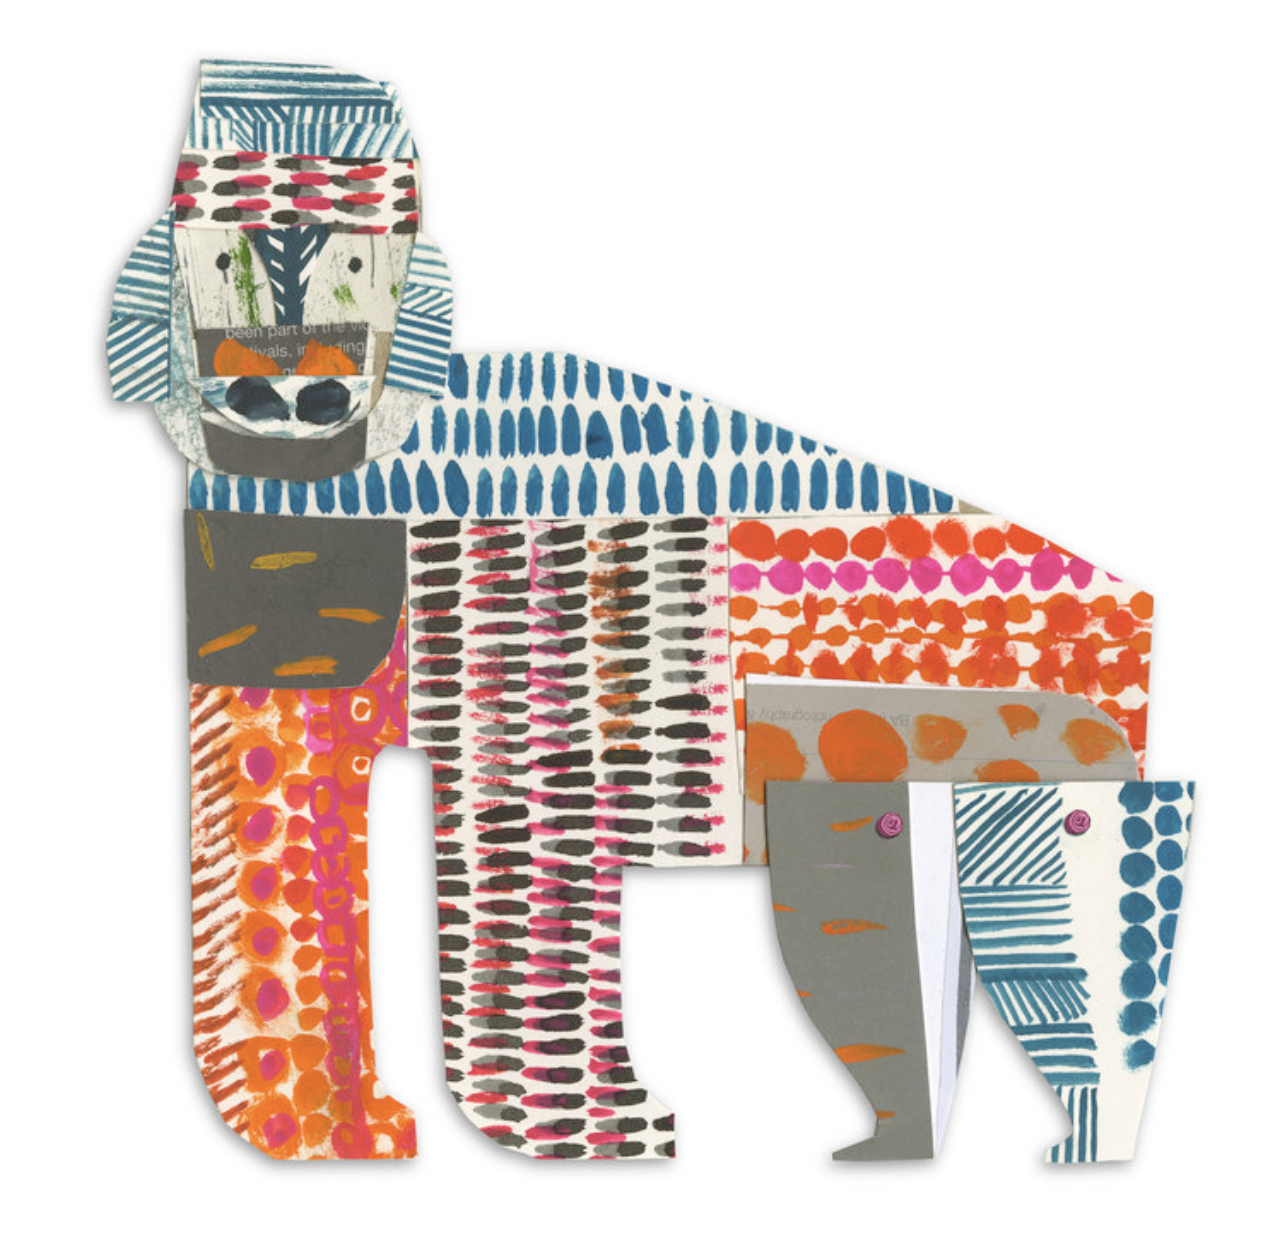
- Can you find a pattern created with straight lines? Where do you see it?
- What is another pattern on the gorilla?
- Based on the patterns the artists used, what can we learn about the personality of the gorilla?
Step 3: Cutting Shapes in Multiples, with Student Slide #7 (15 minutes)
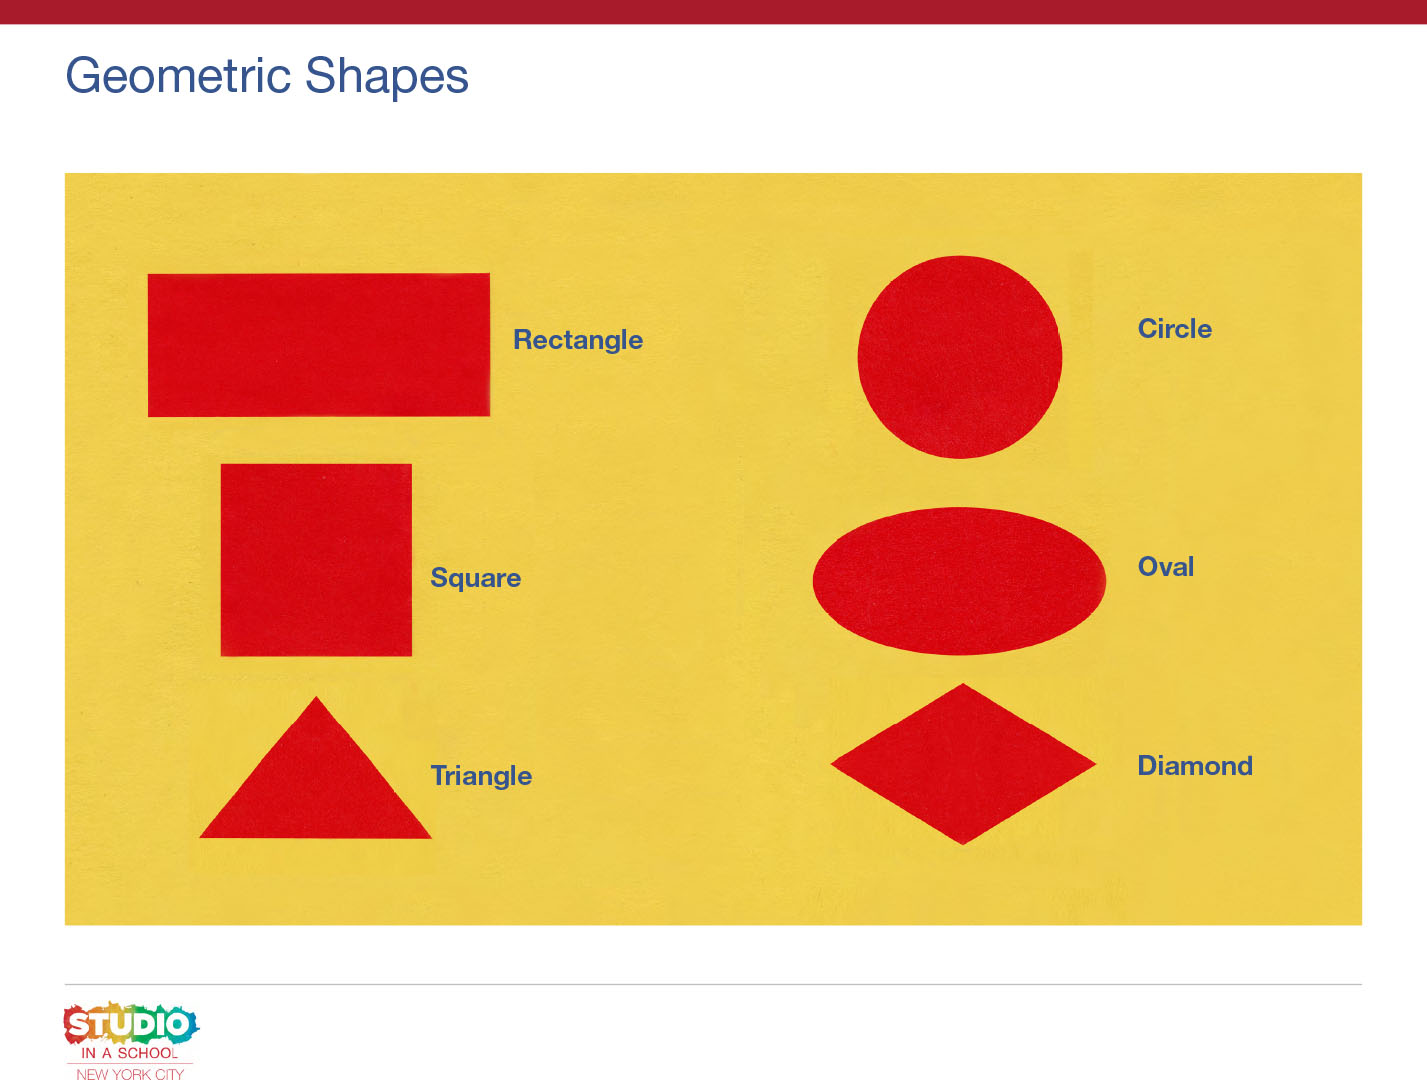
Now that we have our “pattern eyes” warmed up, let’s start cutting shapes. Turn to Slide #7.
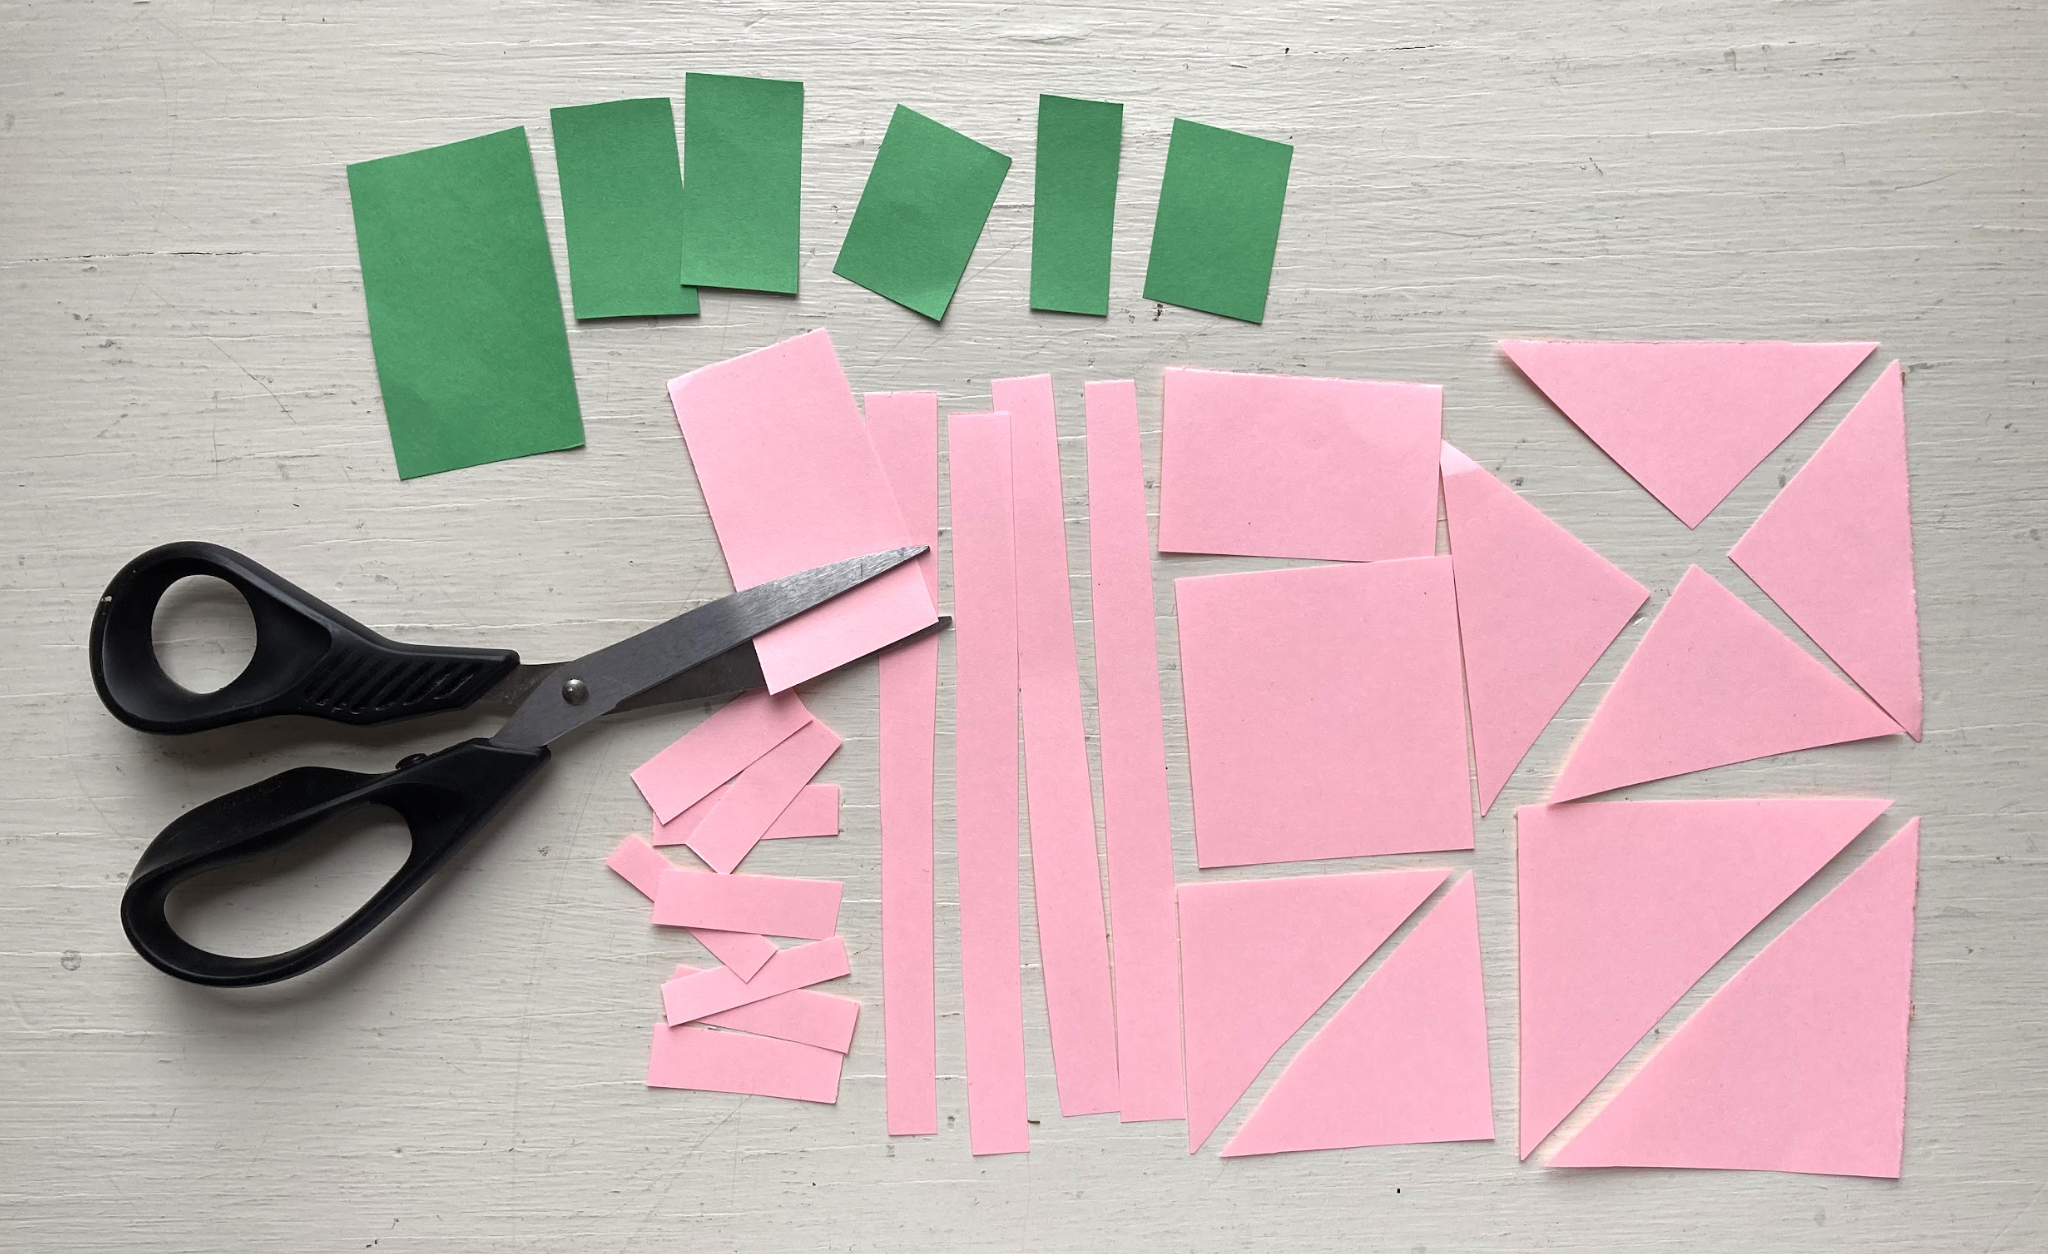
- What do you notice about the shapes the artists cut?
- Did they cut one triangle or many?
- Why do you think cutting many shapes is important when creating a pattern?
Let’s observe the rectangles.
- How are the rectangles similar and different?
I see short skinny rectangles and long skinny rectangles.
- Can you find any other rectangles?
- How are they different from the ones I noticed?
- Why do you think it’s useful to have a variety of sizes and colors of shapes when making patterns?
Begin cutting out your shapes. Remember to cut five to ten of each shape that you make.
Step 4: Arranging and Gluing Patterns, with Student Slide #9 (10 minutes)
Slide #9 shows us different ways we can arrange our shapes to make patterns.
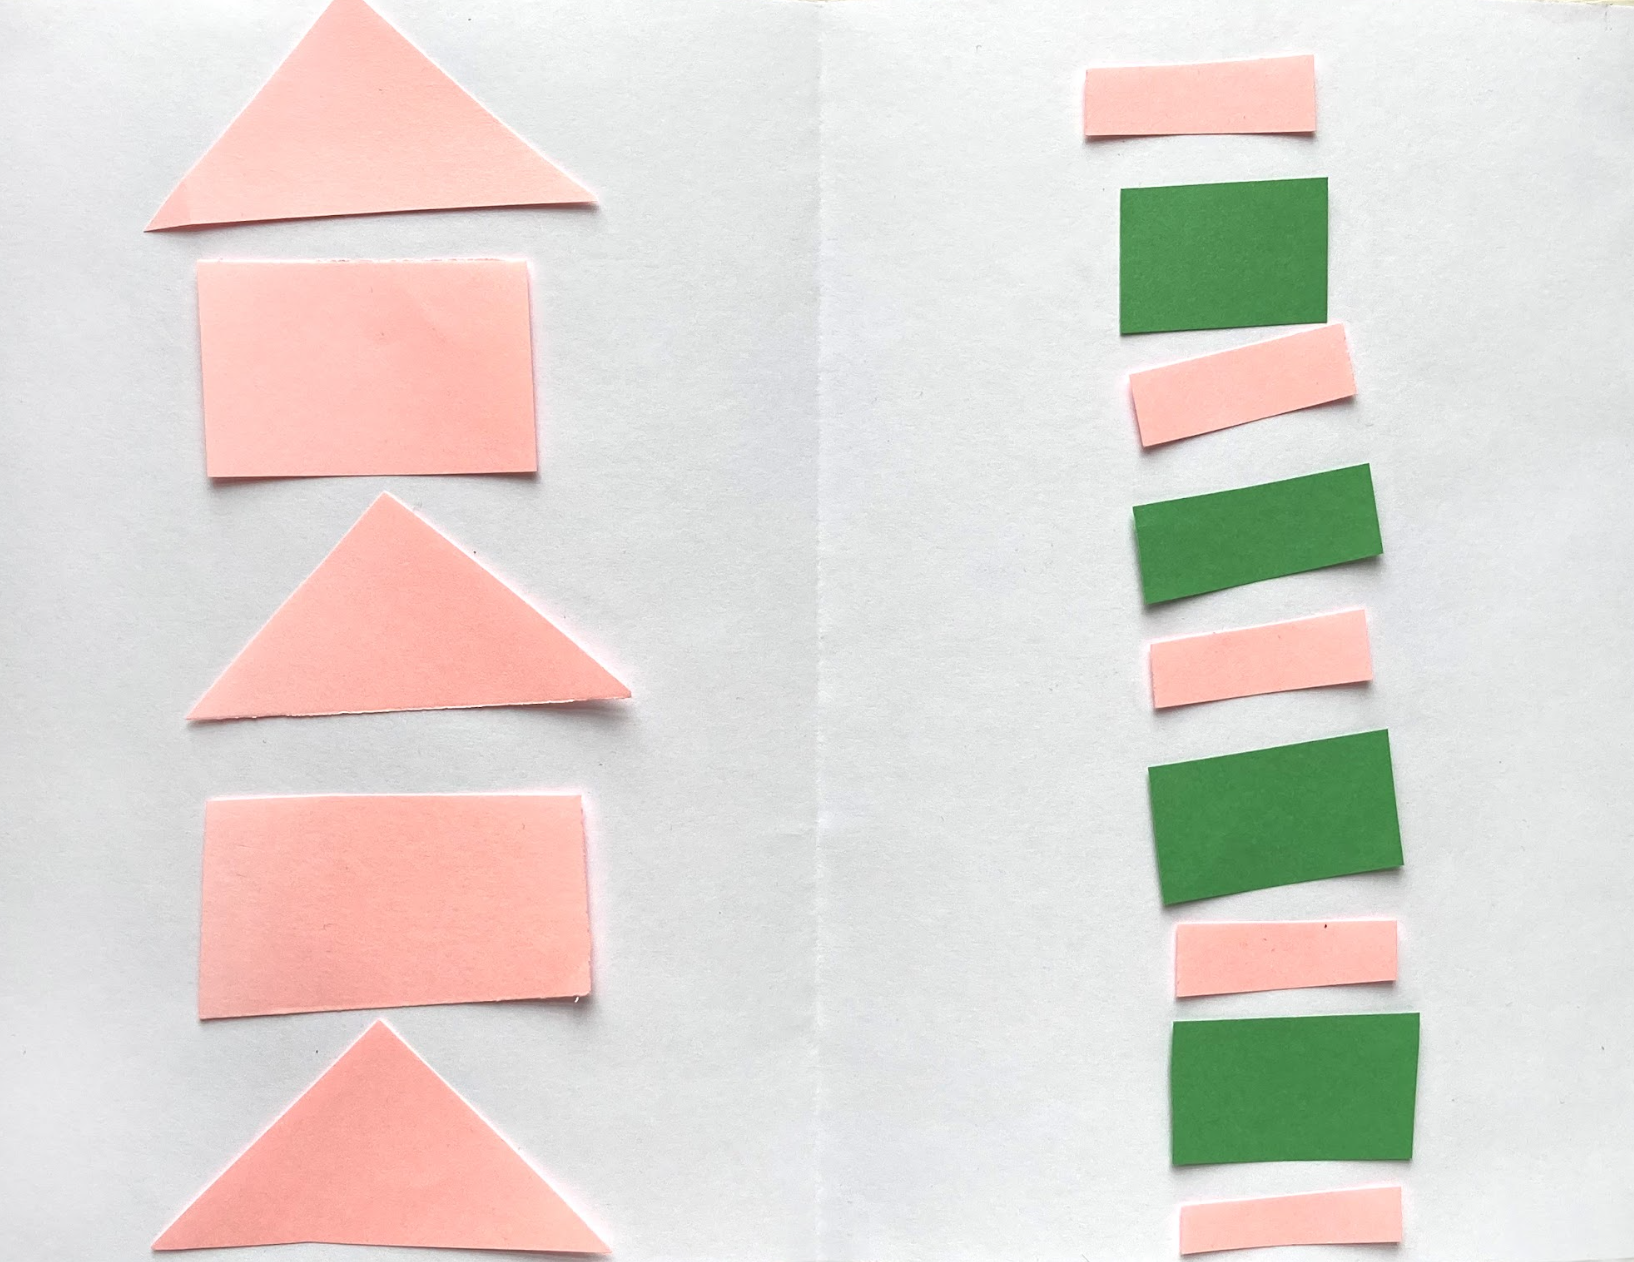
- How are the patterns similar and different?
Now it’s your turn to begin arranging your patterns. Using the ideas we gathered from looking at Clare Youngs’ gorilla, and the patterns observed in our environment, begin playing with your shapes to make different patterns. You can also try making patterns from your imagination! Just remember to repeat your shapes and colors. Once you are ready, glue down your patterns. Don’t forget to press and count to ten when you glue down your shapes, so they stay on your paper.
Step 5: Reflection Questions for Discussion (5-7 minutes)
- Which is your favorite pattern?
- Why is it your favorite?
- What shapes or colors repeat?
Vocabulary
Design
Pattern
Arrange
Repeat
Resources