Overview
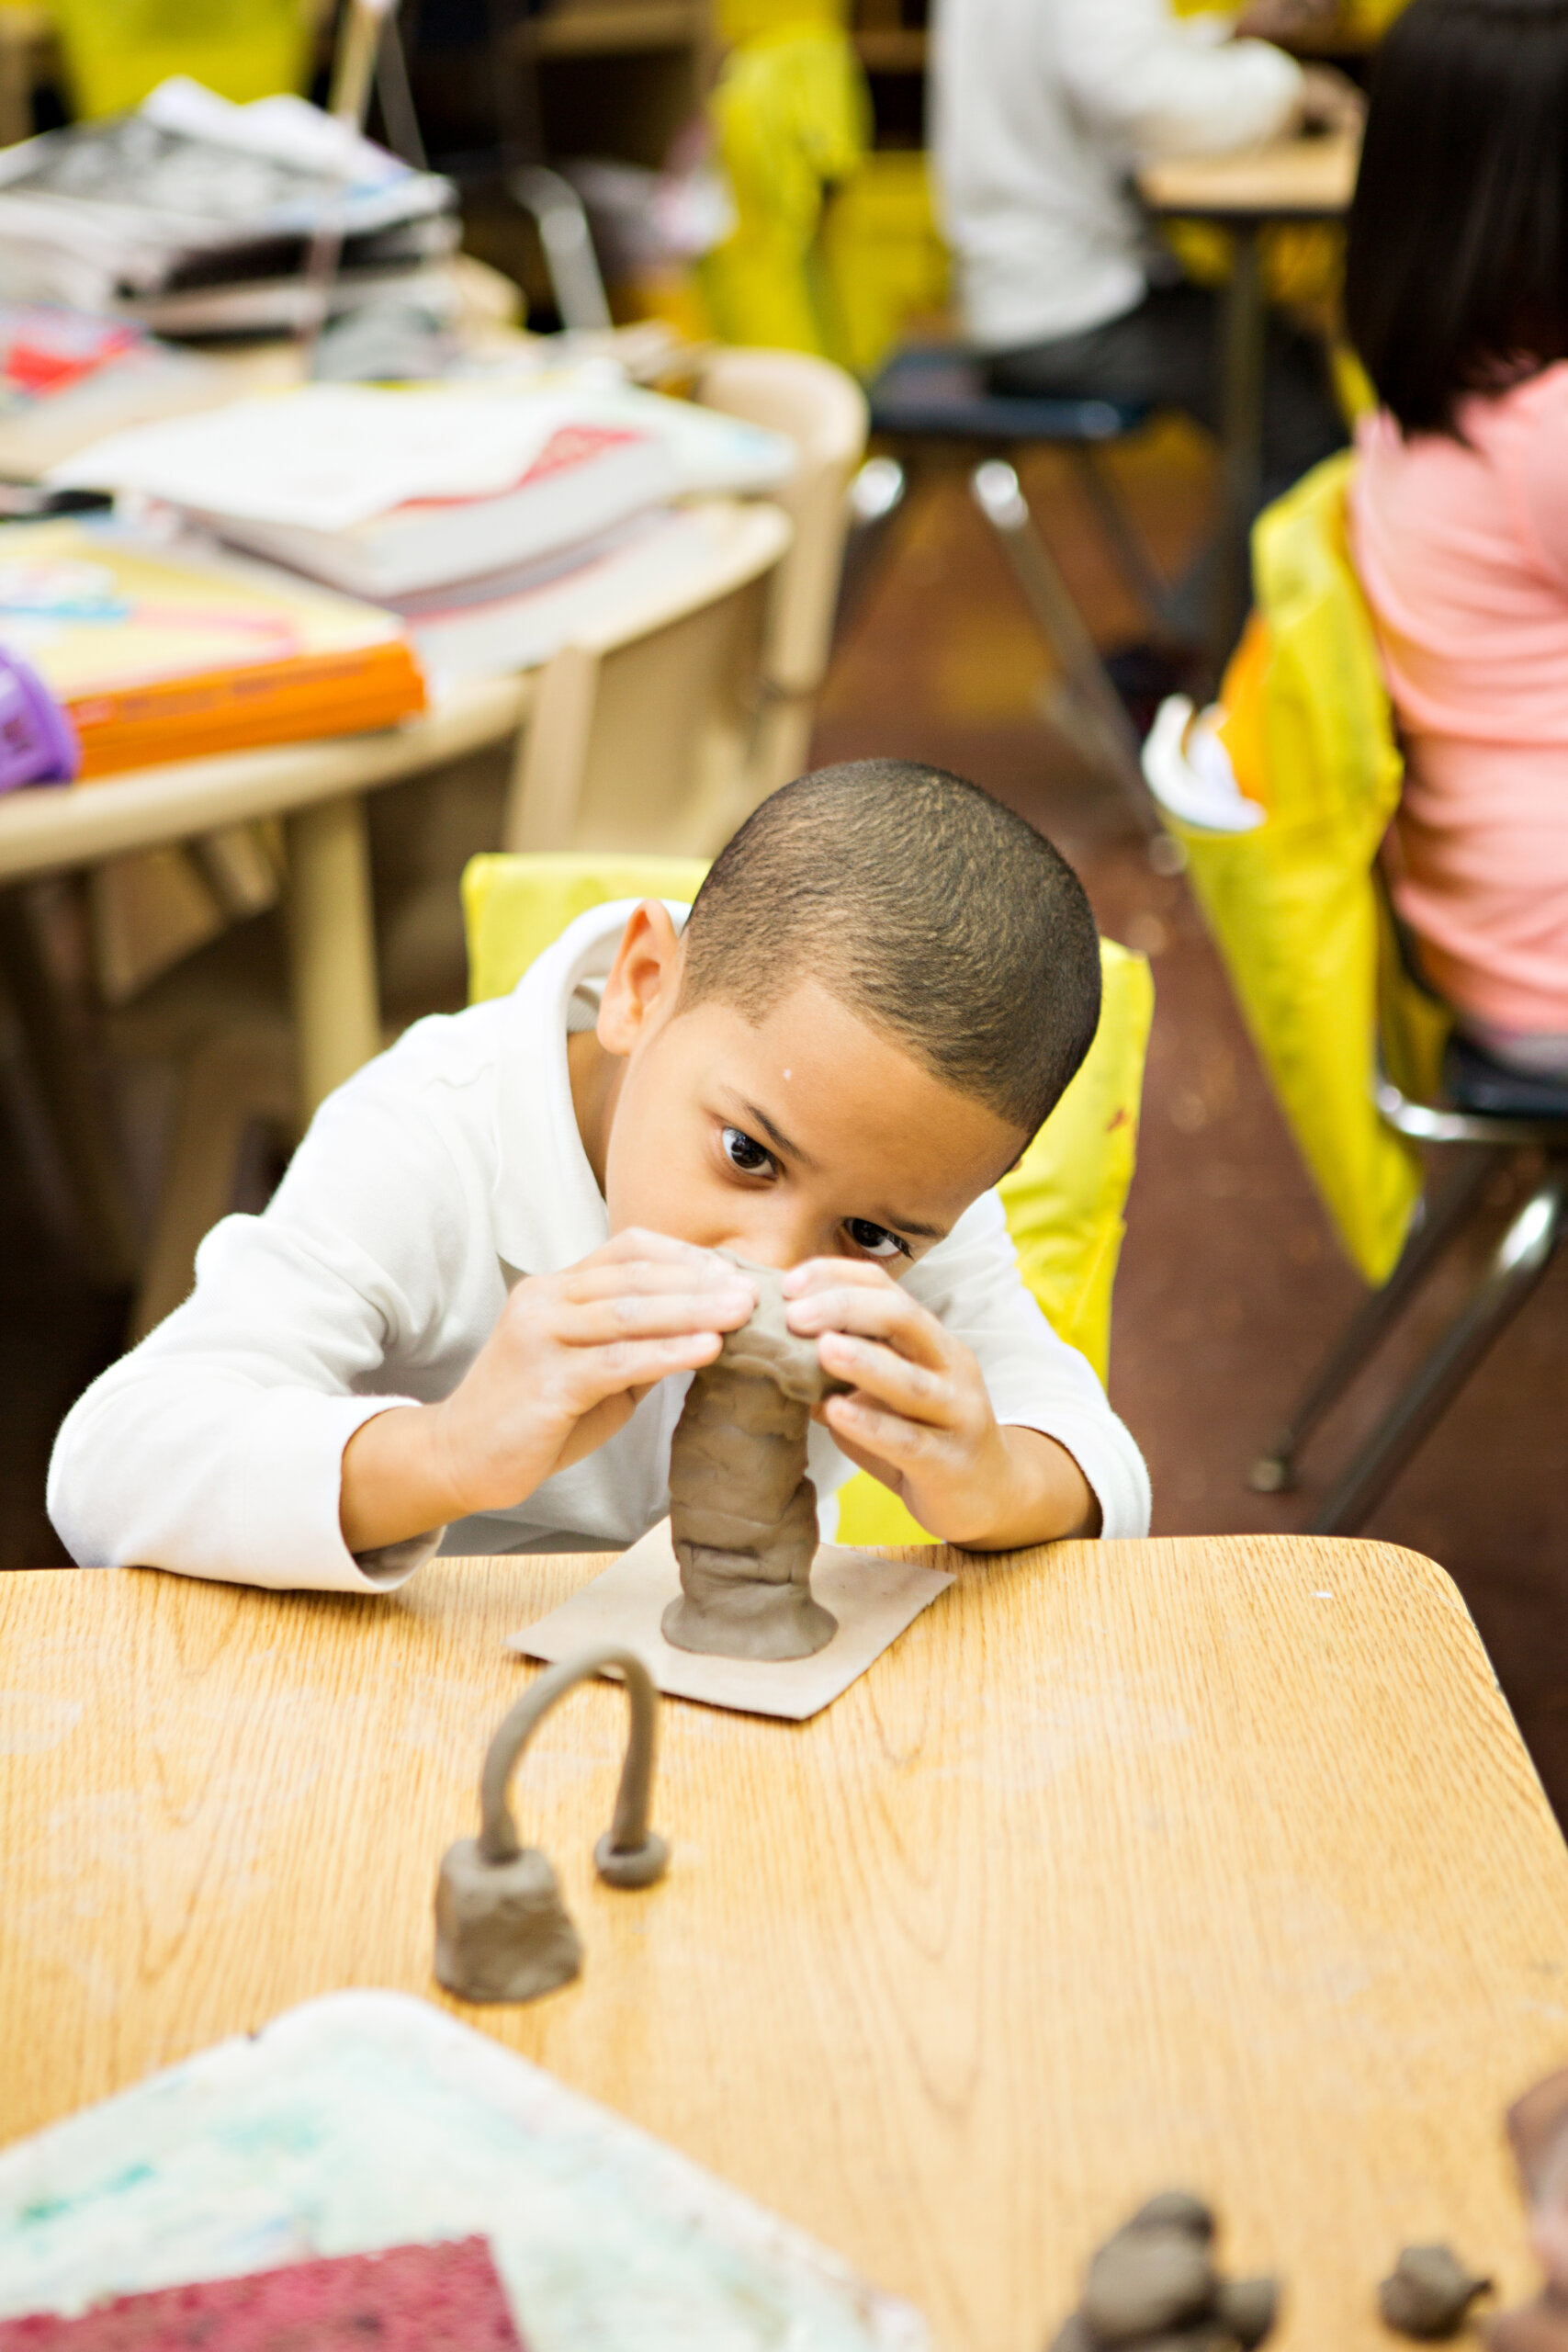
Students will discover how to make a three-dimensional artwork with clay. Students will learn that their clay creation with a top, bottom and sides is called a sculpture. Students will learn the technique of pressing and smoothing to create a sculpture that will stay together during the last lesson.
Grade Level
Kindergarten
Media
Clay
Essential Question
How can I make my sculpture stay together and stand up?
Materials
- Fist-sized pieces of clay
- Additional clay (for students who request more as they work)
- Cardboard square base
- Wire clay cutter
- Canvas or other covering to lay on the floor during engagement
- Plastic scraper for clean up
- Table covers (optional)
Activities
Step 1: Invitation to Explore
- What did we create last week?
- How did we make our sculptures stand up?
- What do we call a three-dimensional work of art? Sculpture
- What kind of sculpture did you create a few weeks ago? Paper
- Invite four students to create four different forms using clay.
- Invite another student to make the four pieces stand up.
- What do you think will happen if I pick up this sculpture and turn it upside down? Model holding the sculpture upside down — it falls apart!
- How do you think we can make these four pieces stick together?
- Model pressing and smoothing clay pieces together. Point out the line (seam) between the pieces. Explain that the seam should disappear when the pressing and smoothing is completed. Turn the sculpture upside down to demonstrate how the sculpture holds together when firmly attached.
- Tell the students to put their sculptures on a cardboard base. Explain that they can use the base to turn their sculpture around as they work and see all sides.
- Explain that during the next lesson, students will create a sculpture to keep.
Step 2: Work-time
- Encourage students to create a few different forms with their clay and then to make them stand up.
- Circulate the classroom. Notice what students are doing with the clay and encourage them to attach their forms together to create a sculpture.
- Remind students to turn their sculptures as they work so they can see all sides.
- You may have to remind students to press and smooth and make the seam disappear. Make sure that each student fully grasps this technique so that they can apply it in the next lesson when they create a sculpture to keep.
Step 3: Reflection
- At each worktable, ask students to find a partner.
- Begin a “turn and talk.” Have students share with their partner what they created, how they made their sculpture, and invite their partner to ask them a question about their sculpture. Encourage students to turn their sculpture all the way around so that their partner can see all four sides.
- At the end of reflection, tell students to take their creation, roll it into a ball and poke a hole so that you can pour a little water into it. Place clay back into the bag or an airtight container.
Tips
- Since you are not saving sculptures, you can photograph them.
- If time permits, students can draw their sculptures.
Vocabulary
Clay, sculpture, three-dimensional, two-dimensional, tool, press, smooth, join, seam, roll, pinch, pull, poke, twist, fold, squeeze, sphere, coil, pyramid, cube, arrange, rearrange, stack, on top of, next to