Overview
“One of the chief pleasures for young children is clay’s ready responsiveness; it obeys the children’s wills. It can be knocked down and stood up again or broken into tiny pieces and reconstituted, but it never appears to diminish.”
– Naomi Pile
Grade Level
Pre-Kindergarten (Three- and Four-Year Old’s)
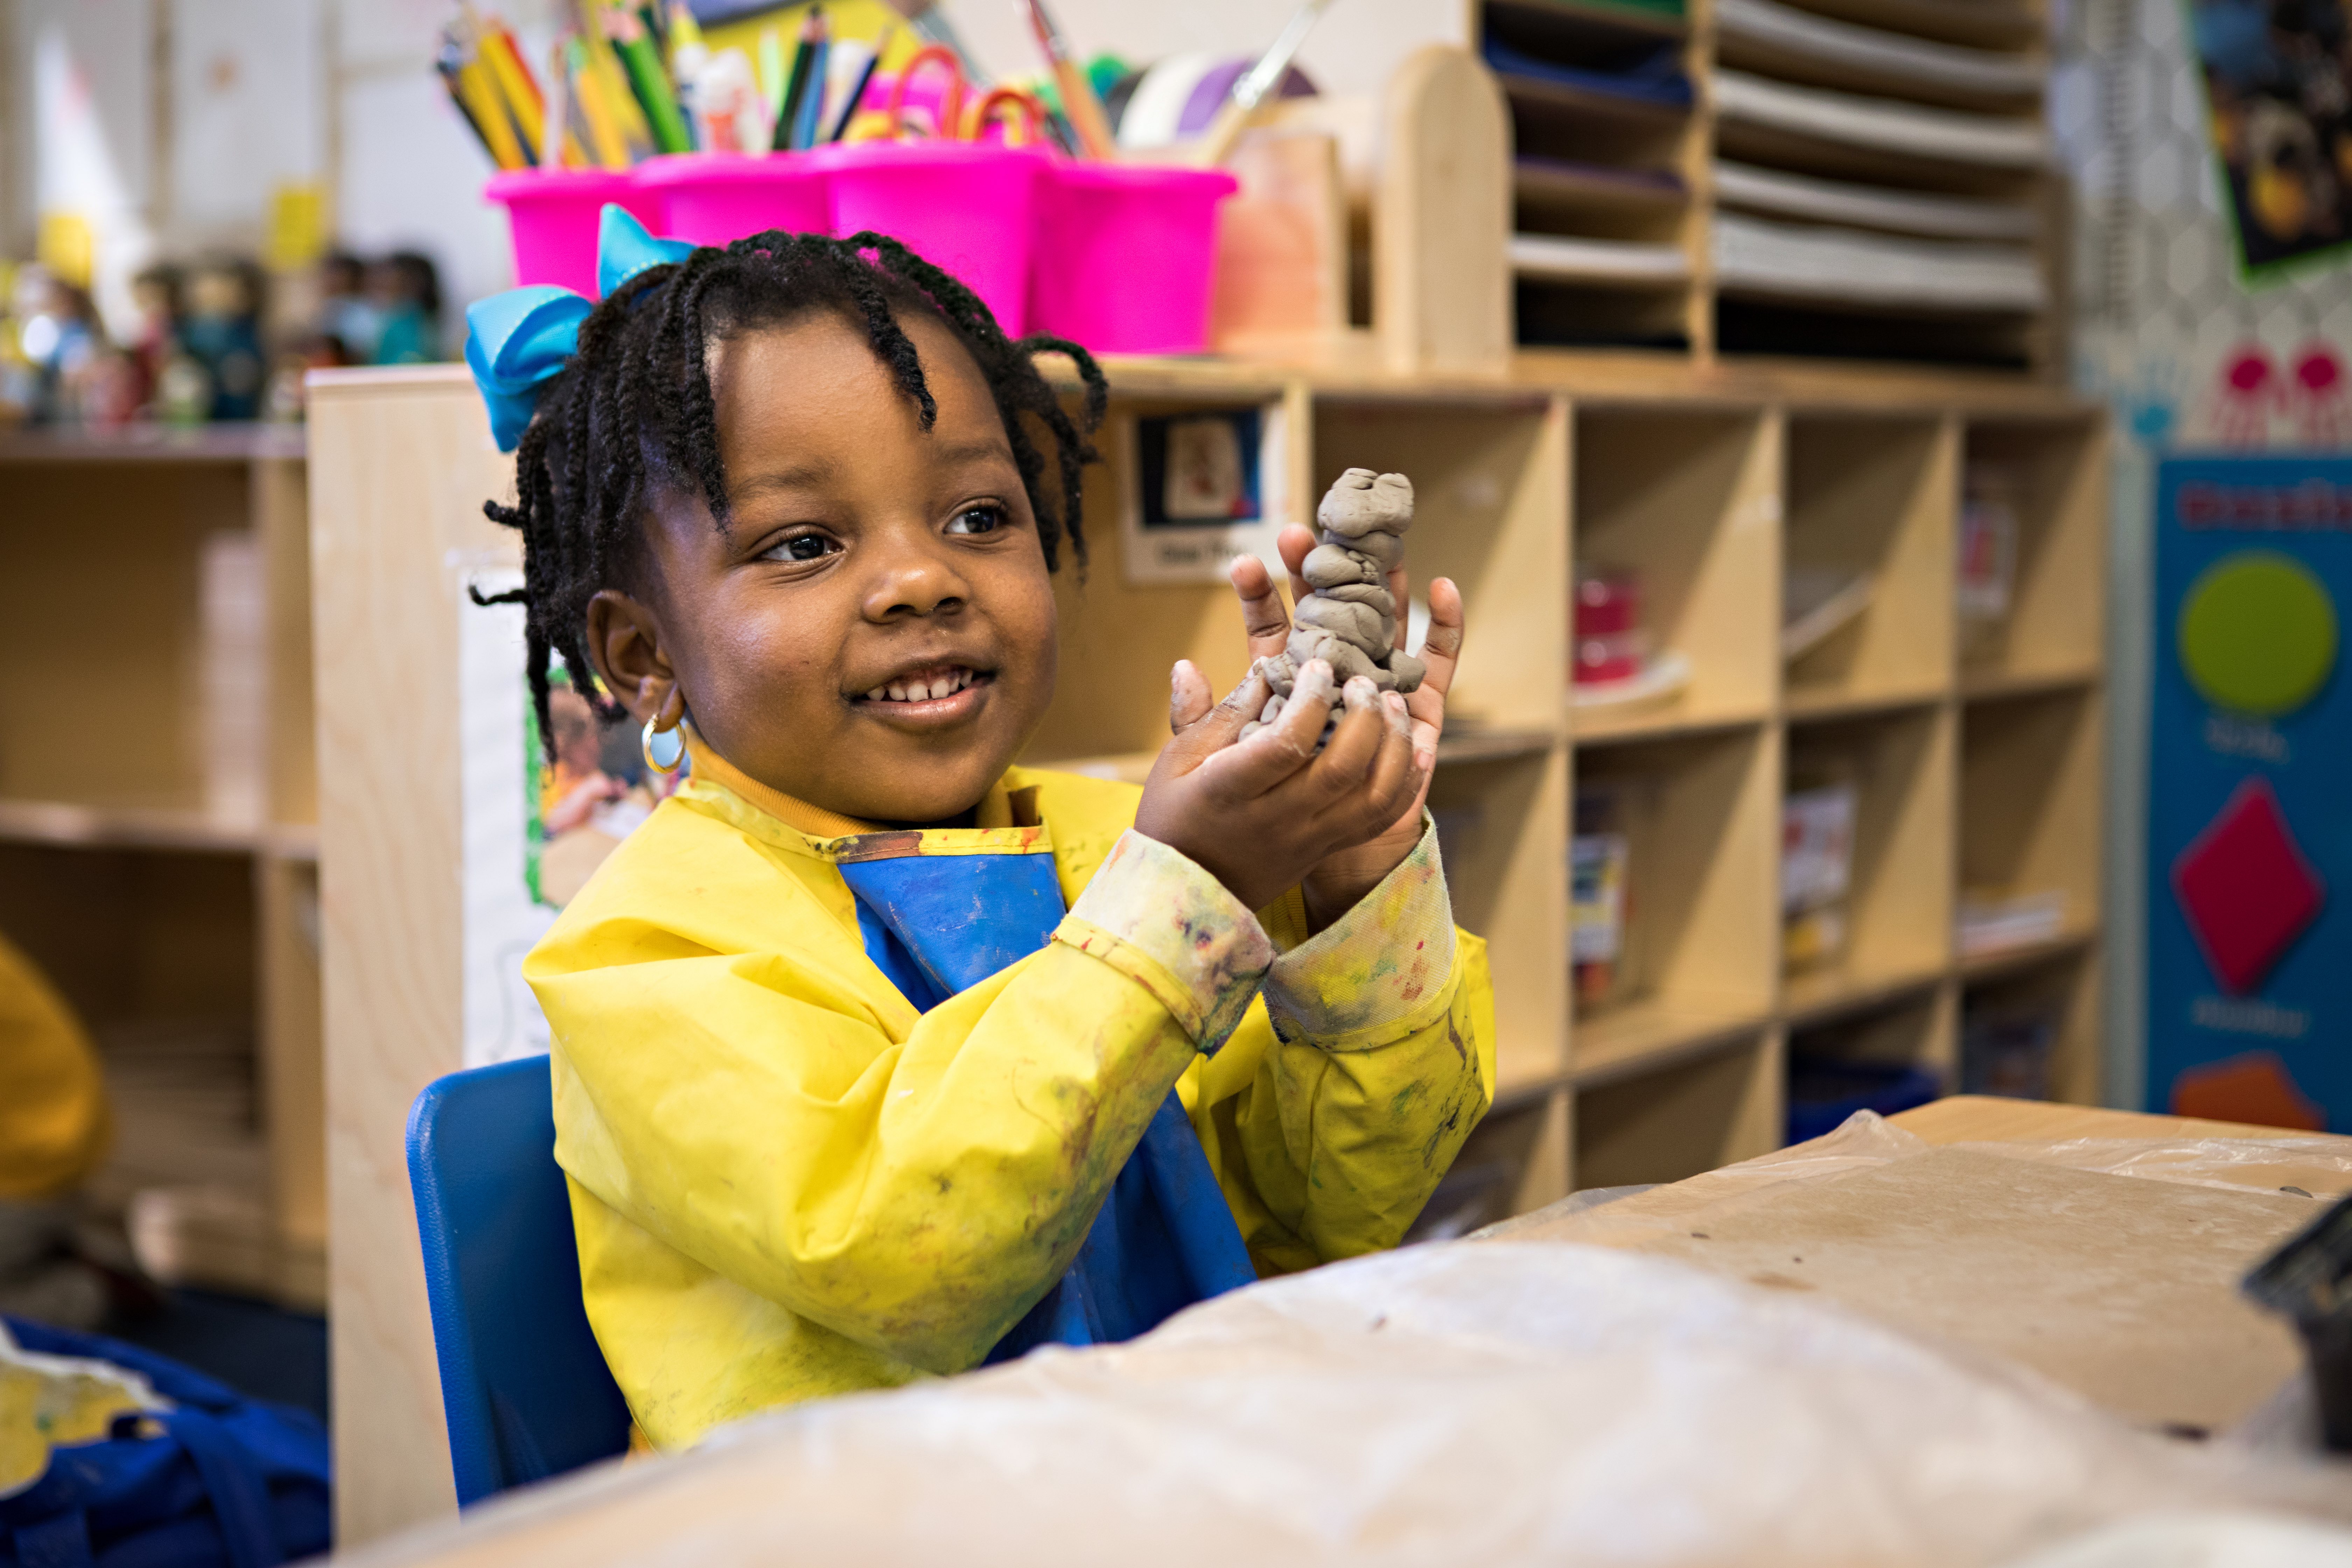
Media
Essential Question
How can we make clay stand up?
Materials
- Deli container with clay
- Tray with damp sponge
- 8 x 10” cardboard base
Activities
Step 1: Invitation to Explore
- What did we do with the clay last week?
- Let’s make pieces using what you learned last week.
- Make 4 pieces by rolling, pinching, etc.
- Invite a student to put the pieces together.
- How can you make these pieces stand up? Stack them?
- Let’s make clay sculptures that stand up! Each sculpture needs to have a front, back, and sides.
Step 2: Work-time
- Have 3-4 students come to the art center.
- Have students work directly on the table.
- Do not give them any instructions.
- As they work, ask them what they are doing, and help give words to their actions — roll, poke, pinch, pull, press, etc.
- Take photos as students explore for documentation. Record their observations as they work.
- After students have had ample time to explore, ask them to press or roll their clay into a chunk and place the clay into deli cups with lids.
- Save one clay creation for reflection.
Step 3: Reflection
- Look at the sculpture from all sides. Slowly turn the clay sculpture around.
- What do you notice about this sculpture? How do you think ______ made this sculpture stand up?
- After reflection, have the student whose work was shared roll it into a ball and put it in the deli container in the art center.
Vocabulary
Clay, soft, hard, cool, wet, silky, roll, squeeze, poke, twist, flatten, break, pinch, sculpture, three-dimensional, front, back, side