Overview
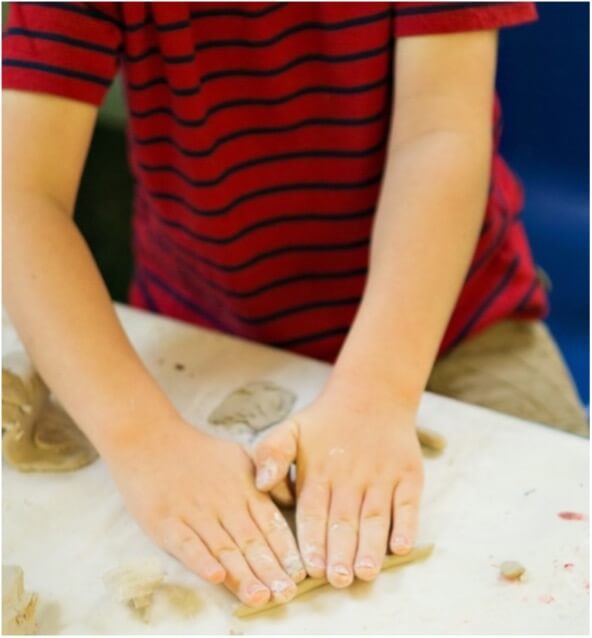
Students will make shapes and forms using hands as tools.
Grade Level
Kindergarten
Media
Clay
Essential Question
How can I change clay with my hands?
Materials
- Fist-sized pieces of clay
- Additional clay (for students who request more as they work)
- Tray with damp sponge
- Wire clay cutter
- Canvas or other covering to lay on the floor during engagement
- Plastic scraper for clean up
- Table covers (optional)
Activities
Step 1: Invitation to Explore
- What did we do last week?
- Let’s see what happened to the clay we put into the containers last week.
- Show both pieces to the students. What do you notice?
- Model trying to work with the dry piece — the dry piece is too hard to manipulate. Discover together that the clay left uncovered dried out during the week!
- What do you think happened to the clay that was sealed in the container? The clay that was stored in the container remained moist.
- Hold up the clay that has dried out. Sometimes we need to dampen clay as it dries out so that it becomes moist and soft again and we can work with it.
- Place the tray with sponge in front of you.
- What do you see? Why do you think I have a tray with a sponge on it?
- Repeat: Sometimes we need to dampen the clay more as it begins to dry out so that you can more easily work with it.
- What did you discover about the clay when you worked with it last week?
- Invite students to model how they changed the clay last week and show their creations for all to see.
- Pick one up and say you would like to change it. Make your thinking visible and say: It feels a bit hard and dry. Watch how I can make it easier to work with.
- Tell students to be very quiet and listen carefully as you press the palm of your hand down on the sponge. What do you hear? They should notice a squishy sound.
- Model this motion again. Why do you think you hear this sound?
- When you need to moisten the clay, you can do this by pressing your hand on the sponge and begin to work the clay again. The sponge NEVER leaves the tray!
- Review all of the actions (roll, poke, press, etc.) that students have discovered again. As actions are stated, model the motion with a piece of clay.
- What can we make with these forms and shapes? (Spheres, cubes, pyramids, cylinders, coils, flattened circles, etc.)
- Invite students to put the shapes and forms together. Arrange and rearrange the forms.
- Notice the shapes are three-dimensional. They each have a top, bottom and sides.
- Do not model making something!
- Artwork from this exploration will not be saved. Tell students that at the end of the reflection, their work will be pressed into a ball and put back in the bag.
- Remind students that the sponge never leaves the tray!
- Let’s go create more shapes and arrange them.
Step 2: Work-time
- Place a tray with a sponge on the table for every two students.
- Circulate the room. Notice the techniques students are using to manipulate the clay — rolling, pulling, poking, twisting, etc.
- Notice forms and shapes students create.
- Notice how the students arrange or put together their shapes and forms. Examples may include: You are putting shapes one next to the other. You are stacking your shapes. You are building up or flattening your shapes.
Step 3: Reflection
- Before cleaning up, gather students in a single file line and walk around the room. Ask students to pick out a clay creation and describe how they think their friend made it: My friend used their hands as tools to (roll, coil, stack, poke, etc.)
- At the end of reflection, tell students to take their creation, roll it into a ball and poke a hole so that you can pour a little water into it. Place clay back into the bag or an airtight container.
- You might need to remove some clay with the scraper. Ask a few students to help wipe down the tables.
- Ask table monitors to bring the trays with the sponges over to the sink, but do not ask them to wash them out. If there is no sink, ask the students to place the sponges in a bucket.
Tips
- Students who have not worked with clay may flatten their forms. With further experience they will begin to make forms that stand up.
- Students may experience sensory challenges when working with clay. Offer students clay in a Ziplock bag to manipulate in a way that is manageable for them.
- This is a perfect lesson to link to the shapes of blocks students have in their classroom or have worked with in Pre-K.
- Describe the difference between 2D and 3D shapes — triangle/pyramid, square/cube, and circle/sphere or ball.
Vocabulary
Clay, tool, experiment, prediction, moist, dry, roll, pinch, pull, poke, twist, fold, squeeze, sphere, coil, pyramid, cube, cylinder, arrange, rearrange, stack, on top of, next to