Overview
In this lesson, students will identify and draw all kinds of shapes.
Materials and Tools
- One piece of paper
- Drawing tools with color
- Shape and Color Walk video
- Exploring Line and Shape student slides
Objectives
- Students will be introduced to four elements of art: line, shape, color, and pattern
- Students will look closely to find shapes, then draw them
Student Outcomes
- Students will be able to create artworks using different shapes
Students will understand that:
- Shapes can be geometric or organic and can be found everywhere
Students will be able to:
- Observe and draw different shapes that they find
Activities
Note: The following steps are written with sample language you may use with your students as you go through the lesson. Explain to students that the slides and the video they see during the lesson will be shared with them so they can review the lesson on their own and continue to make more art.
Step 1: Introduction/Close Looking, with Student Slides #1-5 (10 minutes)
Welcome back, artists. In our last lesson we discovered that lines are everywhere in our environment. Today we will be going on a second scavenger hunt, but this time we will be looking for shapes. Be sure to have your close-looking goggles nearby!
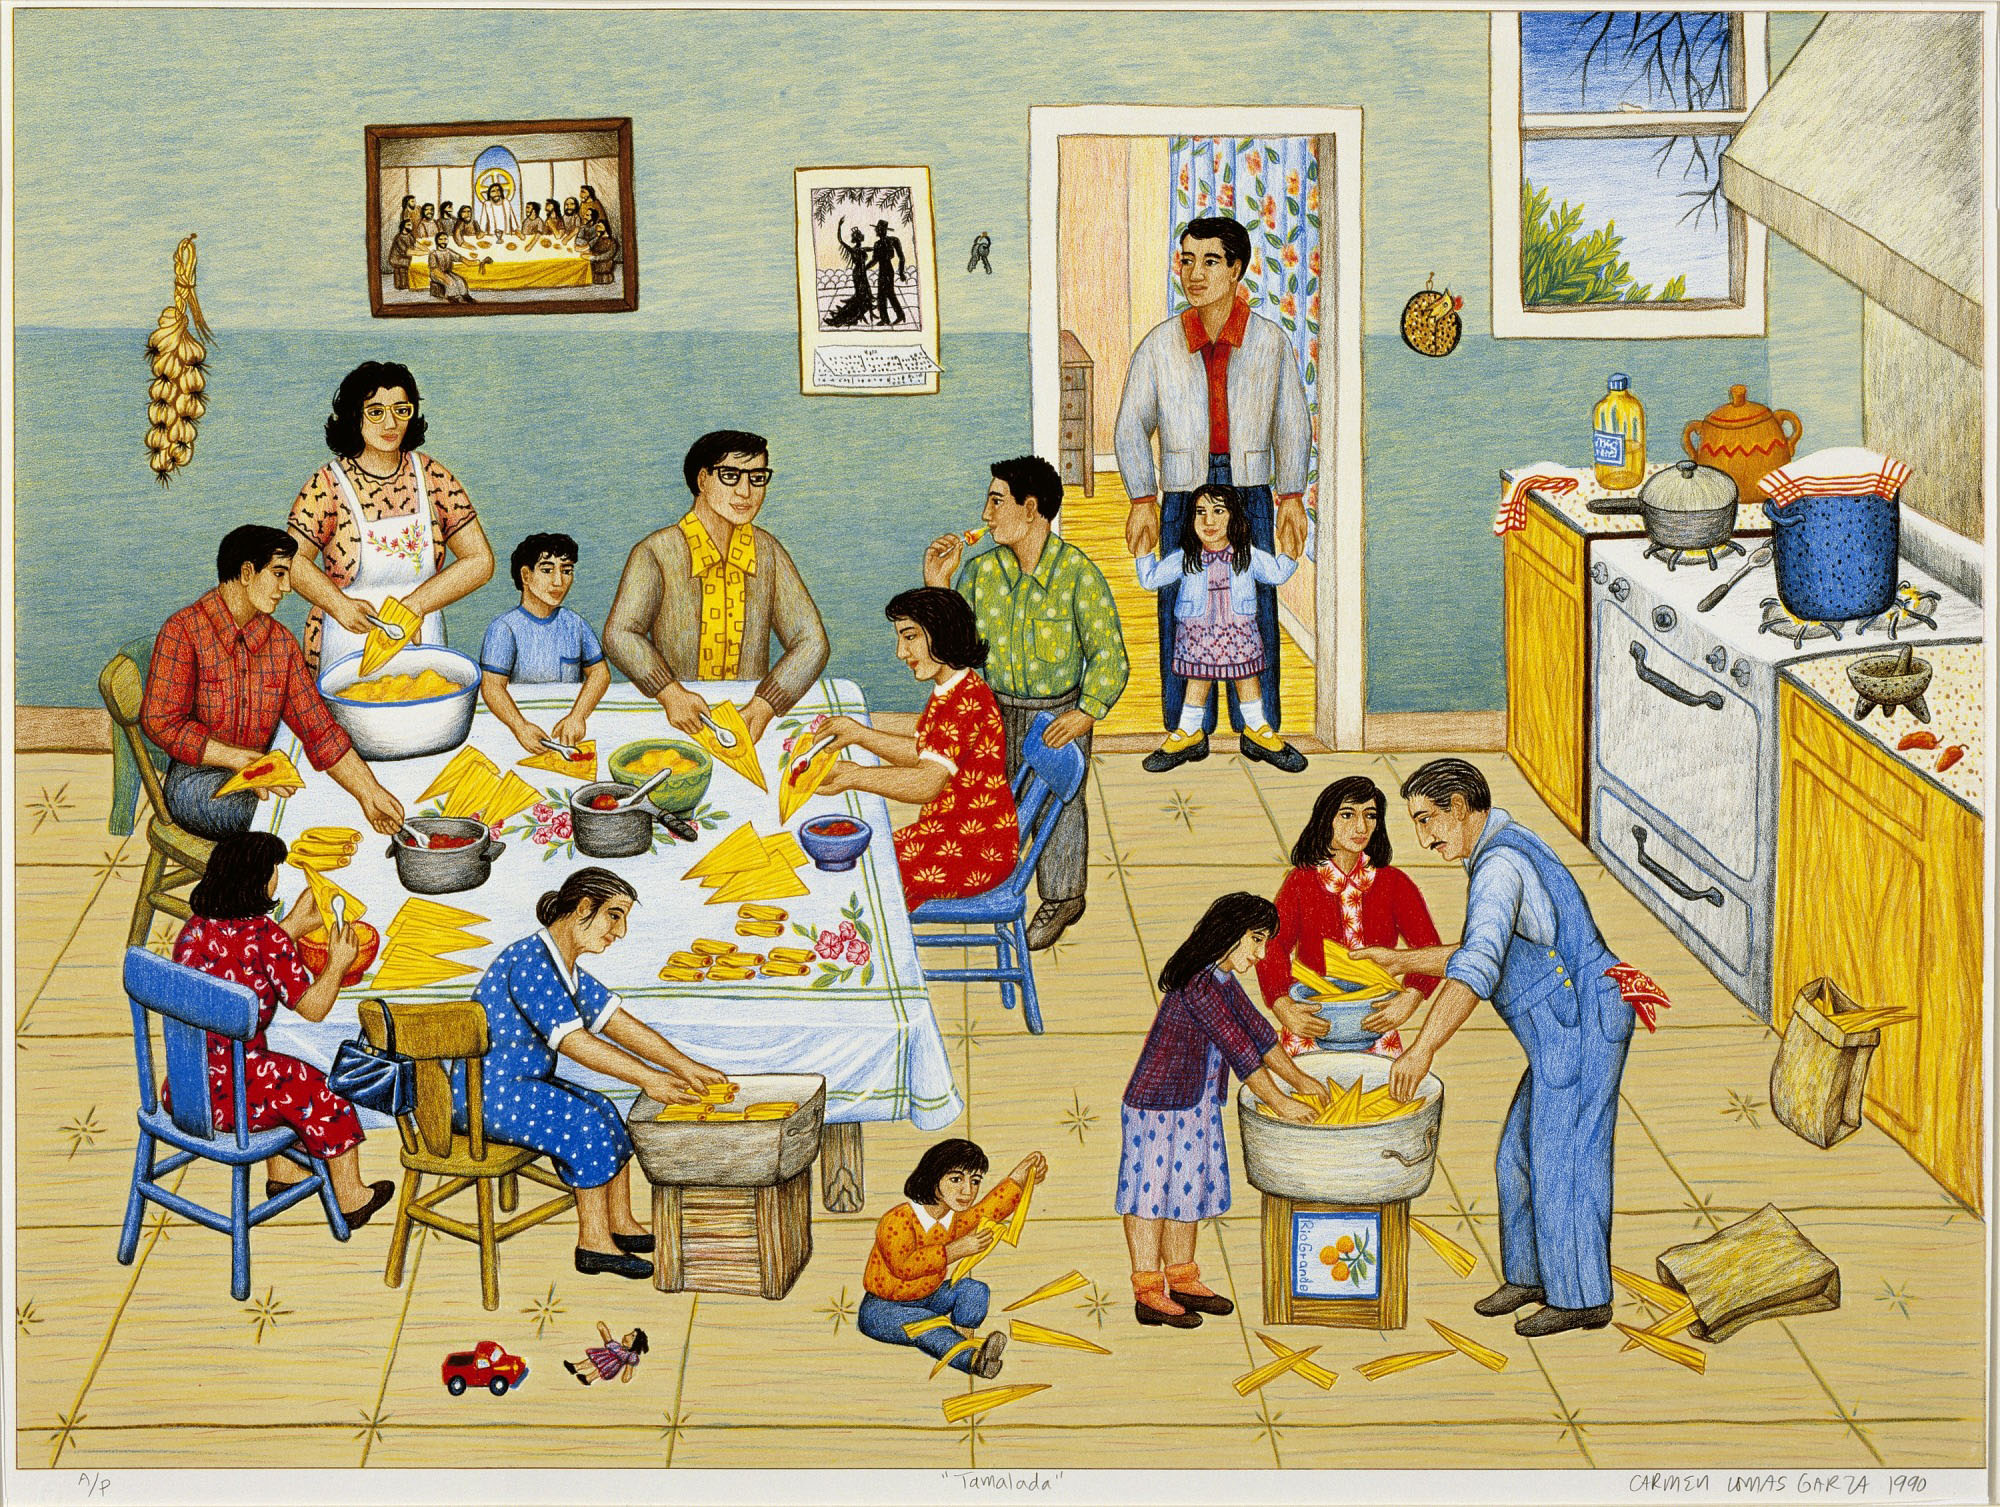
Before we get started, let’s warm up our eyes by looking at a painting by Carmen Lomas Garza. This work of art can be found in Slide #2 of your Student Slides.
- What lines do you see?
Bring your eyes to the back wall.
- Can you find a straight line that goes from side to side? Draw it in the air.
- Are there any lines in this work that are similar to the lines you discovered in your last scavenger hunt? Are they in the top, bottom, or middle of the painting?
Now that our eyes are warmed-up, let’s find some shapes. Look at Slide #3 in your Student Slides.
- What shapes from the list can you find in the painting?
This can be a bit challenging because there are so many interesting things happening in this work. For help, take a look at Slide #4. Notice how the arrow is pointing to the window in the shape of a rectangle. Now let’s go back to Slide #3 and see what other shapes we can find.
Are you up for a challenge? Turn to Slide #5 and see how many of each shape you can find. I just noticed that the straight line we observed on the back wall is making a really long ________.
Step 2: Watch Shape and Color Walk Video (14 minutes)/Shape and Color Walk, with Student Slides #6-9 (10 minutes)
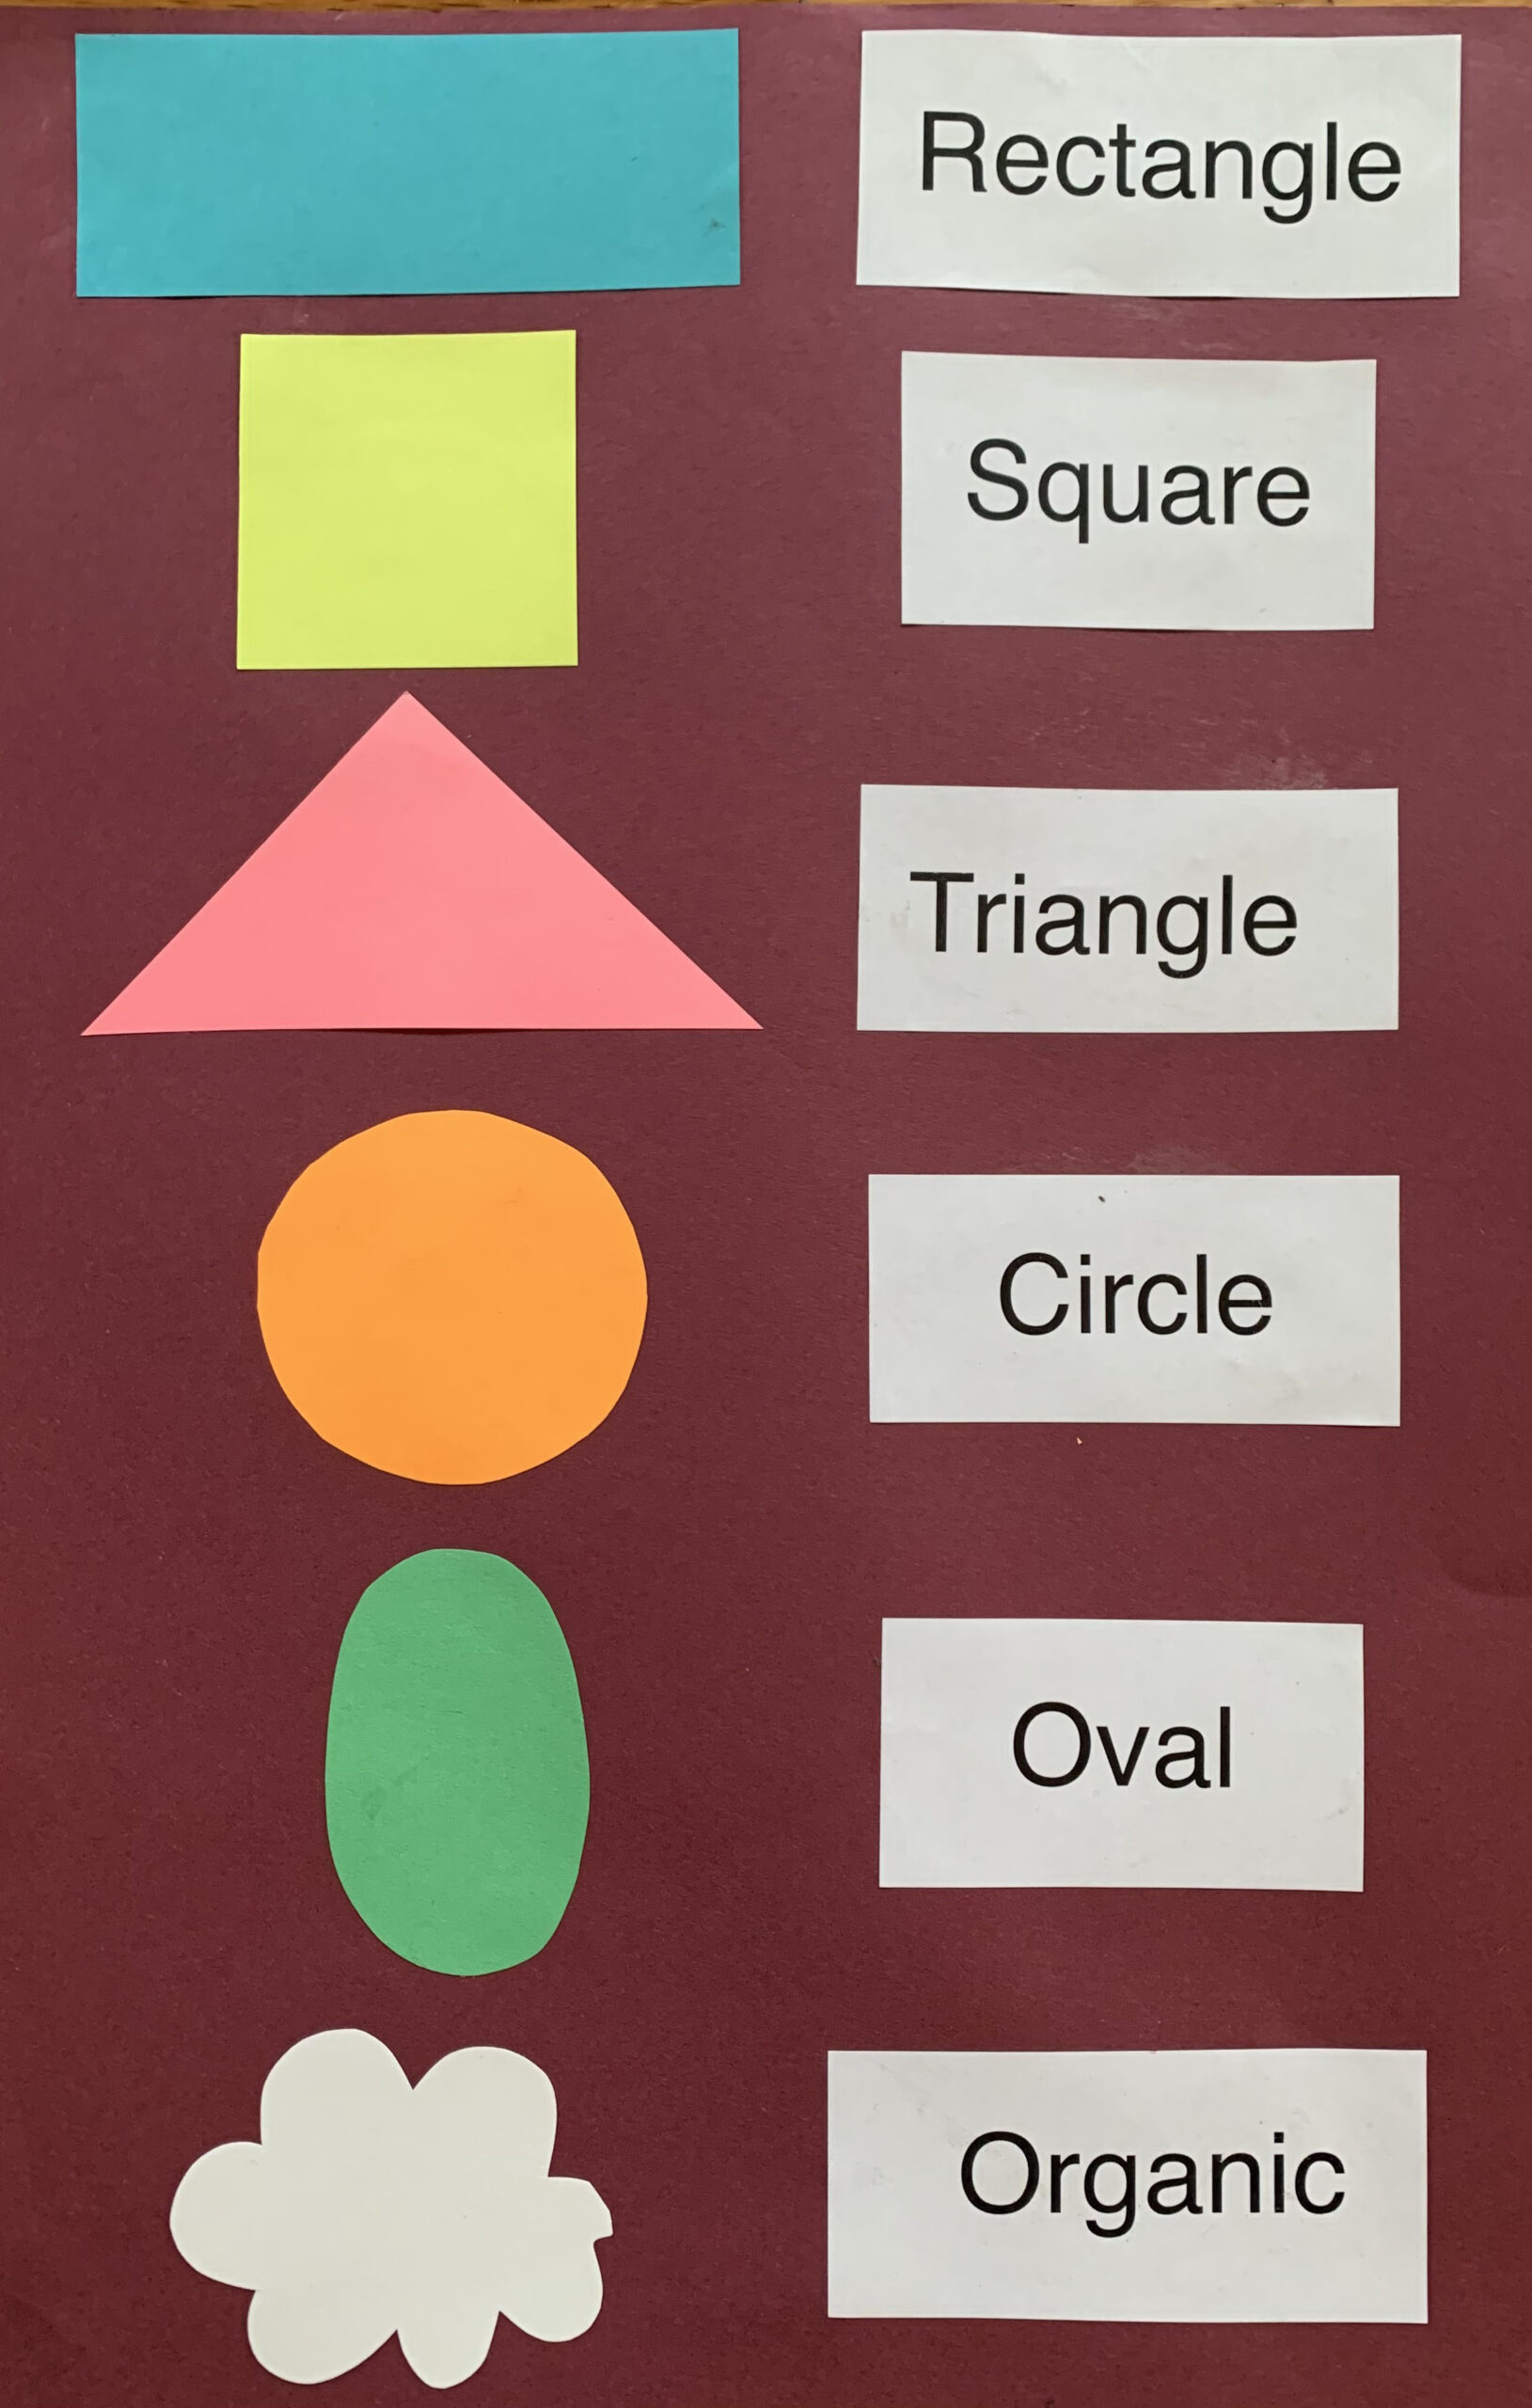
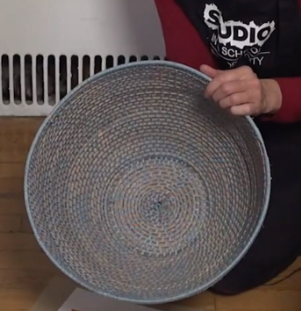
We just observed and identified shapes in a work of art. Now it’s time to look for shapes in our environment. Turn to Slide #6 to see an artist looking for shapes in her home.
- What shape is she pointing to?
- What color is the shape?
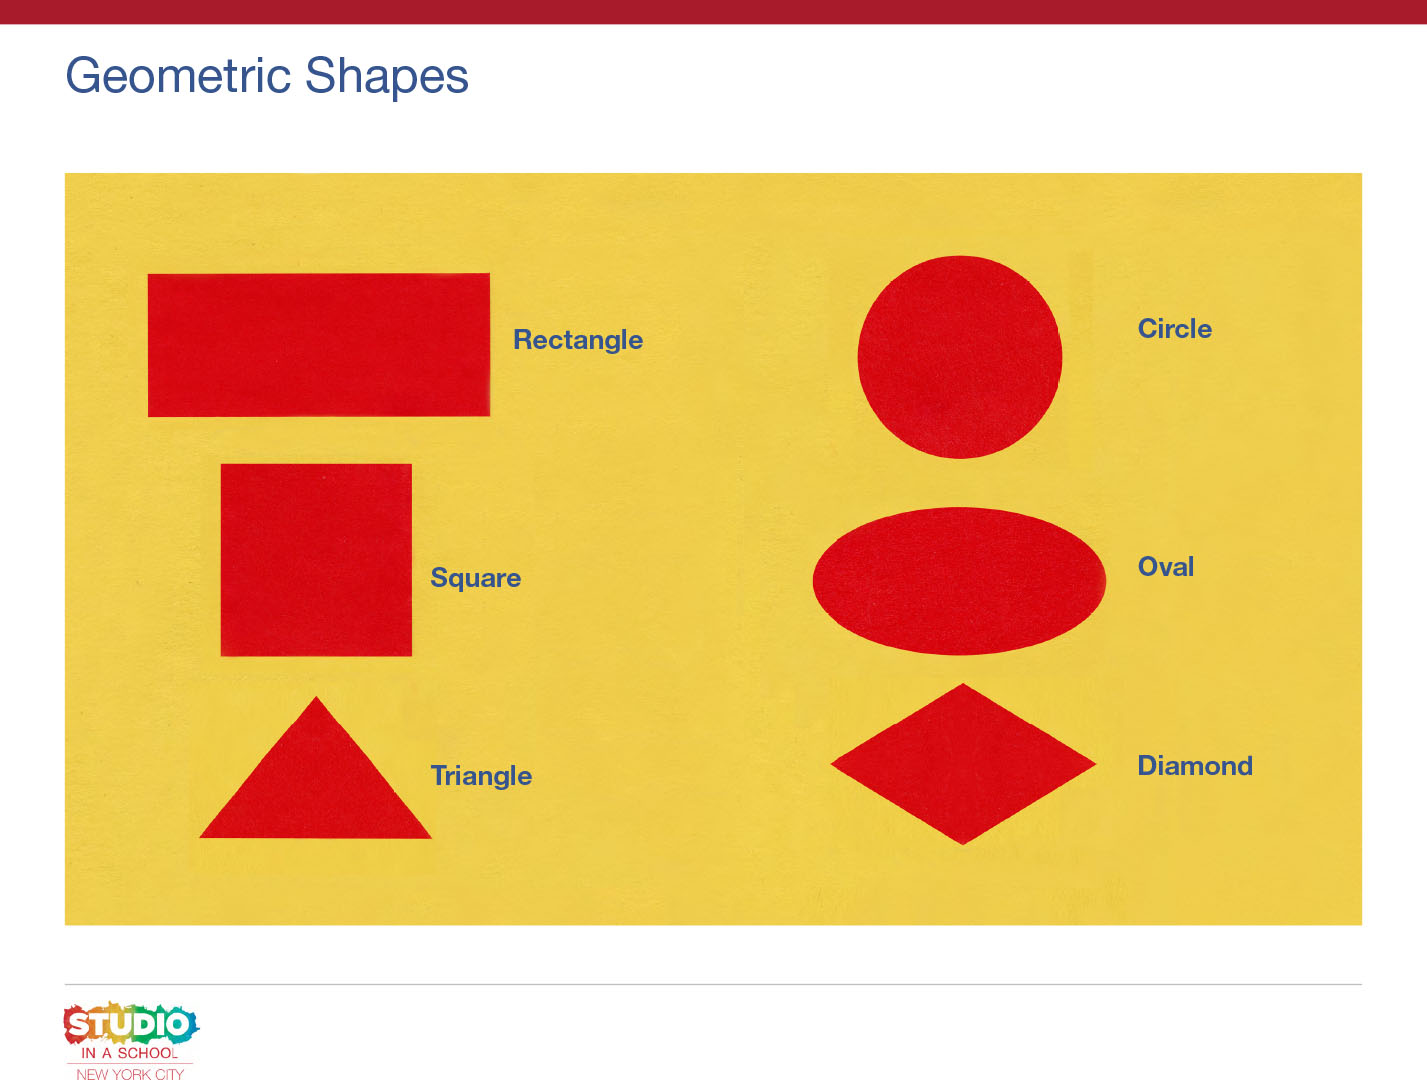
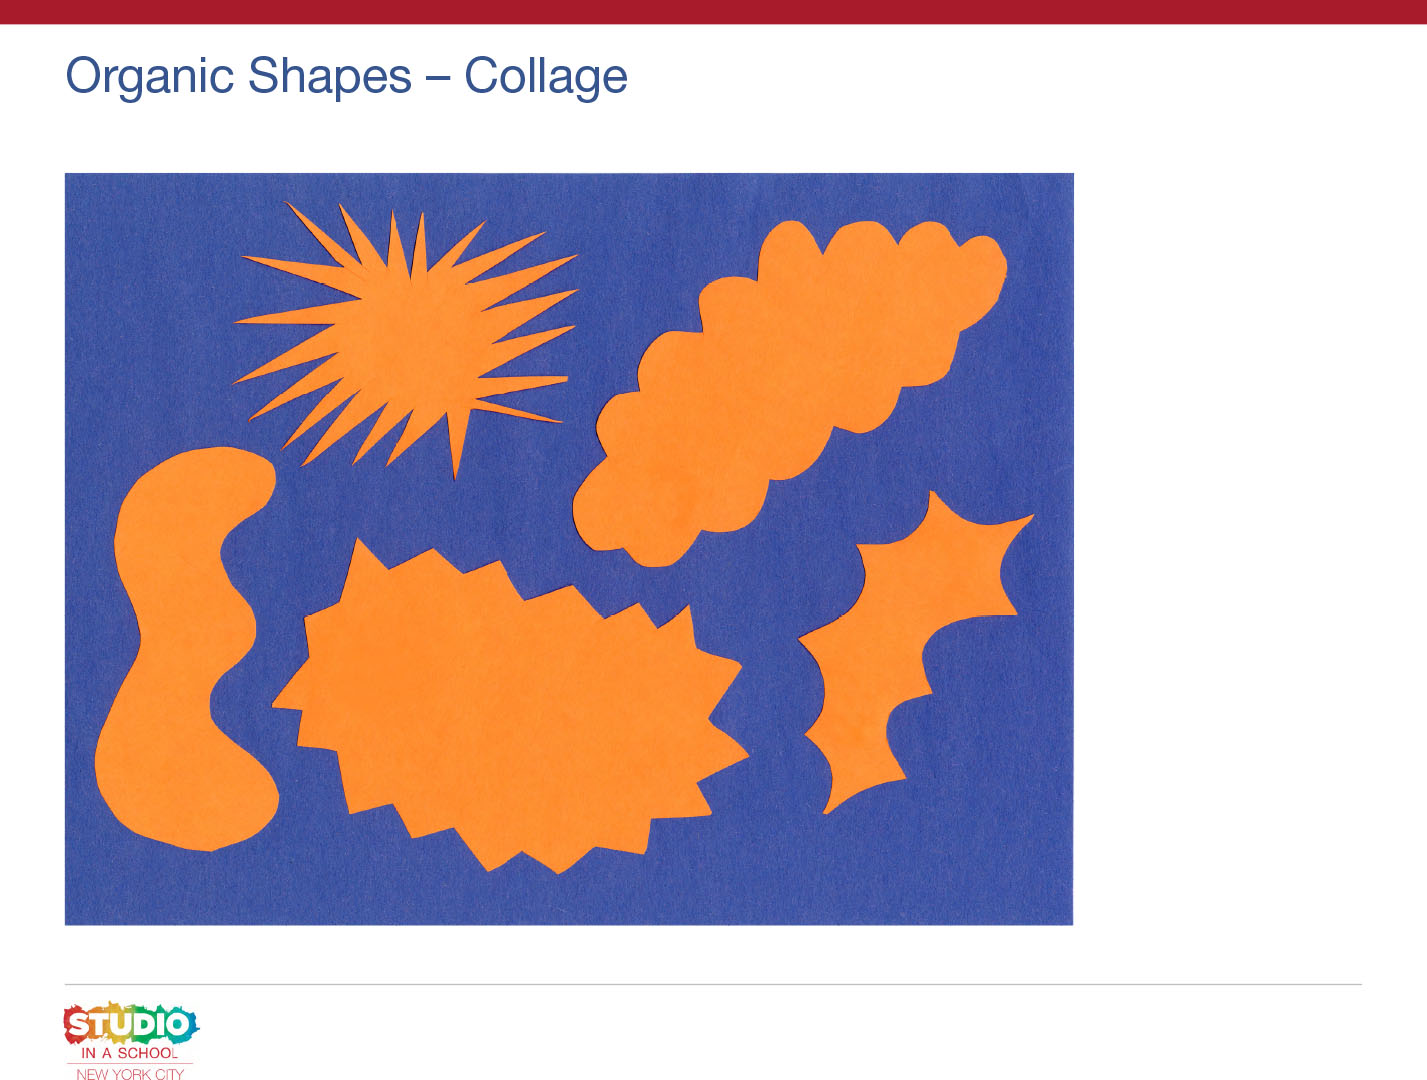
Let’s turn to Slide #7 and observe the list of shapes. Look at the shape all the way at the bottom.
- Does it remind you of anything from nature?
- How does this shape look different from the shapes above it?
A shape that looks like something from nature is called an “organic” shape. As you go on your shape walk, be on the lookout for organic shapes.
Let’s try it out. Put on your shape and color goggles and look for six shapes in your home. Try to find shapes from math and nature. Draw the shapes and colors you find. Have fun, artists!
For some more ideas of what to look for and where to look, review Slides #8 and #9.
Step 3: Drawing Shapes and Colors, with Student Slide #10 (15 minutes)
Now that we have a wonderful collection of shapes, let’s put them to work in a final drawing. Just like in our last lesson, we are going to think about where we want our shapes to be on our paper.
I found an organic shape on the leaves of my house plants. Hmm…I wonder if I should place it in the middle, top, bottom, or corner of my paper.
Let’s turn to Slide #10 to see how the artist placed her shapes.
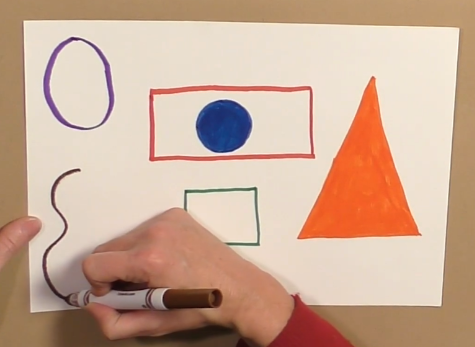
- What shape is next to the orange triangle?
- What shape is underneath the purple oval?
- Can you find a shape inside of a shape?
Now it’s your turn to draw and color your shapes on your paper. I wonder where you will draw your first shape. Have fun, artists!
Step 4: Reflection Questions for Discussion (10 minutes)
- What lines and shapes did you draw? Draw them in the air with your finger.
- Where did you draw them on your paper? Use these words: next to, above or on top of, below or under.
Vocabulary
Shapes
Triangle
Circle
Square
Rectangle
Oval
Organic
Resources