Overview
Students will reflect on their art making using close-looking, speaking, writing, and/or sketchbook prompts.
Materials and Tools
- Pencil
- Sketchbook or one to two pieces of paper
- Shape drawing from the previous lesson
Activities
Note: The following activities are written with sample language you may use with your students. Following the art-making lesson, you may choose as many reflection activities as desired for students to work on in class or independently.
Step 1: Close Looking: Julie Mehretu Painting (10 minutes)
Hello, artists! Today we are going to continue exploring shapes by looking closely at an artwork by Julie Mehretu and searching for some of the same shapes we found when we went on a scavenger hunt.
Note to Teachers: Before teaching with a work of art, spend some time closely looking at it on your own looking. Familiarizing yourself with the artwork will prepare you to guide the close-looking activity.
If your students are new to looking at art together, you can introduce the activity to students in the following way:
Today we are going to spend some time looking at and discussing a work of art together. When we look at art, there are no right or wrong answers. I’m going to ask you to look closely, share your ideas about what you see, and listen respectfully to each other’s ideas. Everyone’s ideas are important. We all see things differently, and when we look at art, we can learn to see through each other’s eyes.
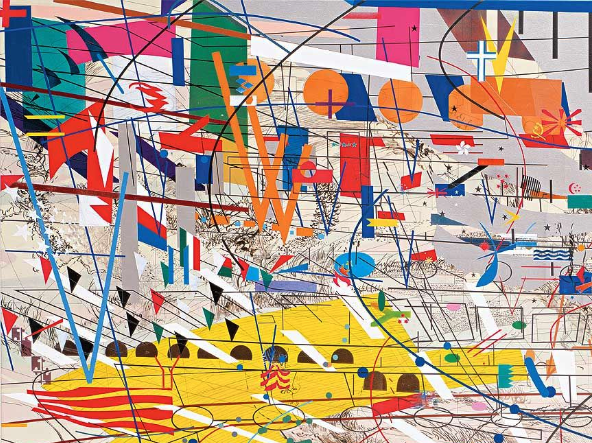
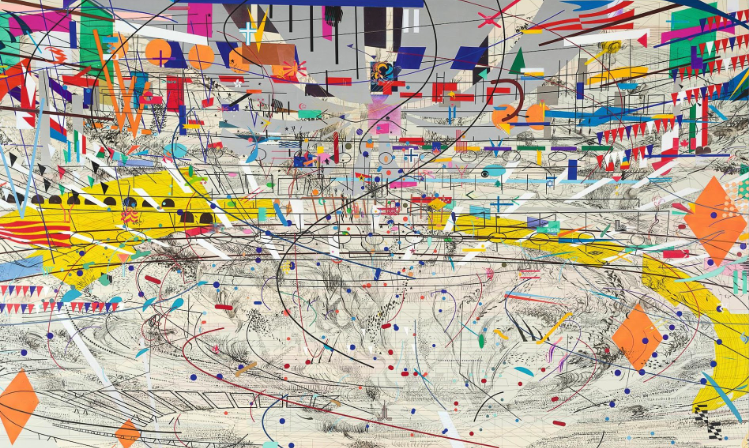
Let’s look closely at Stadia II by Julie Mehretu. Take a moment to look on your own.
Give students a silent minute to look.
This is a small section of a large painting by the artist Julie Mehretu. Julie Mehretu uses different kinds of places as inspiration for her paintings.
- Does this painting remind you of any place you’ve ever been?
- What do you see that makes you say that?
The artist used many different lines and shapes to make her painting.
- What kind of lines do you see in this painting?
- Where do you see that line?
- What shapes do you see? Where do you see that shape?
Draw each shape with your finger.
- What does that shape remind you of?
- What do you see that makes you say that?
Model finding lines and shapes in the painting, using the following vocabulary words:
Placement words: top, middle, bottom, corner, diagonal, next to
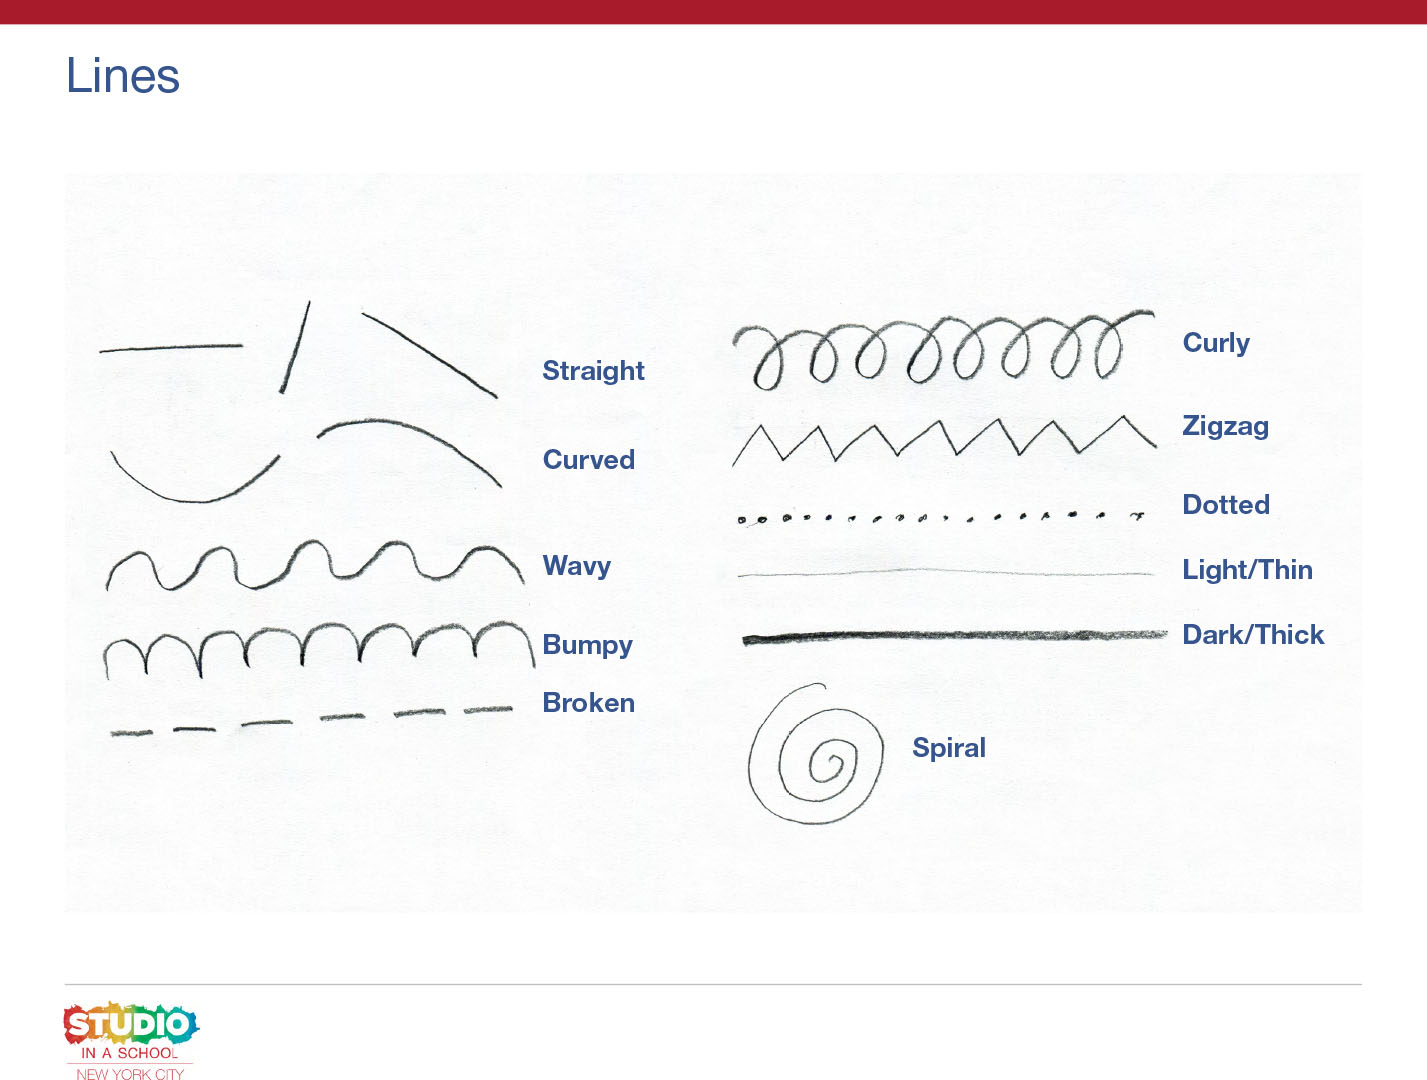
Line names: straight, curved, zigzag, wiggly, wavy, bumpy, broken, dotted
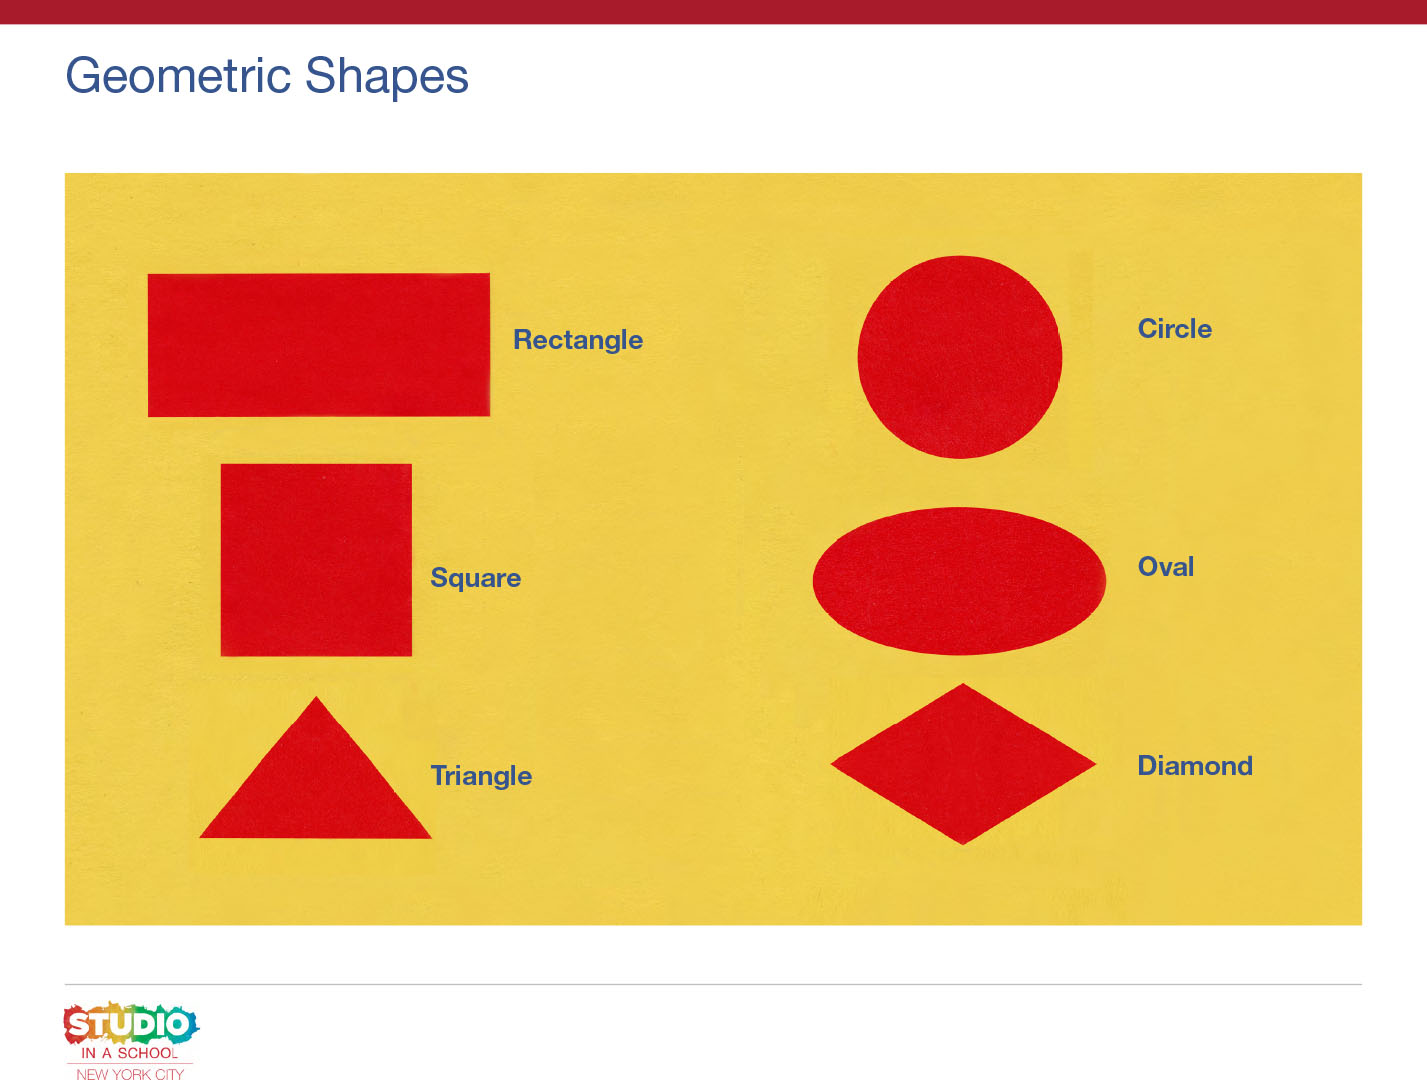
Shape names: circle, square, triangle, rectangle
Step 2: Writing Activity (10 minutes)
Now we are going to write about our artwork. Start by looking for a shape in your drawing.
- What color is the shape that you see?
Based on your students’ writing skills, choose from the options below:
Option 1: Write two sentences that tell us what kind of shapes you drew and what colors they are.
Option 2: Use the sentence frame below to write a sentence about your artwork.
I see a [color] [shape].
Option 3: Label your drawing with the shape vocabulary words above.
Step 3: Sketchbook Activity (10-15 minutes)
Look at the drawing you created from the shapes you found in your home. Look at how the shapes are arranged on your paper. I wonder if you could use these same shapes to make a different drawing.
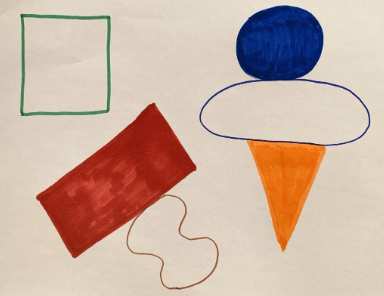
Model noticing each shape and making decisions about different ways to arrange them: I’m going to start by drawing my tall triangle. In my original drawing it’s in the middle of my paper, but I think now I will draw it in the corner of my paper.
- What shape should I draw next?
- Where do you think I should put it?
Take suggestions from students.
Now it’s your turn. How will you arrange your shapes differently to make a new drawing?
After students make drawings of their shapes in new arrangements, ask:
- How did you arrange the shapes in your new drawing?
Step 4: Lesson Review
Now you can do this on your own!
Vocabulary
Placement words: top, middle, bottom, corner, diagonal, next to
Line names: straight, curved, zigzag, wiggly, wavy, bumpy, broken, dotted
Shape names: circle, square, triangle, rectangle
Resources
Julie Mehretu, Stadia II. 2004, Carnegie Museum of Art: https://collection.carnegieart.org/searchbox=%22Julie+Mehretu%22
Adaptations
For Students with Disabilities
- Using sound: If you could step into this artwork, what sounds might you hear? Create a sound for a shape you found.
- Using bodies: Can you make a shape from the artwork with your body?
Which shape did you make?
For Multilingual Learners
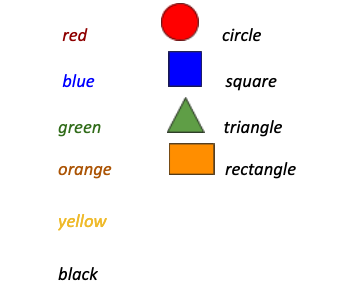
- Use colored font for color vocabulary, e.g., red, blue, yellow
- Use icons to provide a visual for a shape, e.g., red triangle = 🔺
- Use motion when showing a line or shape, i.e., tracing the line or shape with a finger in the air
Extensions
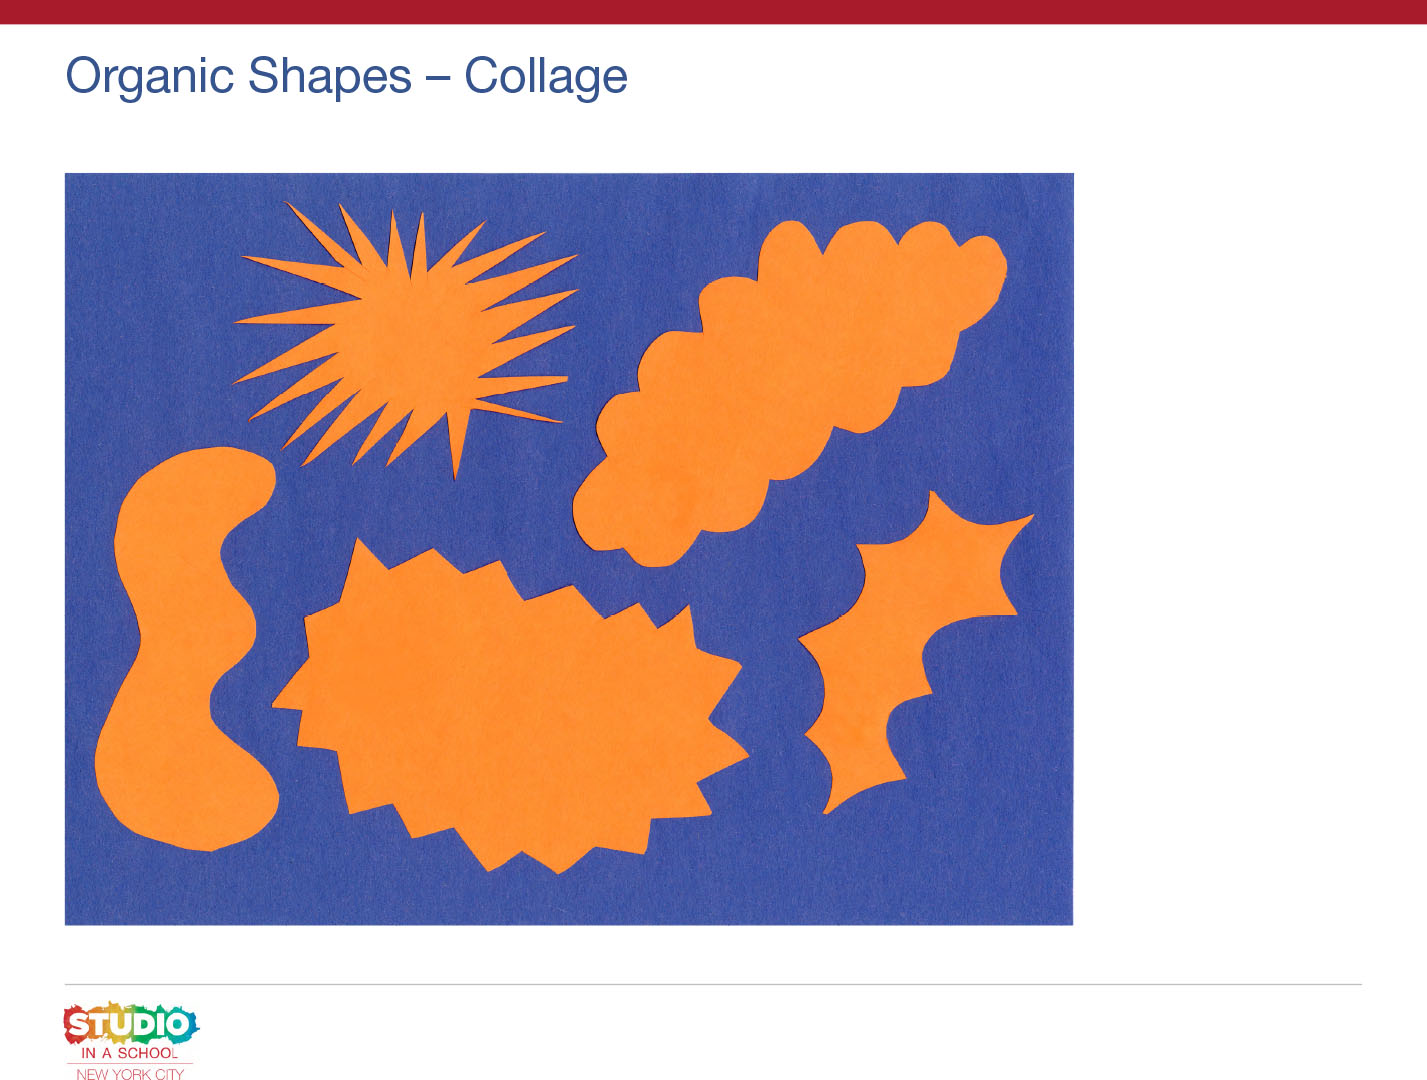
1st and 2nd Grade: Collage Art-Making Activity
Now that we’ve learned about all different kinds of shapes, let’s make some shapes using paper.
Have students cut or tear a variety of geometric and organic shapes. Encourage them to make different arrangements with their shapes, such as spreading their shapes out, overlapping or stacking them, or making a snake. After students arrange their shapes, ask:
- Which arrangement do you like best? Why?
Art materials and tools needed:
- Construction paper
- Scissors (optional; students can use their fingers to tear paper)
- Glue (optional; students can arrange shapes without gluing)
Kindergarten: Drawing Activity
Now that we’ve learned about all different kinds of shapes, let’s make another drawing trying all different ways of arranging shapes.
Have students try drawing different arrangements of shapes:
- Draw two shapes next to each other
- Draw a shape inside another shape
- Draw shapes that connect
- Draw shapes that overlap each other
Art materials and tools needed
- Paper
- Pencil
Close Looking: Julie Mehretu
Play a close-looking game of “Eye Spy” with students using Julie Mehretu’s Stadia II.
For example: I spy with my little eye… [four orange circles/a shape inside another shape/two shapes that overlap]. Can you find them? Where do you see that?
Model using the following vocabulary words to describe where you find a shape: top, middle, bottom, corner, diagonal, next to.
You can extend the game by asking these follow-up questions:
- What does this painting remind you of?
- What words can you use to describe this painting?