Overview
Students will prepare for upcoming art-making lessons using close-looking, speaking, writing, and/or sketchbook prompts.
Grade Level
6-8
Media
Sculpture
Theme/ Big Idea
Artists can express ideas by using different materials to make lines, shapes, and forms.
Essential Question
How can artists use everyday materials to make expressive face assemblages?
Materials and Tools
- Pencil
- Sketchbook or one to two pieces of paper
Activities
Note: The following activities are written with sample language you may use with your students. Following the art-making lesson, you may choose as many reflection activities as desired for students to work on in class or independently.
Step 1: Discussion (5-7 minutes)
Hello, artists! Today we are going to explore how artists convey different emotions through facial expressions.
- When you look at a person’s face, how can you tell what emotion they are expressing?
- Would someone like to be our model and demonstrate an emotion with their face?
(If no student volunteers, make a dramatic expression yourself.) - What emotion do you think they are showing us? How can you tell?
Repeat this two more times with different emotions.
- What do you notice about how facial features change when you change your expression?
Artists look carefully at how faces change when emotions change, and they use their observations to convey emotions in their art.
Step 2: Close Looking: Emotions in Portraits (10-15 minutes)
Note to Teachers: Before teaching with a work of art, spend some time looking closely at it on your own. Familiarizing yourself with the artwork will prepare you to guide the close-looking activity.
If your students are new to looking at art together, you can introduce the activity to students in the following way:
Today we are going to spend some time looking at and discussing a work of art together. When we look at art, there are no right or wrong answers. I’m going to ask you to look closely, share your ideas about what you see, and listen respectfully to each other’s ideas. Everyone’s ideas are important. We all see things differently, and when we look at art, we can learn to see through each other’s eyes.
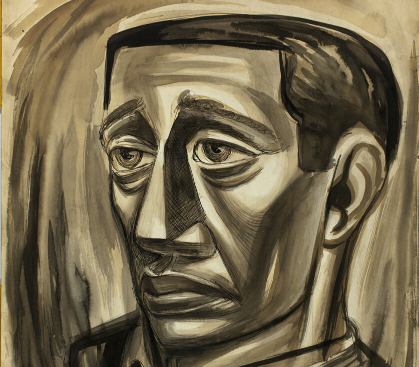
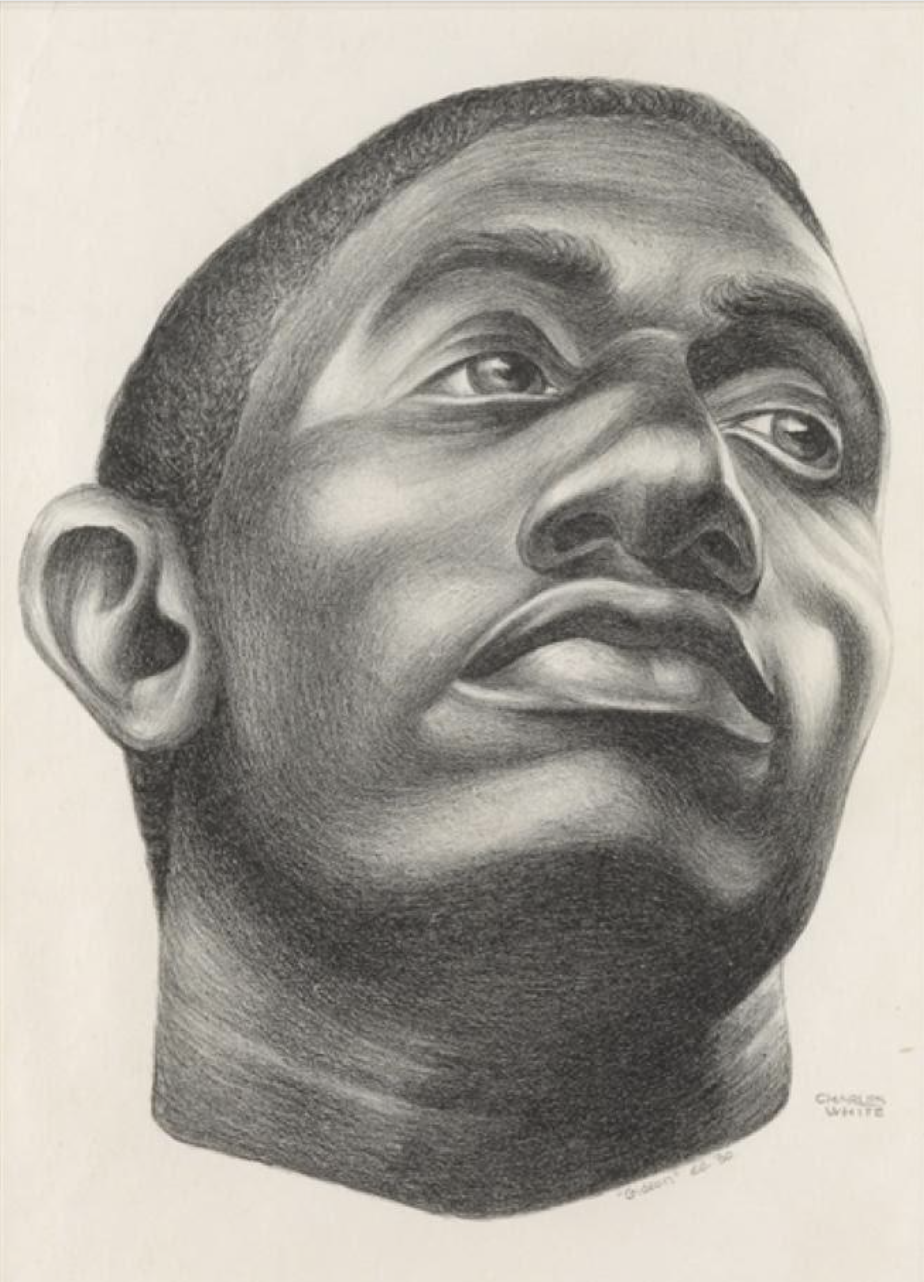
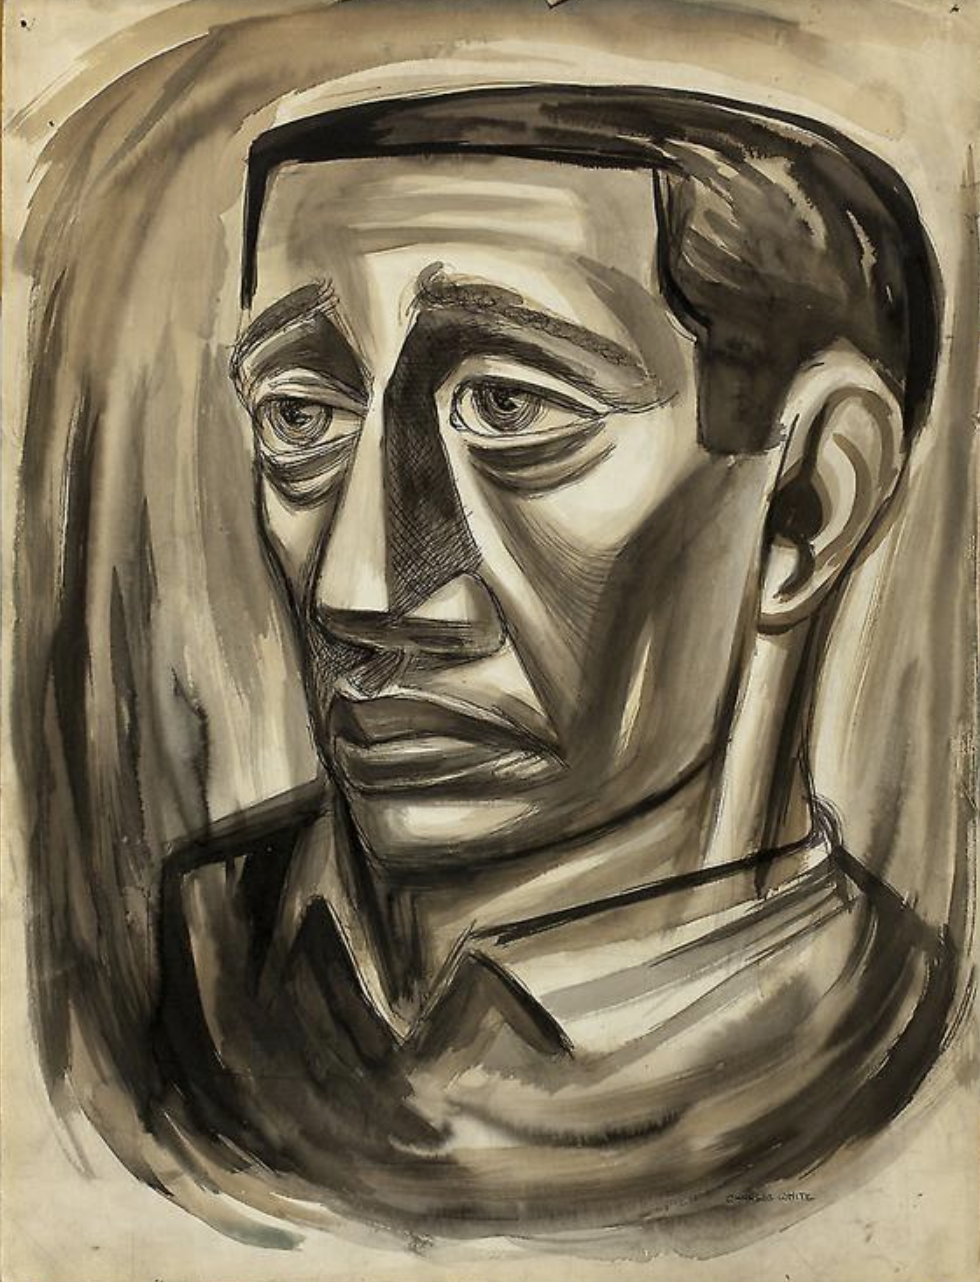
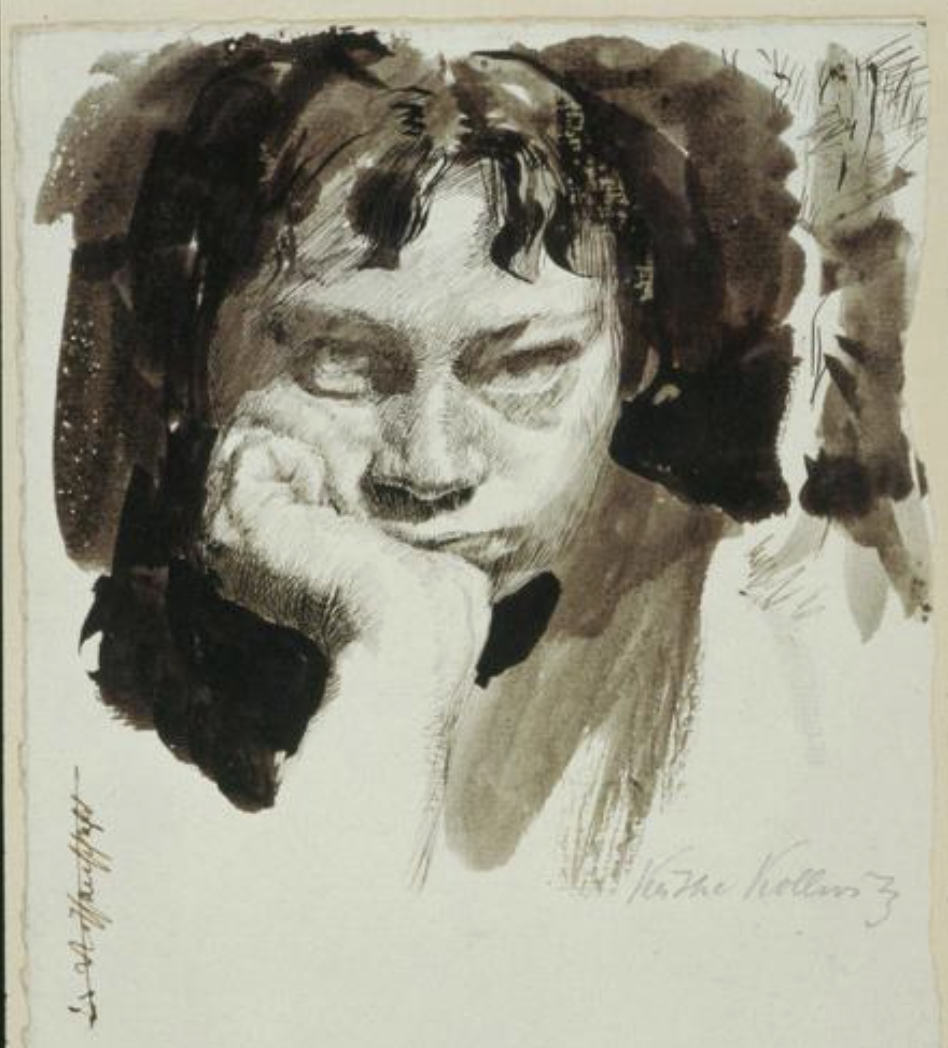
Take a moment to look closely at each of these artworks and think about what emotions each one conveys to you.
Give students a full minute to look.
- What is one emotion that you identified?
- Which artwork shows that emotion?
- What do you see that makes you say that?
Step 3: Writing Activity (10-15 minutes)
Take a moment to write a list of 10-15 emotions, moods, or states of mind.
Give students 5-7 minutes to create their list.
Look at your list and identify two emotions that are similar but different.
For example, I wrote the words “pleased” and “happy”.
- How do you think those emotions are different?
- What about “nervous” and “scared”? How are they different?
From your list, choose one of your more unusual emotions. Take a moment to free write about what makes you feel that way.
Step 4: Sketchbook Activity (15 minutes)
Look at the list of emotions you wrote down and choose five to act out with facial expressions. Look in the mirror or take photos while you act out the emotions. Look closely at your face and notice which parts change their shape, position, or angle when you express an emotion, and which parts stay the same.
After you spend some time making faces and observing them, draw a series of five quick face sketches that express different emotions. Make your face sketches as simple as possible, using just lines and shapes. Notice how simple line changes, such as angle, shape, size, and position can change the emotion.
Resources

Examples of Facial Expressions
Charles White, The Worker. 1938-57, Brush and pen and black and brown inks on illustration board, The Art Institute of Chicago
Charles White, Gideon. 1951, Lithograph in black on ivory wove paper, The Art Institute of Chicago
Käthe Kollwitz, Self Portrait with Supported Head. 1989-91:
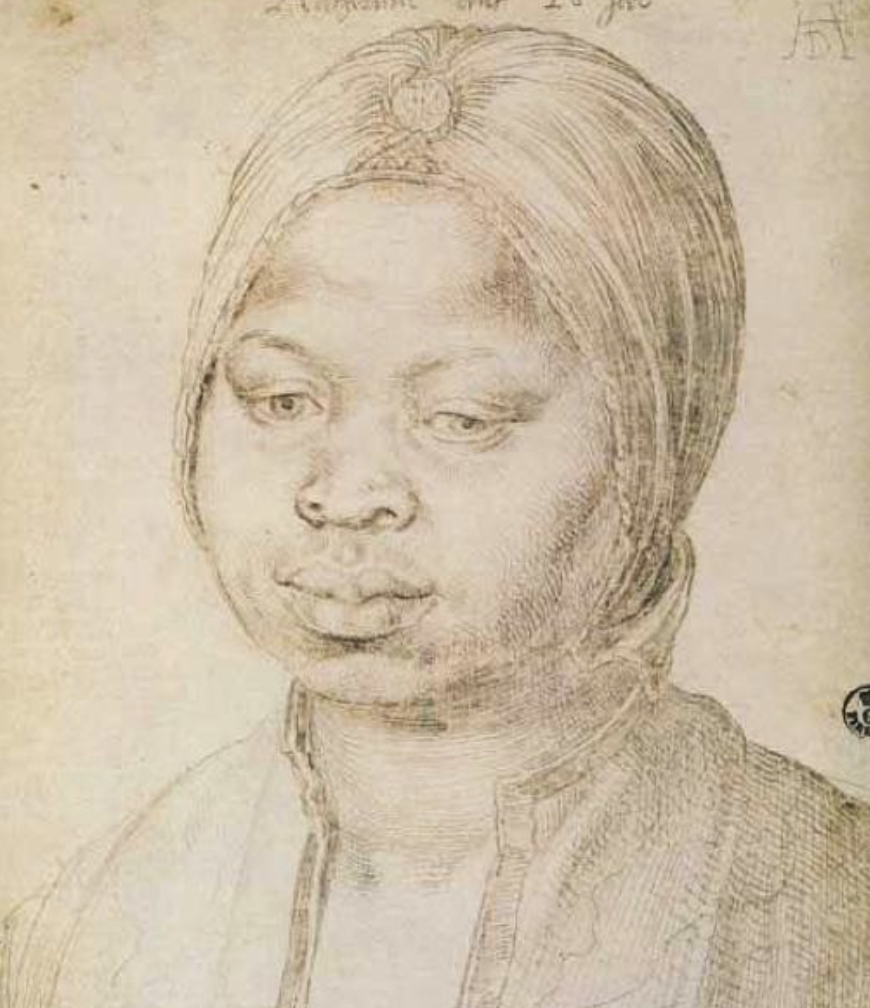
Albrecht Dürer, Portrait of the Moorish Woman Katharina. 1521