Overview
Students will sort their found objects into categories for each part of the face.
They will assemble their pieces to make faces, exploring different expressions.
Grade Level
6-8
Media
Sculpture
Theme/ Big Idea
Artists can express ideas by using different materials to make lines, shapes, and forms.
Essential Question
How can we use everyday materials to make expressive face assemblages?
Materials and Tools
- Found household objects
- Arranging Faces video
- Arranging Faces student slides
Objectives
- Students will transform and arrange materials to convey meaning and explore facial expressions.
- Students will document their work to compare and contrast each experiment.
Students will understand that:
- Selection is a powerful tool of expression that demonstrates preferences and identities
- By arranging and rearranging materials, multiple meanings can be explored
- Artists evoke emotion through their use of materials
Students will be able to:
- Gain sensitivity to materials, beyond their original functions
- Understand that the meaning of an object will change according to the context
- Develop an informed, critical eye to their surroundings
- Create expressive faces with nontraditional materials
Activities
Note: The following steps are written with sample language you may use with your students as you go through the lesson. Explain to students that the slides and the video they see during the lesson will be shared with them so they can review the lesson on their own and continue to make more art.
Step 1: Introduction, Close Looking, with Student Slides #1-2 (10 minutes)
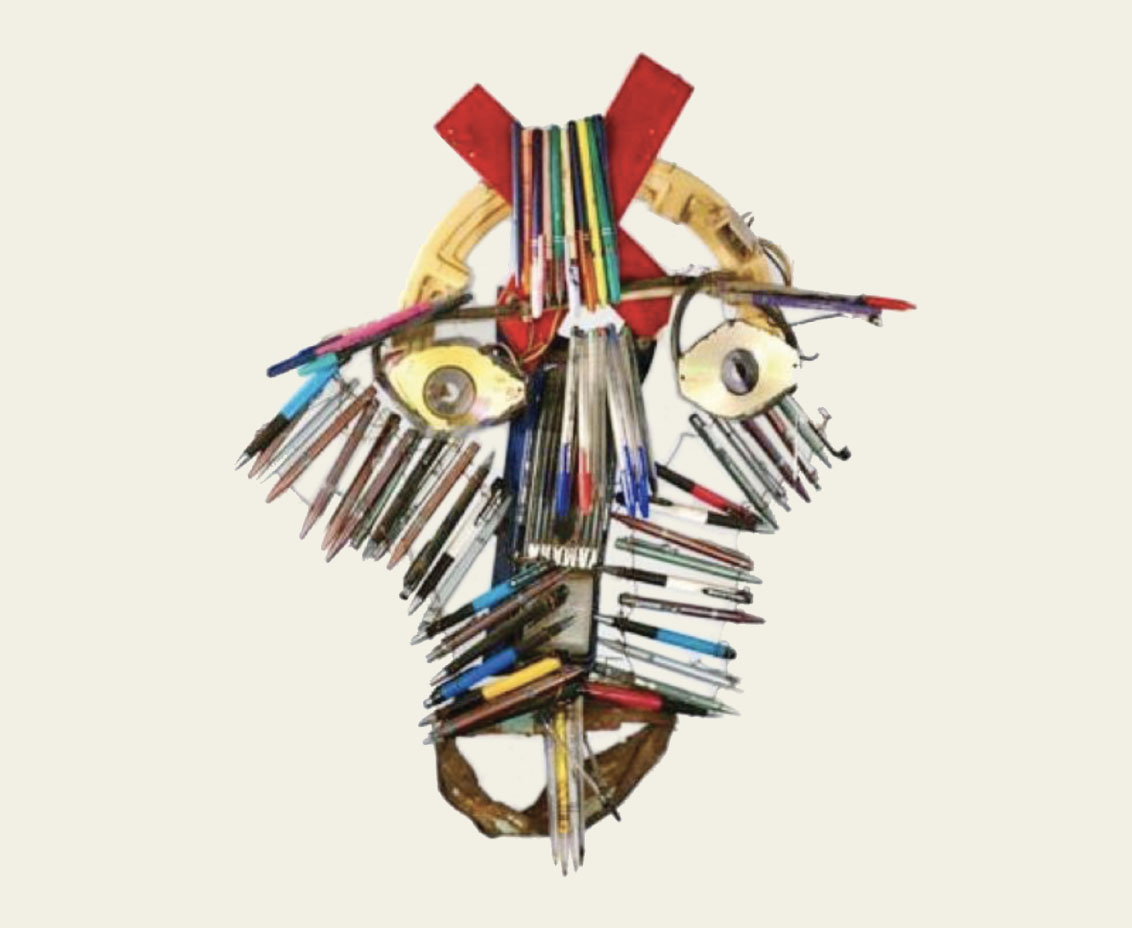
In the previous lesson, we learned that assemblage is a work of art made up of found materials. Today we will use our previously selected and sorted materials to explore creating facial expressions. Observe Calixte Dakpogan’s Oba in Student Slide #1.
- What expression does the face convey?
- How do the choices of materials, and their arrangement for the facial features, help convey that expression?
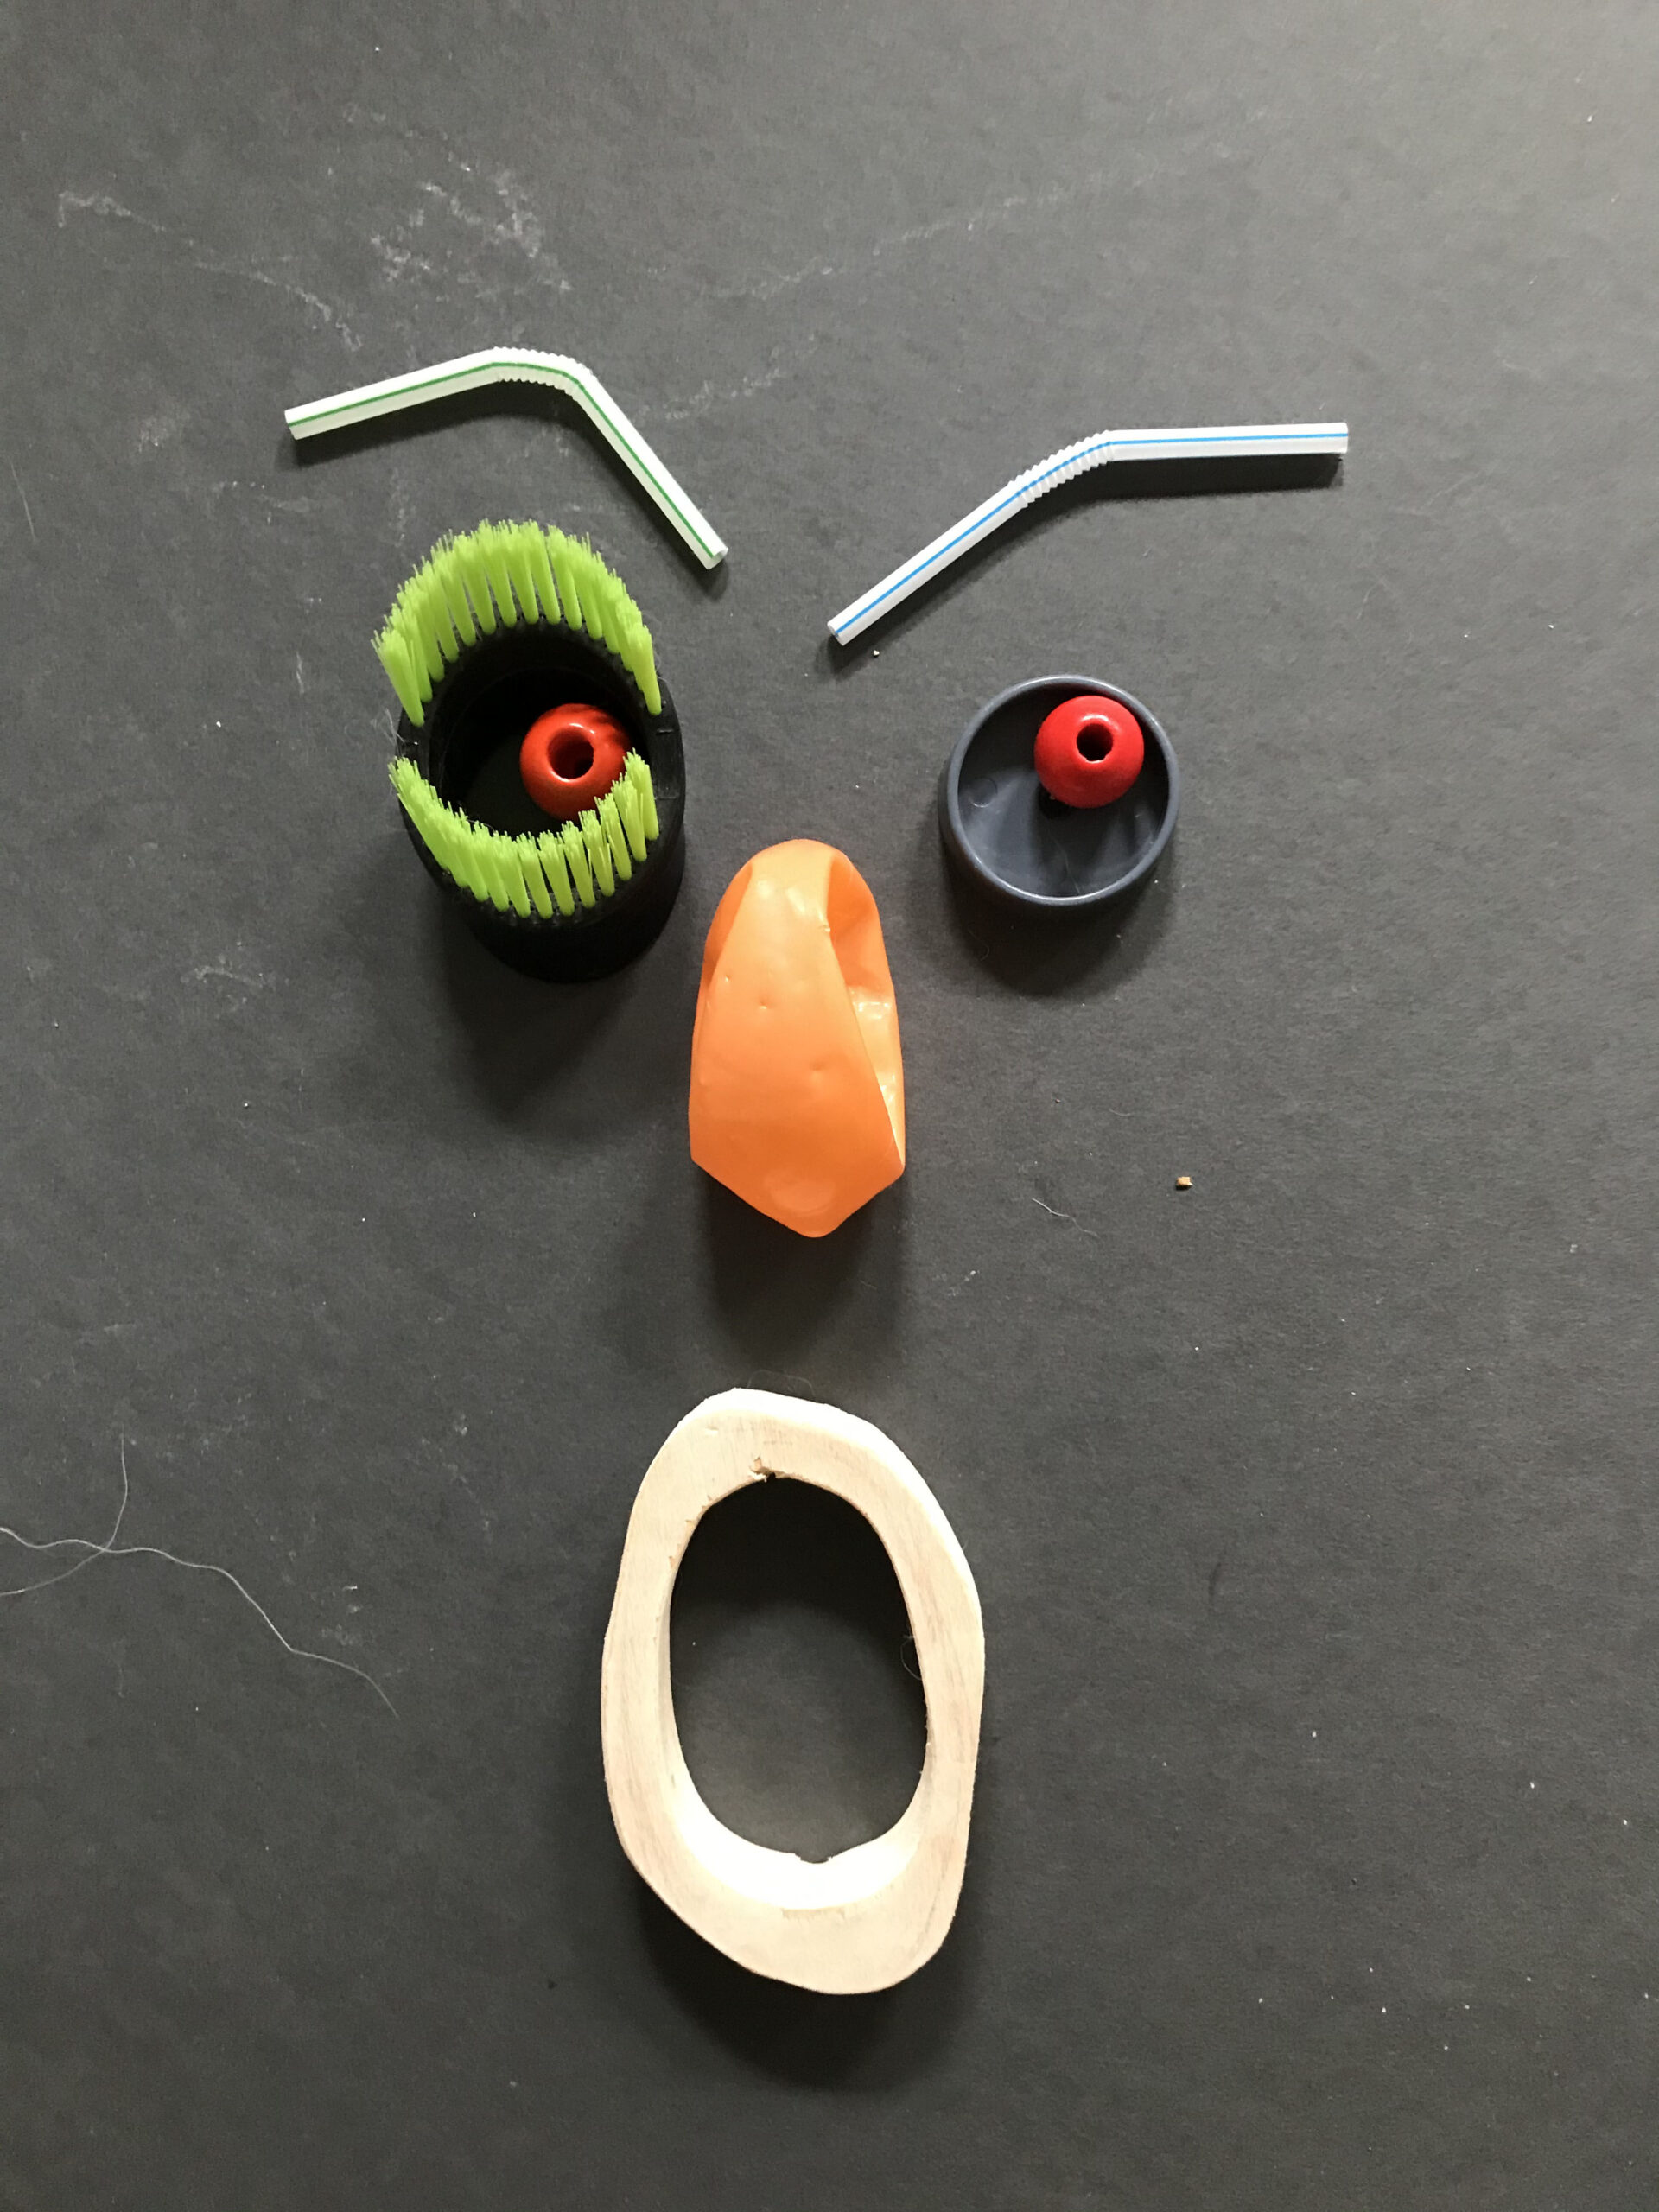
Look at Slide #2. Compare the different found objects used to create eyes.
- What physical characteristic does the toilet paper have that gives the eyes a surprised and silly expression?
As you arrange your facial expression today, keep these ideas in mind.
Step 2: Watch Arranging Faces Video (10 minutes), Sort Objects into Groups that Most Resemble Each Part of the Face, with Student Slide #3 (10 minutes)
Previously, you sorted your materials in different categories, such as by texture and color, to learn about the physical qualities of your found objects. Today, you will be sorting your objects by what facial features they resemble.
Look at Student Slide #3.
- Based on your observations, what facial feature do the objects on the left resemble? Why?
Take note of the way multiple objects of various sizes are used to describe details. This is something you may also want to explore later.
Begin sorting your objects by facial features as explained in Slide #3. As you sort your materials, be sure to analyze all of their physical qualities. Try turning the objects to consider different perspectives. Remember to review your photo documentation to support your sorting process.
Step 3: Arrange Materials to Create Different Facial Expressions, with Student Slides #4-5 (10 minutes)
Observe Student Slide #4.
- What facial expression do you see?
- How does the choice of objects and their placement create that expression?
In your mind’s eye, turn the mouth from vertical to horizontal.
- How does the expression change?
Try it once more, but this time imagine the placement of the object at a diagonal.
- What expression is conveyed this time?
Try this out in your work today.
Look at Slide #5.
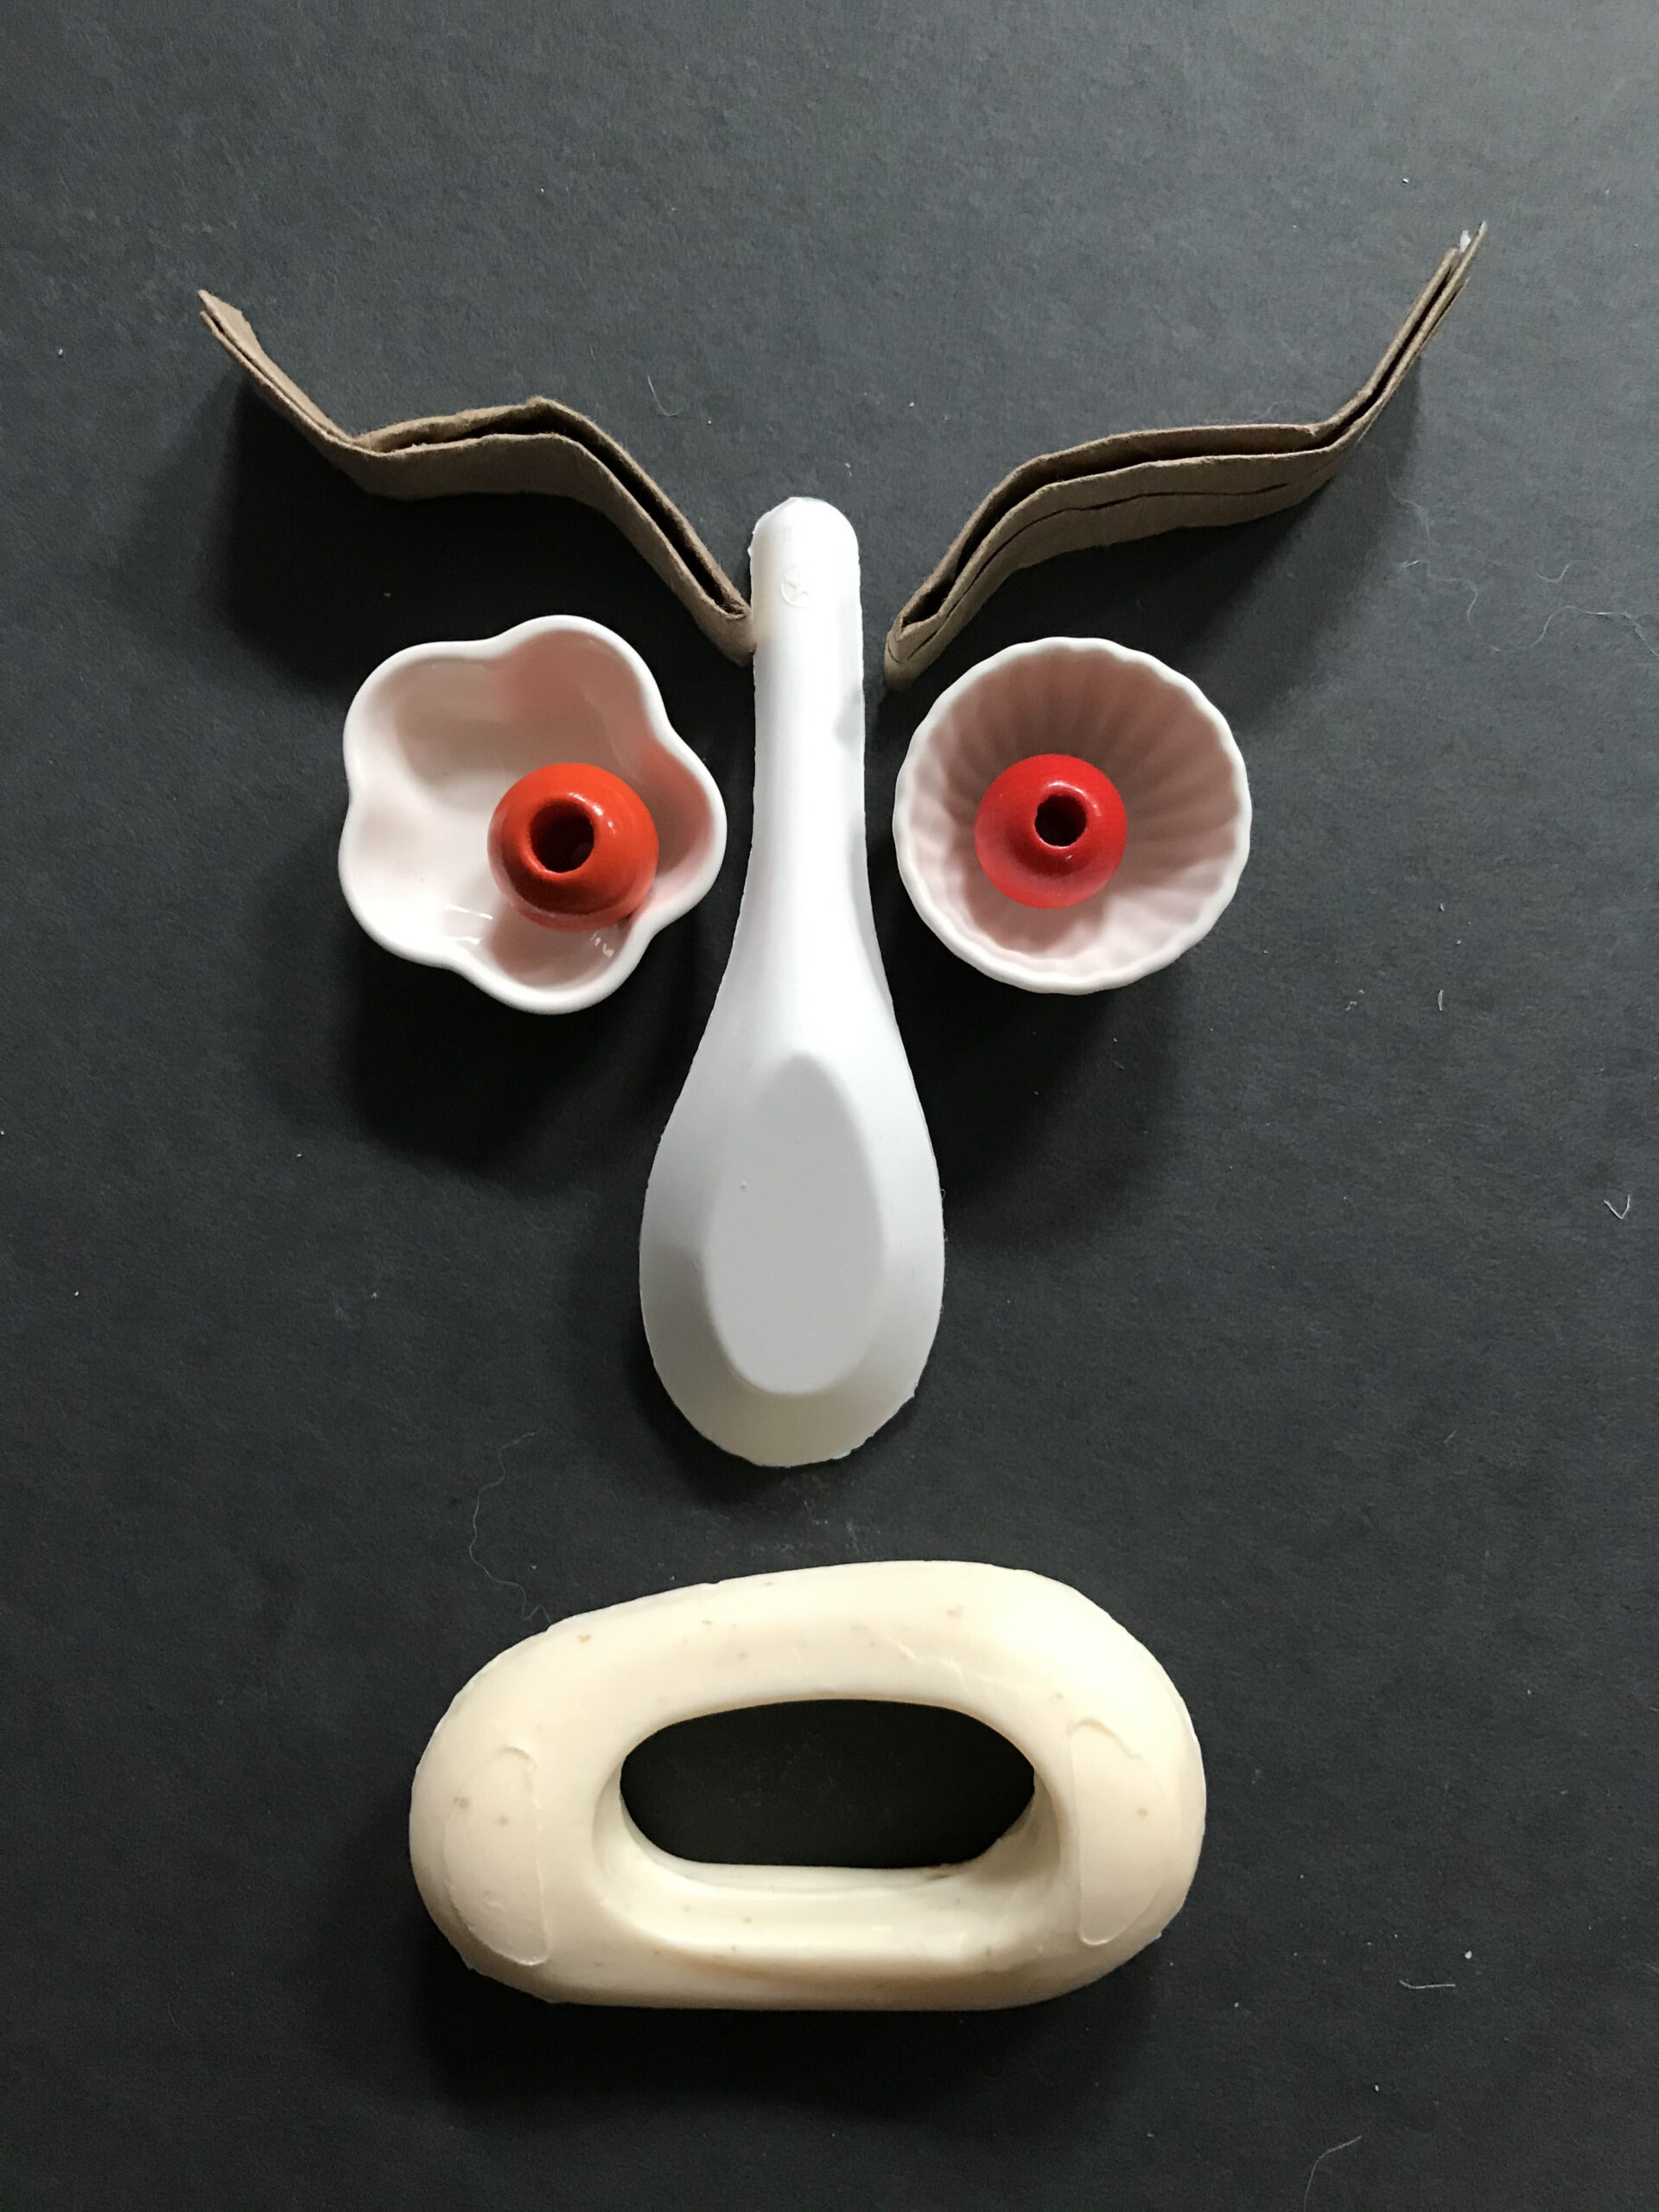
- What emotion would you assign to each assemblage?
Notice how even the smallest objects can have a large impact on the expression. Read Slide #5 and begin creating your facial expression. Remember to document all of your faces with a photo or a quick sketch.
Step 4: Reflection Questions for Discussion (10 minutes)
- How did you create different faces?
- Did you make the face first and then decide what emotion it reminded you? Or did you think of the emotion first and then create it with your materials?
- Do the textures, colors, or shapes of your objects remind you of different emotions?
Which ones? - Which of the faces do you like best, and why?
Close Looking
Look closely at these works of art by Lou Hirshman and Calixte Dakpogan.
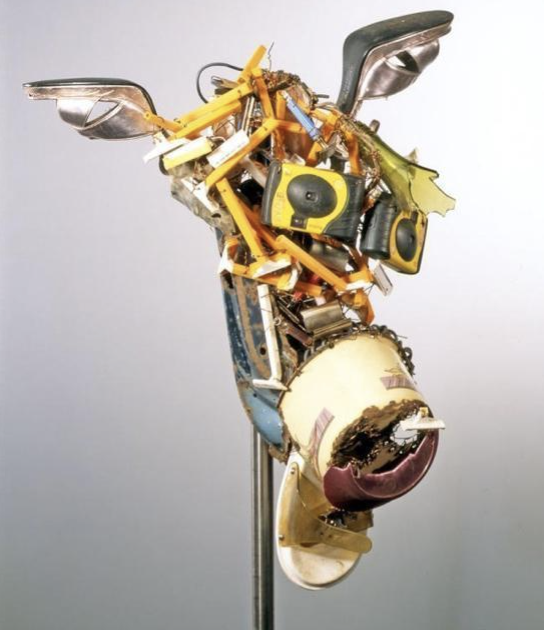
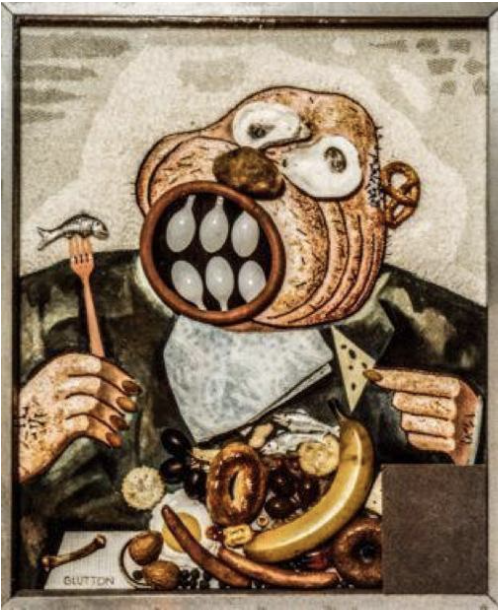
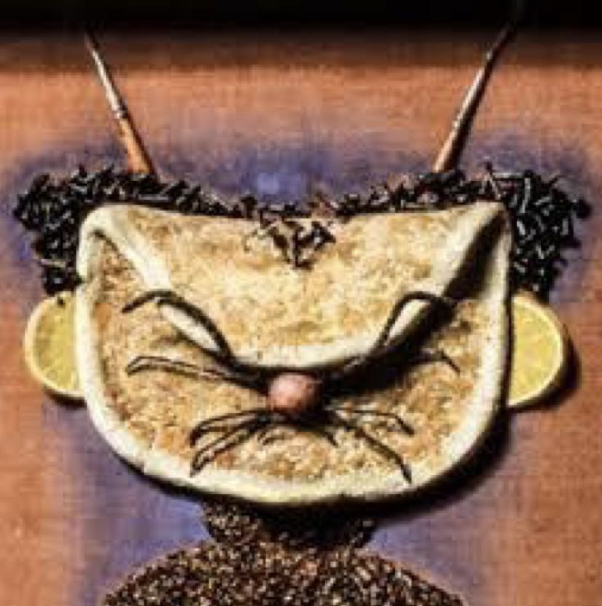
- What materials and objects do you see?
- How did the artists arrange the materials?
- What emotions do you think these faces show?
- What do you see that makes you say that?
Vocabulary
Arrange
Expression
Emotion
Resources

Examples of Facial Expressions
- Lou Hirshman, Glutton. 1970s: http://hirshman-art.com/inspiration/glutton-missing/
- Lou Hirshman, The Artist in Caricature. 1949: http://hirshman-art.com/portfolio/self-caricature/
- Lou Hirshman artwork: http://hirshman-art.com/portfolio/
- Romauld Hazoumè sculptures: https://octobergallery.co.uk/artists/hazoume?slug=hazoume/
- Willie Cole sculptures of masks: https://www.williecole.com/masks-1
- Senga Nengudi artwork: https://www.moma.org/artists/40531?=undefined&page=&direction=
https://www.moma.org/learn/moma_learning/senga-nengudi-r-s-v-p-i-19772003/
Adaptations
For Multilingual Learners
- Look at one face you made and think about the emotion it expresses.
- The objects I used to create my face are ______________.
- The objects reminded me of a(n)________ emotion because ___________.