Overview
Students will reflect on their art making using close-looking, speaking, writing, and/or sketchbook prompts.
Materials and Tools
- Pencil
- Sketchbook or three to four pieces of paper
- Additional drawing tools: lead pencil, colored pencil, oil pastel, chalk pastel, charcoal, marker, fine black marker, or any other kinds of drawing tool that
you have
Activities
Note: The following activities are written with sample language you may use with your students. Following the art-making lesson, you may choose as many reflection activities as desired for students to work on in class or independently.
Step 1: Lesson Introduction and Discussion (5 minutes)
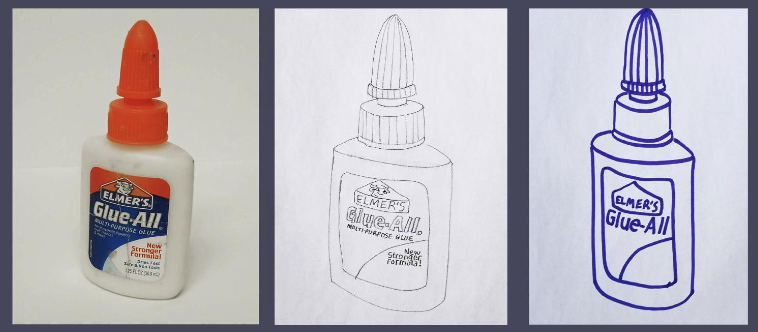
In the last lesson we explored different techniques for using a pencil to make marks and lines. Then we made a contour line drawing.
A contour line drawing defines the outline of an object and its interior details with a single line. There is no shading in a contour line drawing.
- Why do you think artists make drawings using contour lines?
- What was surprising to you about creating a contour line?
Step 2: Sketchbook Activity (20 minutes)
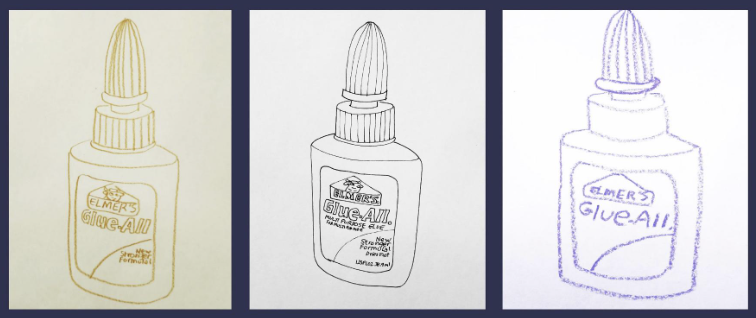
Now, we will practice drawing with contour lines using different kinds of drawing tools.
You can use any drawing tool you can find. Any of the following tools would work well: lead pencil, colored pencil, oil pastel, chalk pastel, charcoal, marker, fine black marker, or any other kind of drawing tool that you have.
Choose a new object from your home or use the object you drew in the last lesson. Make two to three contour line drawings using these different tools.
Step 3: Writing Activity (20 minutes)
Write your responses to the following questions about exploring different
drawing tools.
- Do you have a favorite drawing tool? Why?
- Is there a drawing tool you found challenging to use? Why?
Make a list of details or objects you would like to draw.
Step 4: Close Looking: Robert Gober (10 minutes)
Note to Teachers: Before teaching with a work of art, spend some time looking closely at it on your own. Familiarizing yourself with the artwork will prepare you to guide the close-looking activity.
If your students are new to looking at art together, you can introduce the activity to students in the following way:
Today we are going to spend some time looking at and discussing a work of art together. When we look at art, there are no right or wrong answers. I’m going to ask you to look closely, share your ideas about what you see, and listen respectfully to each other’s ideas. Everyone’s ideas are important. We all see things differently, and when we look at art, we can learn to see through each other’s eyes.
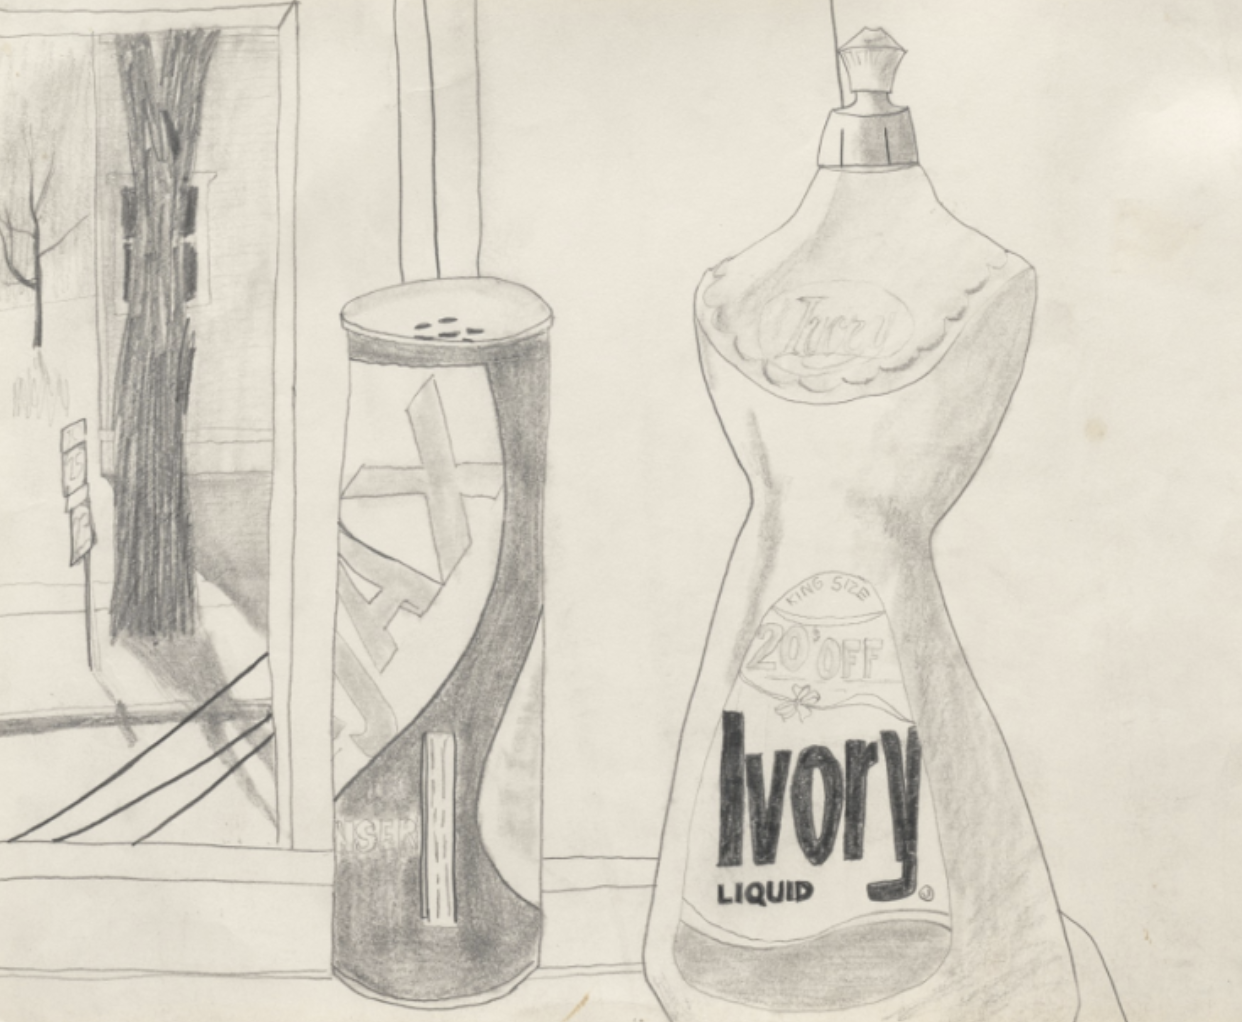
Notice the lines and marks that the artist Robert Gober used to draw the two household cleaning products.
- How would you describe them?
- How are they similar and different from the lines and marks he used to describe the trees in the background?
- What do you see that makes you say that?
By changing the pressure of his mark, the artist was able to create lighter and darker areas.
- What are some other marks and lines that you see in Gober’s drawing?
Resources
- Robert Gober. Untitled (Ivory Soap Drawing). 1975, Museum of Modern Art, New York: https://www.moma.org/collection/works/190902