Overview
Students will explore drawing an object from observation using shapes, details, and proportion.
Materials and Tools
- Pencil
- Paper
- Eraser
- Pencil sharpener
- Household object to draw
- Drawing from Observation video
- Drawing from Observation student slides
Objectives
Students will understand that:
- Objects are made up of shapes and lines that artists can identify and draw
- Proportion is the relationship of the size of one element compared to another
- Artists can draw light lines to begin a drawing and darken in the best lines to finalize
Students will be able to:
- Observe and identify the large and small shapes that make up an object
- Draw the shapes and details they see
- Apply knowledge of proportion to check and correct their drawing if needed
Activities
Note: The following steps are written with sample language you may use with your students as you go through the lesson. Explain to students that the slides and the video they see during the lesson will be shared with them so they can review the lesson on their own and continue to make more art.
Step 1: Introduction, Watch Drawing from Observation Video (10 minutes)
Welcome, artists. Previously, we created a contour drawing from observation using a continuous line. We also learned that the way we hold our pencil will affect the type of mark that we make. Today we will be making another drawing from observation by analyzing the shapes of an object. View the Drawing from Observation video to learn how to approach observational drawing in a new way.
Step 2: Selecting an Object, with Student Slides #2-3 (5 minutes)
The first step to making a drawing from observation is deciding what to draw. Look at Slide #2 and observe the collection of objects.
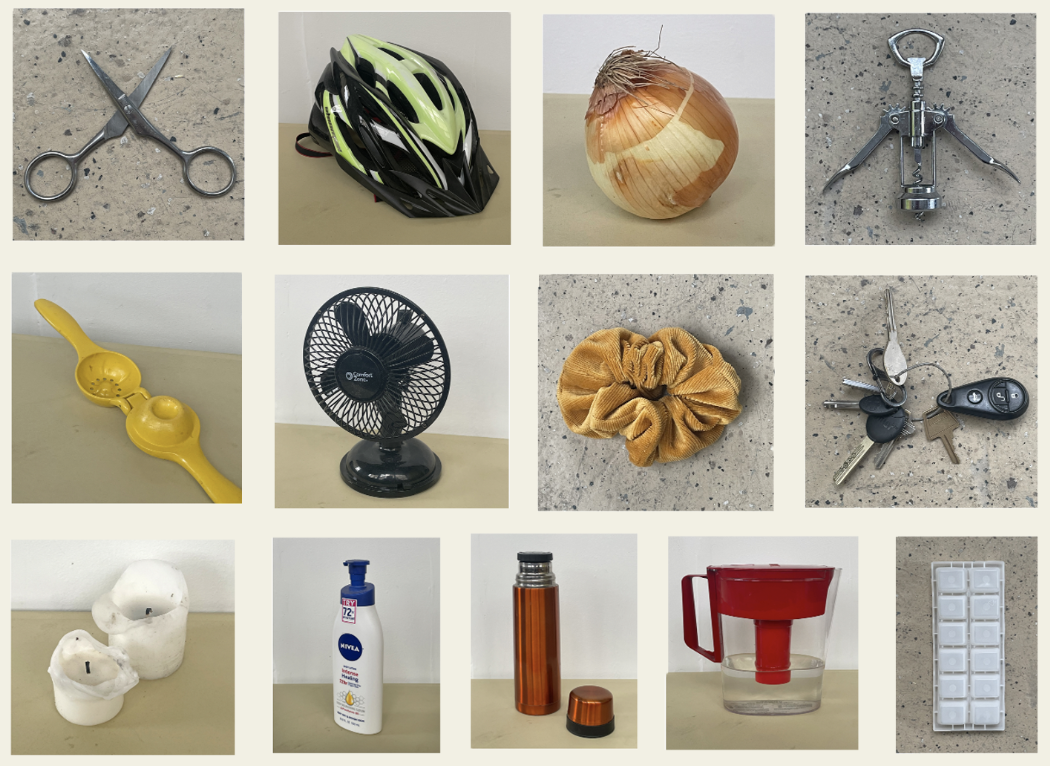
- Based on the household items you see, what do you think an artist looks for when they are selecting something to draw from observation?
- What do you see that makes you say that?
The outside and inside shapes that make up an object are a good starting point to choosing something you want to draw. Take a second look at the items in the slide.
- Which one do you think has an interesting outside shape?
- Are the inside shapes interesting as well? What do you see that makes you say that?
Slide #3 shows us more possibilities of objects to draw. Notice how the position of the object is important in helping us clearly see the outside shape or contour of the object.
- Which object do you think has the most interesting contour? Why?
Now it’s your turn to select a household object to draw. Remember to select something that is interesting to look at and has a variety of different shapes. Once you are ready, decide from what point of view you will draw your object. Be sure to look at it from all sides before deciding.
Step 3: Sketching Object in Proportion, with Student Slides #4-5 (15 minutes)
Let’s begin by analyzing the shapes in our objects. Look at Slide #4. What are some shapes that the artist noticed in the can opener that we can see in the sketch?
- How would you describe the types of lines that the artist used to sketch the can opener? Why?
- How do you imagine the artist held their pencil when they created the loose, sketchy lines? What do you see that makes you say that?
- Do you think it’s a good idea to begin a drawing with sketchy lines? How will this be useful in the process of making an observational drawing?
Now, closely observe your object and draw the shapes that you observe. Remember to work with a loose grip and sketchy lines.
Let’s look at Slide #5 to learn about proportion. Proportion is the relationship of the size of one element compared to another in a single object.
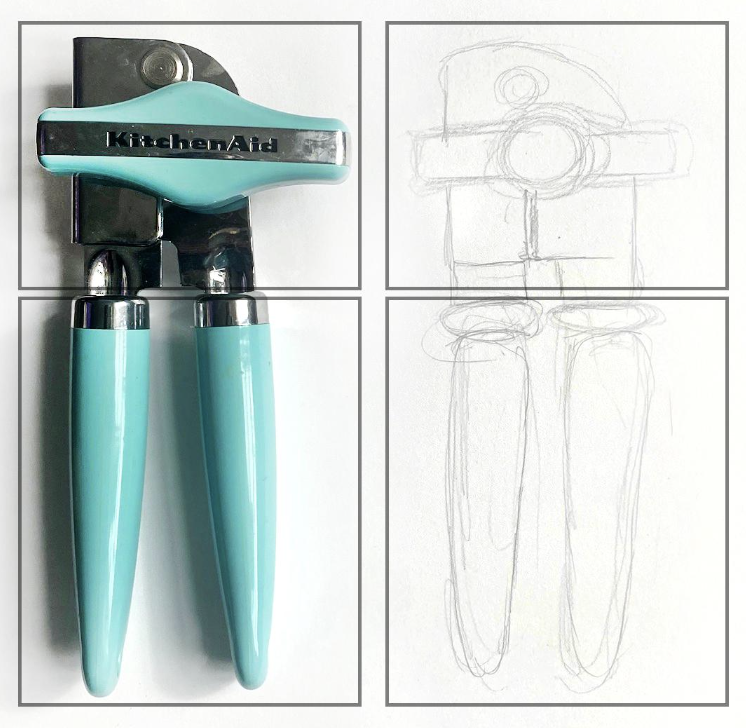
Notice how the artist took note of the size of the shape of the different parts of the can opener in order to be able to draw it realistically.
Observe your object. Find the largest shape and measure it with your fingers. Now locate a medium shape.
- How much smaller is it than your original measurement?
Try using this simple technique to measure the size relationship of the parts of your object. This will help you draw your object in proportion and draw it realistically.
Step 4: Defining Object and Adding details, with Student Slide #6 (10 minutes)
Slide #6 shows how the artists completed their drawing.
- What do you notice about the difference in the lines?
- How do they look different from the sketchy lines the artists used in the beginning of the drawing?
- Why do you think the artist chose to define some of the lines of the can opener?
Once you have defined the contour of your object and the main shapes, finish by adding the details.
Step 5: Reflection Questions for Discussion (5 minutes)
- Did you find unexpected shapes to draw within your object?
- How does it feel to draw an image of an actual object?
- How did finding simple shapes within your object help you with your drawing?
Vocabulary
Observation
Proportion
Value
Angle
Contour line
Resources

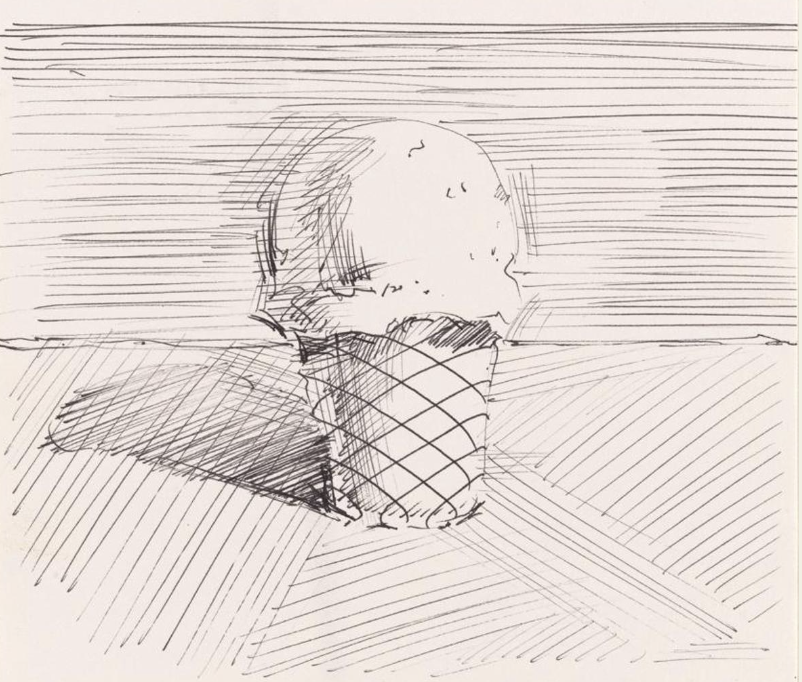
Video on the work of Wayne Thiebaud: https://www.themorgan.org/videos/wayne-thiebaud-draftsman