Overview
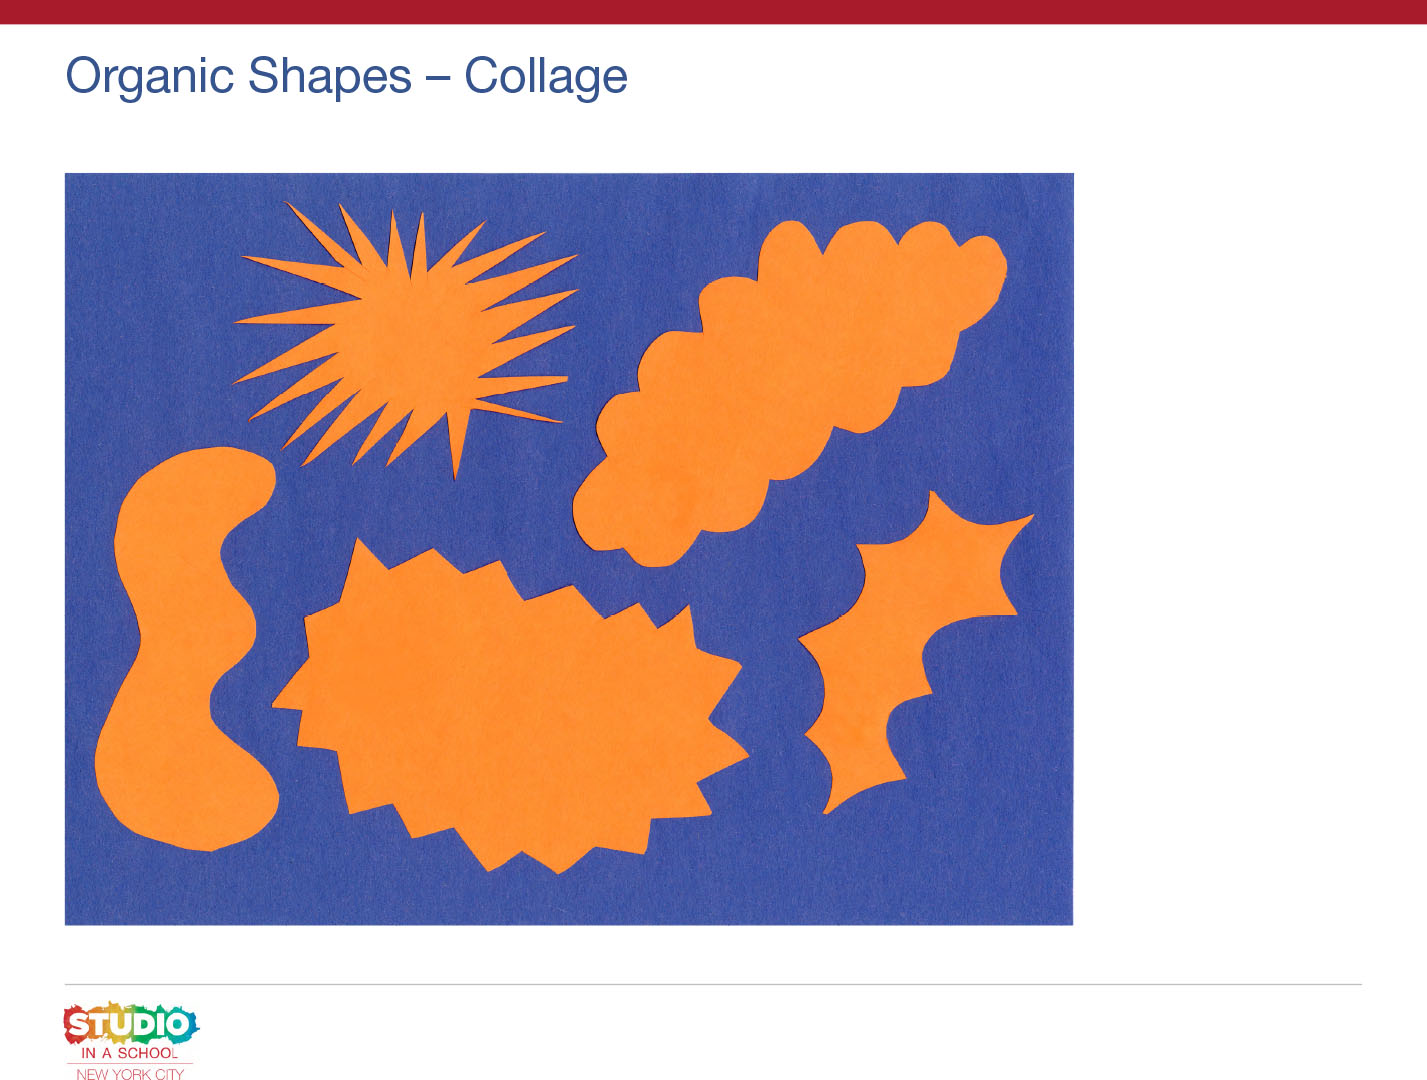
In this lesson, students will explore tearing paper to make a variety of basic shapes and experiment with different arrangements.
Materials and Tools
- Two sheets of different colored paper—one for background, one to tear
- Glue or tape
- Tearing Shapes video
- Tearing Shapes student slides
Objectives
Students will understand that:
- Our hands can be tools to make shapes for our art
- We can arrange the same shapes in many ways
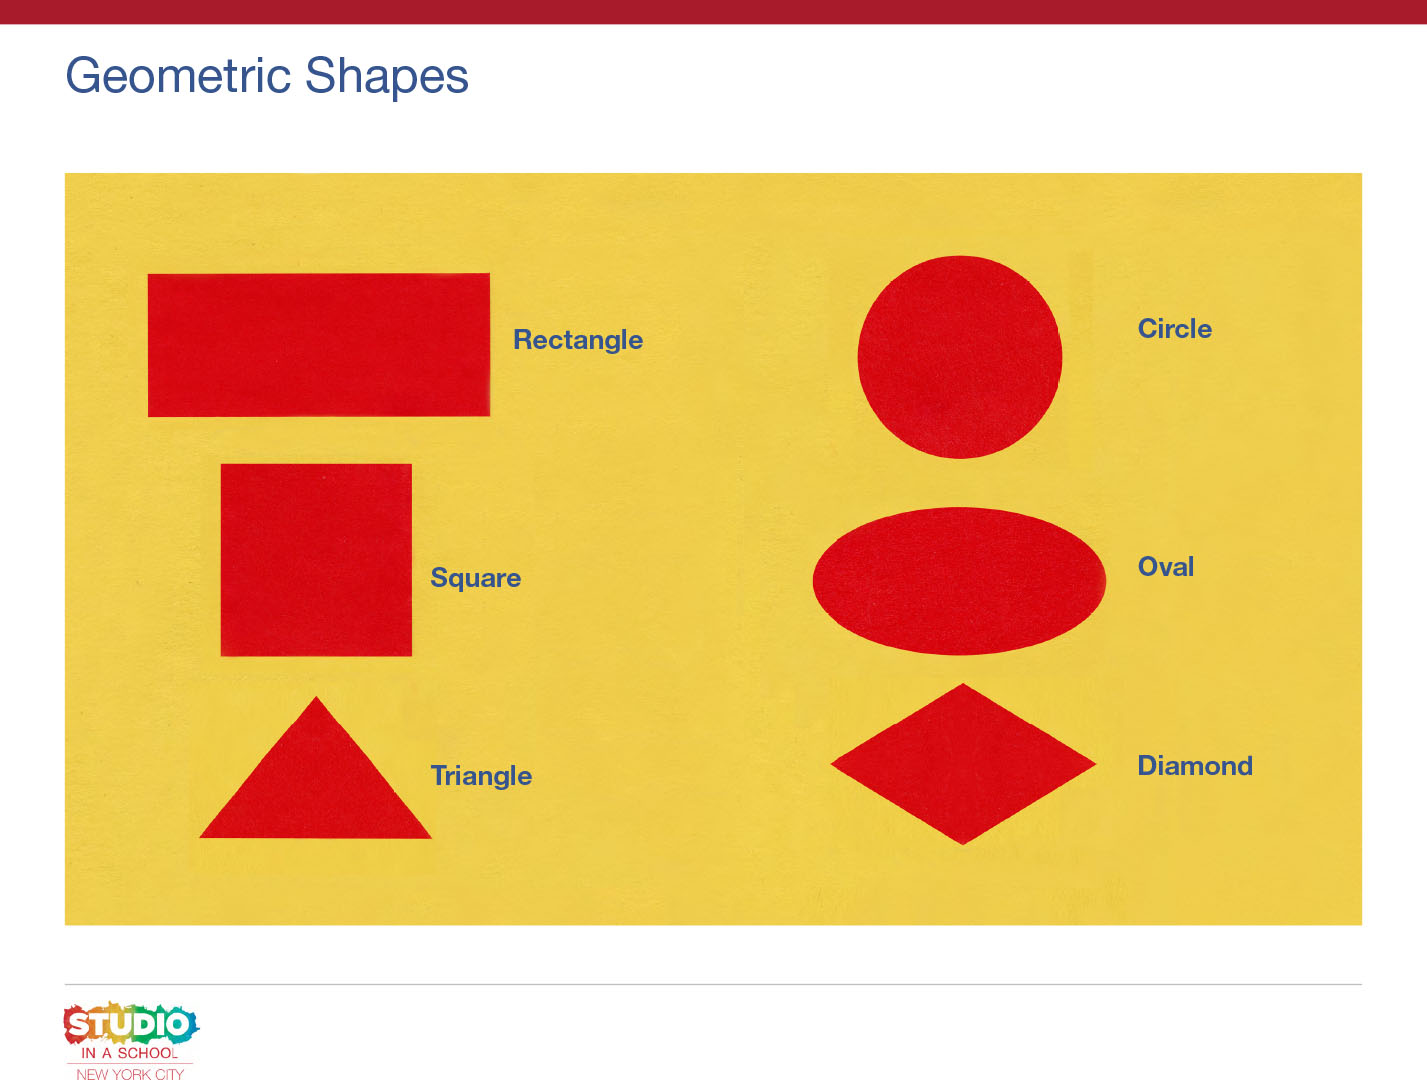
- Things in the world are made of shapes
Students will be able to:
- Pinch and tear with their hands to make a variety of large and small shapes
- Tear bumpy or wavy edges on their shapes
- Arrange their shapes two to three ways and use vocabulary to describe their arrangements
Activities
Note: The following steps are written with sample language you may use with your students as you go through the lesson. Explain to students that the slides and the video they see during the lesson will be shared with them so they can review the lesson on their own and continue to make more art.
Step 1: Introduction/Watch Tearing Shapes Video (14 minutes)
Welcome, artists! Over the next lessons we are going to explore different ways of working with collage. Creating a collage has three important steps. The first is tearing or cutting shapes, the second is playing with the arrangement of the shapes, and the third is gluing down our arrangement on a base paper. Today we are going to be exploring tearing shapes with our hands. Watch the Tearing Shapes video to learn different ways that artists use their hands as a tool for art making.
Step 2: Tearing Shapes, with Student Slide #3 (10 minutes)
Let’s look at Student Slide #3.
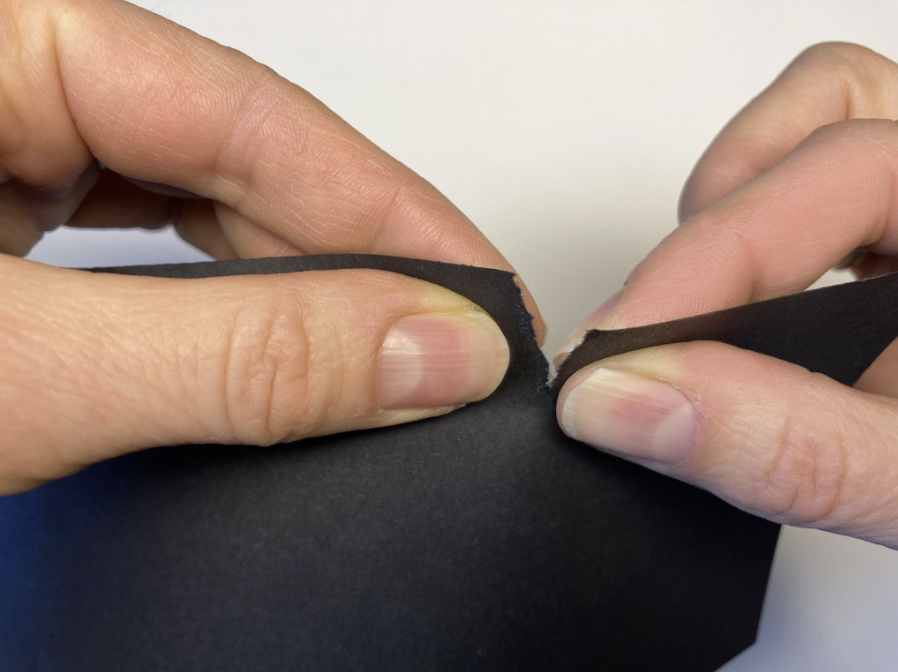
- What do you notice about the way the artist is using her hands as a tool to tear her shapes?
- What fingers is she using?
- Why do you suppose it’s important that artists think about the way they use their hands when they tear shapes?
The way we hold our paper and the speed at which we tear is going to change the way our shapes look. As you work today, observe the way you are using your hands as a tool to make shapes.
Now it’s your turn to try. Using one of your pieces of paper, tear at least three large and three small shapes. Remember to play with the speed at which you tear and be sure to create shapes with curved and straight edges.
Step 3: Arranging Shapes, with Student Slide #4 (10 minutes)
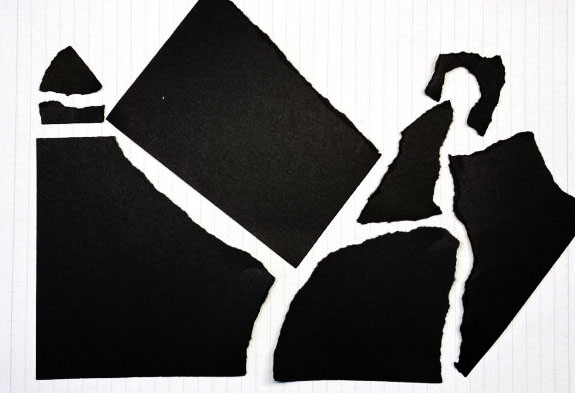
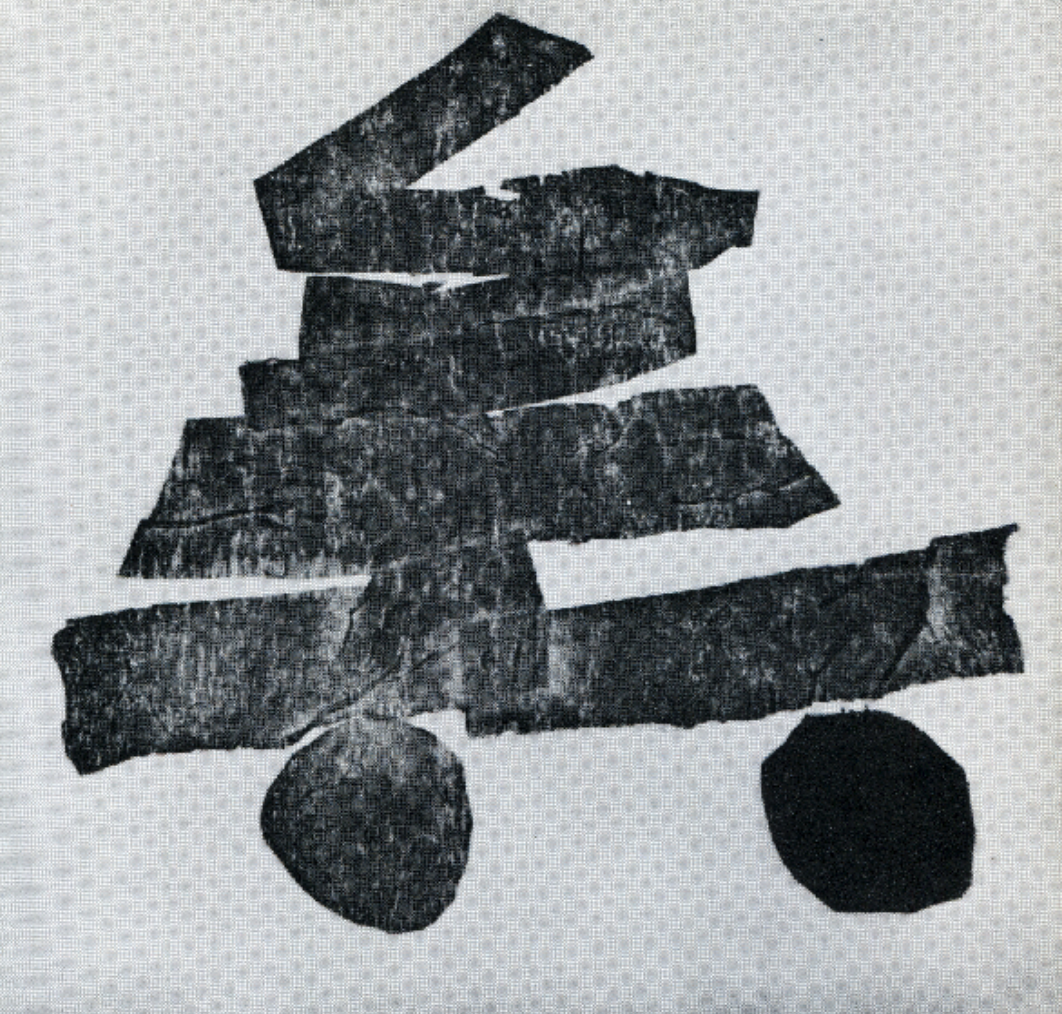
Time to arrange our shapes, artists. Slide #4 shows three different ways that we can play with arrangement.
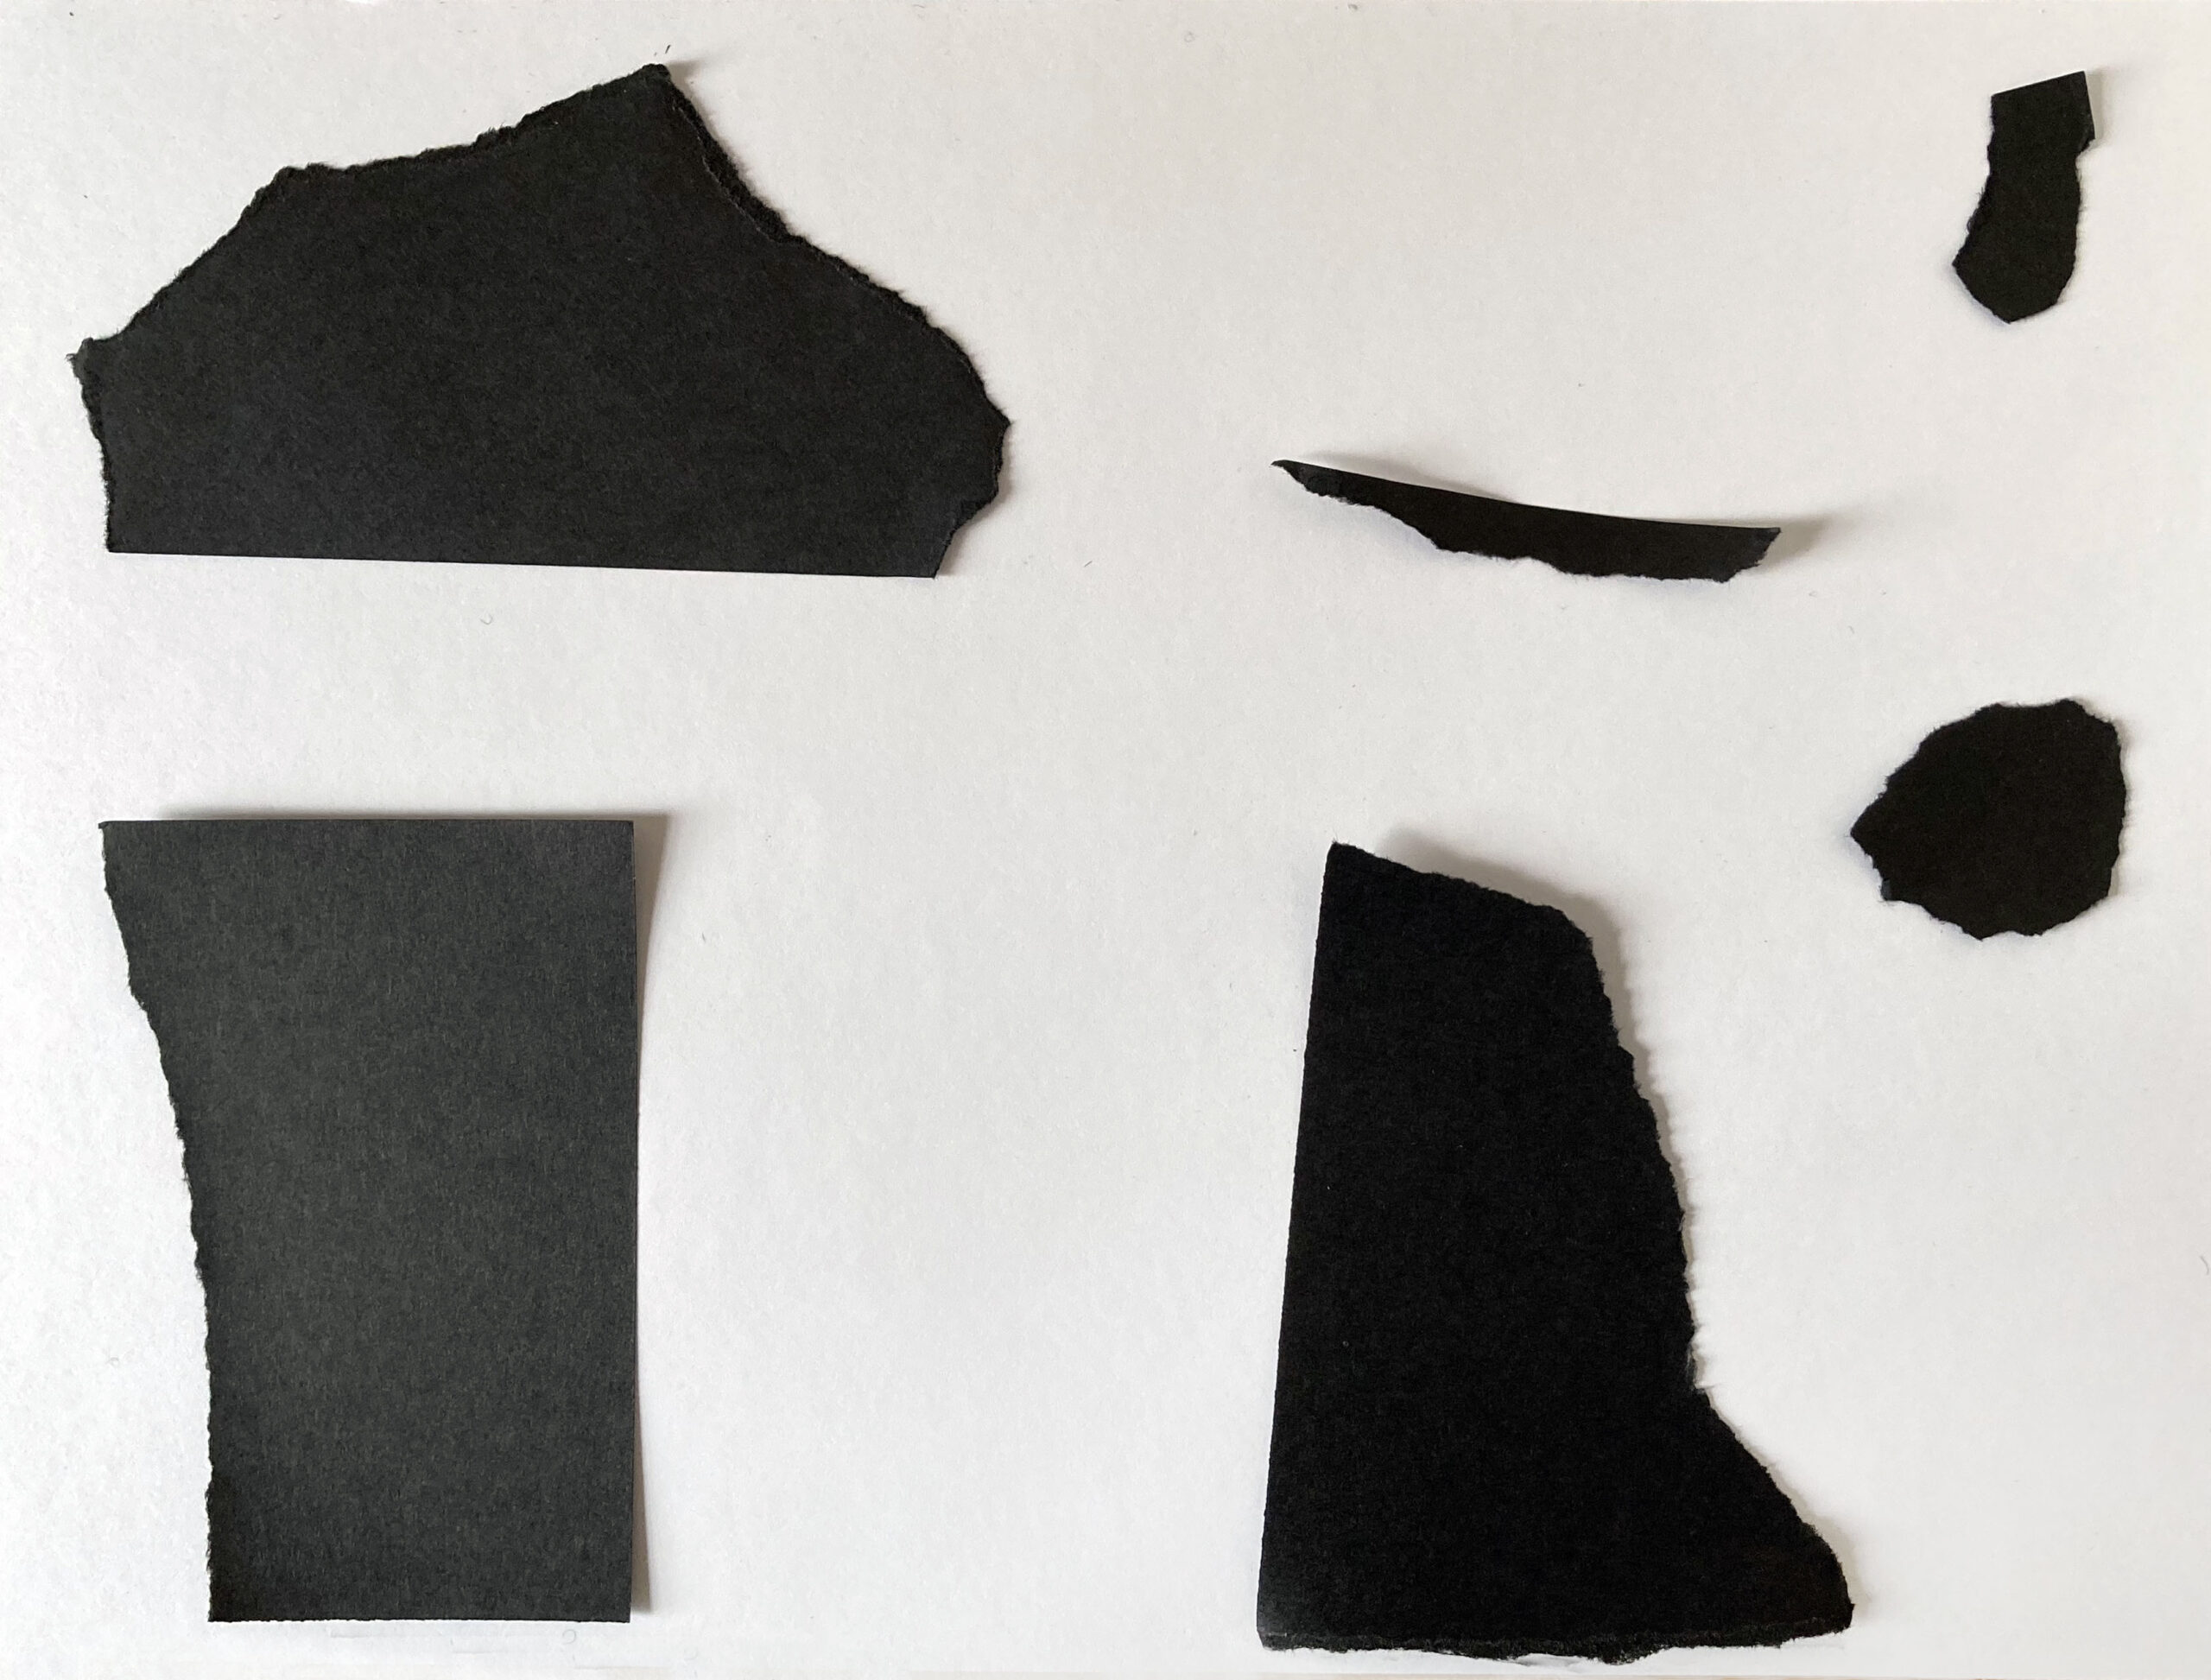

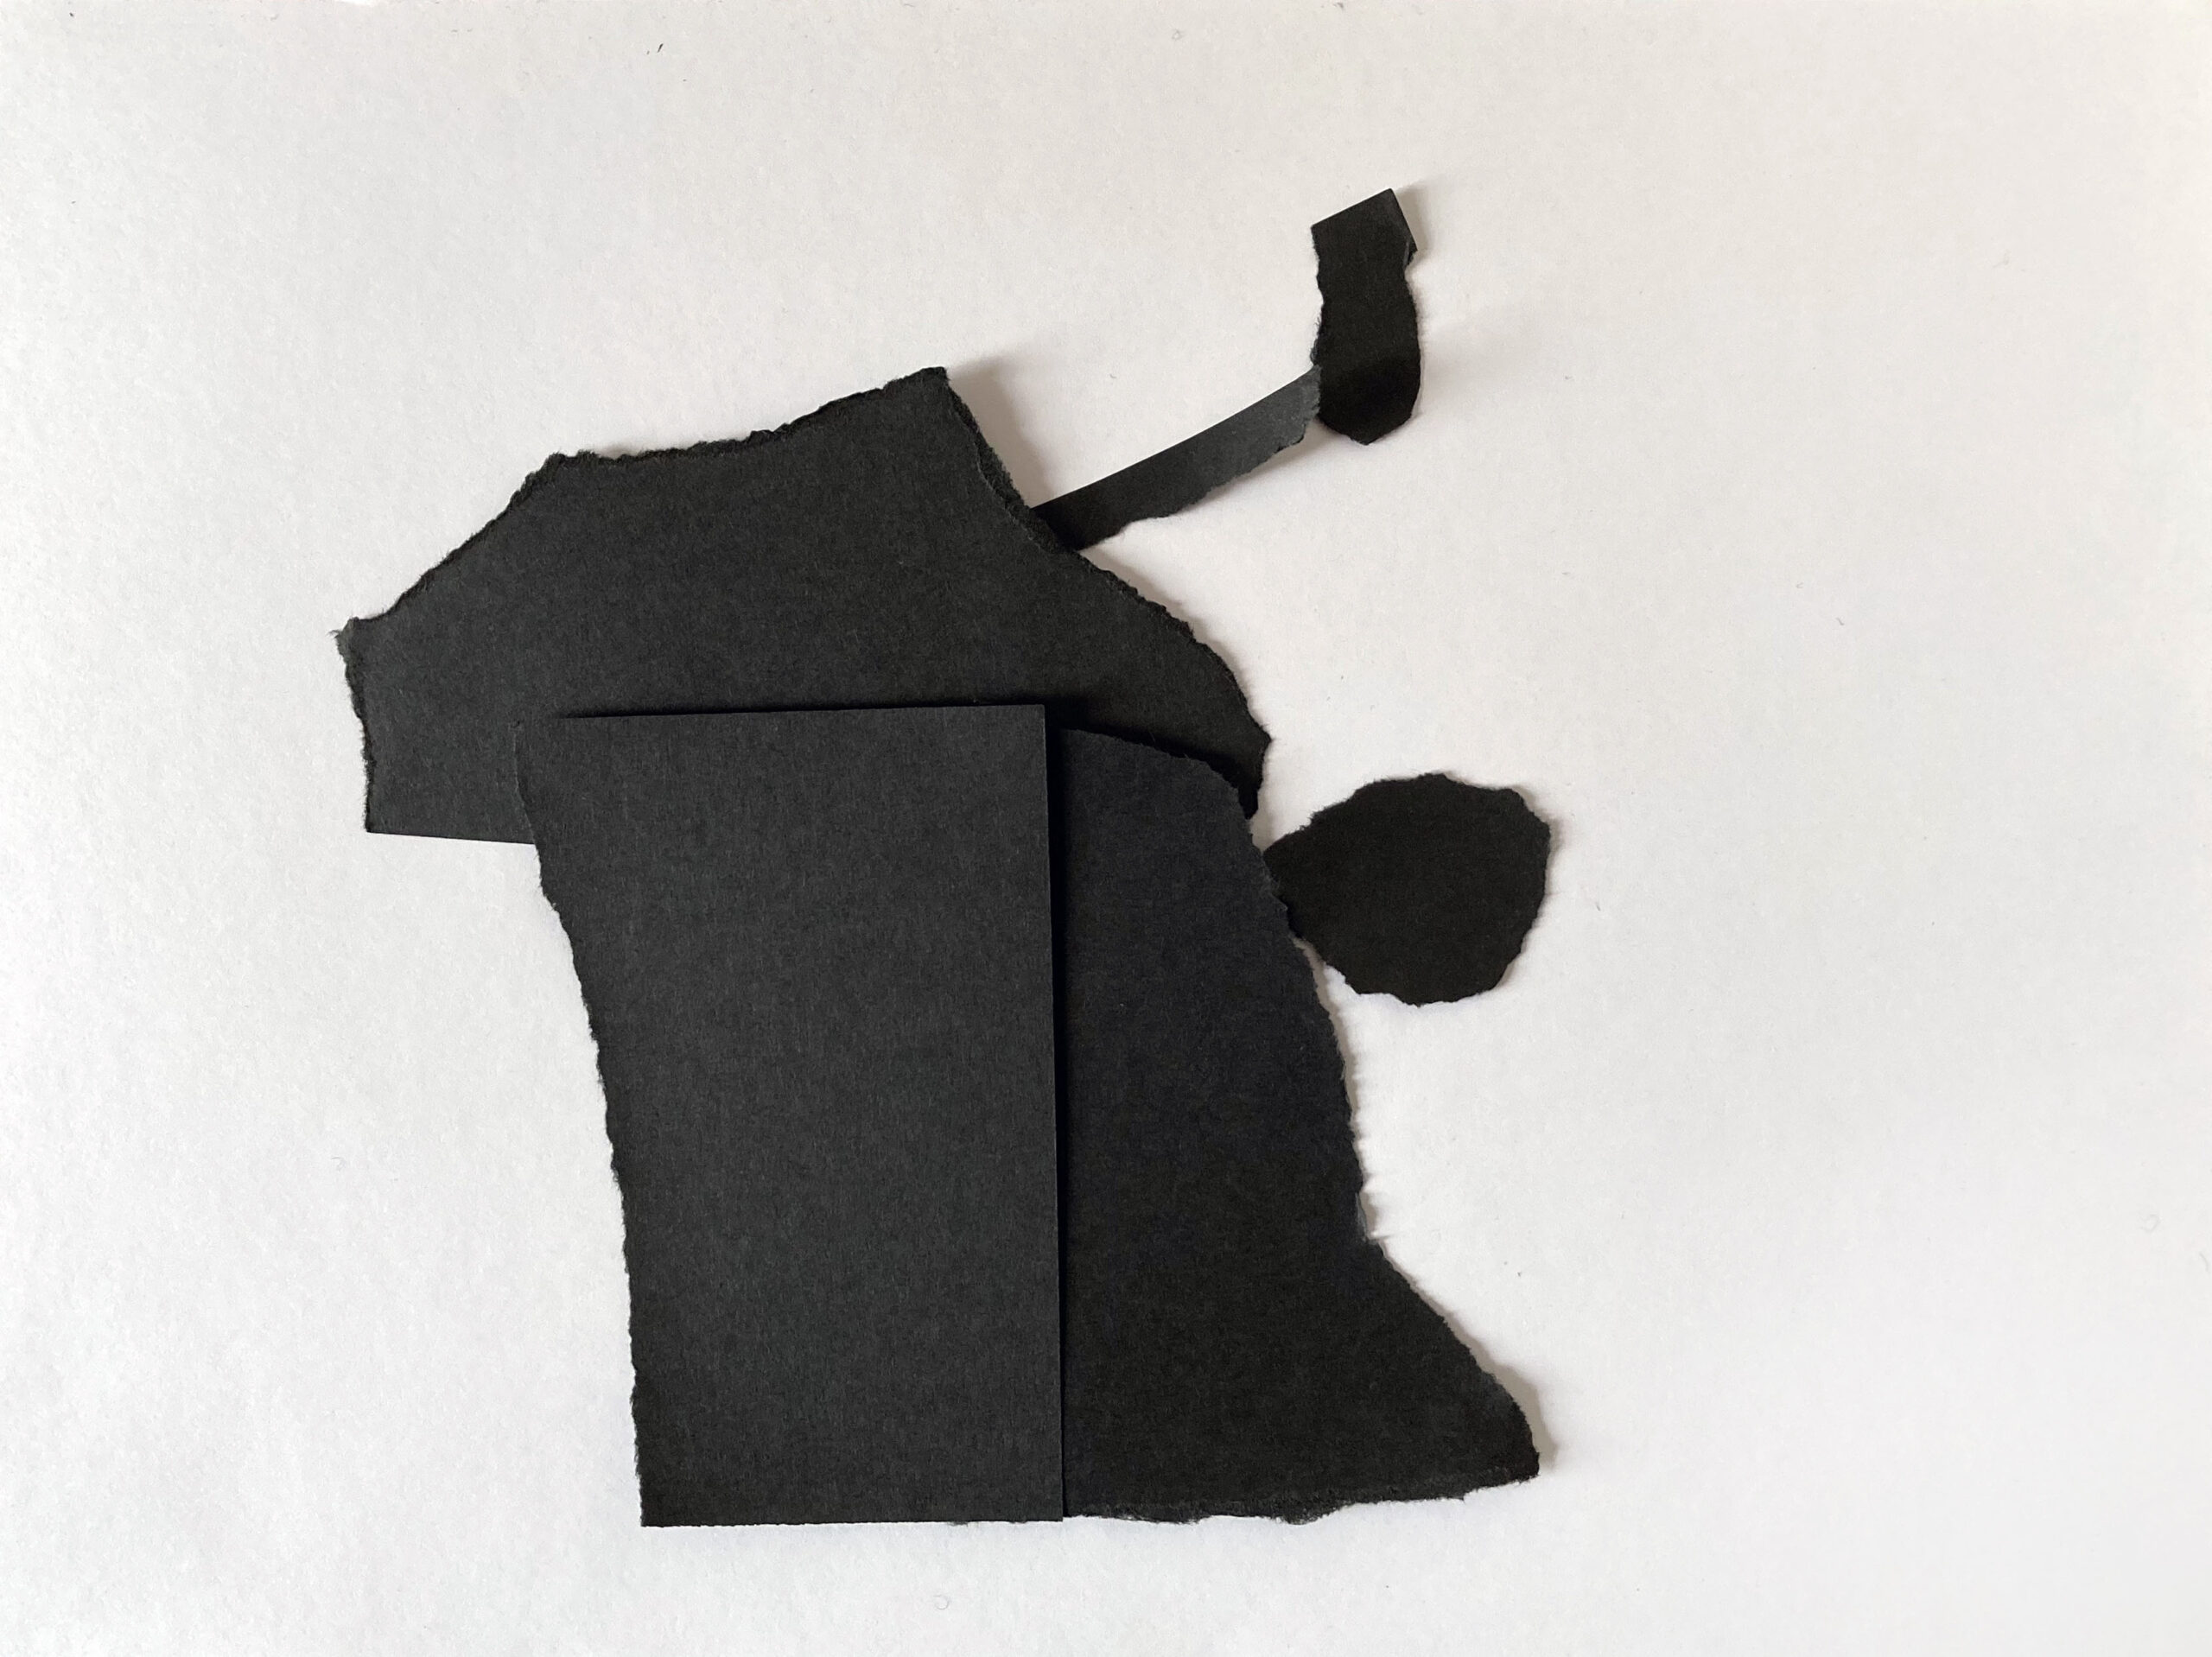
- What are the similarities and differences between the arrangements?
Artists play with many ways of organizing their shapes before they glue them down.
- Why do you suppose trying different arrangements is an important part of making a collage?
As you play with your arrangements, try turning the paper and see how observing your work from another perspective, or side, changes how you see your shapes. Start arranging your shapes and remember to try at least three different ways of organizing your shapes on your paper. The more you arrange, the more you will see in your collage.
Step 4: Gluing or Taping Favorite Arrangement (10 minutes)
Let’s glue or tape down our favorite arrangement. Here are a few tips to help you glue or tape your shapes neatly to your base paper:
- Add the glue or tape to the shapes, not the base paper. This way you can place your shape exactly where you want it.
- Take your glue stick for a walk around the entire edge of your shape. Doing this will help the edges stay flat on your paper. If you are using tape, add a few pieces to the important edges. Three pieces is plenty.
- Press your shape with your hands and rub it for a count of 10. This will ensure that it stays on permanently.
- Give your collage a gentle shake. If any piece falls off, add a bit of extra glue or tape to the shape, replace it, press, and count to 10 again.
Step 5: Reflection Questions for Discussion (5-7 minutes)
- How did you make the different shapes in your collage?
- How can you describe them?
- How did you arrange them?
- What do you notice about this collage?
- How do you think this artist made their shapes?
For students needing more support:
- I _________[tore] my paper _________ [fast or slowly].
- I see a _______ shape. It reminds me of______. [Example: I see a long bumpy shape. It reminds me of a tall tree.]
Vocabulary
Collage
Arrange
Glue
Shape
Edge: bumpy, wavy
Next to
Close together
Far apart
Resources