Overview
In this lesson, students will use their hands as tools to change paper in different ways.
Materials and Tools
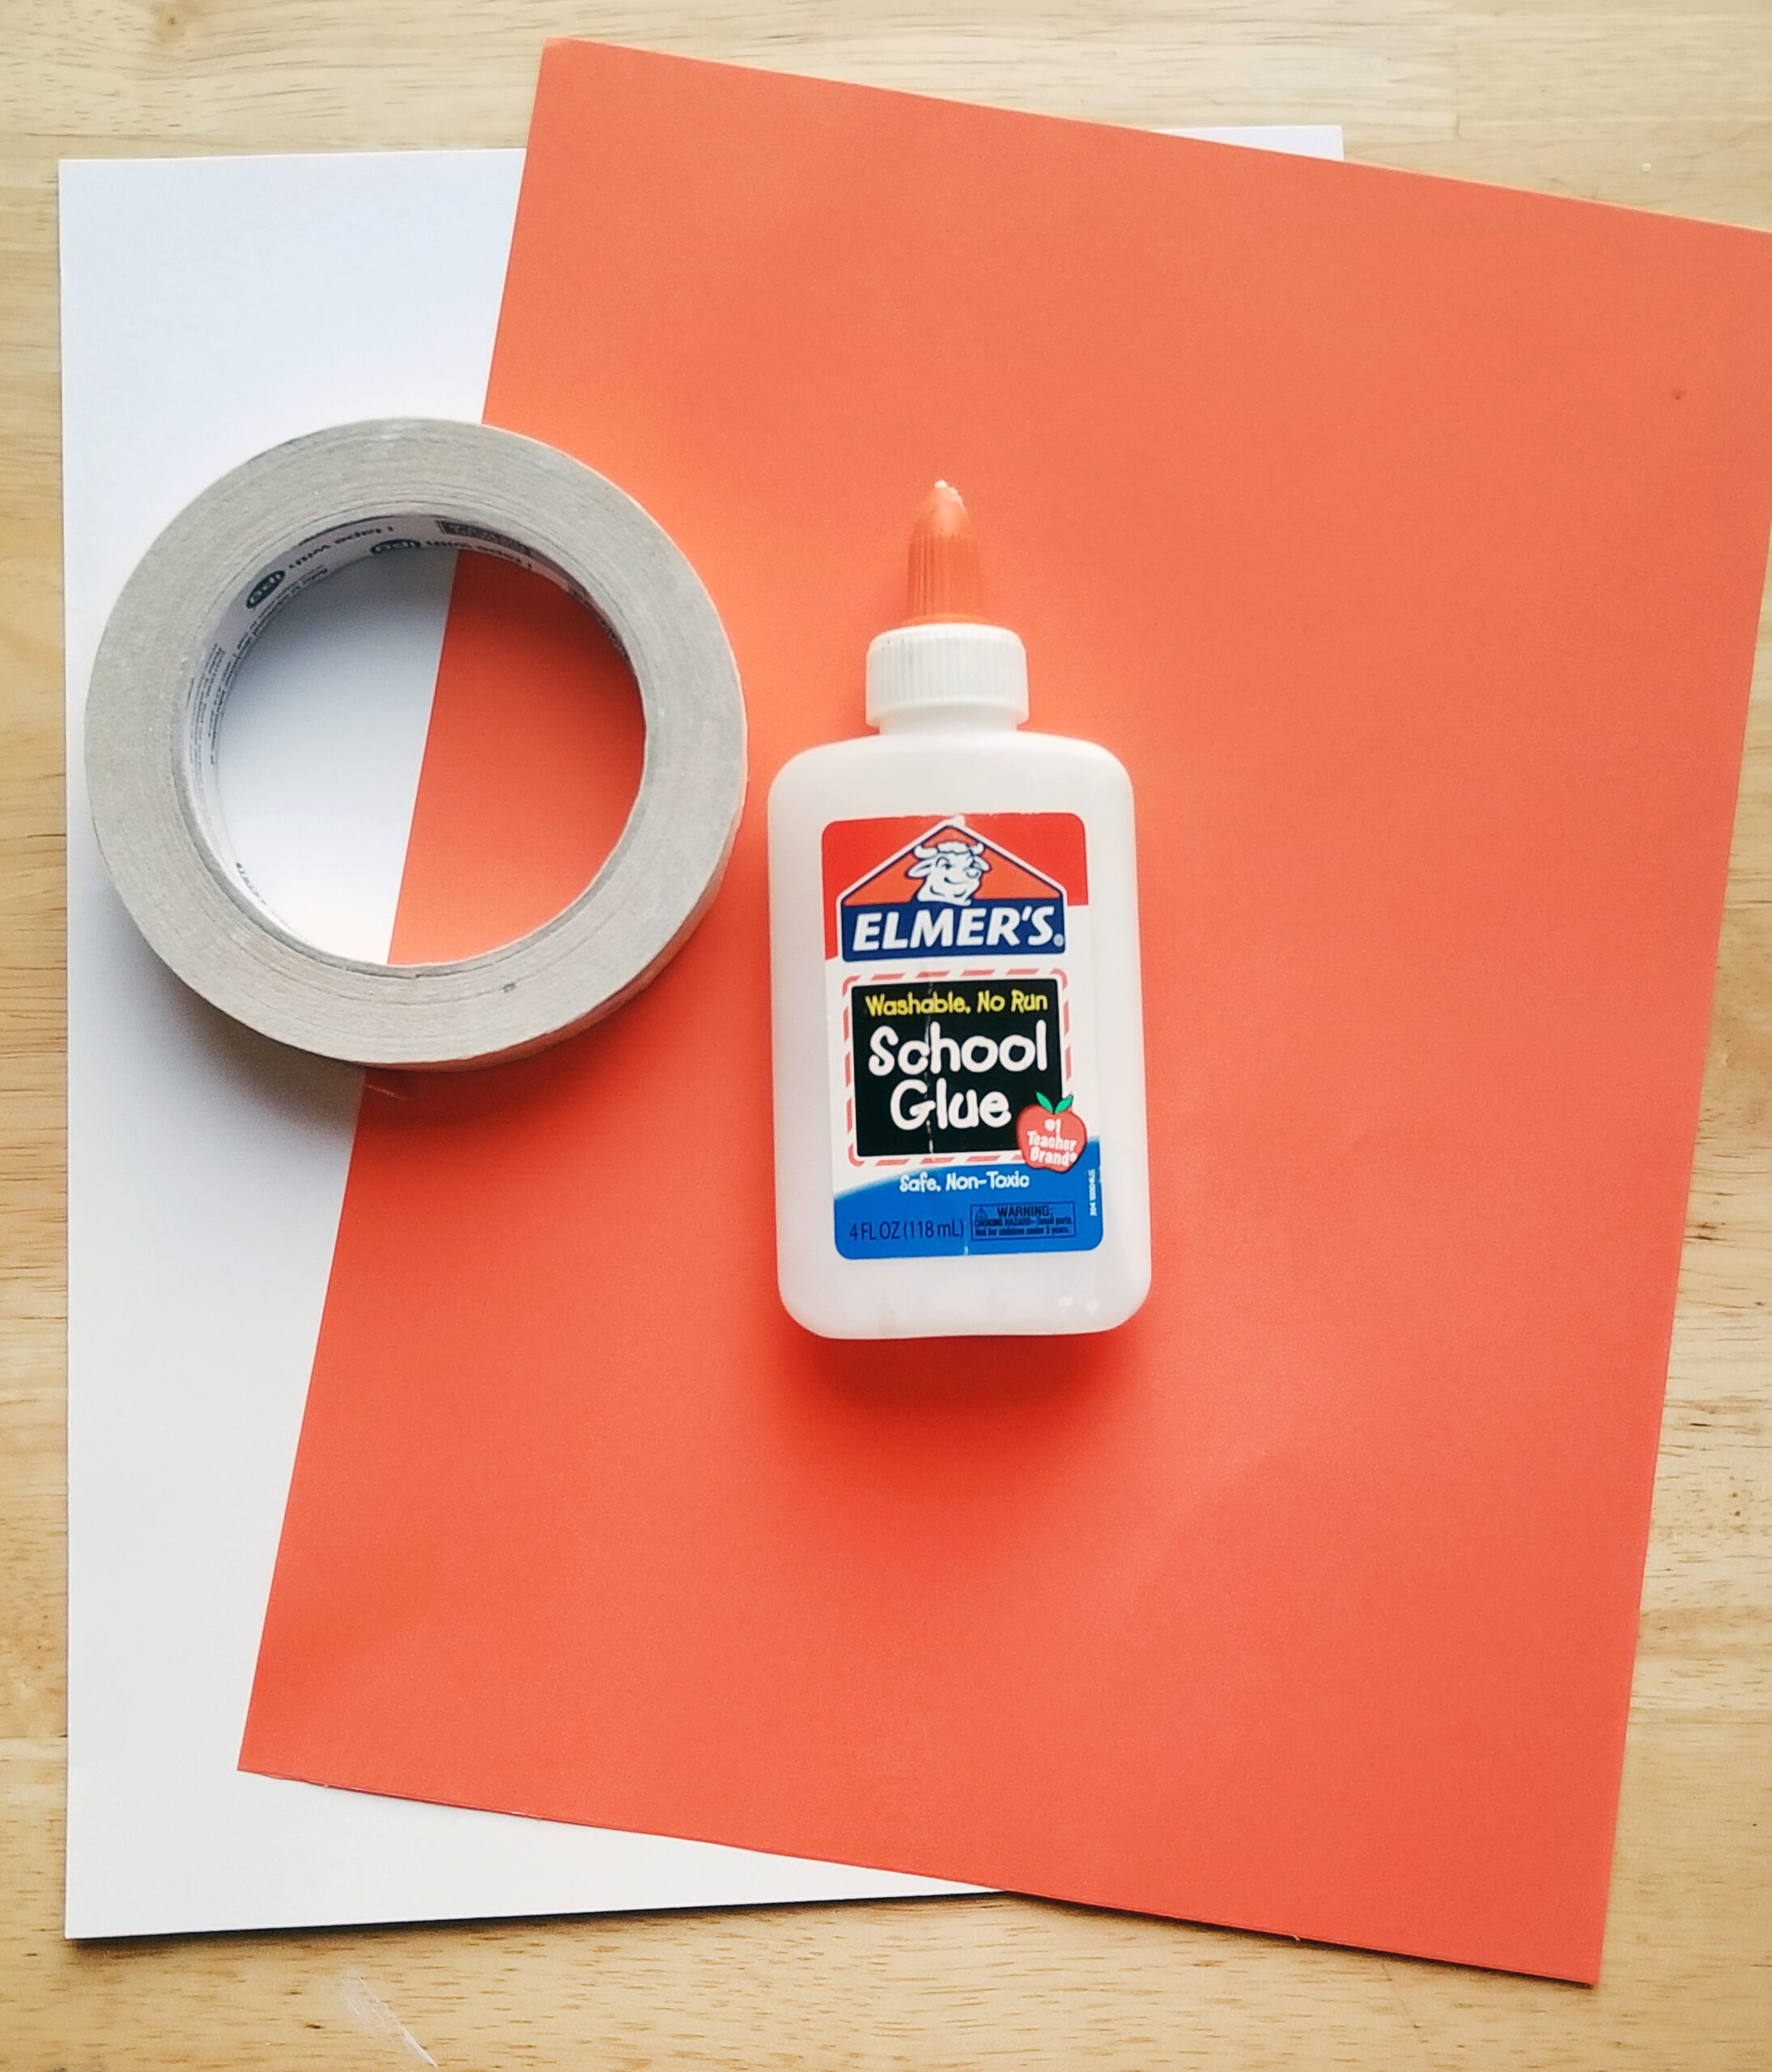
- Two sheets of different colored paper—one for background, one to tear
- Glue or tape
- Exploring Paper with Your Hands video
- Exploring Paper with Your Hands student slides
Objectives
Students will understand that:
- Hands can be tools to make shapes
- Two-dimensional paper can be made three dimensional
- A relief is a kind of sculpture that is attached to a background
Students will be able to:
- Pinch and tear paper with their hands to make a variety of shapes
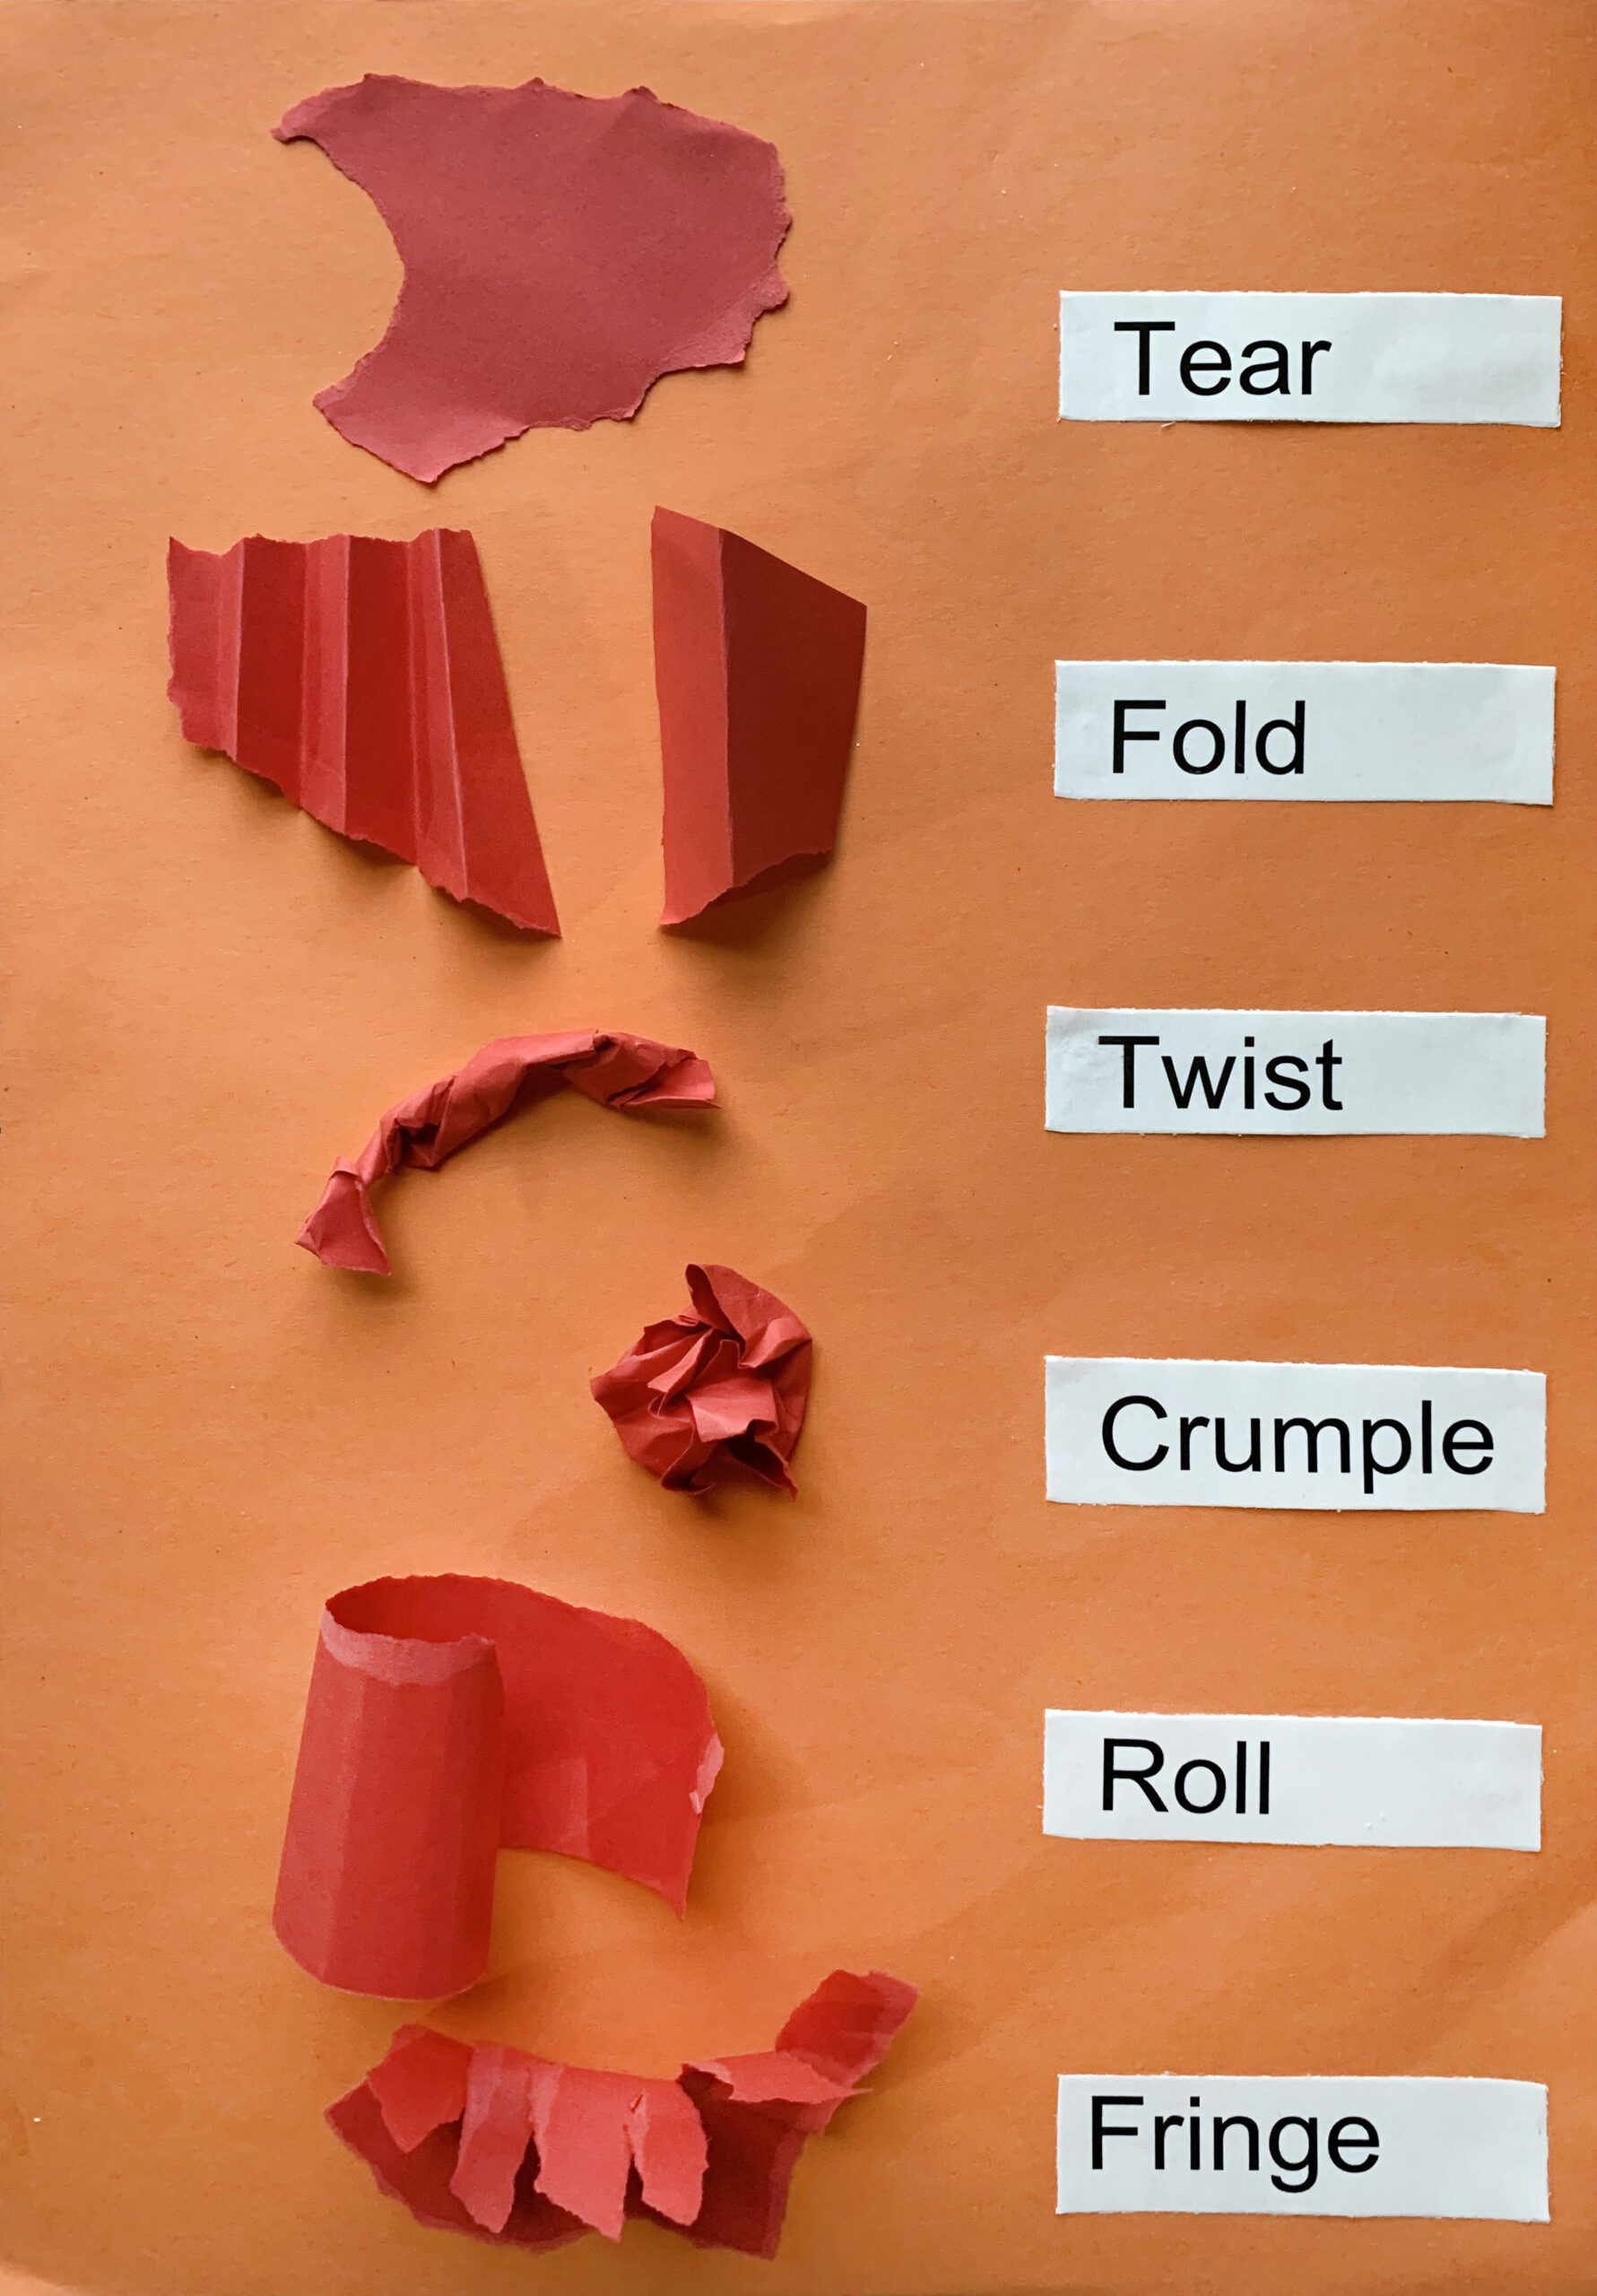
- Crumple, fold, twist, and fringe paper to make it three dimensional
- Arrange shapes two to three ways and use vocabulary to describe their arrangements
Note: The following steps are written with sample language you may use with your students as you go through the lesson. Explain to students that the slides and the video they see during the lesson will be shared with them so they can review the lesson on their own and continue to make more art.
Activities
Step 1: Introduction, Watch Exploring Paper with Your Hands Video (13 minutes)
Hello, artists! Usually, we use paper to make drawings or paintings. Today we will be using paper to create a relief sculpture. Watch the Exploring Paper with your Hands video to learn how to transform paper from flat to standing just by using your hands.
https://www.youtube.com/watch?v=oU5t8HOXyAk
Step 2: Close Looking, with Student Slide #2 (5 minutes)
Let’s look at Student Slide #2.
- What do you notice about the sculpture?
- How do you think it was made?
- What do you see that makes you say that?
This type of sculpture is called relief. A relief is a type of sculpture in which all the pieces are attached to a background paper.
- Why do you think it may be useful for an artist to make a sculpture using base paper?
Step 3: Changing Paper with Our Hands, with Student Slides #4-5 (15 minutes)
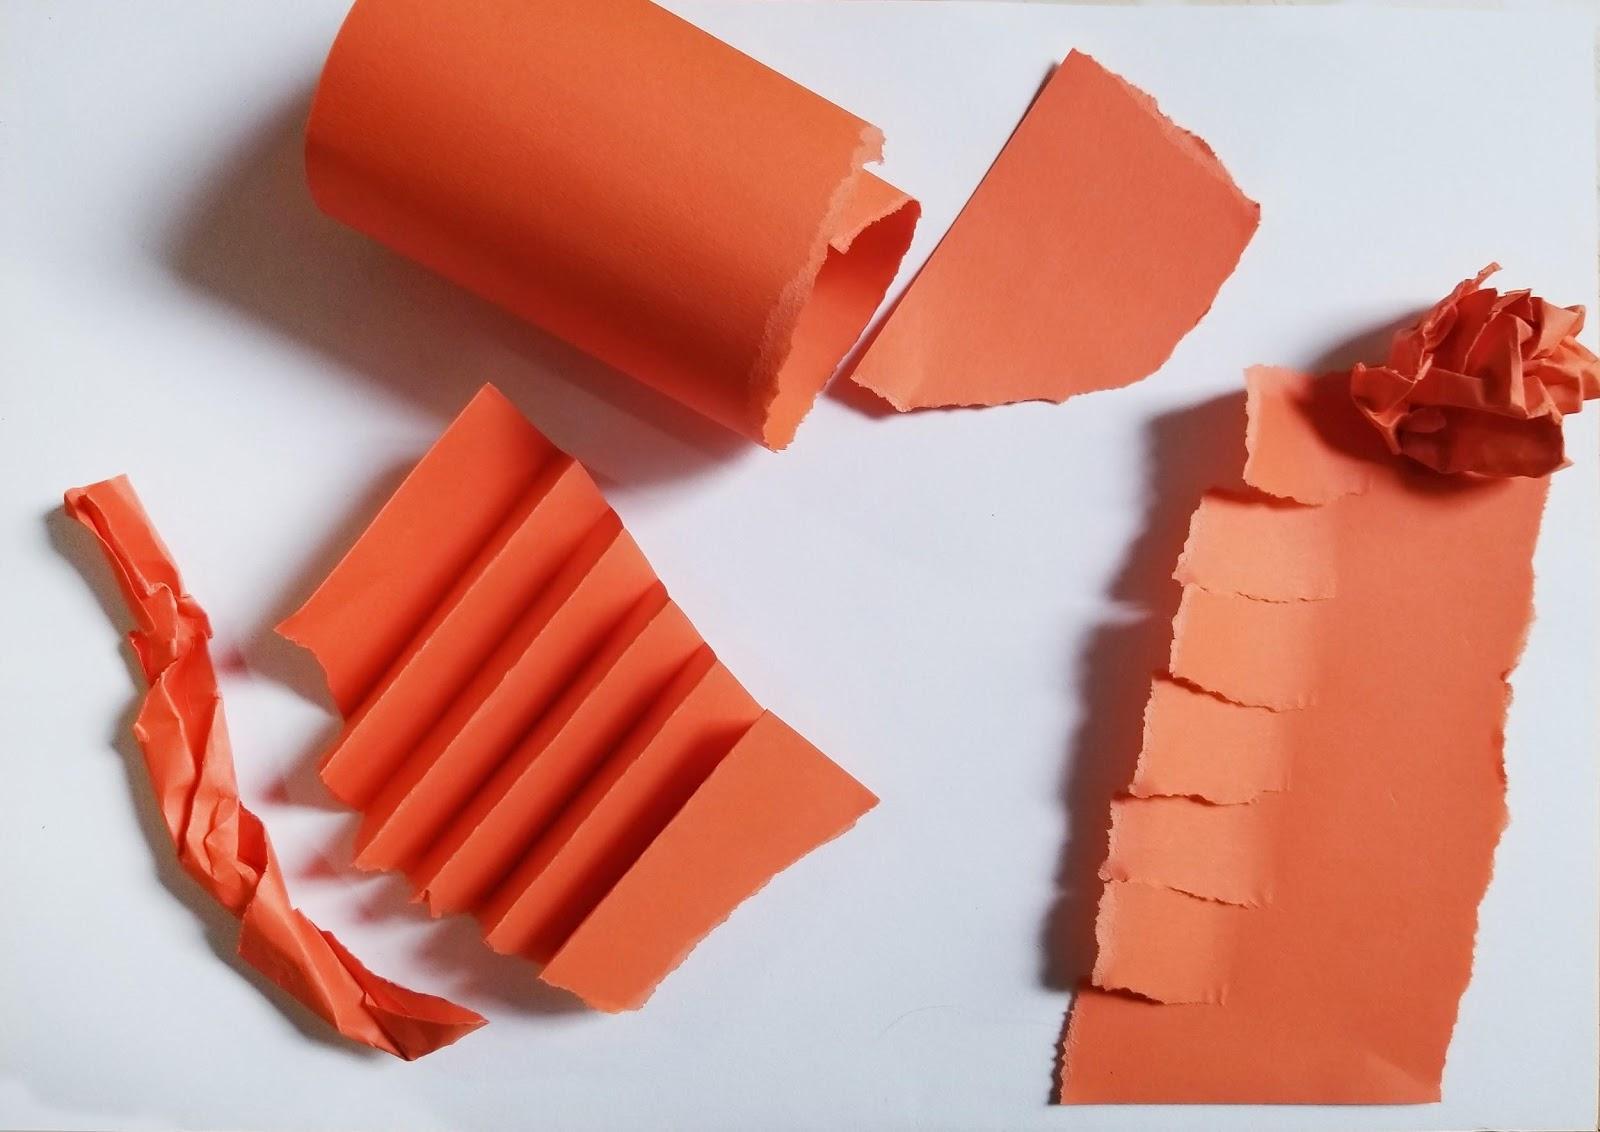
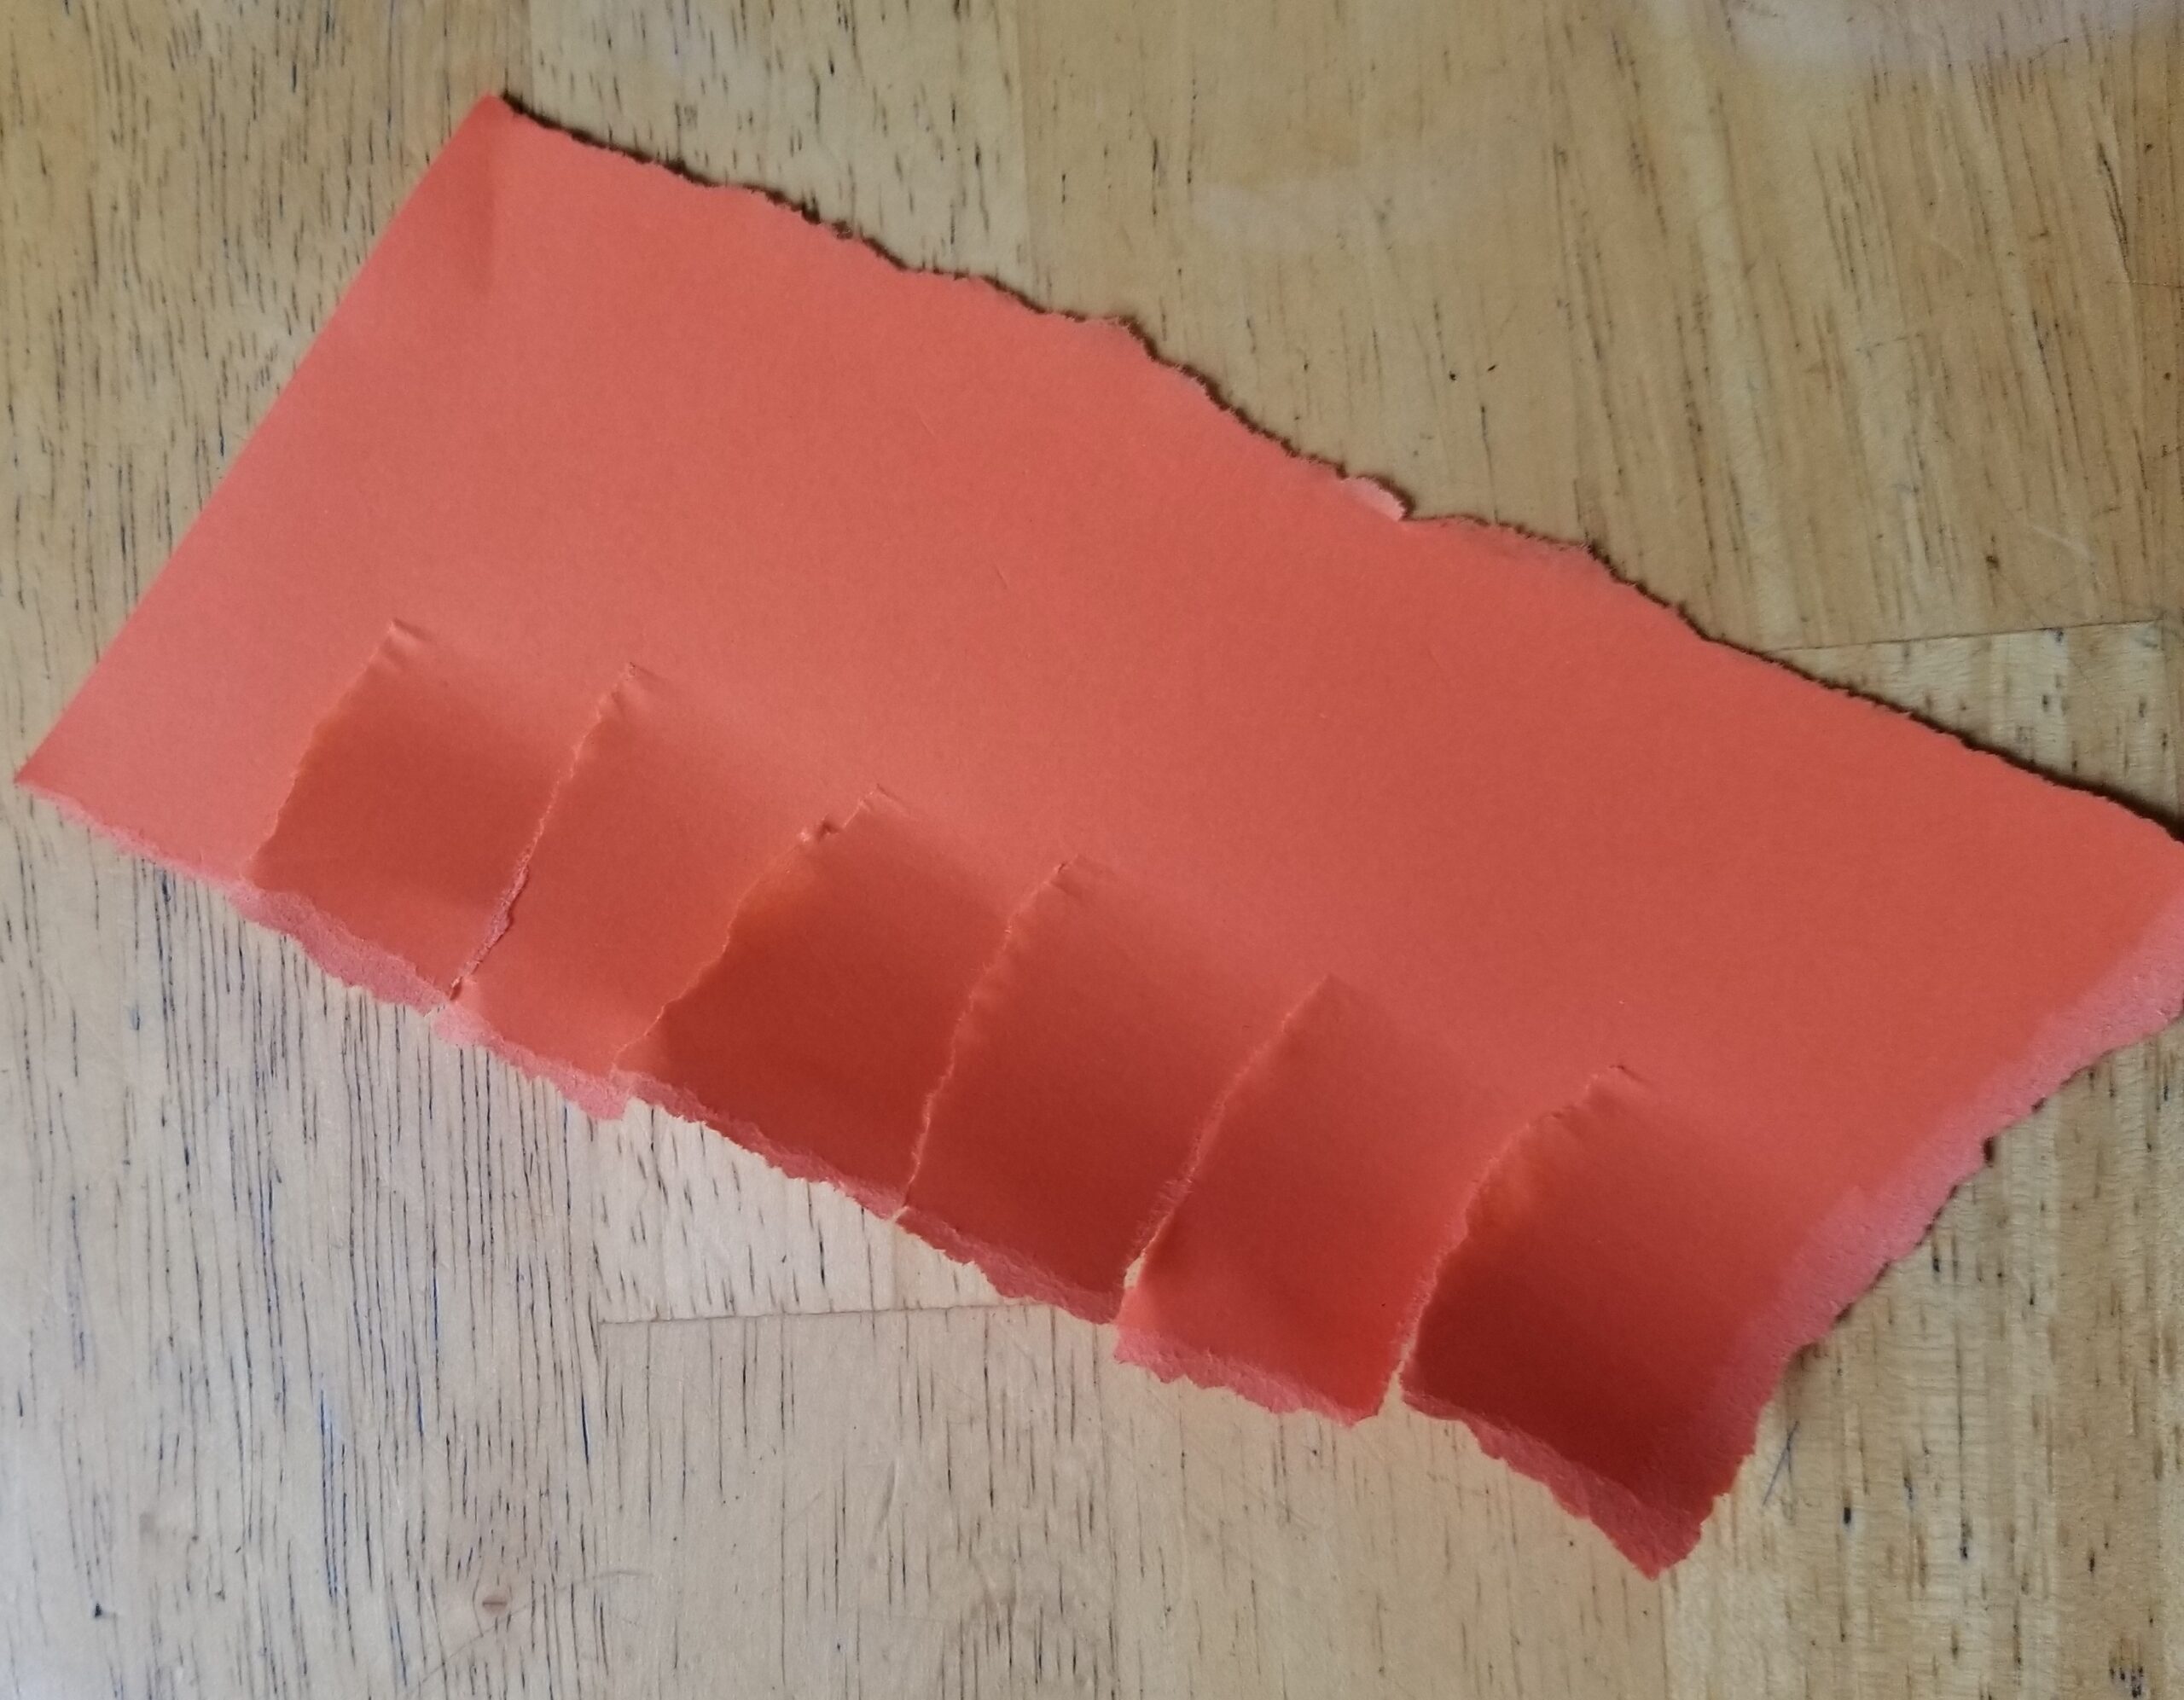
Let’s begin creating our relief sculpture. Student Slide #4 shows different ways that artists can change paper by tearing, folding, and twisting it with their hands.
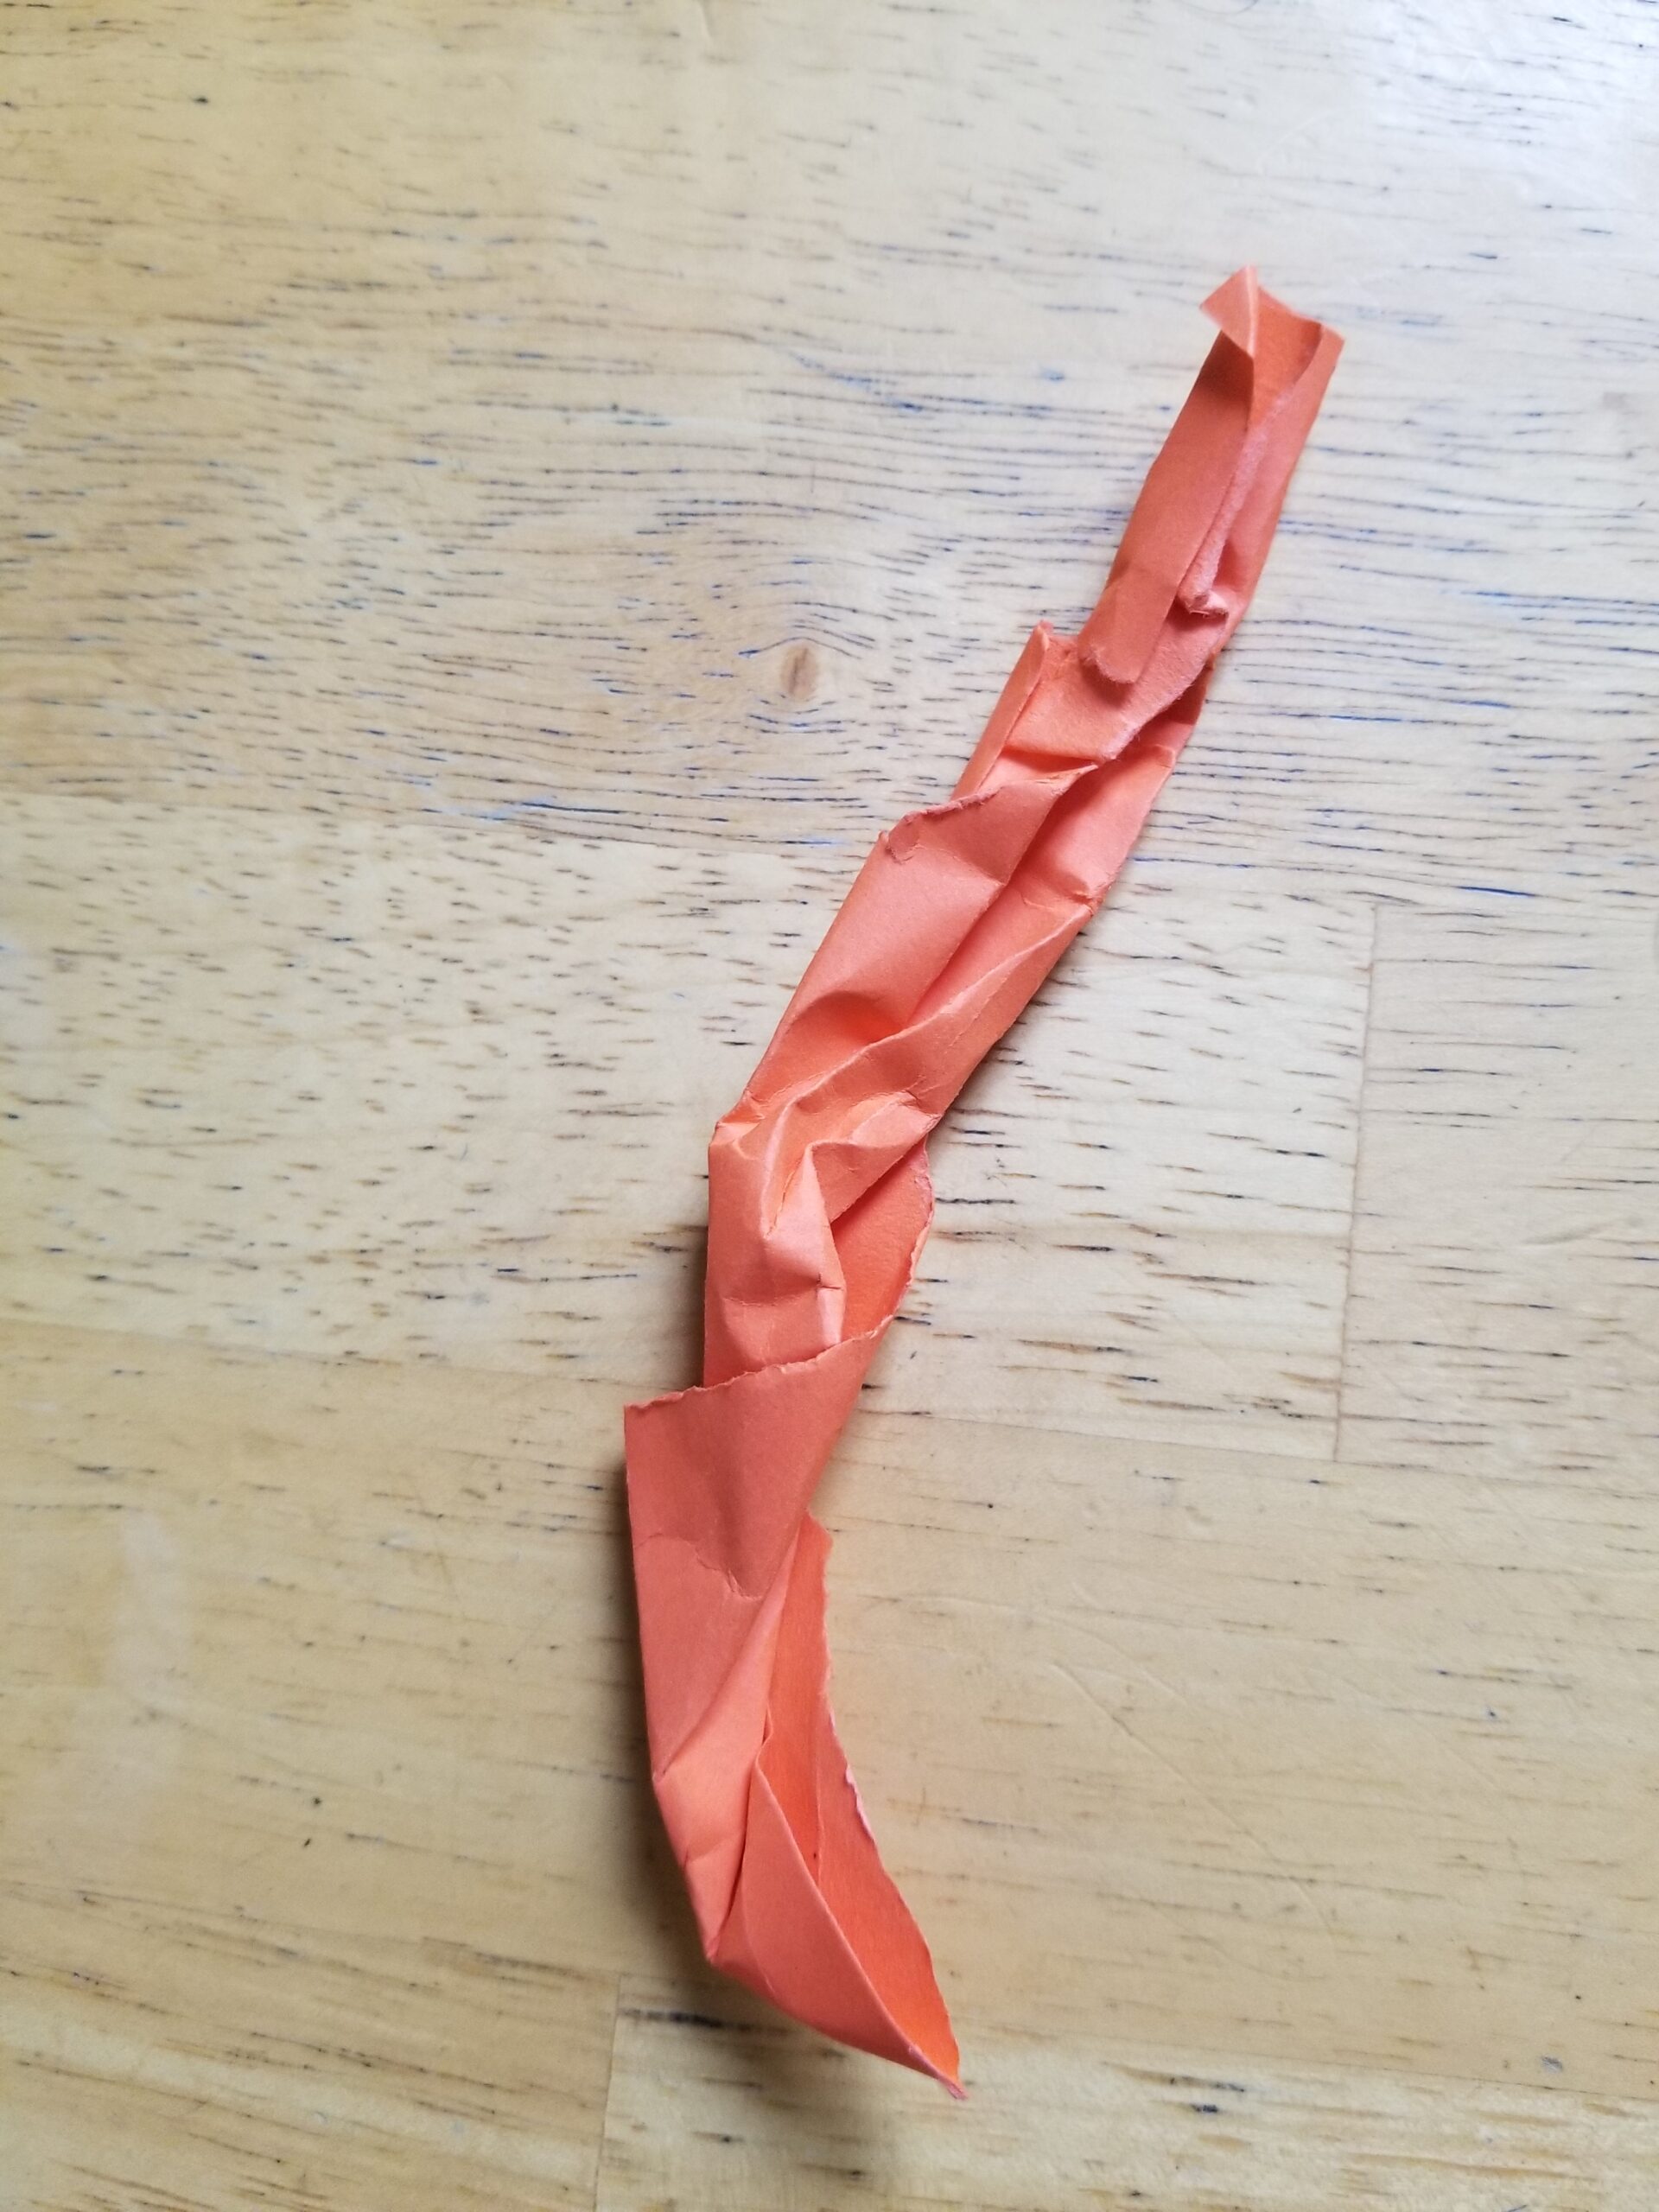

- How does twisted paper look different from a folded piece?
- Which one would you use to create a bumpy rock?
- What do you see that makes you say that?
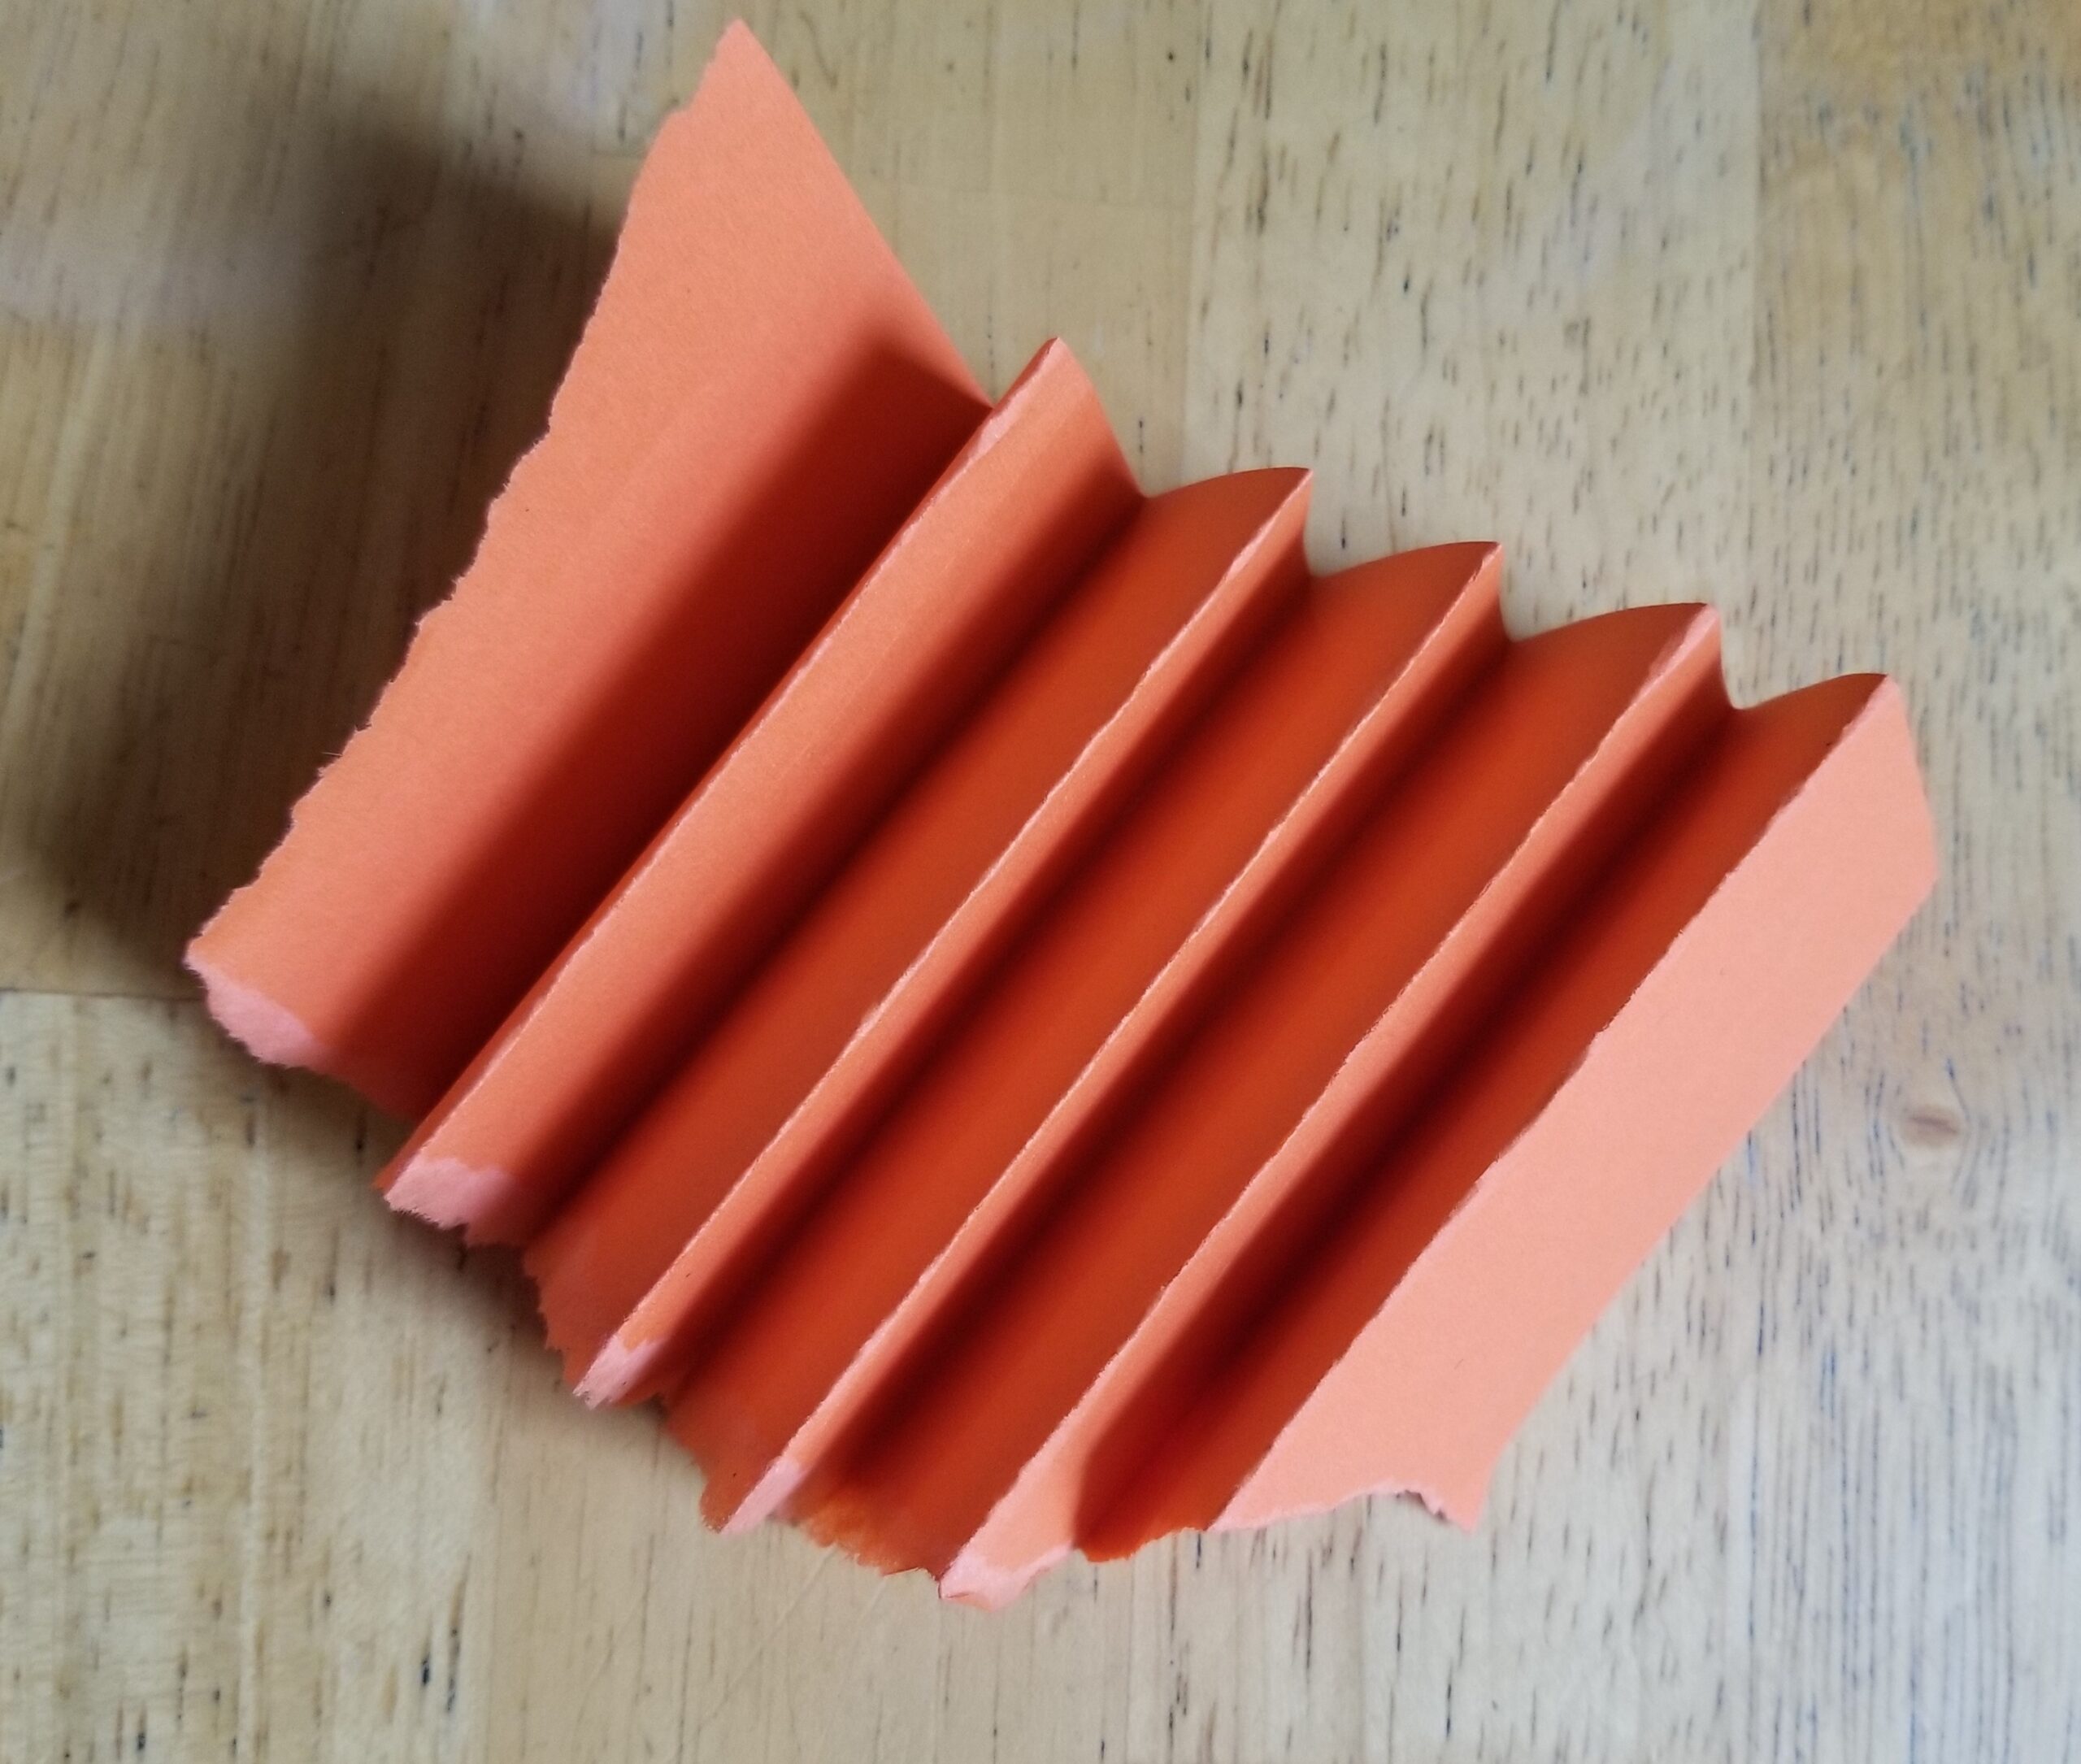
- What does the folded paper remind you of? Why?
Take a closer look at the folded piece of paper. Notice how the edges are torn, not cut.
- How does this change the way the folded paper looks?
- How would it be different if the edges were smooth?
Student Slide #5 shows crumpled and fringed paper.
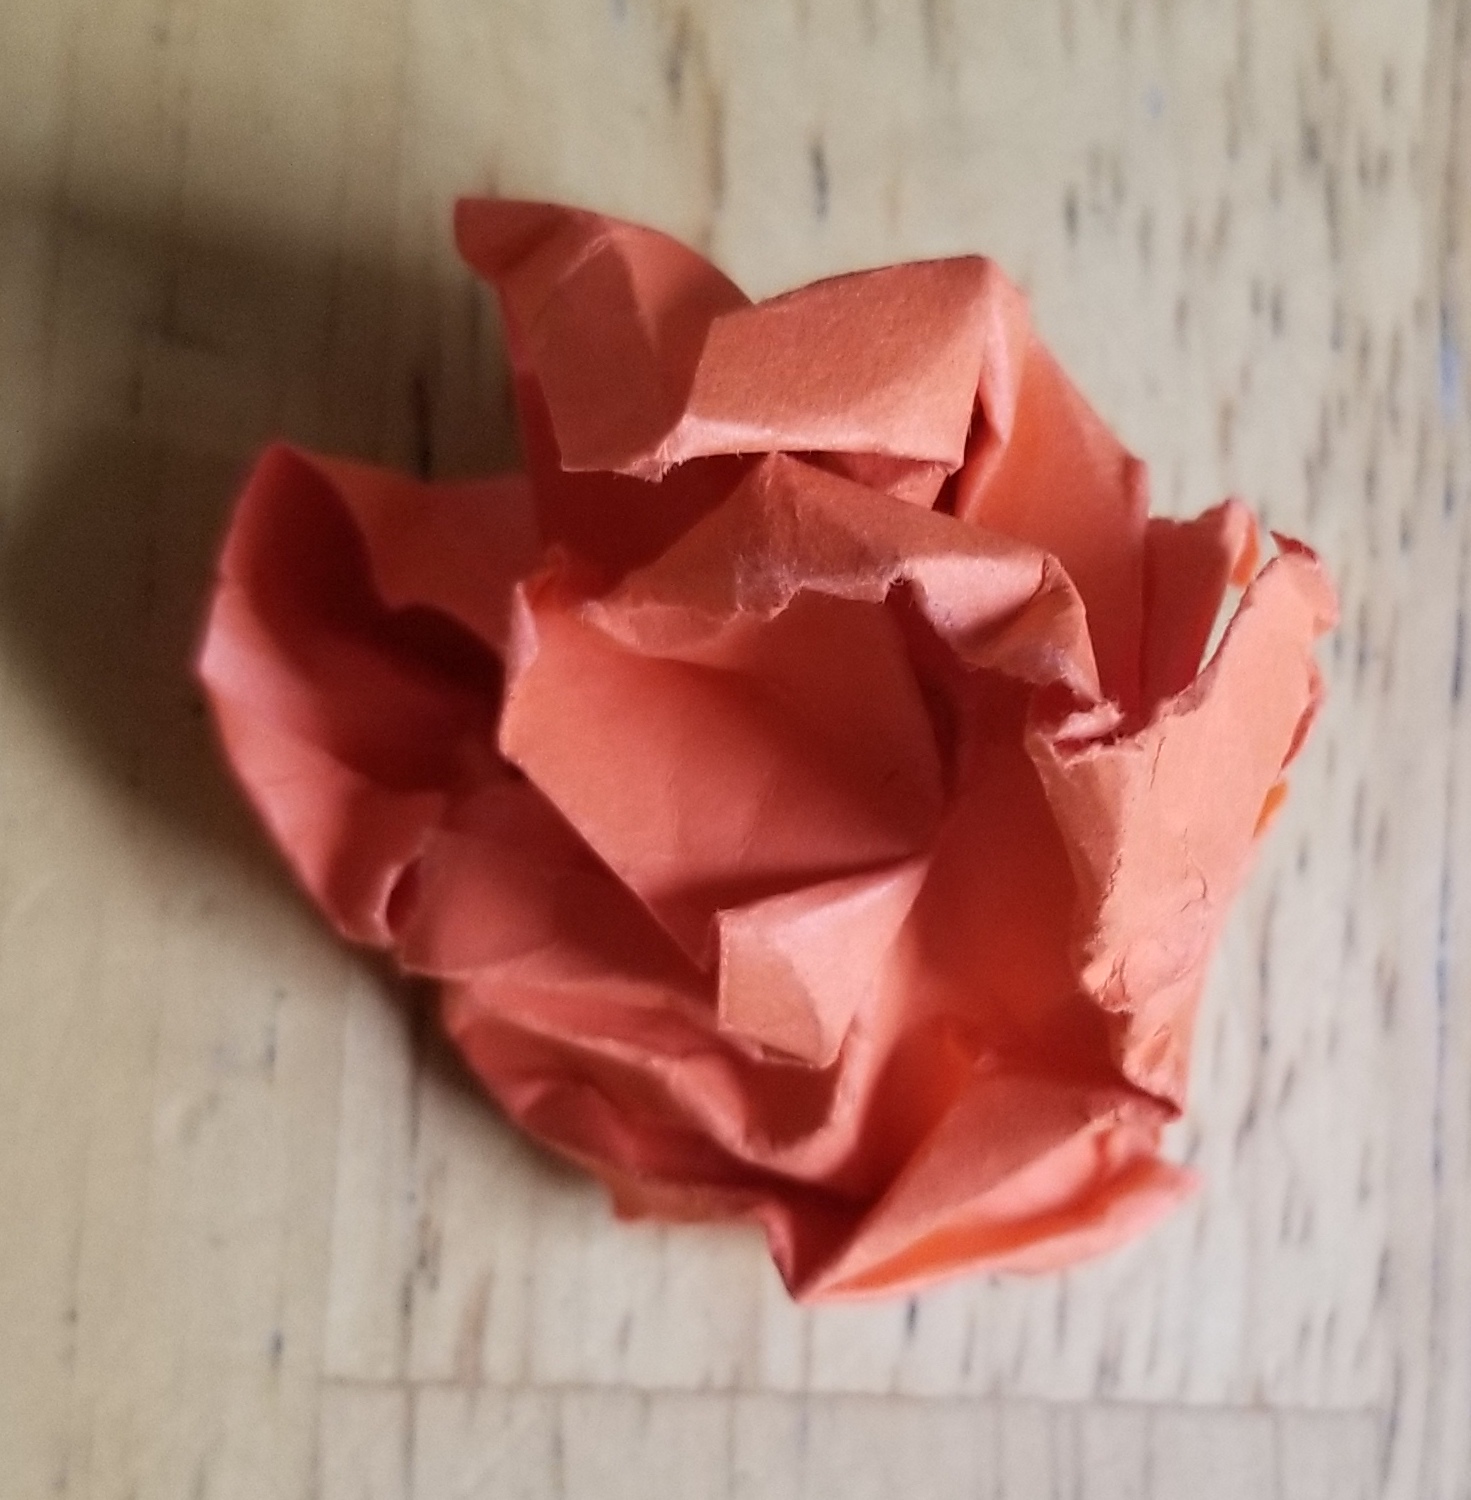
- How is crumpling similar to and different from twisting?
- What do you see that makes you say that?
- When would you want to use one over the other?
- Are there any similarities between fringing and folding?
- What do you see that makes you say that?
Now it’s your turn to change paper with your hands. Try all the suggestions on the slides and see what else you can do.
For an added challenge, try combining different methods in one piece. Here are some suggestions:
- Twisting and folding one piece of paper
- Crumpling and tearing one piece of paper
- Your idea here
Step 4: Arrange and Attach Relief Sculpture, with Student Slide #6
(10 minutes)
Student Slide #6 shows different ways the artist has arranged their paper pieces.
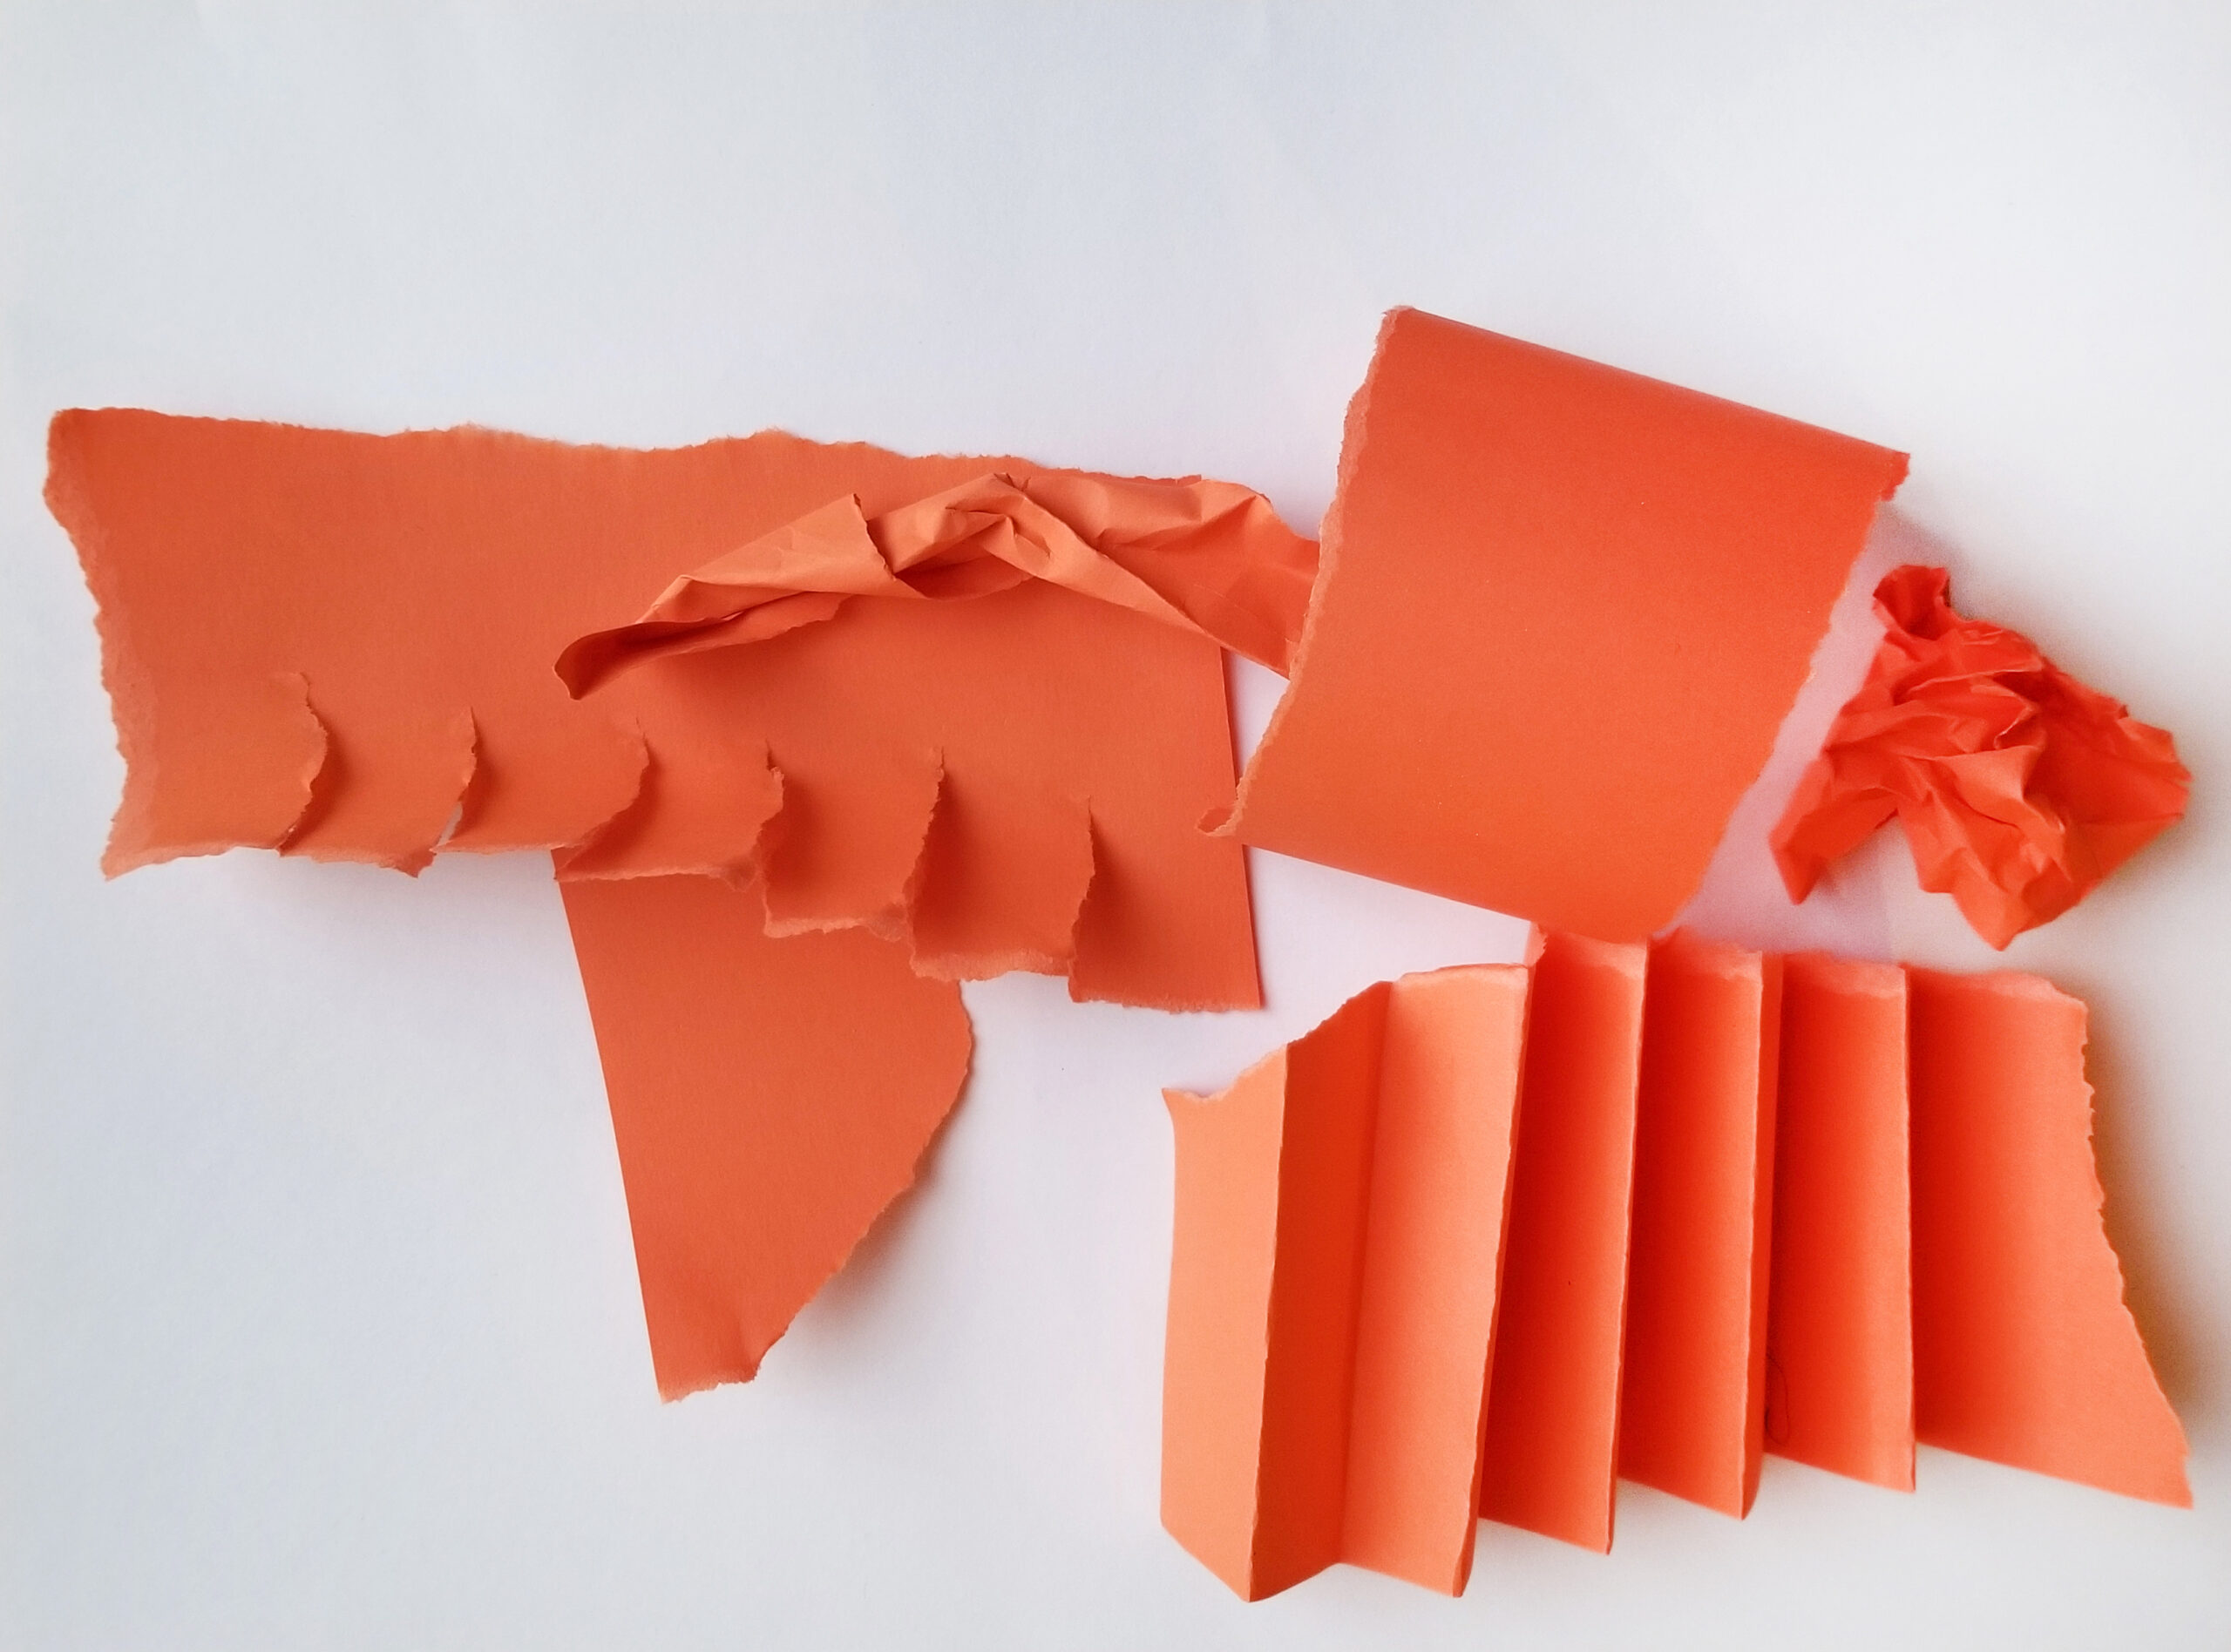
- How are the arrangements similar and different?
- What do you see that tells you that?
- Which arrangement do you prefer? Why?
- Based on your experience with arranging cut and torn paper for collage, how do you think this experience will be similar and different?
Explore different arrangements on your background paper. When you have an arrangement you like, glue or tape it down. Be sure to gently press and hold your pieces for a count of ten so they stay on permanently.
Look at your completed relief sculpture. Hold it up at arm’s length or carefully tape it to a wall. Earlier we learned that a relief sculpture is supported by a background paper. There is another important quality that a relief sculpture has.
- What do you think that may be, based on observing your work on the wall?
A relief sculpture can only be viewed from the sides and the front; we cannot see anything from the back.
- Why do you think an artist might want to make a sculpture that you can only see from the front and sides?
Step 5: Reflection Questions for Discussion (10 minutes)
- How did you change your paper?
- How did you arrange your shapes?
Vocabulary

Relief
Two-dimensional/three-dimensional
Tear
Fold
Twist
Crumple
Fringe
Roll
Arrange
Compose
Resources
Making Paper Three-Dimensional
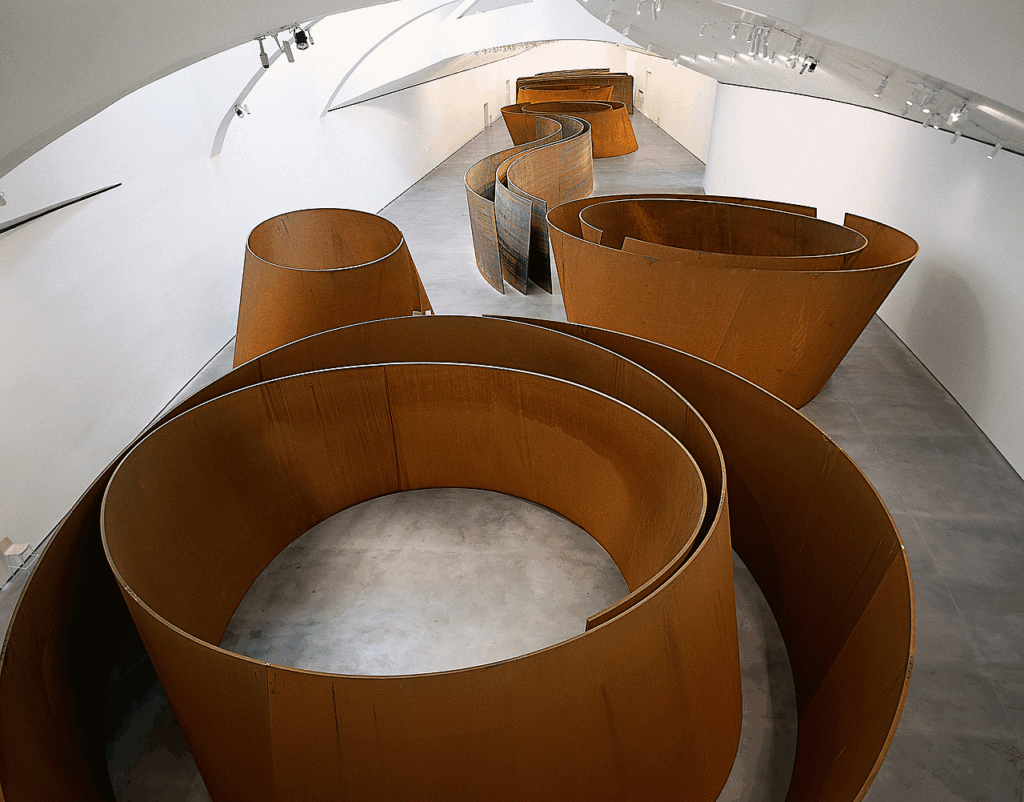
Reference Artwork
Enormous, life-size sculptures by artist Richard Serra
Adaptations
For Multilingual Learners
- Students can use their hands or bodies to act out vocabulary words: tear, fold, twist, crumple, roll, fringe
- Students can use their five senses to explore paper as a material.