Overview
Students will explore pencil techniques for drawing and create a variety of marks and lines.
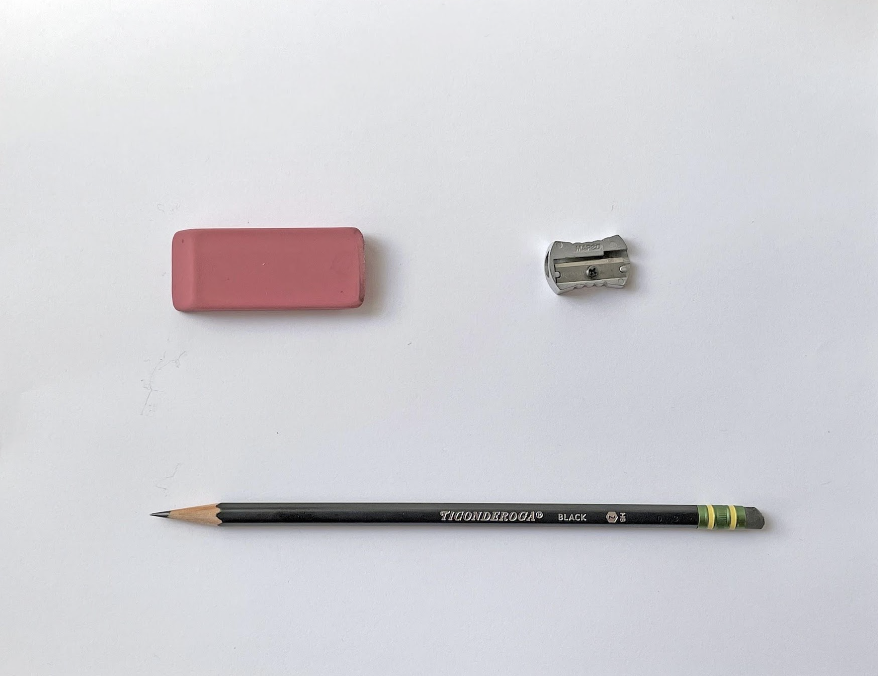
Materials and Tools
- Pencil
- Paper
- Eraser
- Pencil sharpener
- Household object to draw
- Exploring Marks and Lines video
- Exploring Marks and Lines student slides
Objectives
Students will understand that:
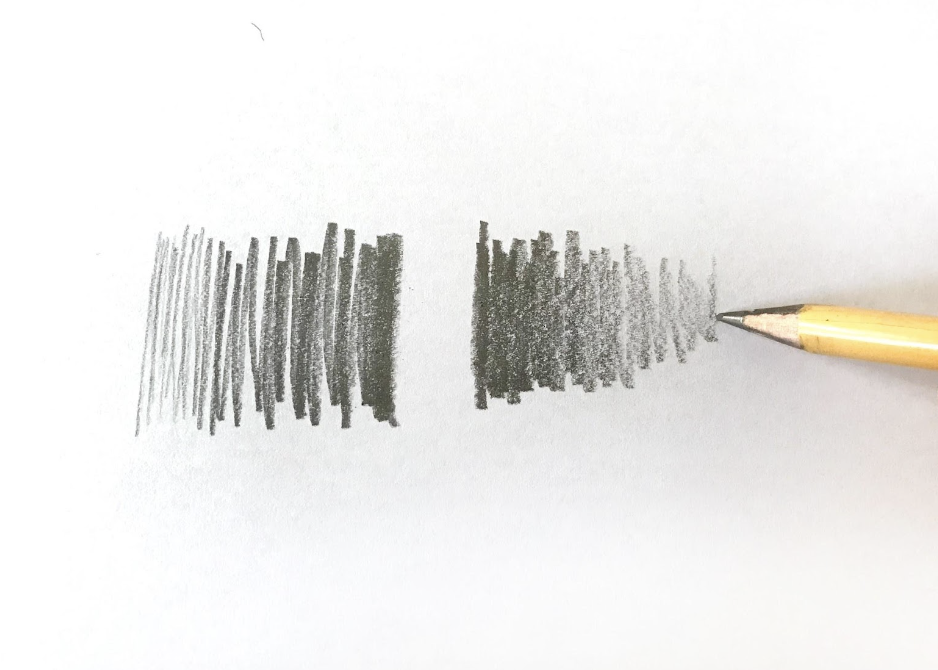
- Pressure changes the value of a line or mark
- The position and angle of the hand changes the width of a line or mark
- Movement and speed change the type of line or mark created
- A contour line drawing uses a single continuous line to show the shape of
an object
Students will be able to:
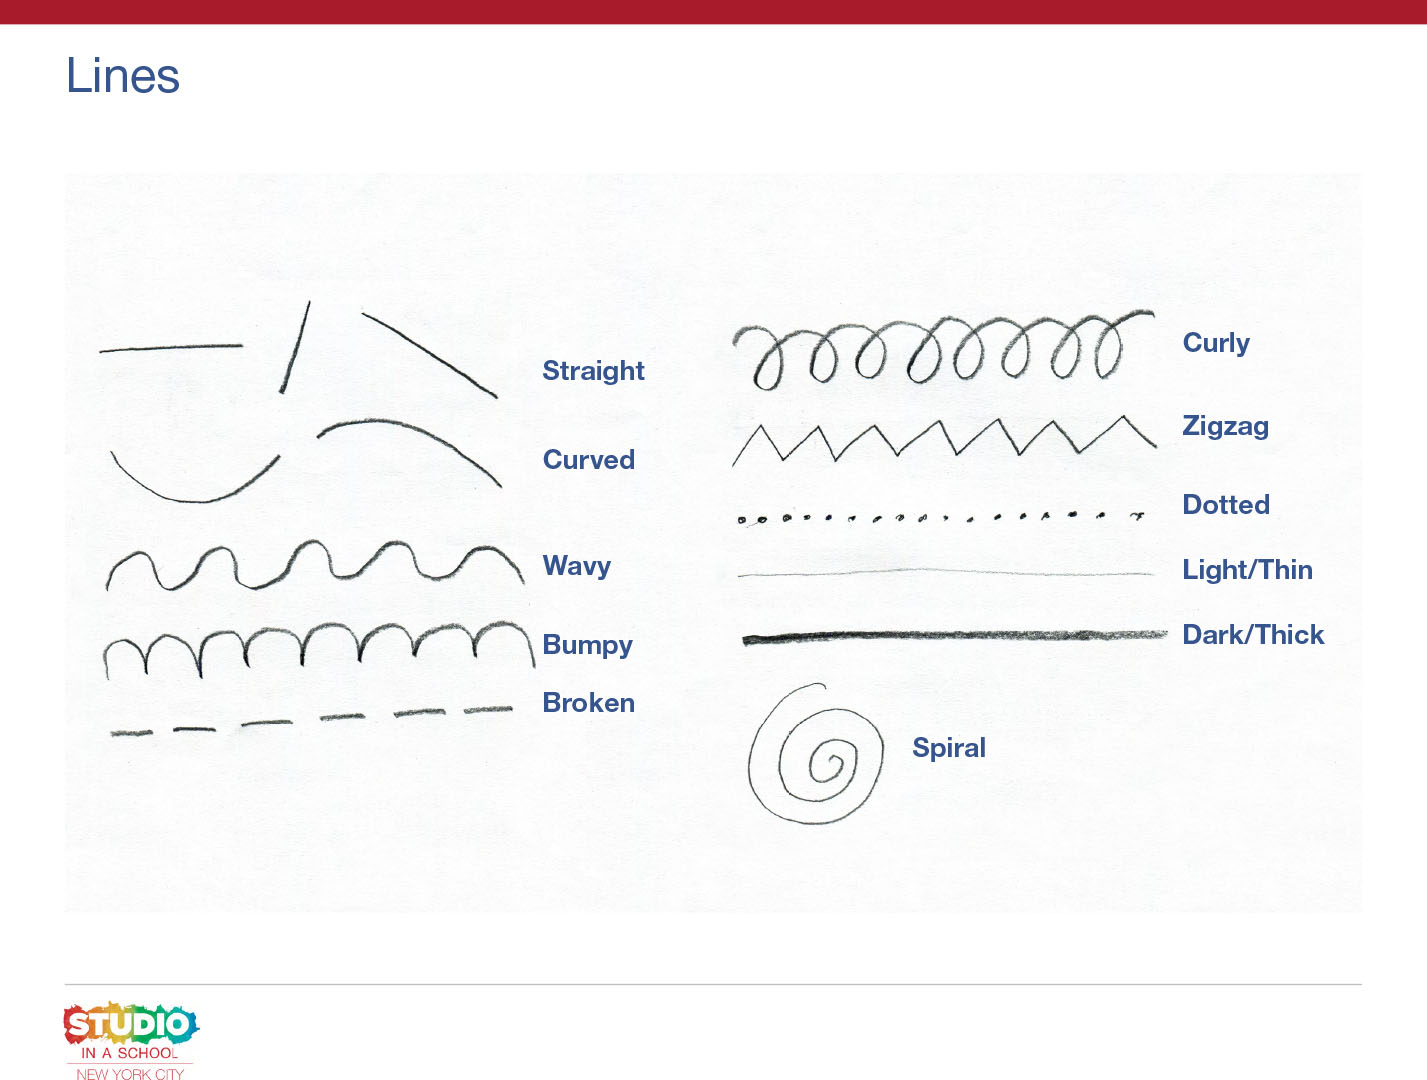
- Identify and create different types of lines
- Demonstrate how to create dark, medium, and light lines by changing pressure
- Demonstrate how to create thick and thin lines by changing the position of the hand
- Create a contour line drawing of an object from observation
Activities
Note: The following steps are written with sample language you may use with your students as you go through the lesson. Explain to students that the slides and the video they see during the lesson will be shared with them so they can review the lesson on their own and continue to make more art.
Step 1: Introduction, Watch Exploring Marks and Lines Video (12 minutes)
Welcome, artists. Today we will be exploring using our pencil in different ways to make a variety of marks. Then we will consider how to use our marks to create a drawing. Watch the Exploring Marks and Lines video to learn different ways of working with your pencil.
Step 2: Exploring Mark Making, with Student Slides #4-7 (15-20 minutes)
Look at Student Slide #4.
- What do you notice about the mark the artist is making?
- How do you think the artist is using their pencil to create this type of mark?
- What do you see that makes you say that?
Notice the way the pencil is angled.
- Why do you suppose the artist is using the side of the lead rather than the tip?
- How would the mark look different if it was made using the tip of the pencil?
To explore this idea further let’s look at Slide #5. Look closely at the way the artist is holding their pencil. Try holding your pencil with the grip pictured on the left.
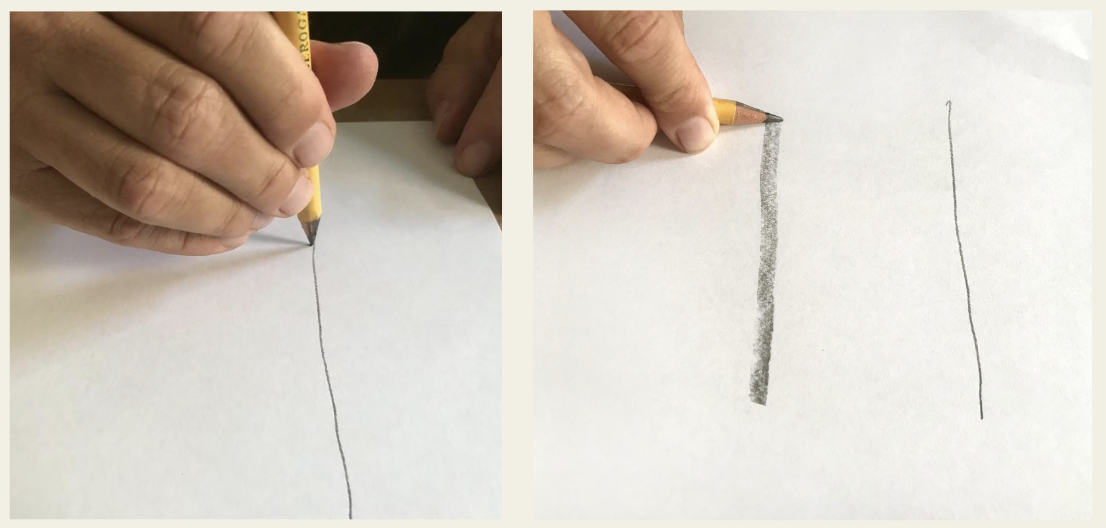
- How does it feel?
Make a mark.
- What do you notice about the mark you made?
- What relationship can we make between the way we hold our pencil and the type of mark that is produced?
Now explore holding your pencil and making a mark inspired by the image on the right.
- How is it similar and different to the first grip you explored?
Slide #6 shows another important idea in mark making. Observe the image on the right.
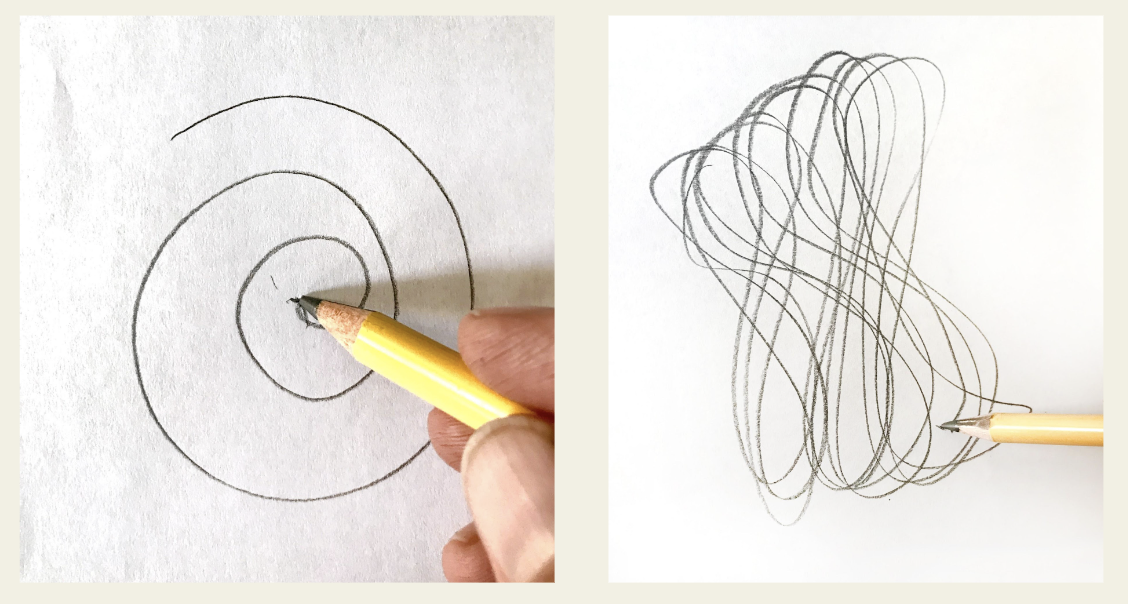
- What do you notice about the mark?
- Is the line created with several short marks or one continuous line?
- What do you see that makes you say that?
Try creating the mark in the air with the movement coming from your wrist.
- How does it feel?
Look at Slide #7.
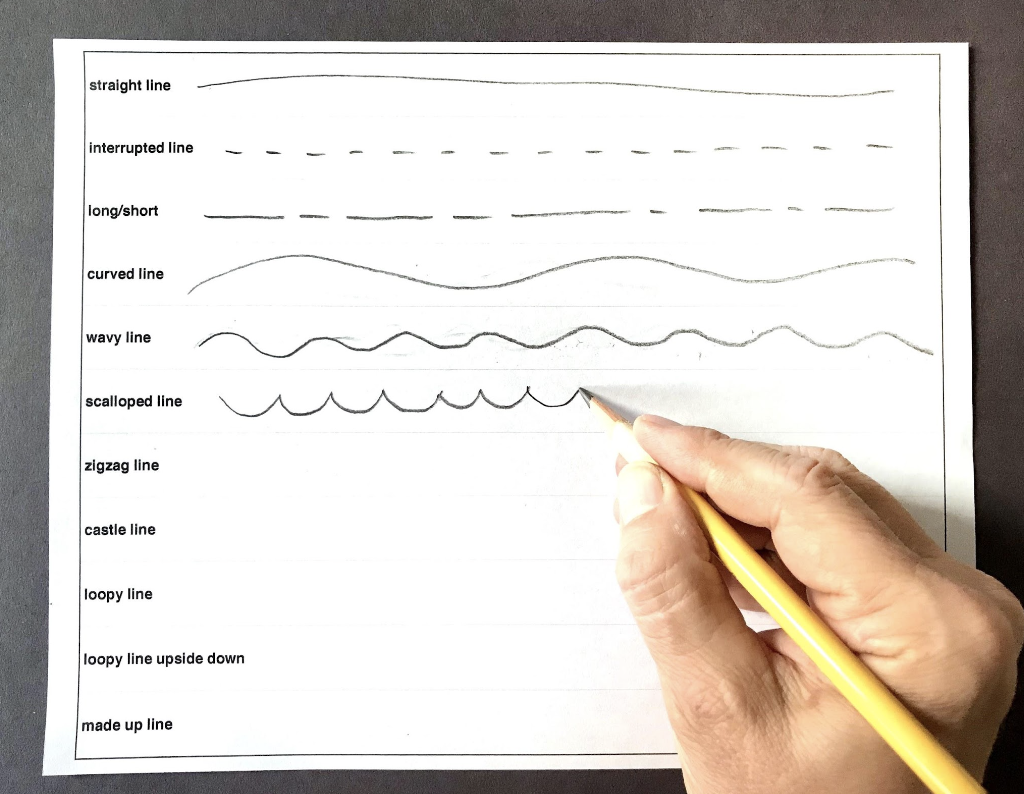
- What kind of lines do you know?
Practice making different types of lines using a flowing, continuous motion. Think about the angle of the pencil, the amount of pressure you are using, your movement, and your speed.
As you draw today, keep these ideas in mind. The way you hold your pencil will affect the type of mark you make. Most importantly, the type of mark you make will describe your subject in different ways.
Step 3: Selecting and Drawing a Household Object, with Student Slide #8 (10-15 minutes)
Look at Slide #8.
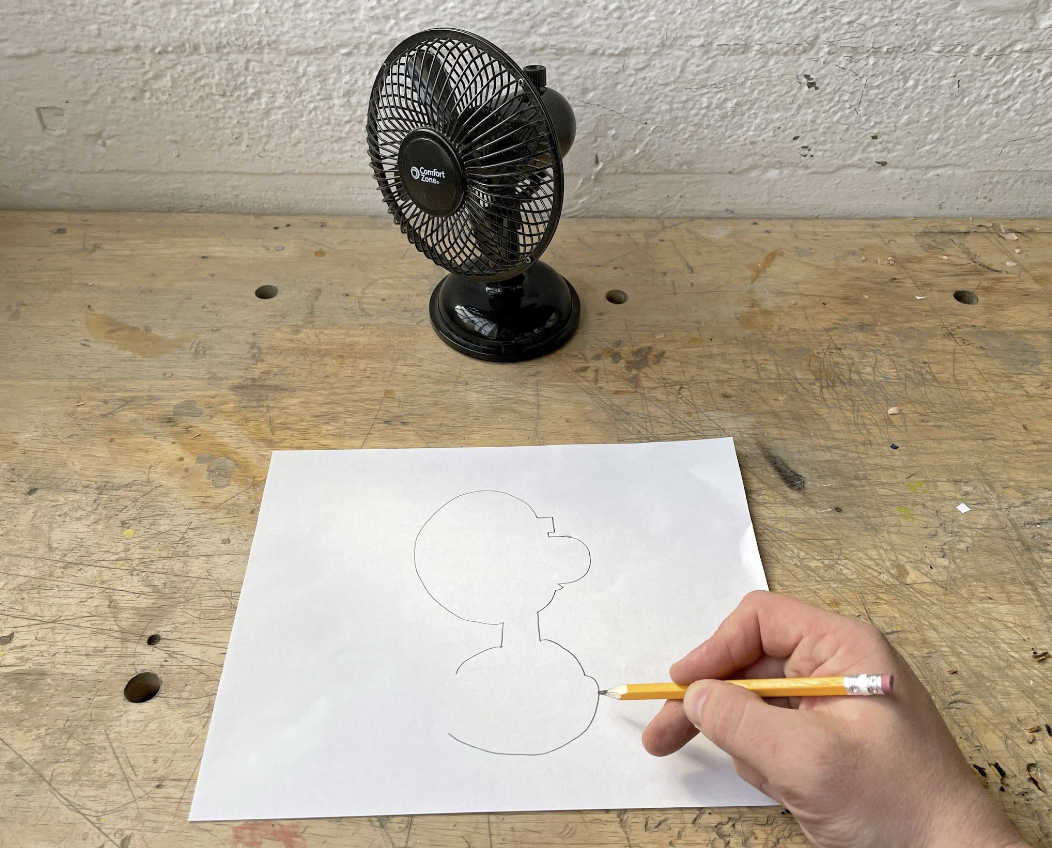
- What do you notice about the way the artist is making their drawing?
- What do you notice and learn about the object based on the type of line the artist is using?
Now it’s your turn. Find an object to draw. Choose something that has interesting edges. Once you have selected an item, make a drawing of your object using a contour line—a single continuous line that shows the shape of the object, focusing only on the outside edge.
Step 4: Reflection Questions for Discussion (5 minutes)
- What did it feel like to use your pencil in these different ways?
- In what ways did these drawing experiments look different from other drawings you have made before?
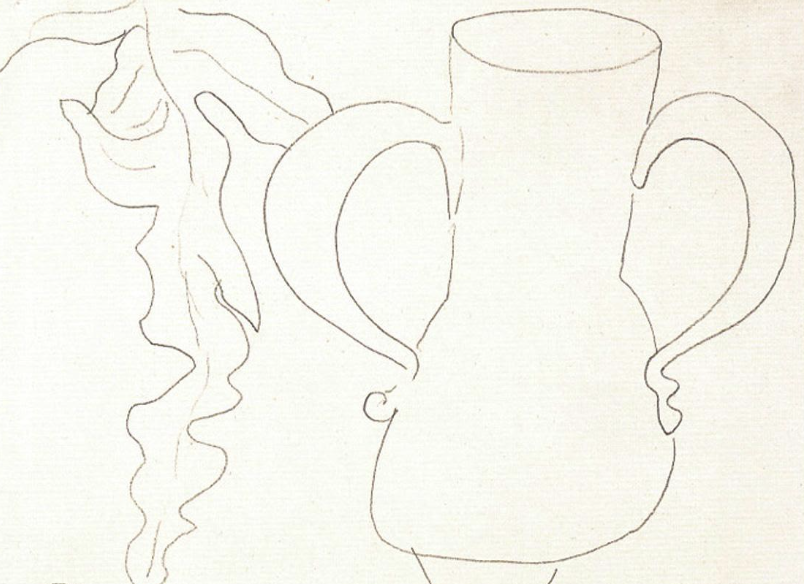
Step 5: Close Looking: Henri Matisse, with Student Slide #10 (10 minutes)
Note to Teachers: Before teaching with a work of art, spend some time looking closely at it on your own. Familiarizing yourself with the artwork will prepare you to guide the close looking activity.
If your students are new to looking at art together, you can introduce the activity to students in the following way:
Today we are going to spend some time looking at and discussing a work of art together. When we look at art, there are no right or wrong answers. I’m going to ask you to look closely, share your ideas about what you see, and listen respectfully to each other’s ideas. Everyone’s ideas are important. We all see things differently and when we look at art, we can learn to see through each other’s eyes.
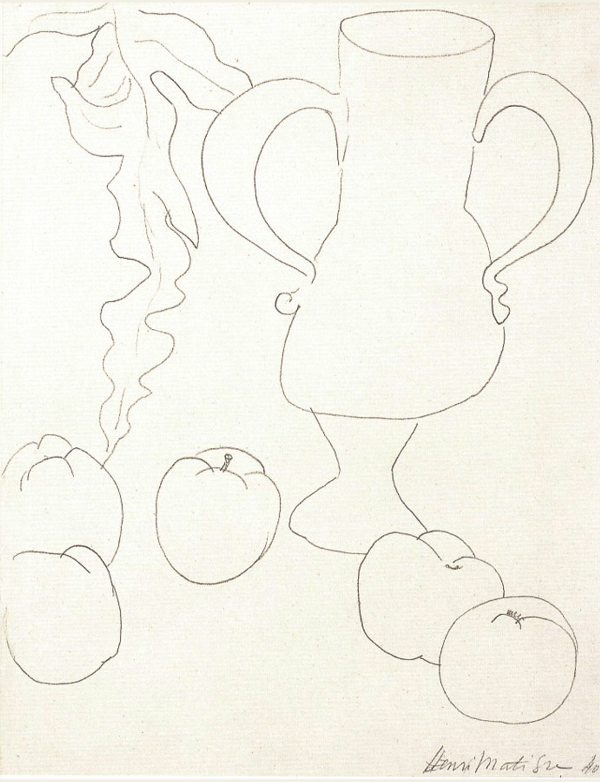
Let’s look at how Henri Matisse used marks and lines in one of his drawings.
- How would you describe the lines in this work?
- Do they remind you of the marks you just explored? Which ones?
- How do you think Matisse used his pencil to make this drawing?
- Why do you think he chose these particular lines?
- How would the drawing look and feel different if it was drawn with the side of the pencil?
Vocabulary
Line
Pressure
Value
Angle
Contour line
Resources
Watch an artist demonstrate contour line drawing: https://www.youtube.com/watch?v=Eu9sUWLfGng