Overview
Students will make a sketchbook using materials found in the home.
Materials and Tools
- 10 sheets of 8.5 x 11″ or larger paper of any kind (printer paper is a good option)
- A firm paper that is an interesting color for your cover (could be a “found” paper, such as an old calendar or even a magazine cover)
- String or yarn, something thicker than thread
- Scissors
Activities
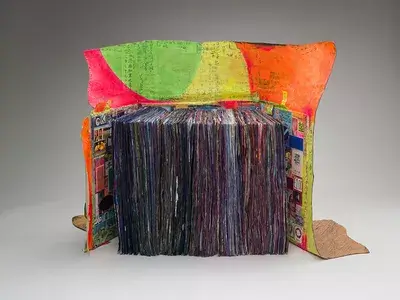
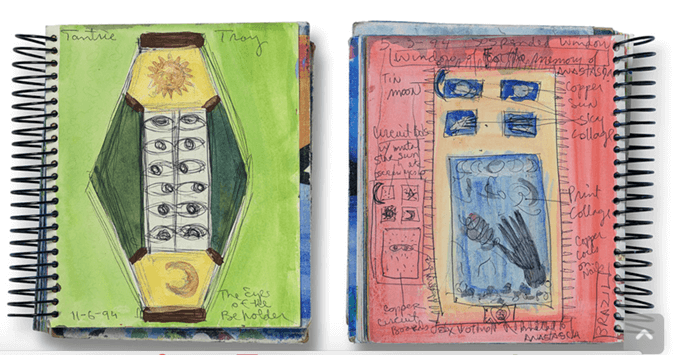
Artists use sketchbooks to record what they see, feel and think. Many artists make their own sketchbooks! Let’s make our own today!
Step 1: Gather 5 sheets of paper together. Fold them in half in a single stack.
Step 2: Mark three even marks along the folded edge of your paper stack
Step 3: Along the folded edge, use the inside most part of your scissors (not the tip!) to cut a triangular notch at each mark.
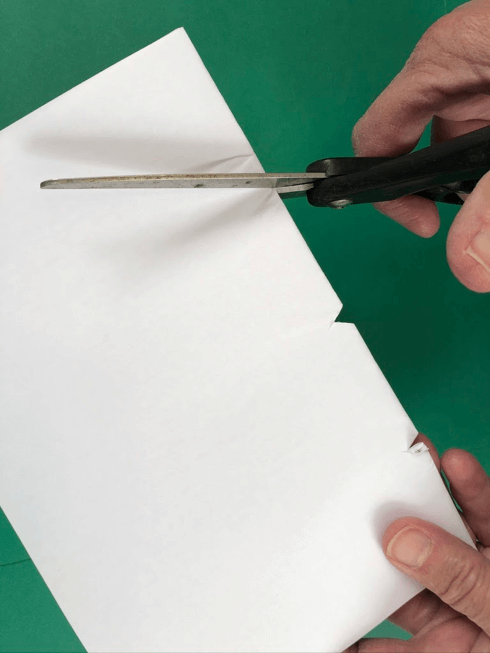
Step 4: Repeat the above steps with another set of 5 papers and add these to the stack.
Step 5: Cut your yarn or string one arms’ length. To do this, stretch the string out tautly with your arms fully extended.
Step 6: From the outside, keeping the book folded, put each end of the string through the outermost holes. Your two string ends will now be inside the book.
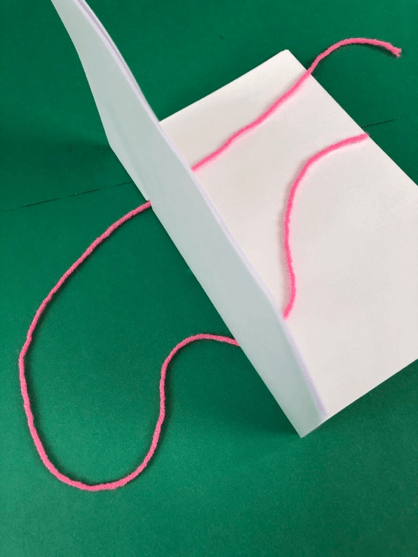
Step 7: Open your book and loop the string ends back out through the middle hole.
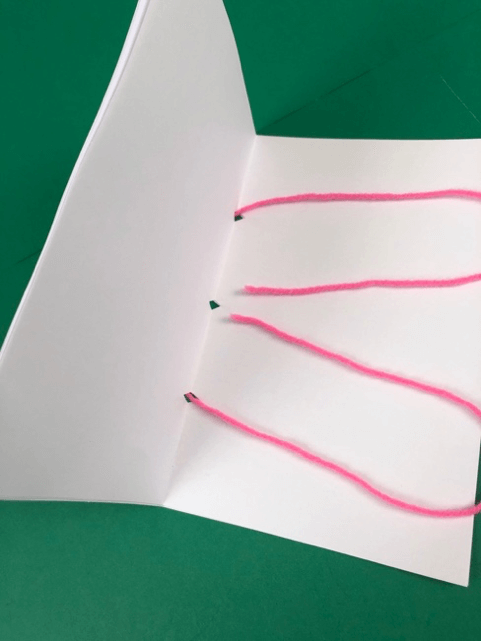
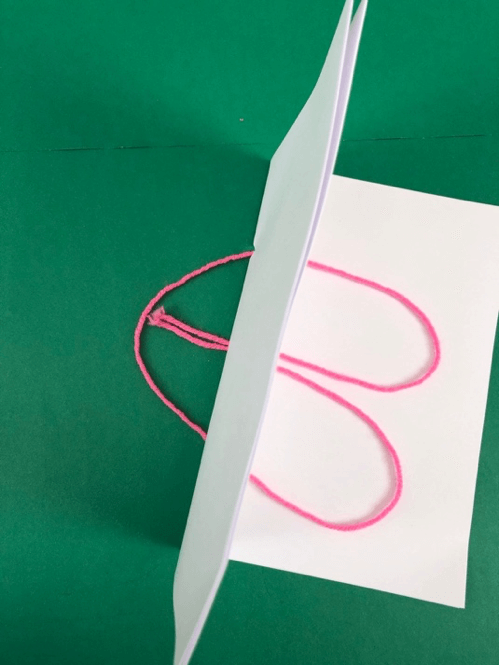
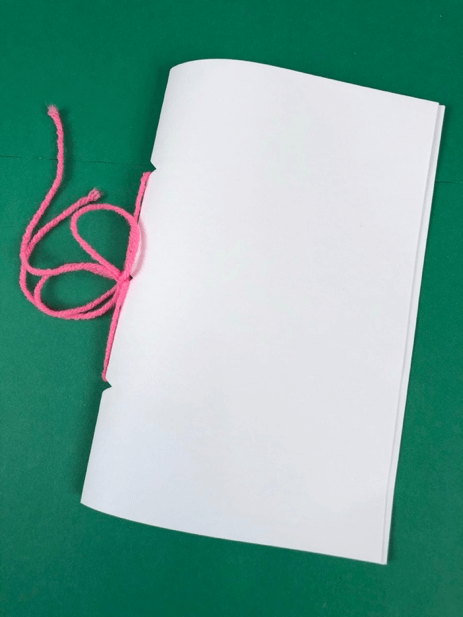
Step 8: Fold the book again, pull the strings through tightly, and tie them together.
Reflection Questions for Discussion
- We’ve just created a small sketchbook of our own. Have you ever used a sketchbook or diary before?
- What comes to mind when you imagine using your sketchbook?
Vocabulary
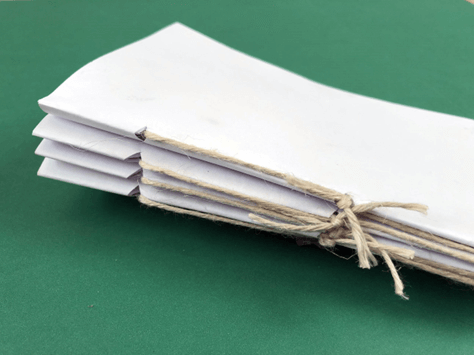
Bookbinders call a group of papers tied together a “signature” Many signatures can be glued together to create larger books.
Resources
