Overview
In this lesson, students will explore different ways of holding a paintbrush to create a variety of lines.
Materials and Tools
- Black tempera paint
- 12’’ x 18’’ paper
- Paint tray
- 1” flat paintbrush
- Table coverings
Objectives
Students will understand that
- Holding a paintbrush in different ways can produce different effects.
- Speed and movement influence the lines created.
Students will be able to
- Create a wide range of lines.
- Hold a paintbrush in various ways to create different effects.
Activities
Engagement
Show a paintbrush. This is a special artist’s tool. It is a paintbrush. When we hold our paintbrush, we hold it by the handle. We can also hold it closer to the bristles or towards the end. Model holding the paintbrush in different ways.
Let’s practice creating different lines with our paintbrush. Everyone hold your pretend paintbrush in the air.
- Let’s practice making zig zag lines. Let’s try making big zig zags and then small zig zags.
- Let’s make fast loops and slow loops.
Demonstrate: We are exploring paint with just one color today. Let’s see what we can do.
- First, I’m going to dip my brush into the paint and bring it to my paper.
- I’m going to start with a straight line. I can move my brush across my paper and make a thick line.
- How can I make a thin line? I can turn my brush and use the tip.
- Next, I’ll try some zigzag lines. I can make it thin or thick. I’m holding my brush in the middle to have some control as I paint.
- Now, let’s try some big loopy lines. I might hold my brush towards the end to give it some space to move on its own to make a loopy line.
- What do you notice? I’ve run out of paint, so I’m going to go back to the paint and dip my brush again. Remember you don’t need a lot — just a dip.
- Does anyone have an idea for another line? How could I do that?
Now it’s time for you to explore painting lines. Try to fill your paper with as many lines as you can.
Work time
During work time, students should be encouraged to:
- Hold the paintbrush in varied ways.
- Create a variety of brushstrokes.
Clean Up
It’s time to stop painting! Please put your paintbrushes on the tray. We will collect your paintings and give you a wipe to clean your hands.
- Ask a student to collect the brushes in a tall deli container or small bucket and bring them to the sink. If desired, instruct the students on how to carefully clean the brushes.
- The adults in the room should collect the paintings, while students stay seated. (Students sometimes hold the paintings upright, causing drips.) If you are planning a gallery walk reflection, leave the paintings on the tables until the reflection is done.
- Hand out baby wipes for students to clean their hands.
- Place the lids on the paint cups and carefully collect them.
- Decide in advance where the wet paintings will dry. Paintings can be placed on top of bookshelves, on the window sills and/or on an empty table. Use newspaper or newsprint to protect surfaces.
- Collect table coverings.
Reflection
Gather students in a circle on the rug or around a table. Select 2-3 student artworks with a range of different lines to discuss.
- What lines do you notice? How do you think the artist made that line?
- Do you see any lines that seem like the artist held their brush in a different way to create them?
Adaptation
Adaptations for Upper Grades
- Give students water and a palette and have them experiment with diluting the paint to create different values.
- Give students two different types of brushes to experiment with.
- Have students fold their paper into small boxes and paint a different pattern in each box by repeating different types of lines.
- Have students fold their paper into small boxes and use lines and marks to create different weather effects in each box. Give students examples of weather such as: rainy, cloudy, thunder and lightning, windy, snowstorm, icicles, falling leaves, fog, tornado etc. Emphasize using lines and marks to capture weather effects, rather than illustrating a scene.
Adaptations for Students with Disabilities
- Use adaptive paint brushes to support different grips.
- If the class is small, sit together with students at a table and paint side by side.
- During work time, provide individualized support and remodeling if necessary.
Adaptations for Multilingual Learners
- Create a word wall with the vocabulary words (in English and relevant languages).
- Emphasize and repeat key vocabulary words.
Vocabulary
Paint, lines – zigzag, loopy, broken/dotted
Resources
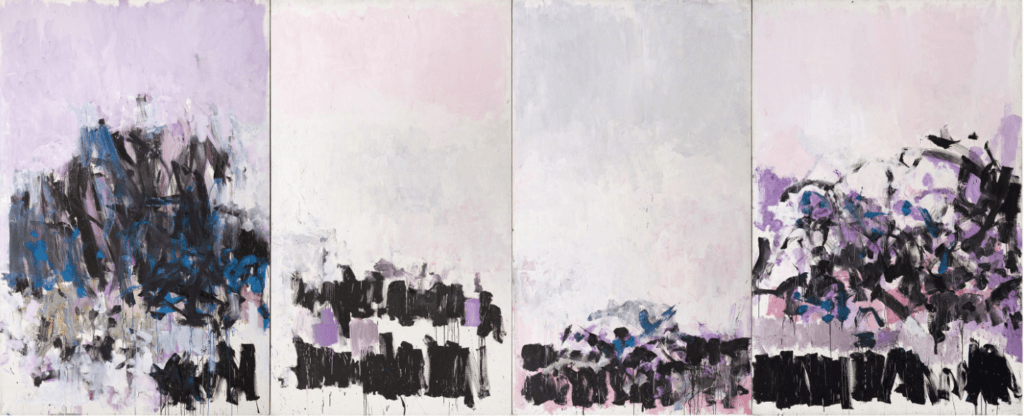
Joan Mitchell, La Vie en Rose