Overview
In this activity, children will explore twisting, stacking, and building to create their own paper sculptures.
Materials and Tools
Two sheets of paper. These can be construction paper, or any kind of scrap paper you can find in your home, such
as printer paper, a paper bag, pieces of magazines, newspaper or even old envelopes.
Activities
Sculpture is a kind of art that stands up and can be looked at from many sides. Sculptures can be made out of any kind of material, but they are always 3-dimensional.
Take a look at your paper. How many sides does it have? It has a front and a back. It is flat, so we call this 2-dimensional.
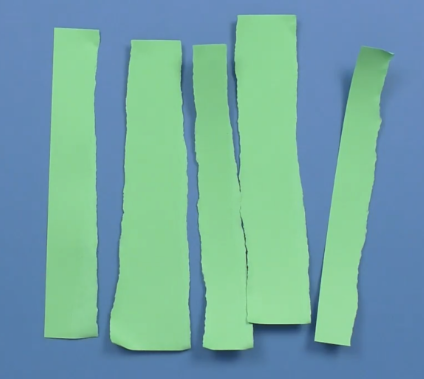
Step 1: Tearing Strips
Are you ready to make a sculpture? First, let’s use our hands to tear our paper and make some strips. First, hold your paper to tear the shorter side, pinch your fingers close together and wiggle, wiggle a little bit.
Then, pull one side of the paper to the front, and the other side to the back.
Keep tearing to make strips with one whole sheet of paper. See if you can get 6 strips.
Step 2: Making Paper 3-Dimensional
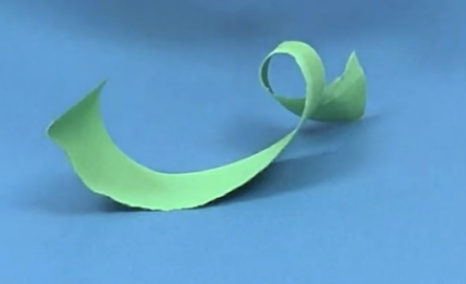
Now, how can you use your hands as tools to make these strips of paper 3-dimensional? Do you have any ideas?
What will happen if you pinch one side of the paper and start to twist?
The paper will become wavy. What will happen if you keep twisting it?
You get a long twisted strip. Is it 3-dimensional? Does it have a top, a bottom and sides?
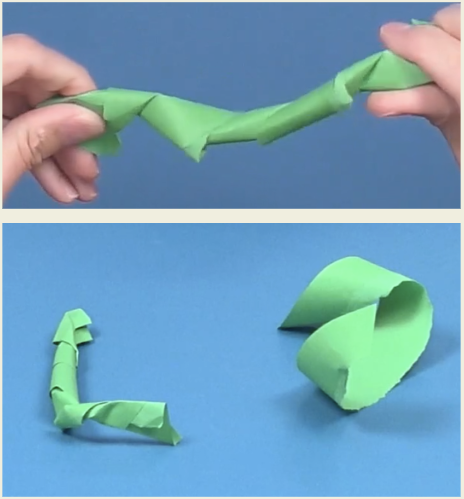
Step 3: Twisting Different Sizes
Try making another twisted strip. This time, twist as much as you can. What do you notice about this strip? It might be thinner than the other one if you twisted it tighter.
Keep twisting all of your pieces. Make some thinner and some thicker.
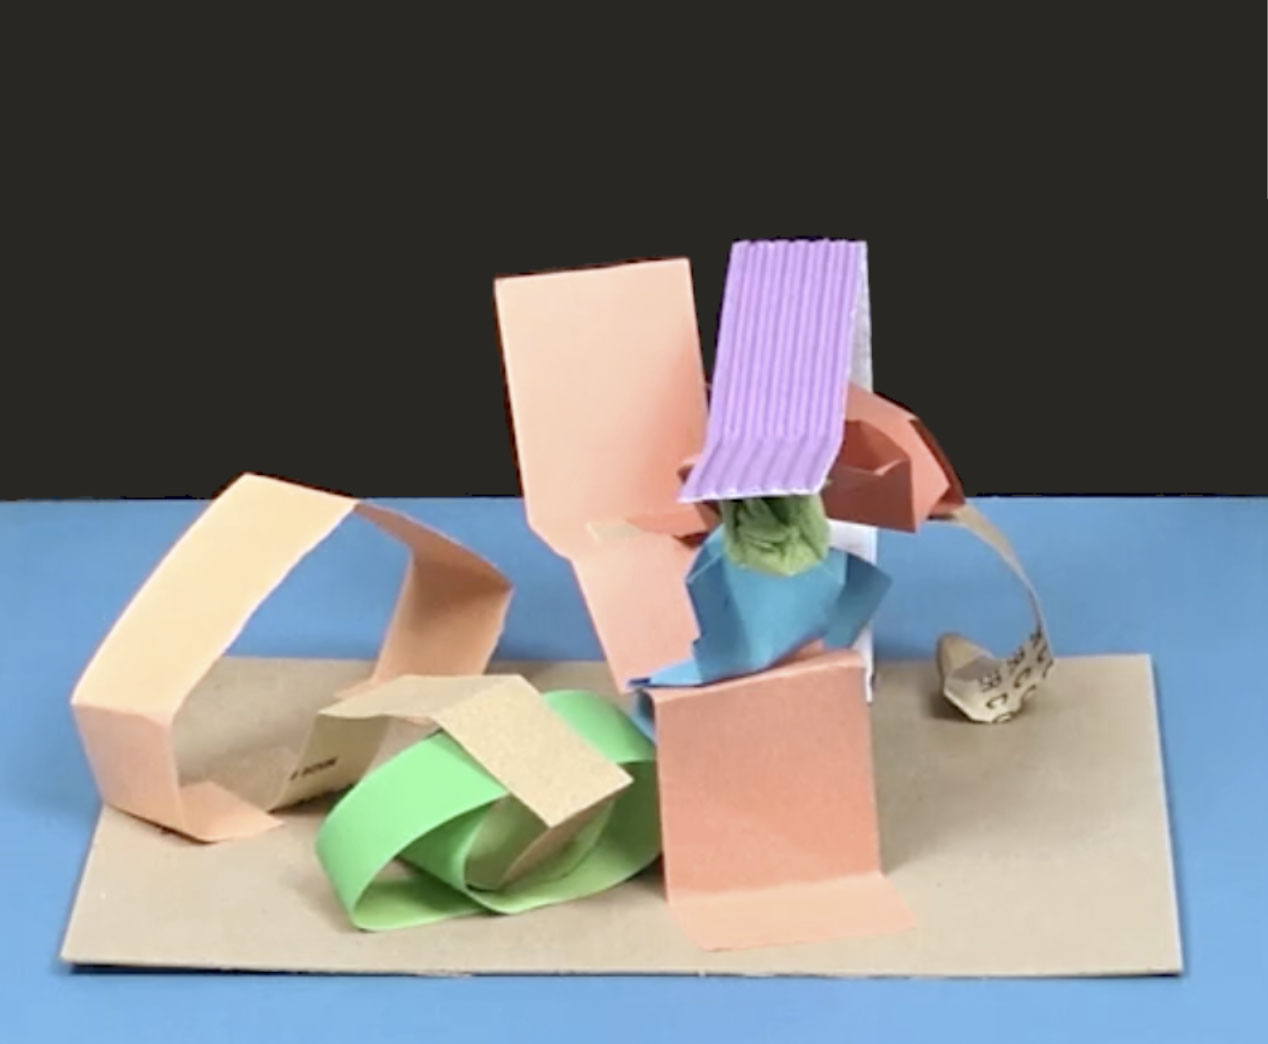
Step 4: Building with Twisted Pieces
Now, your pieces are all 3-dimensional! How can you use them to make something taller? What ideas do you have?
You can build something with them! Get your second sheet of paper to use as a base.
A base is a home for a sculpture, a space to build on top of.
Step 5: Building with Twisted Pieces: Leaning
How can you build up with your twisted shapes? Maybe you can take a larger piece and lean some of smaller pieces on the side of it.
Step 6: Building with Twisted Pieces: Stacking
Can you stack your pieces and put one on top of another?
If they don’t seem to stack up very well, you can put larger pieces on the bottom of your sculpture and add smaller pieces on top.
Step 7: Arranging Patterns
How can you arrange your objects to make a pattern? A pattern is a design where a line, shape, color or texture repeats.
Step 8: Building with Twisted Pieces: Stacking in Opposite Directions
Let’s try something else.
Line up two pieces across the middle of your base. Now, two more on top in the opposite direction. This is a different way to stack them.
Step 9: Building with Twisted Pieces: Stacking
Can you think of other ways to stack your pieces?
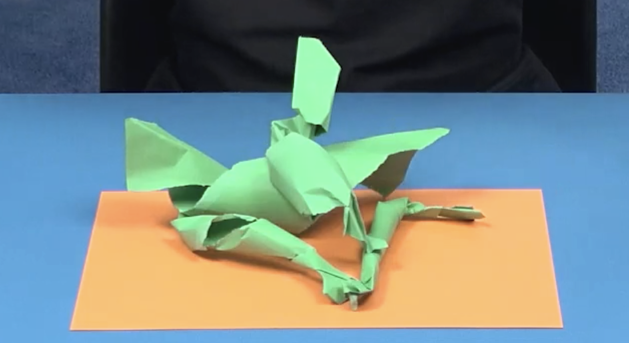
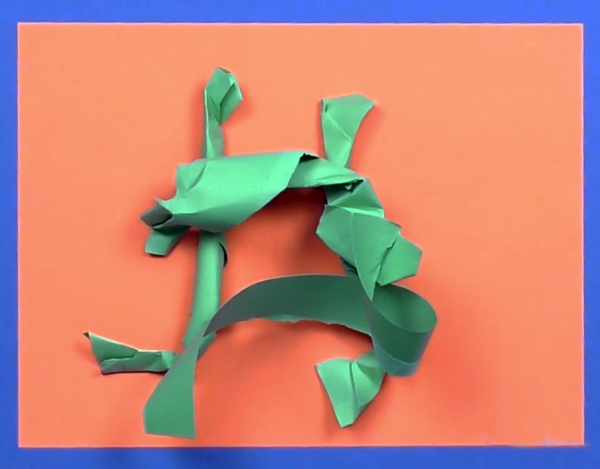
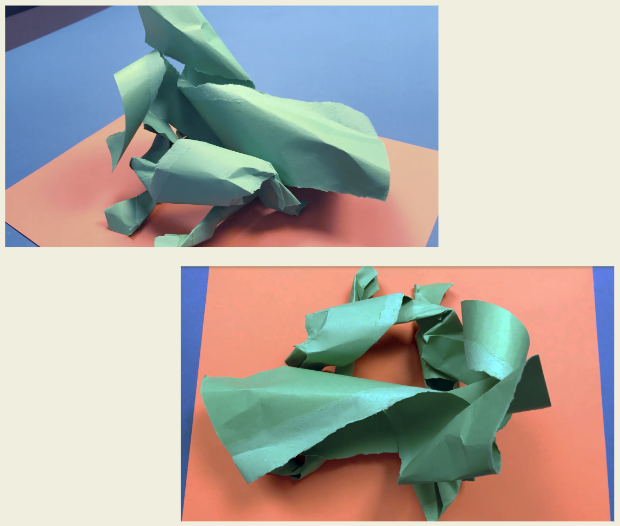
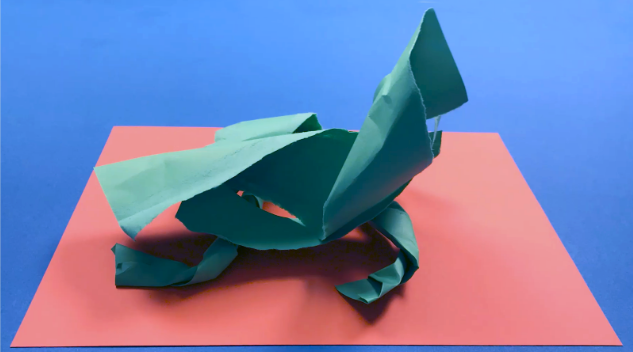
Does your sculpture remind you of anything?
Step 10: Looking from Different Angles
Sculptures have many sides we can look at. Carefully turn your sculpture and look at it from a different angle.
What do you notice if you look at it from above?
Step 11: Reflection
Take a look at your finished sculpture.
How did you change the paper with your hands? How did you build with your paper strips?
If you have a camera, you can take a picture of your favorite arrangement of objects. Or you can always draw it.
Video
Credits
Written By:
Andrea Burgay, Director of Digital Learning
Copyright © 2023 Studio in a School NYC LLC