Overview
In this lesson, you will create a pop-out paper face!
Materials and Tools
- 4 pieces of copy paper, notebook paper, or any lightweight paper
- Scissors (optional)
- Pencil
Activities
Step 1
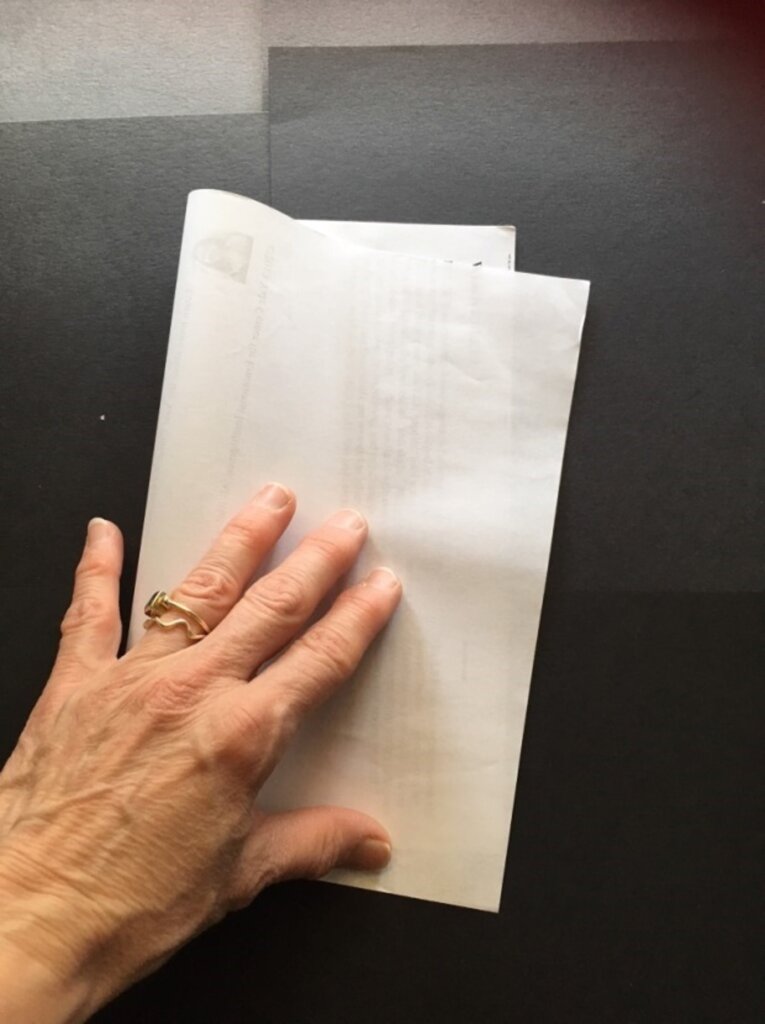
First, take a piece of copy or notebook paper and fold it in half like a book. Try to match the edges before you
press the fold.
Step 2
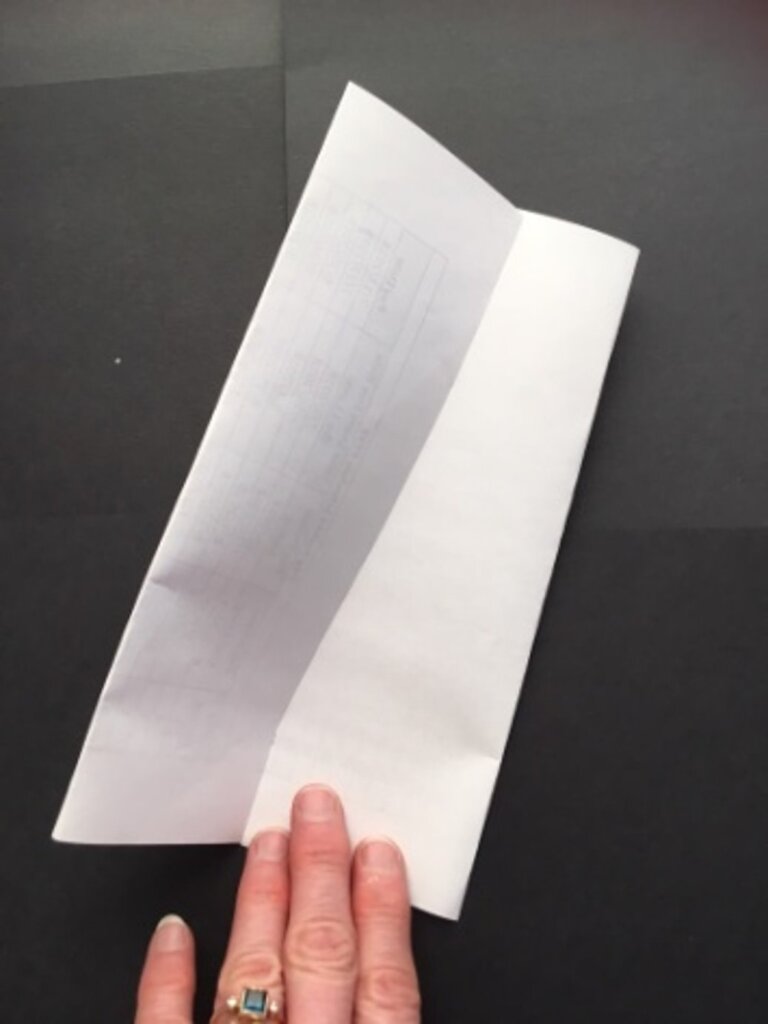
Next, fold each side in half one more time. You will have a triangle.


Step 3
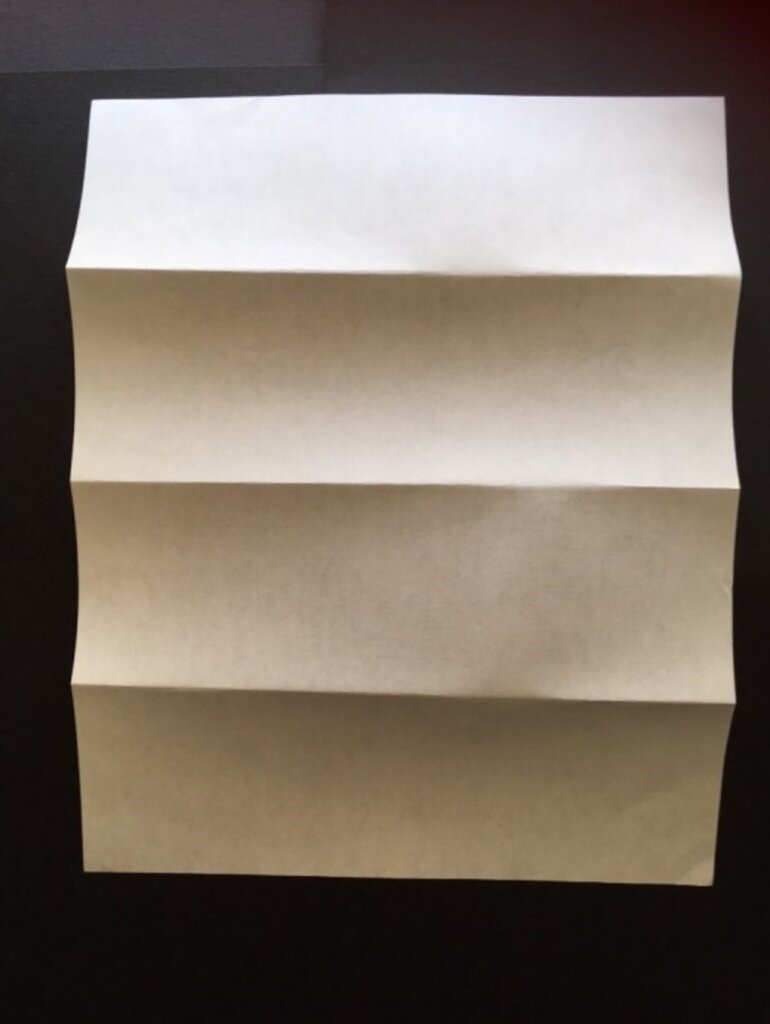
Open it up. You will see 3 folds and 4 sections.
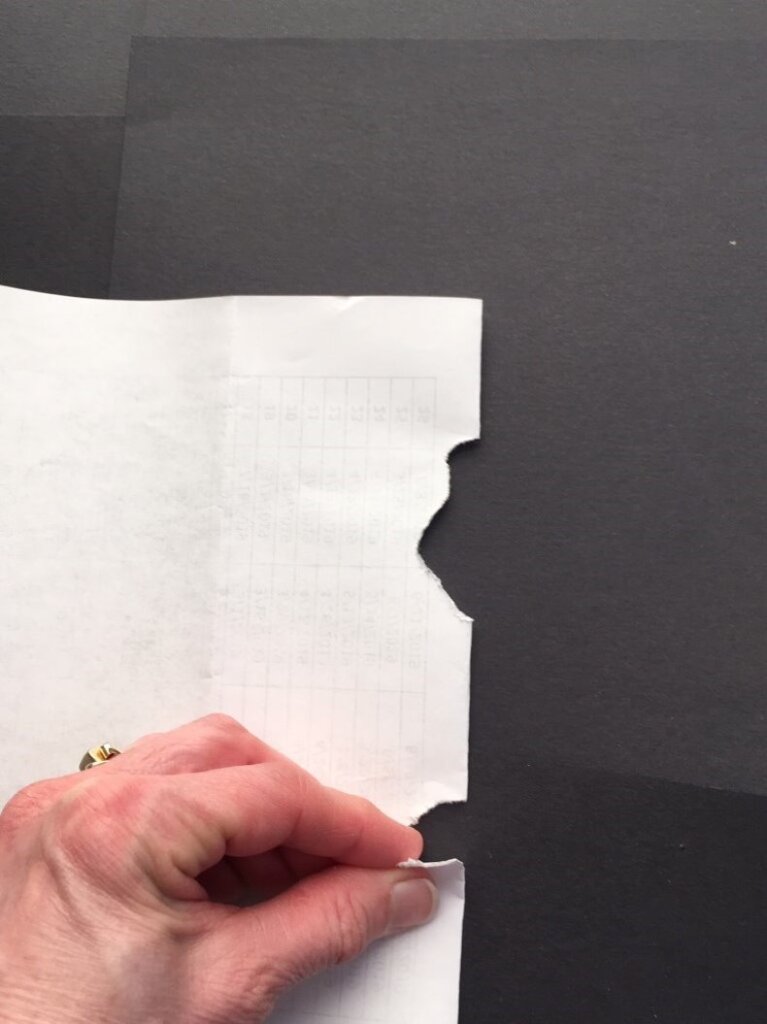
Step 4
Now, fold the top section closed again. Try carefully tearing along the fold to make two holes, or inserts. These are where the eyes will be.
Step 5
Next, fold the middle section closed and tear out one hole on the fold. It should be in the middle. This is where the nose will be.
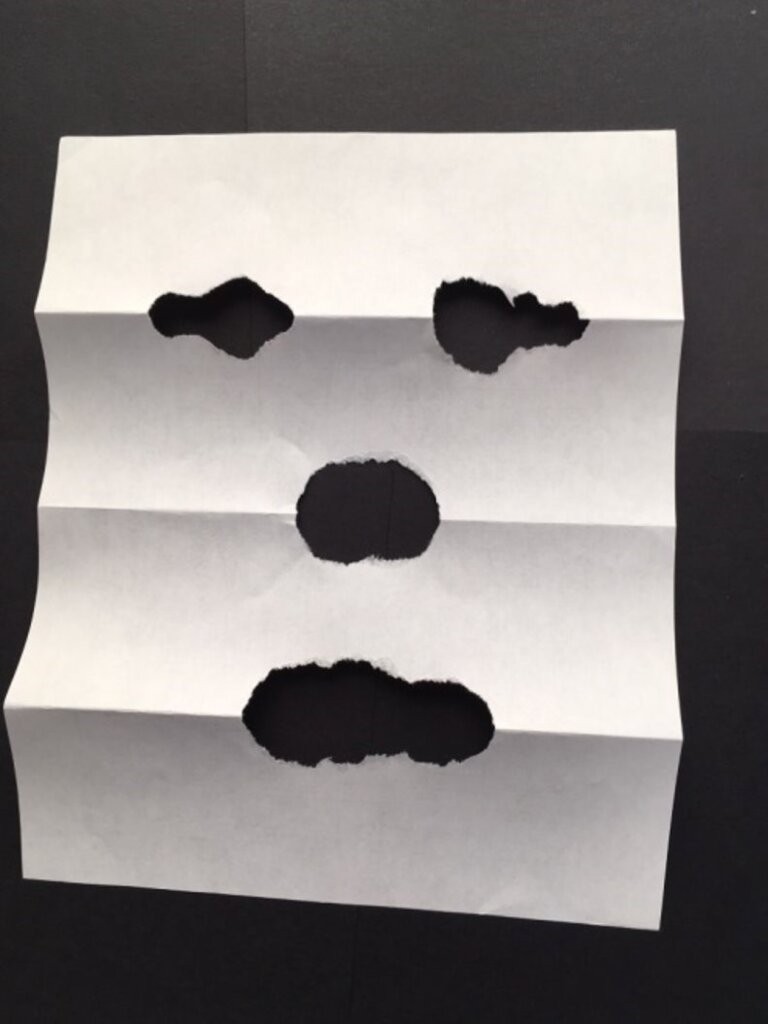
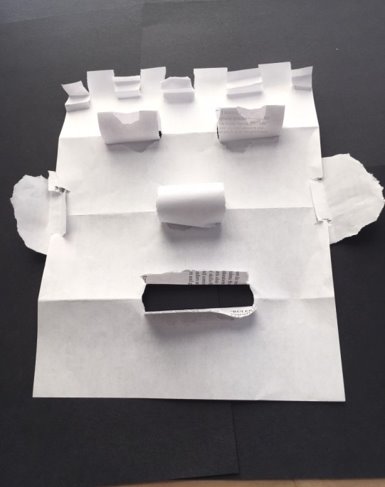
Step 6
Finally, close the last section. Tear out one larger hole on the fold. This will be for the mouth.
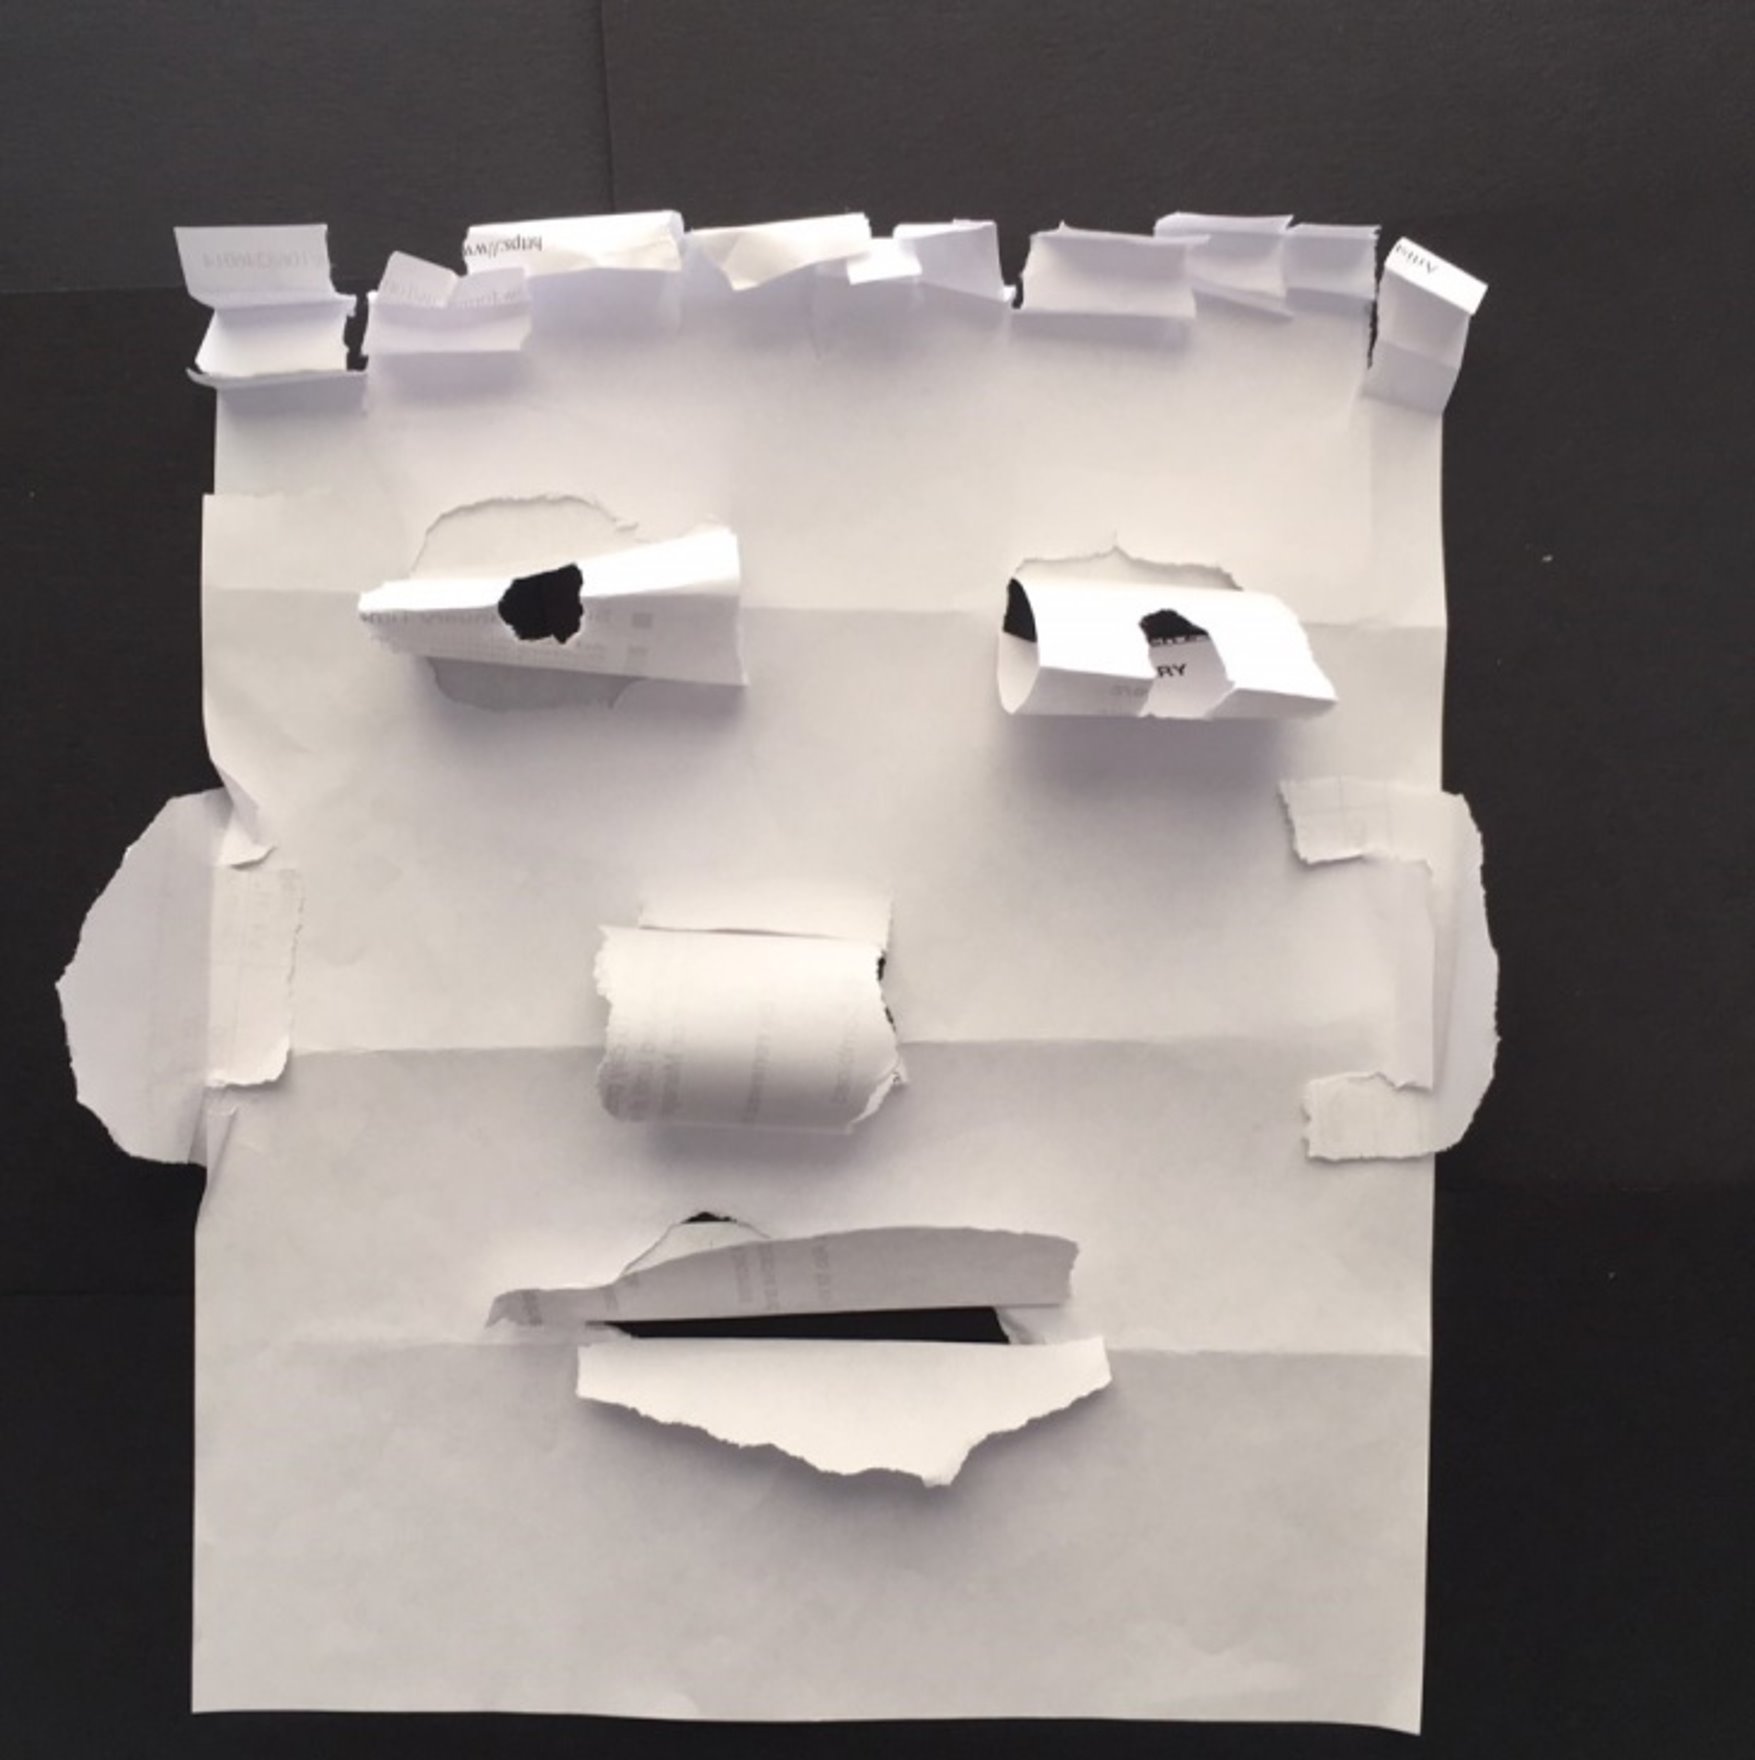
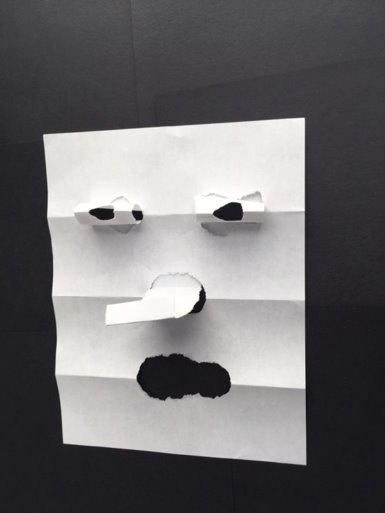
Open up your paper, and you will see holes where the face parts will go. It will look a little like a ghost!
Step 7
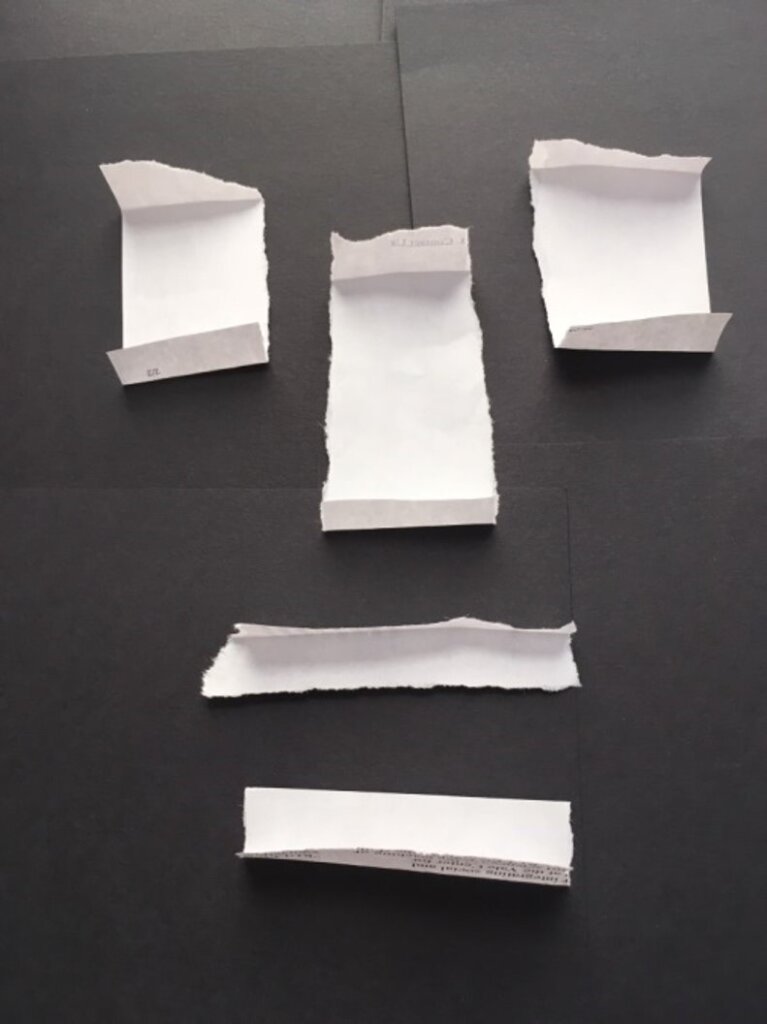
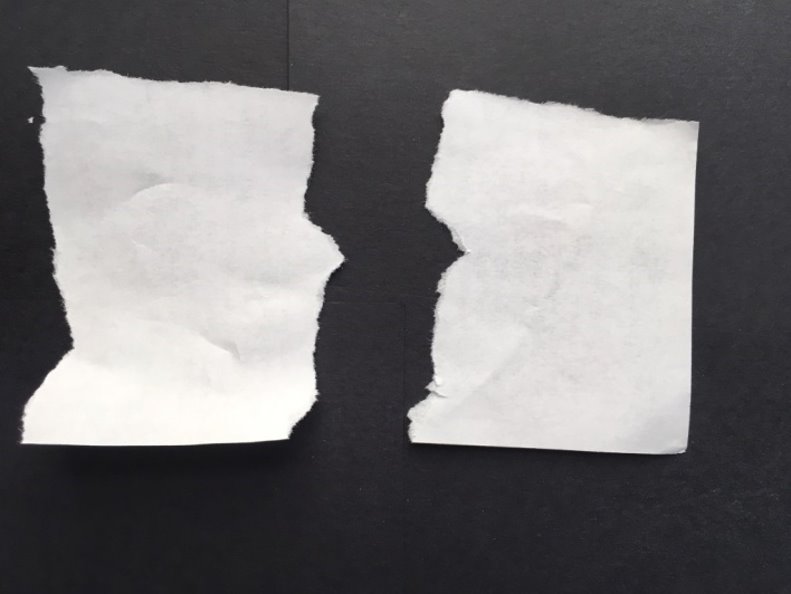
Next, tear another, new piece of paper in half.
With this paper, tear 5 strips. They should be about as wide as each hole.

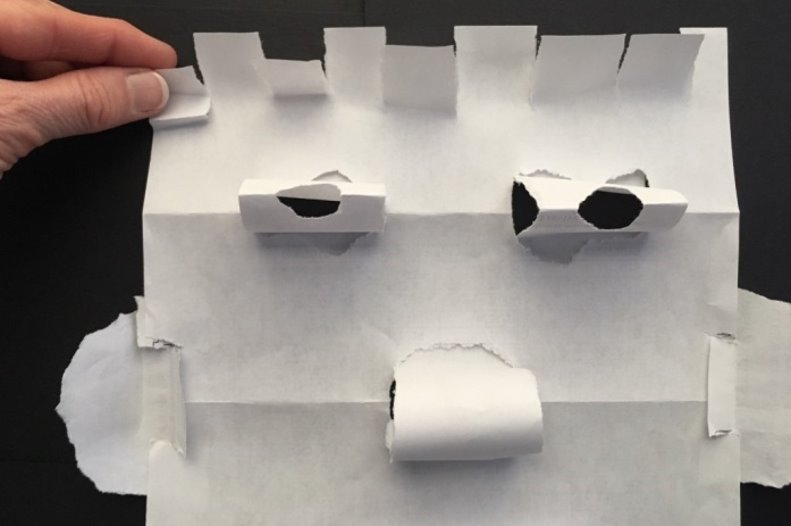
Step 8
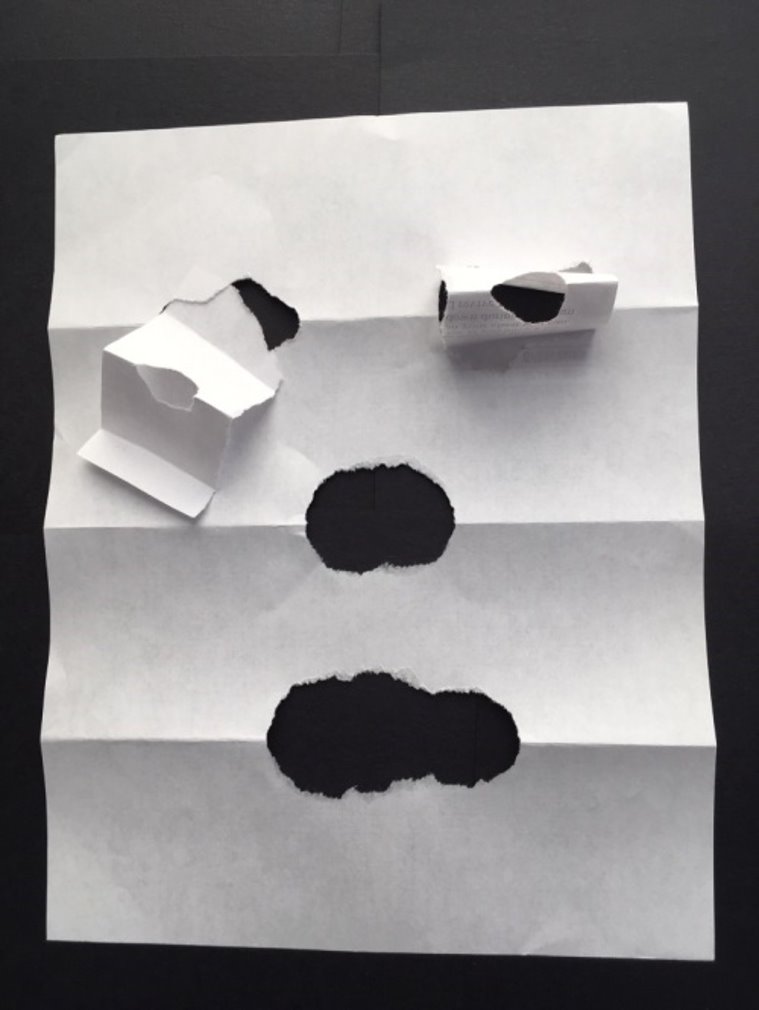
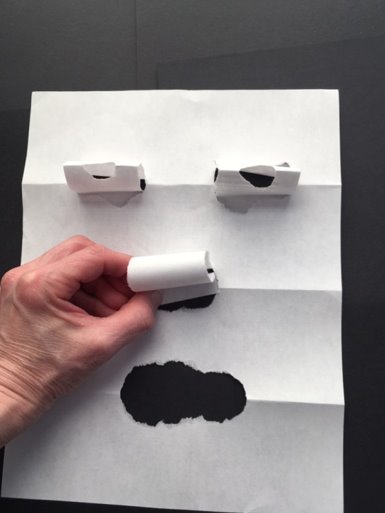
Fold the edges of each shape, so that they have little feet.
Step 9
Now slide the “feet” of each eye shape into the top and bottom of the eye holes. If you like, you can tear tiny holes in the middle of each eye to make pupils.
Step 10
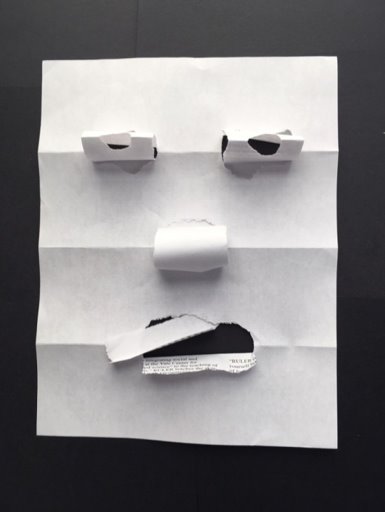
Tuck in the nose shape.
Step 11
Are you ready for the mouth?
Slide the folded edge of the bottom lip into the bottom of the hole. Then, slide the folded edge of the top lip into the top of the hole.
Step 12
Next come the ears. Take the leftover half piece of paper. Tear it in half.
Step 13
One at a time, tear each piece into a half-circle, or semi-circle. Just slowly turn and tear two corners off. You did it!

Step 14
Now, with the pencil, mark 2 lines on the ear, and then 2 lines on the face where they will go. The lines will help you match up the shape.
Step 15
Next, tear each line to make 4 slots.
Step 16
Slide the ear shape into the face slots. Now your face has ears!

Step 17
Would you like to add hair? An easy way to do it is to tear slots along the top of the head. Then, roll or fold them to make them pop out.
You might want to make more faces. Try different ways to fold, roll, slot, and make paper holes to attach hats, long hair, or glasses.
Let’s look!
This is a paper face sculpture by artist, Pablo Picasso.
- How do you think he got this face to stand up?
- How do you think he made the nose, eyes, and mouth?

Credits
Written By:
Cynthia Chen, Artist Instructor
Copyright © 2023 Studio in a School NYC LLC