Overview
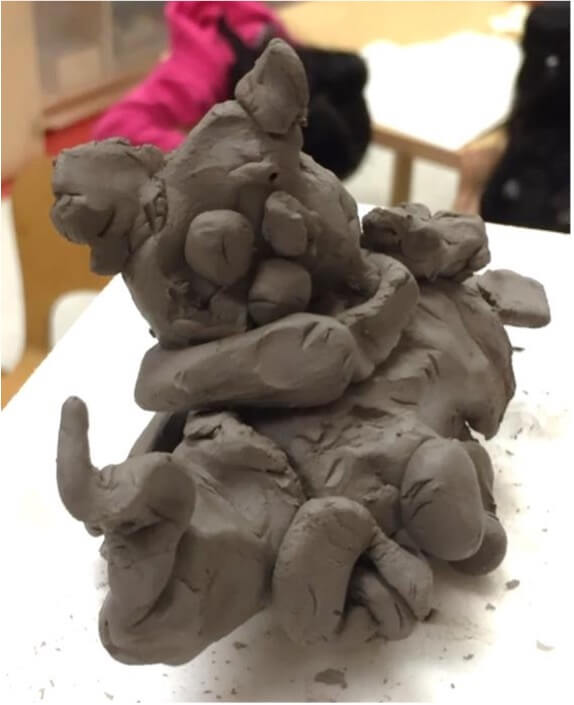
Students will create an animal sculpture they can keep.
Grade Level
Kindergarten
Media
Clay
Essential Question
How can I make an animal sculpture out of clay?
- The classroom teacher and artist instructor can discuss and decide upon a different essential question that links another curriculum, such as Social Studies or Science.
Materials
- Fist-sized pieces of clay
- Additional clay (for students who request more as they work)
- Cardboard square base
- Wire clay cutter
- Canvas or other covering to lay on the floor during engagement
- Plastic scraper for clean up
- Table covers (optional)
- 4-5 deli containers with a mix of glue and water (optional)
- Paintbrushes (optional)
- Red, yellow, and blue paint in cups (optional)
- Damp sponge on trays (optional)
Activities
Step 1: Invitation to Explore
- What did we create last week?
- How did we make our sculptures stand up?
- How did we attach the forms and shapes you created? Review press and smooth.
- Let’s make an animal sculpture today. We will keep this sculpture!
- What kind of animal should we create?
- What do I have to do first?
- Model creating a cylinder form for the body.
- If I want to make my animal stand up, how do you think I make the legs strong enough to support the body?
- Model pinching and pulling with the whole hand to create strong, short legs that can support the animal.
- Model another option — rolling to make strong legs.
- How do I make certain that the legs will stay on the animal?
- Model joining the legs to the animal. Press and smooth until the seam between pieces disappear.
- How can I create the other parts of an animal. Demo pinch and pull and press and smooth to create parts.
- Let’s go make an animal sculpture!
Step 2: Work-time
- Encourage the students to create a few different pieces with their clay and then to make them stand up.
- Circulate the classroom. Notice what students are doing with the clay.
- Remind students to press and smooth, modeling for each table the technique of pressing and smoothing. Make sure that each student fully grasps this technique so that this sculpture will stay together as it dries.
- Tell students to place their sculpture on the cardboard base and write their name on the base.
- Have students spread the glue/water mixture over their sculpture before they paint it, not using too much. The glue does not have to be dry before the students apply paint.
- If time permits and students would like, they can paint their sculptures. It is helpful if students have prior experience with painting. They can also paint the sculptures at a later time.
Step 3: Reflection
Gallery walk:
- Organize the students in a line for a gallery walk.
- Ask each student to find one sculpture that they would like to make a comment about.
- Give each student the opportunity to share something that they notice about one of the sculptures. Model an example first.
Tips
- If time permits, students can draw their sculptures.
- Glue and water combined create a strong adhesive that students can apply to their finished sculptures before they paint them.
- You may choose to paint the sculptures another time.
Vocabulary
Clay, sculpture, three-dimensional, two-dimensional, press, smooth, seam, base, tool, roll, pinch, pull, poke, twist, fold, squeeze, sphere, coil, pyramid, cube, arrange, rearrange, stack, on top of, next to