Overview
We will finish our puppets with details, texture, and patterns, and add handles so we can play with our puppets. We will imagine how our puppets will move and speak. Students will be able to create a voice and action for their puppet.
Materials
- Construction paper
- Scissors
- Glue
- Paint stirrers
Activities
Step 1
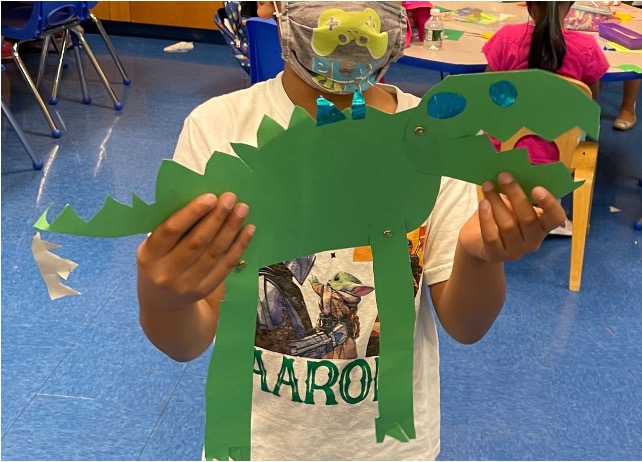
Brainstorm finishing details, textures, and patterns for puppets, adding spikes, fur, spots, feathers, or scales.
Step 2
Demonstrate cutting paper and adding details to puppet.
Step 3
Have students add details, textures, and patterns.
Step 4
Assist students in attaching a handle to hold puppet and an extra thick paper to keep the puppet strong.
Step 5
Demonstrate and have students practice introducing puppets, using a puppet voice.
Reflection
Students will reflect on their work by introducing their puppet to the class and using a special puppet voice.
What is your puppet’s name?
What is your favorite action pose?
What does your puppet like to do?
What would your puppet like to say?
Writing Prompt (optional):
Students will reflect on their work by writing about their puppet using the following sentence starters if necessary.
My name is __________.
My favorite action pose is _______.
I like to _________.
I want to tell you _______________.
Vocabulary
Texture, smooth, soft, bumpy, shiny, pattern, spots, stripes, fur, scales, spikes
Voices: high-pitched, low-pitched, deep, fast, slow, loud, soft