Overview
Students will explore different ways that they can cut, change, and notice patterns in corrugated and thin cardboard.
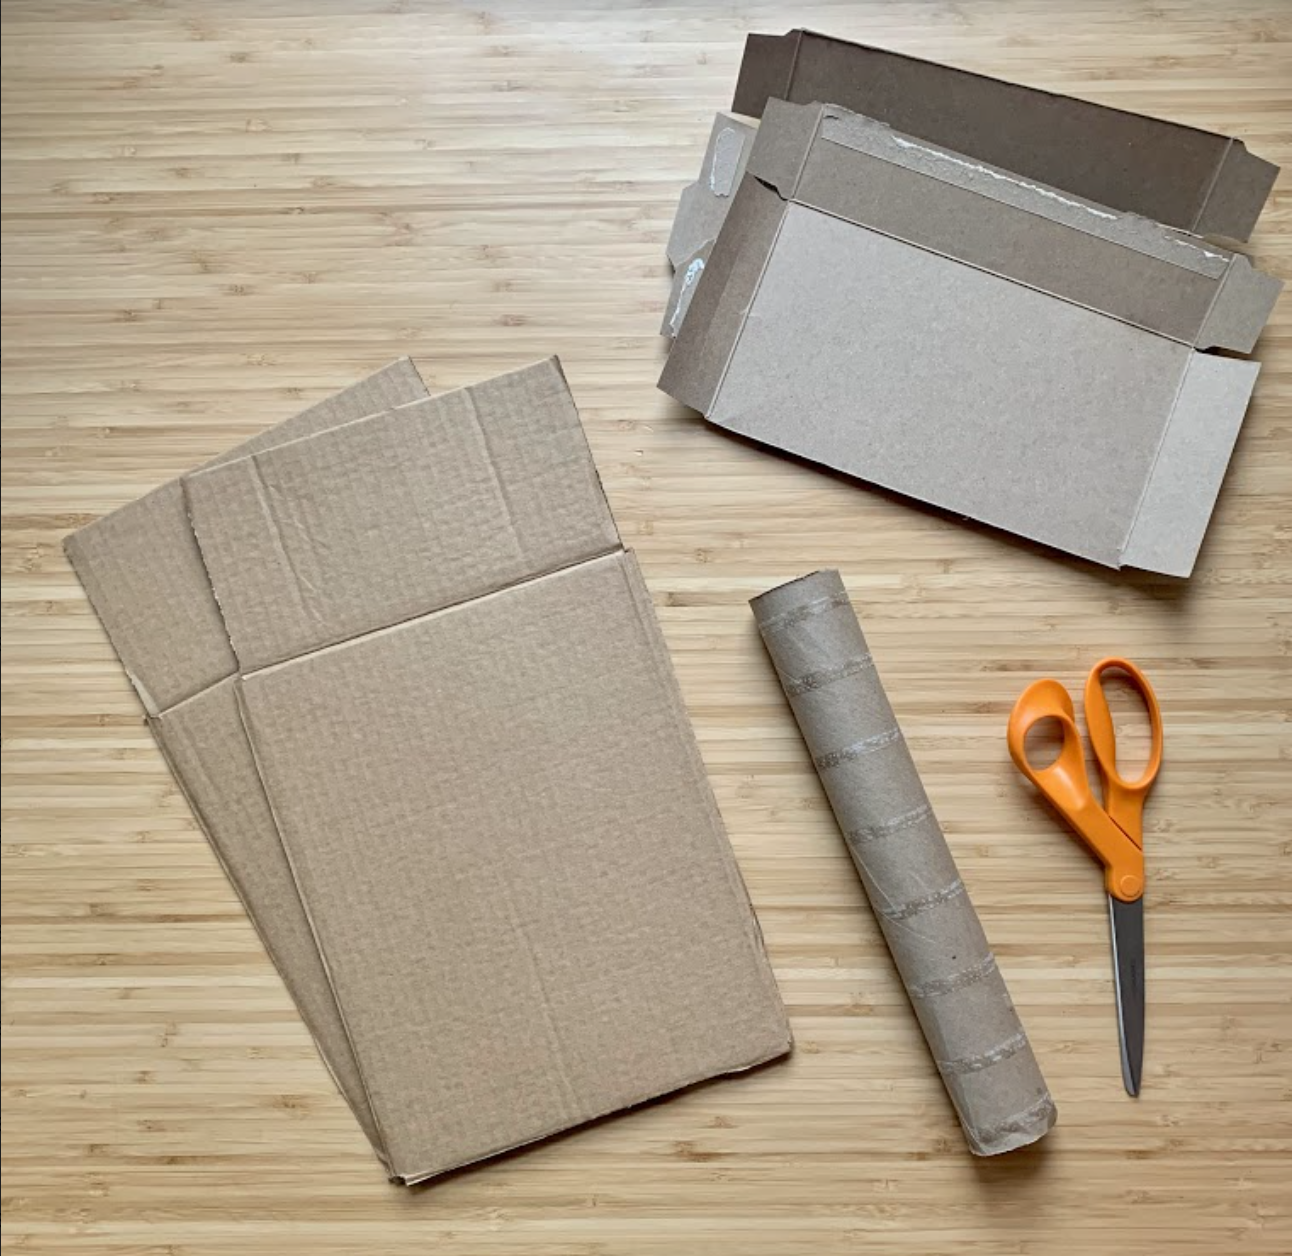
Materials and Tools
- Corrugated cardboard (from shipping boxes)
- Thin cardboard (from paper towel rolls, cereal boxes)
- Scissors
- Exploring and Changing Cardboard video
- Exploring and Changing Cardboard student slides
Objectives
Students will understand that:
- Household materials, like cardboard, can be used to make art
- Cardboard can be changed in a variety of ways to make it stand
- Different types of cardboard can be changed in different ways
Students will be able to:
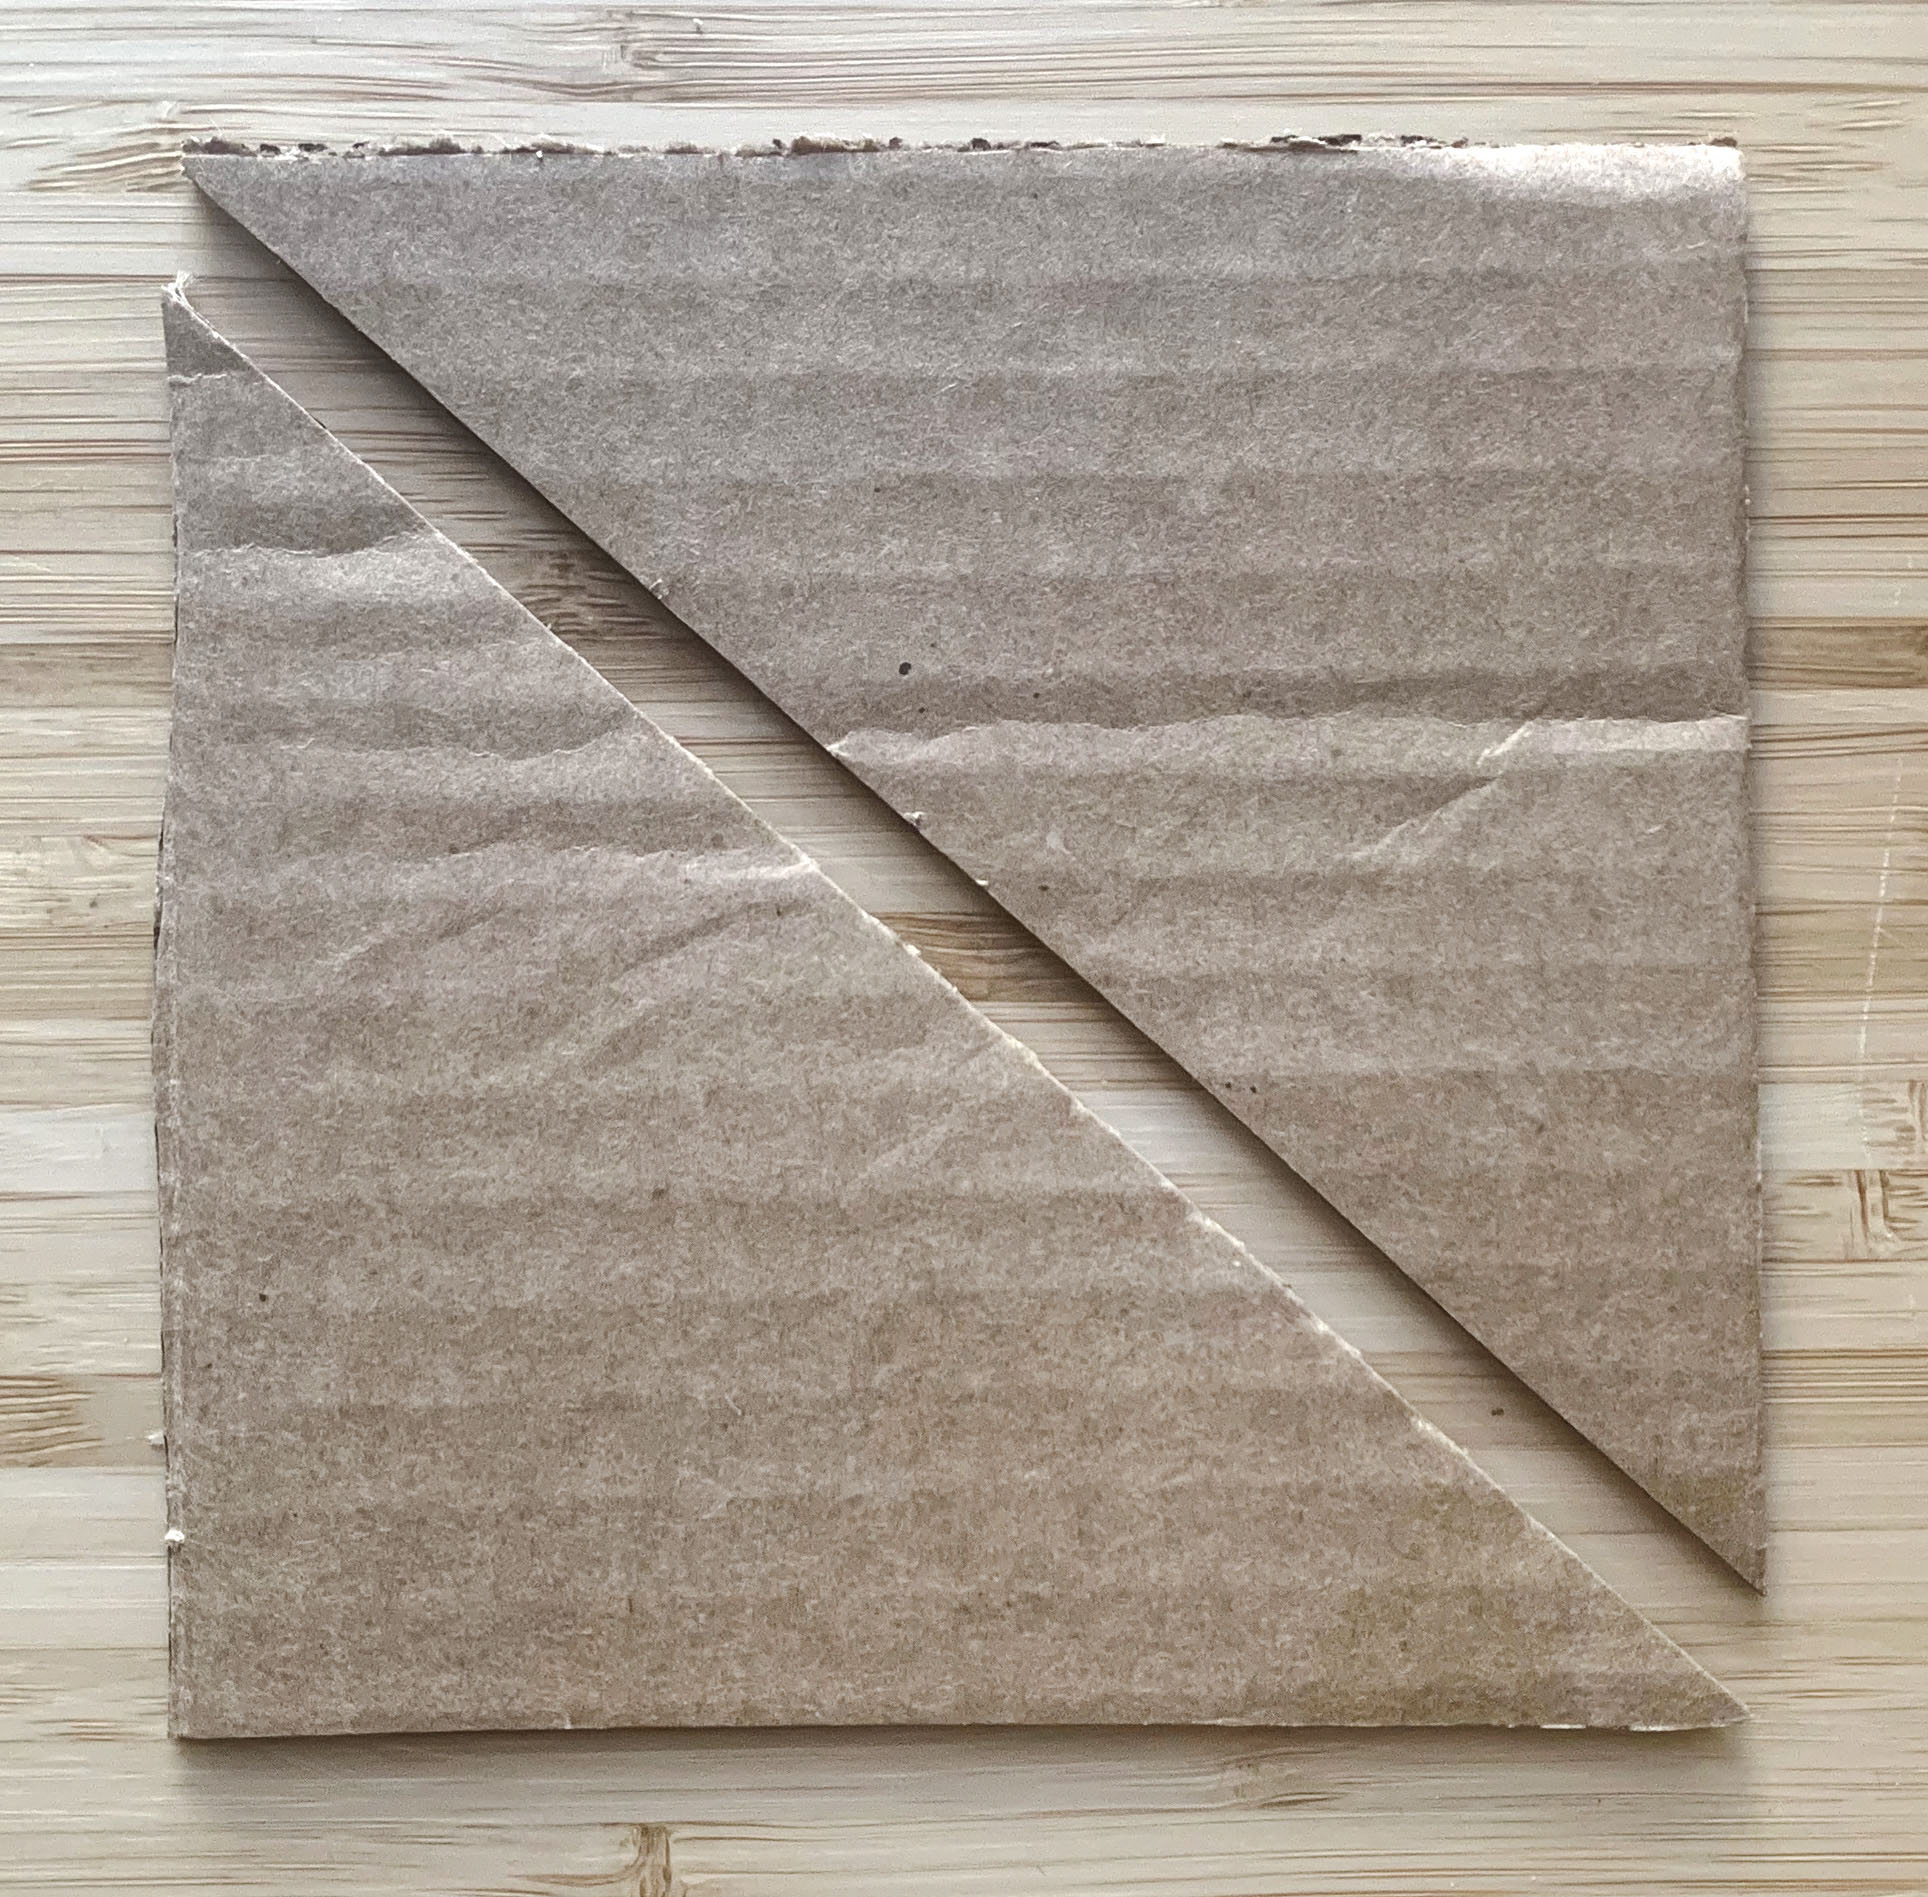
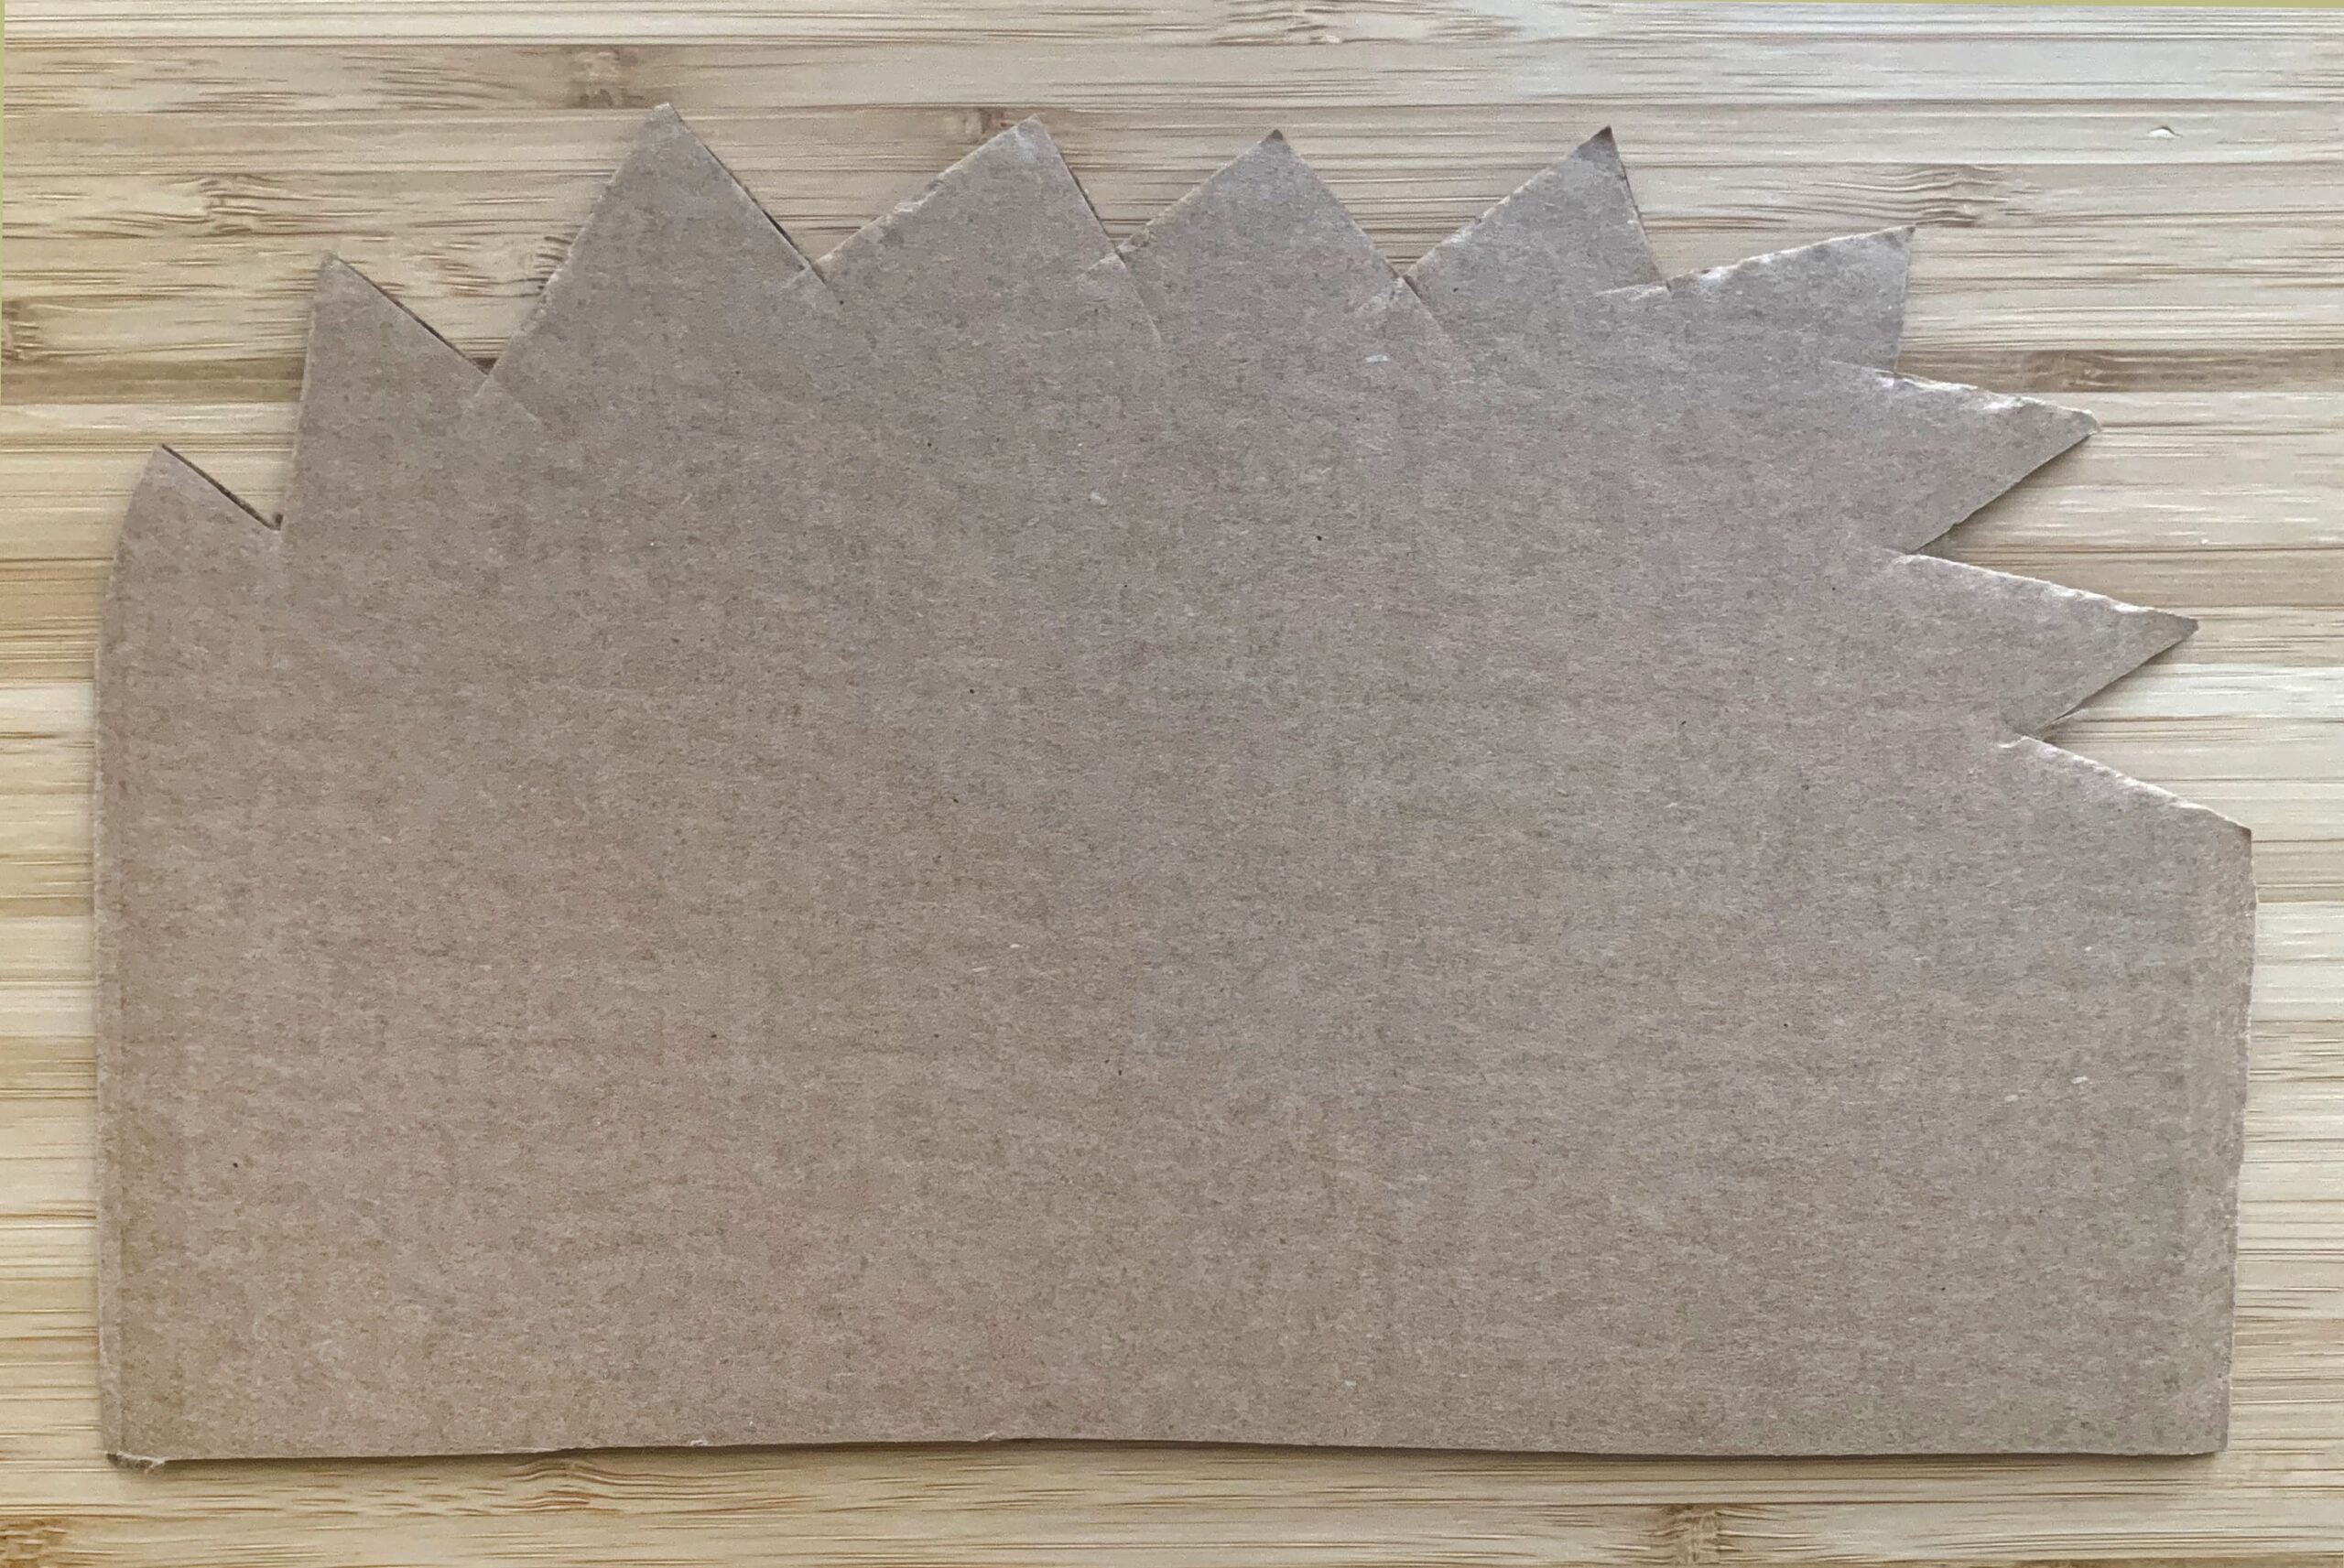
- Demonstrate cutting a variety of geometric shapes and lines from cardboard
- Identify and apply different ways to change cardboard: roll, peel, and fold
- Identify patterns made by changing cardboard in different ways
Activities
Note: The following steps are written with sample language you may use with your students as you go through the lesson. Explain to students that the slides and the video they see during the lesson will be shared with them so they can review the lesson on their own and continue to make more art.
Step 1: Introduction/Watch Exploring and Changing Cardboard Video (12 minutes)
Hello, artists! Previously we explored creating relief and free-standing sculptures with paper. We discovered that artists arrange sculptures in a variety of ways, such as balancing, leaning, and stacking.
Today, we will be making forms for our next free-standing sculpture. Rather than using paper, we will be working with cardboard. How do you think working with cardboard will be different from working with paper? To find out more, watch the Exploring and Changing Cardboard video.
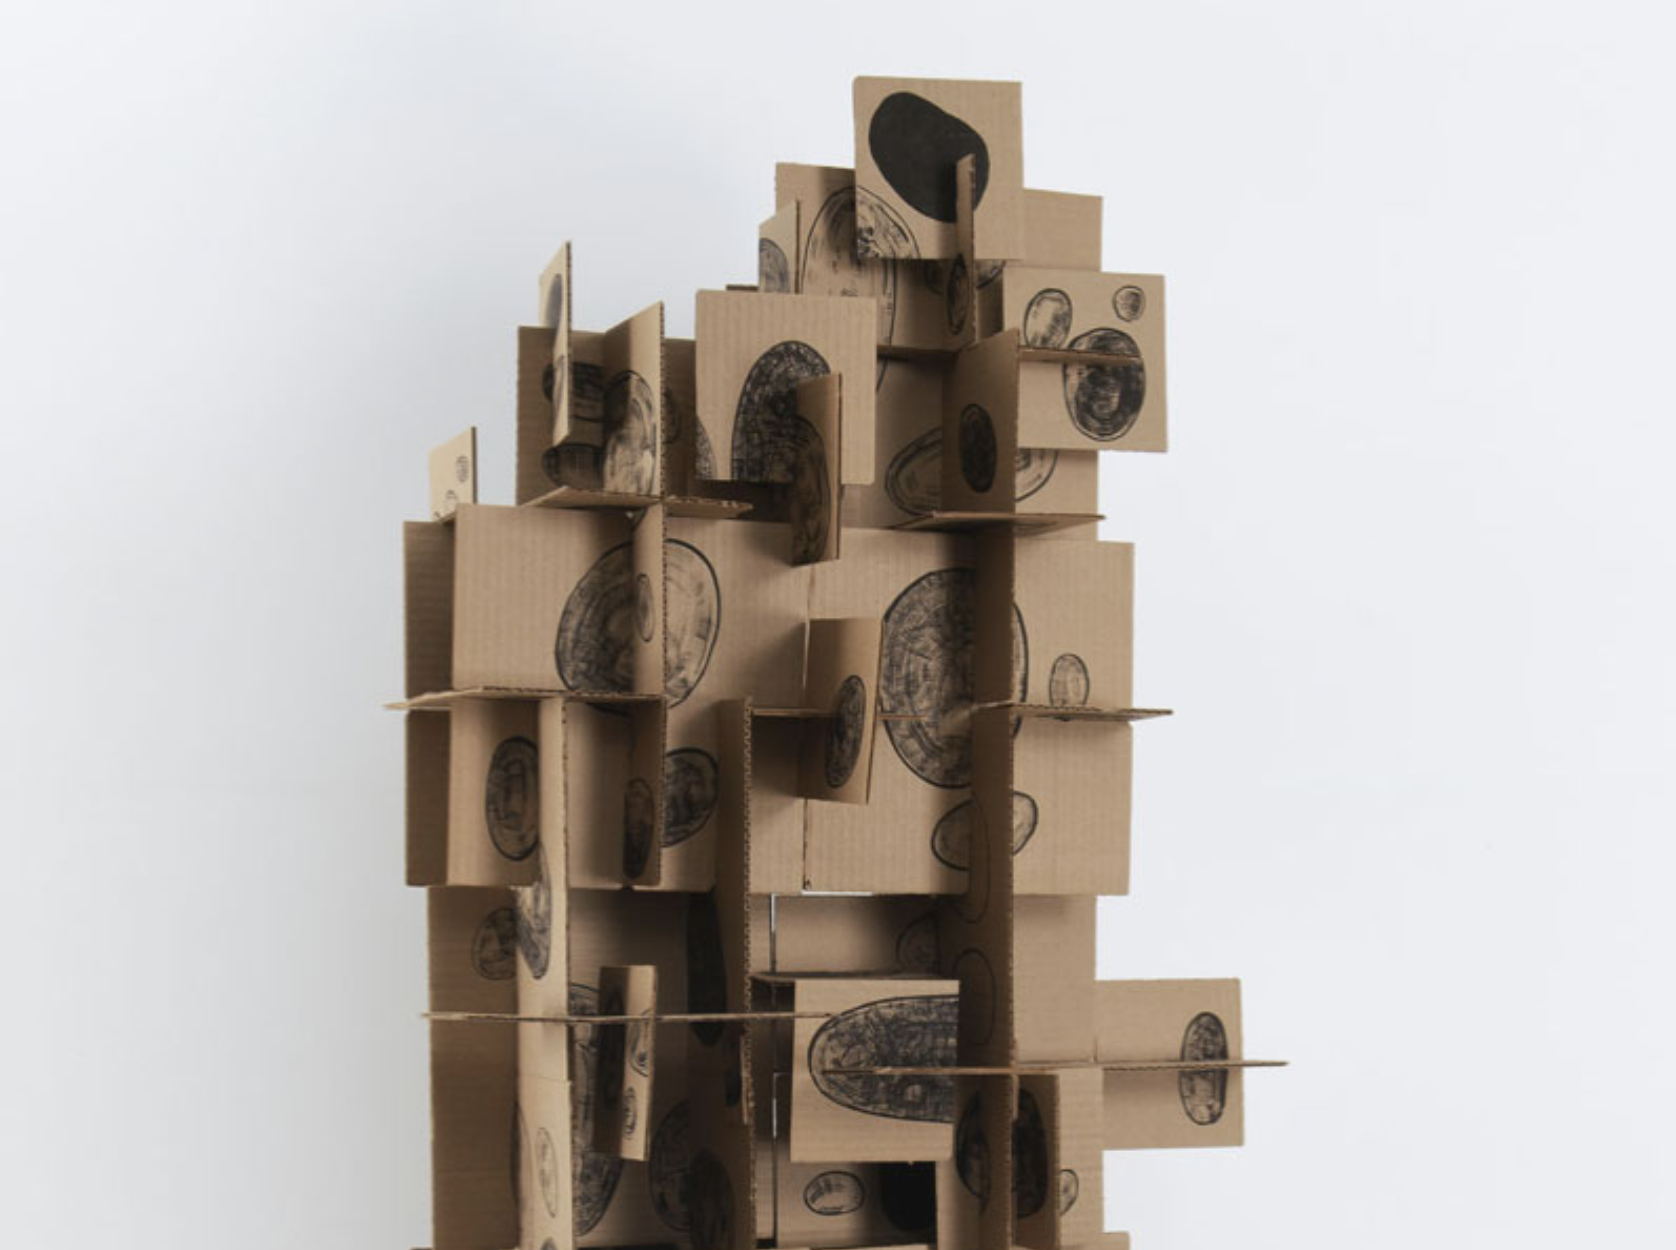
Step 2: Close Looking, with Student Slide #2 (5 minutes)
Look at Student Slide #2.
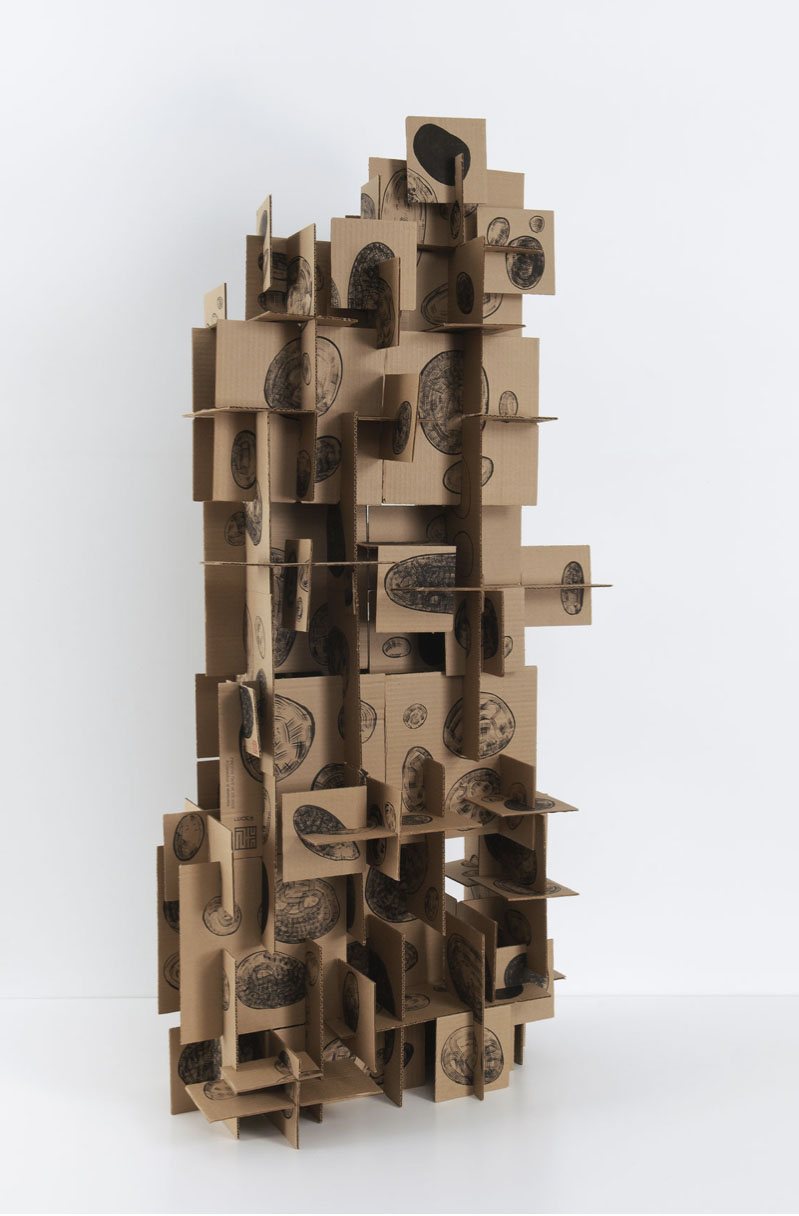
- What do you notice about this sculpture?
- What material is it made from? What do you see that makes you say that?
- How does paper feel different from cardboard?
- Why do you suppose Charles Luce made his sculpture Stacking Stones with cardboard instead of paper?
- What may be some benefits to working with cardboard when creating a sculpture?
- What techniques did the artist use that you learned in the previous lessons?
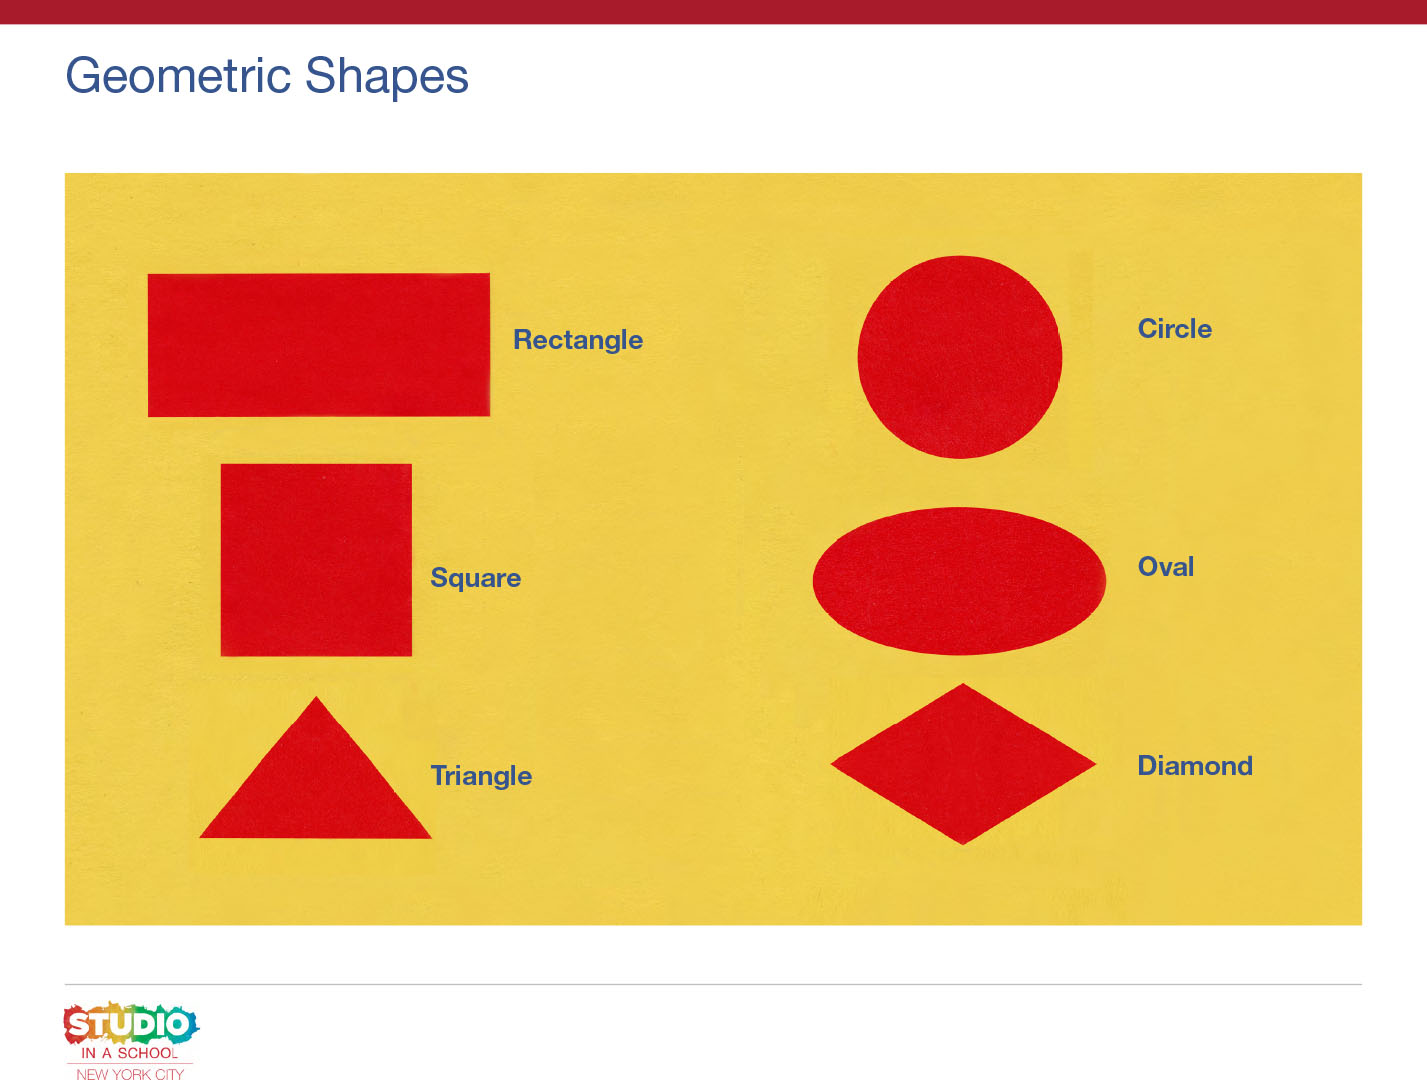
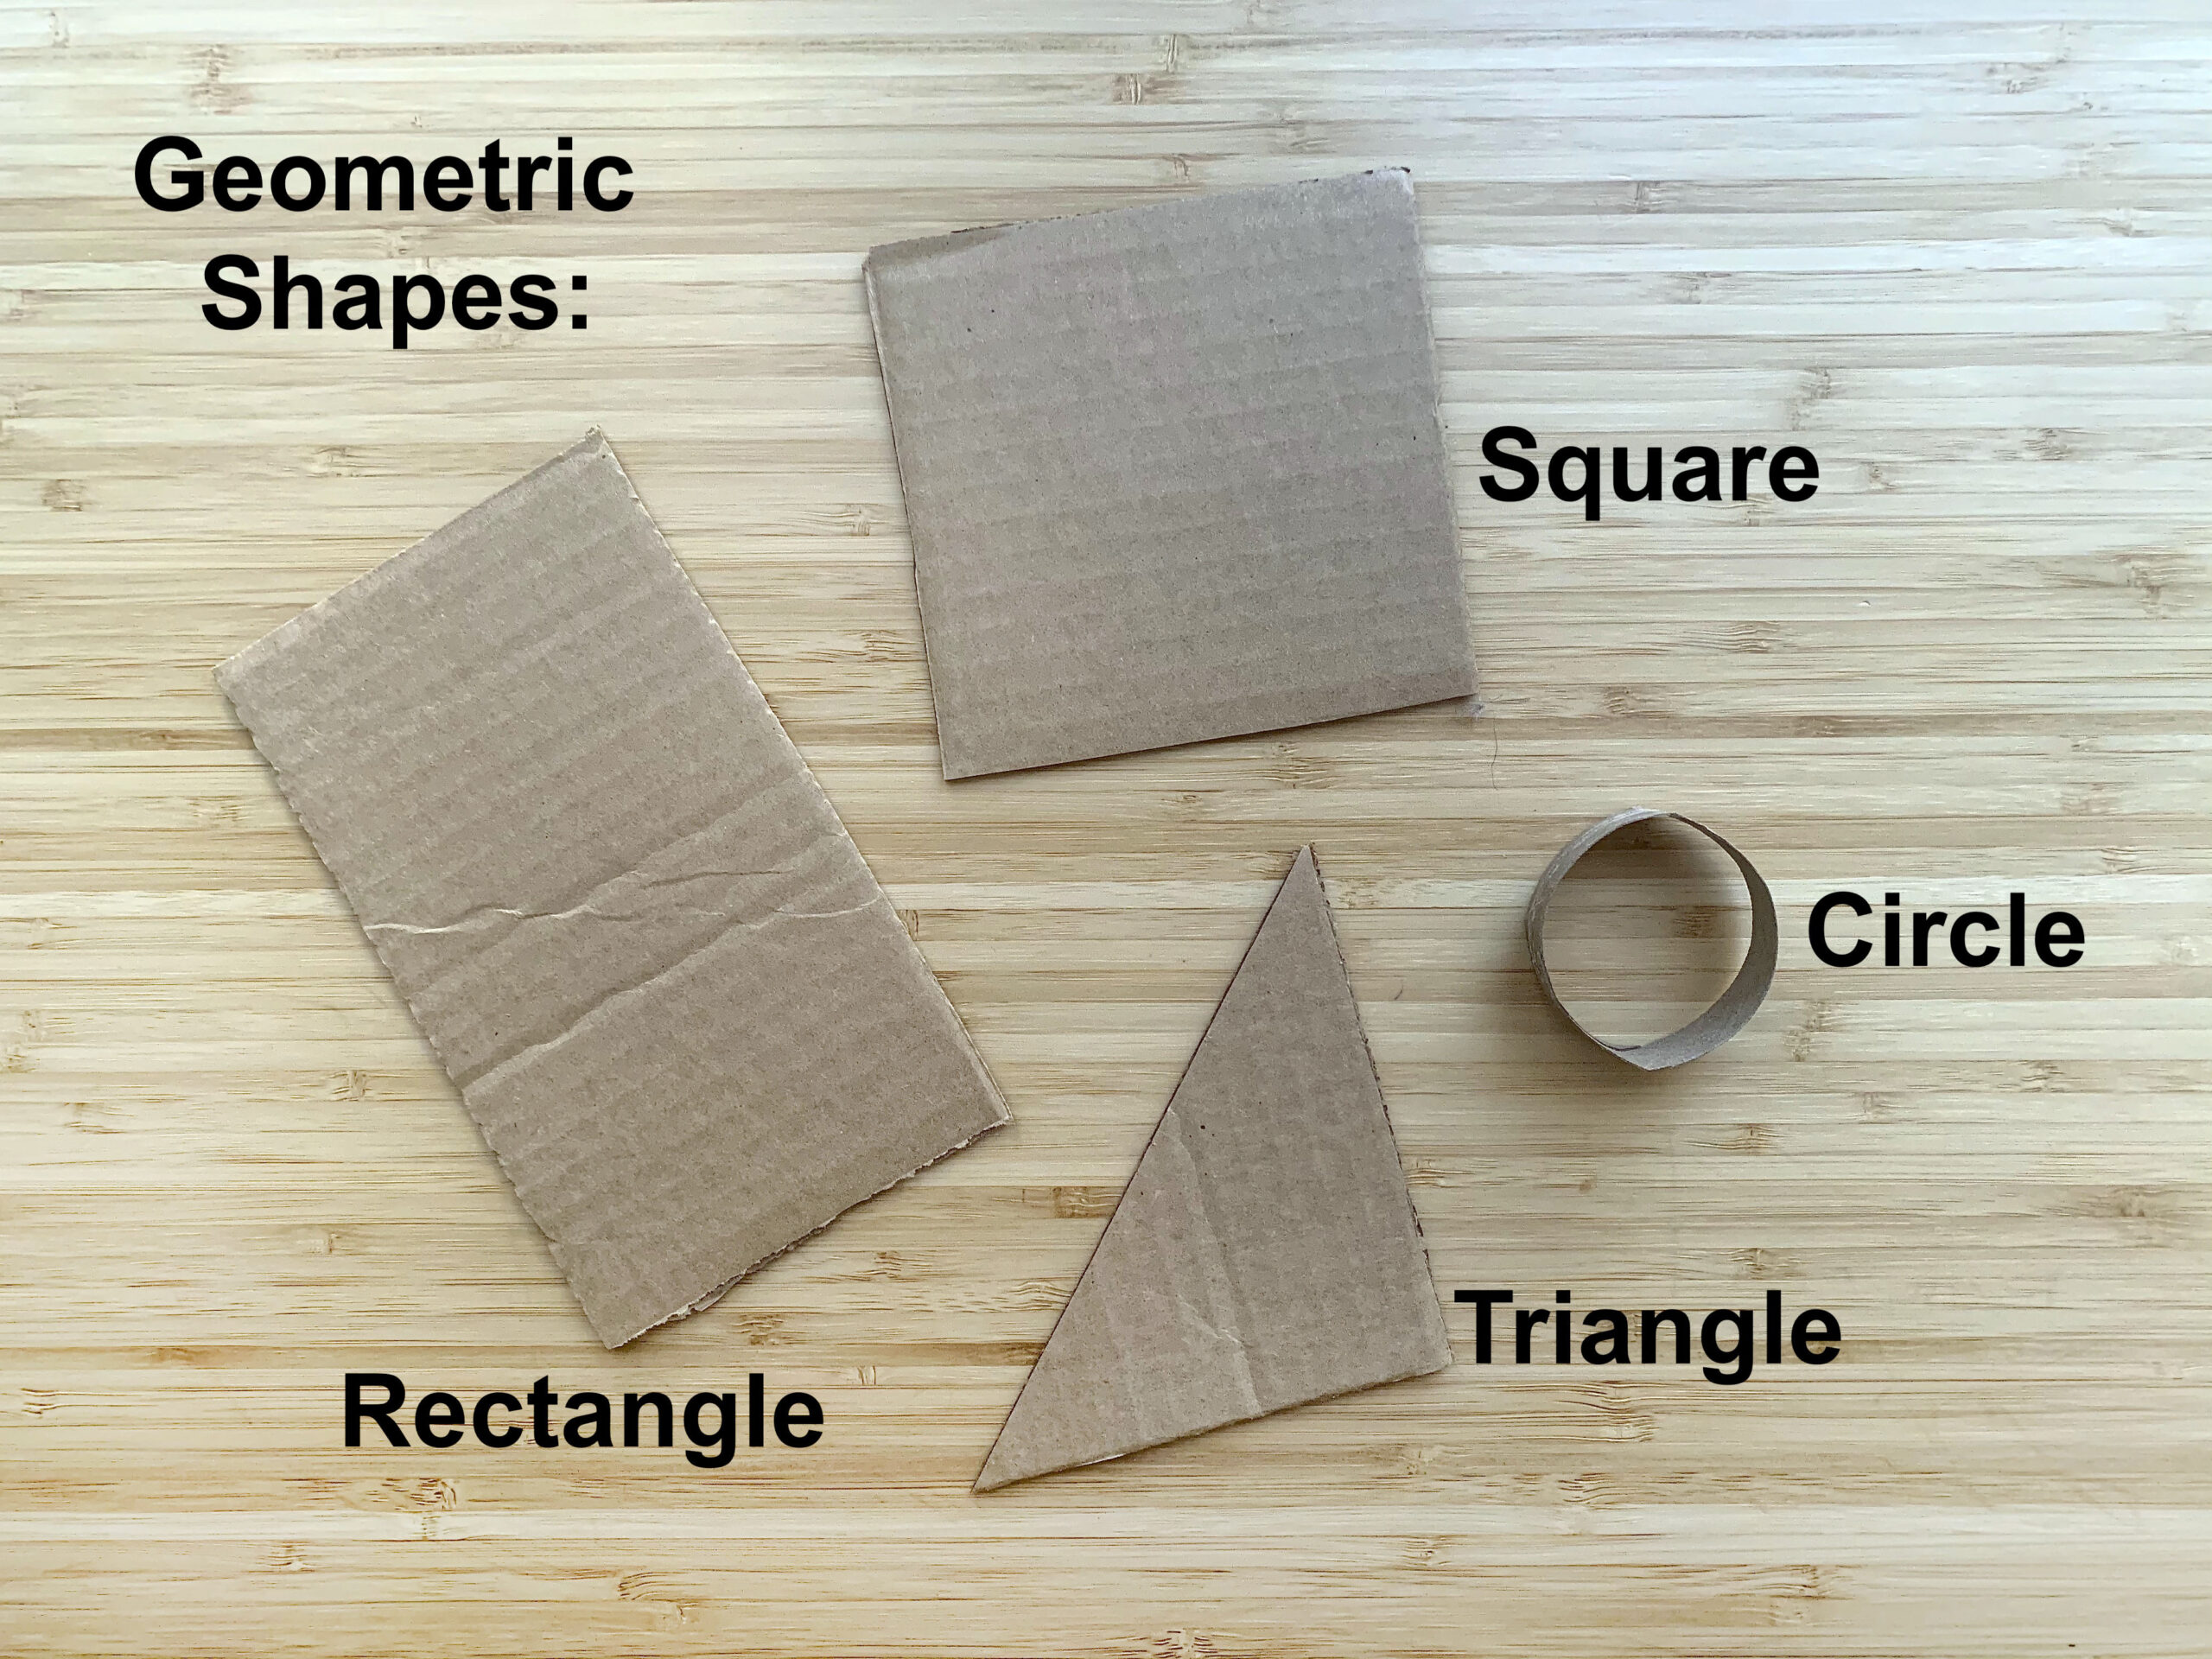
Step 3: Cutting Large and Medium Geometric Shapes, with Student Slides #4-6 (20 minutes)
Now that we know what cardboard can do, let’s make cardboard shapes. Look at Student Slide #4. Use the questions and directions on the right side of the slide to help you create your geometric shapes. Keep in mind that cardboard can be challenging to cut due to its thickness.
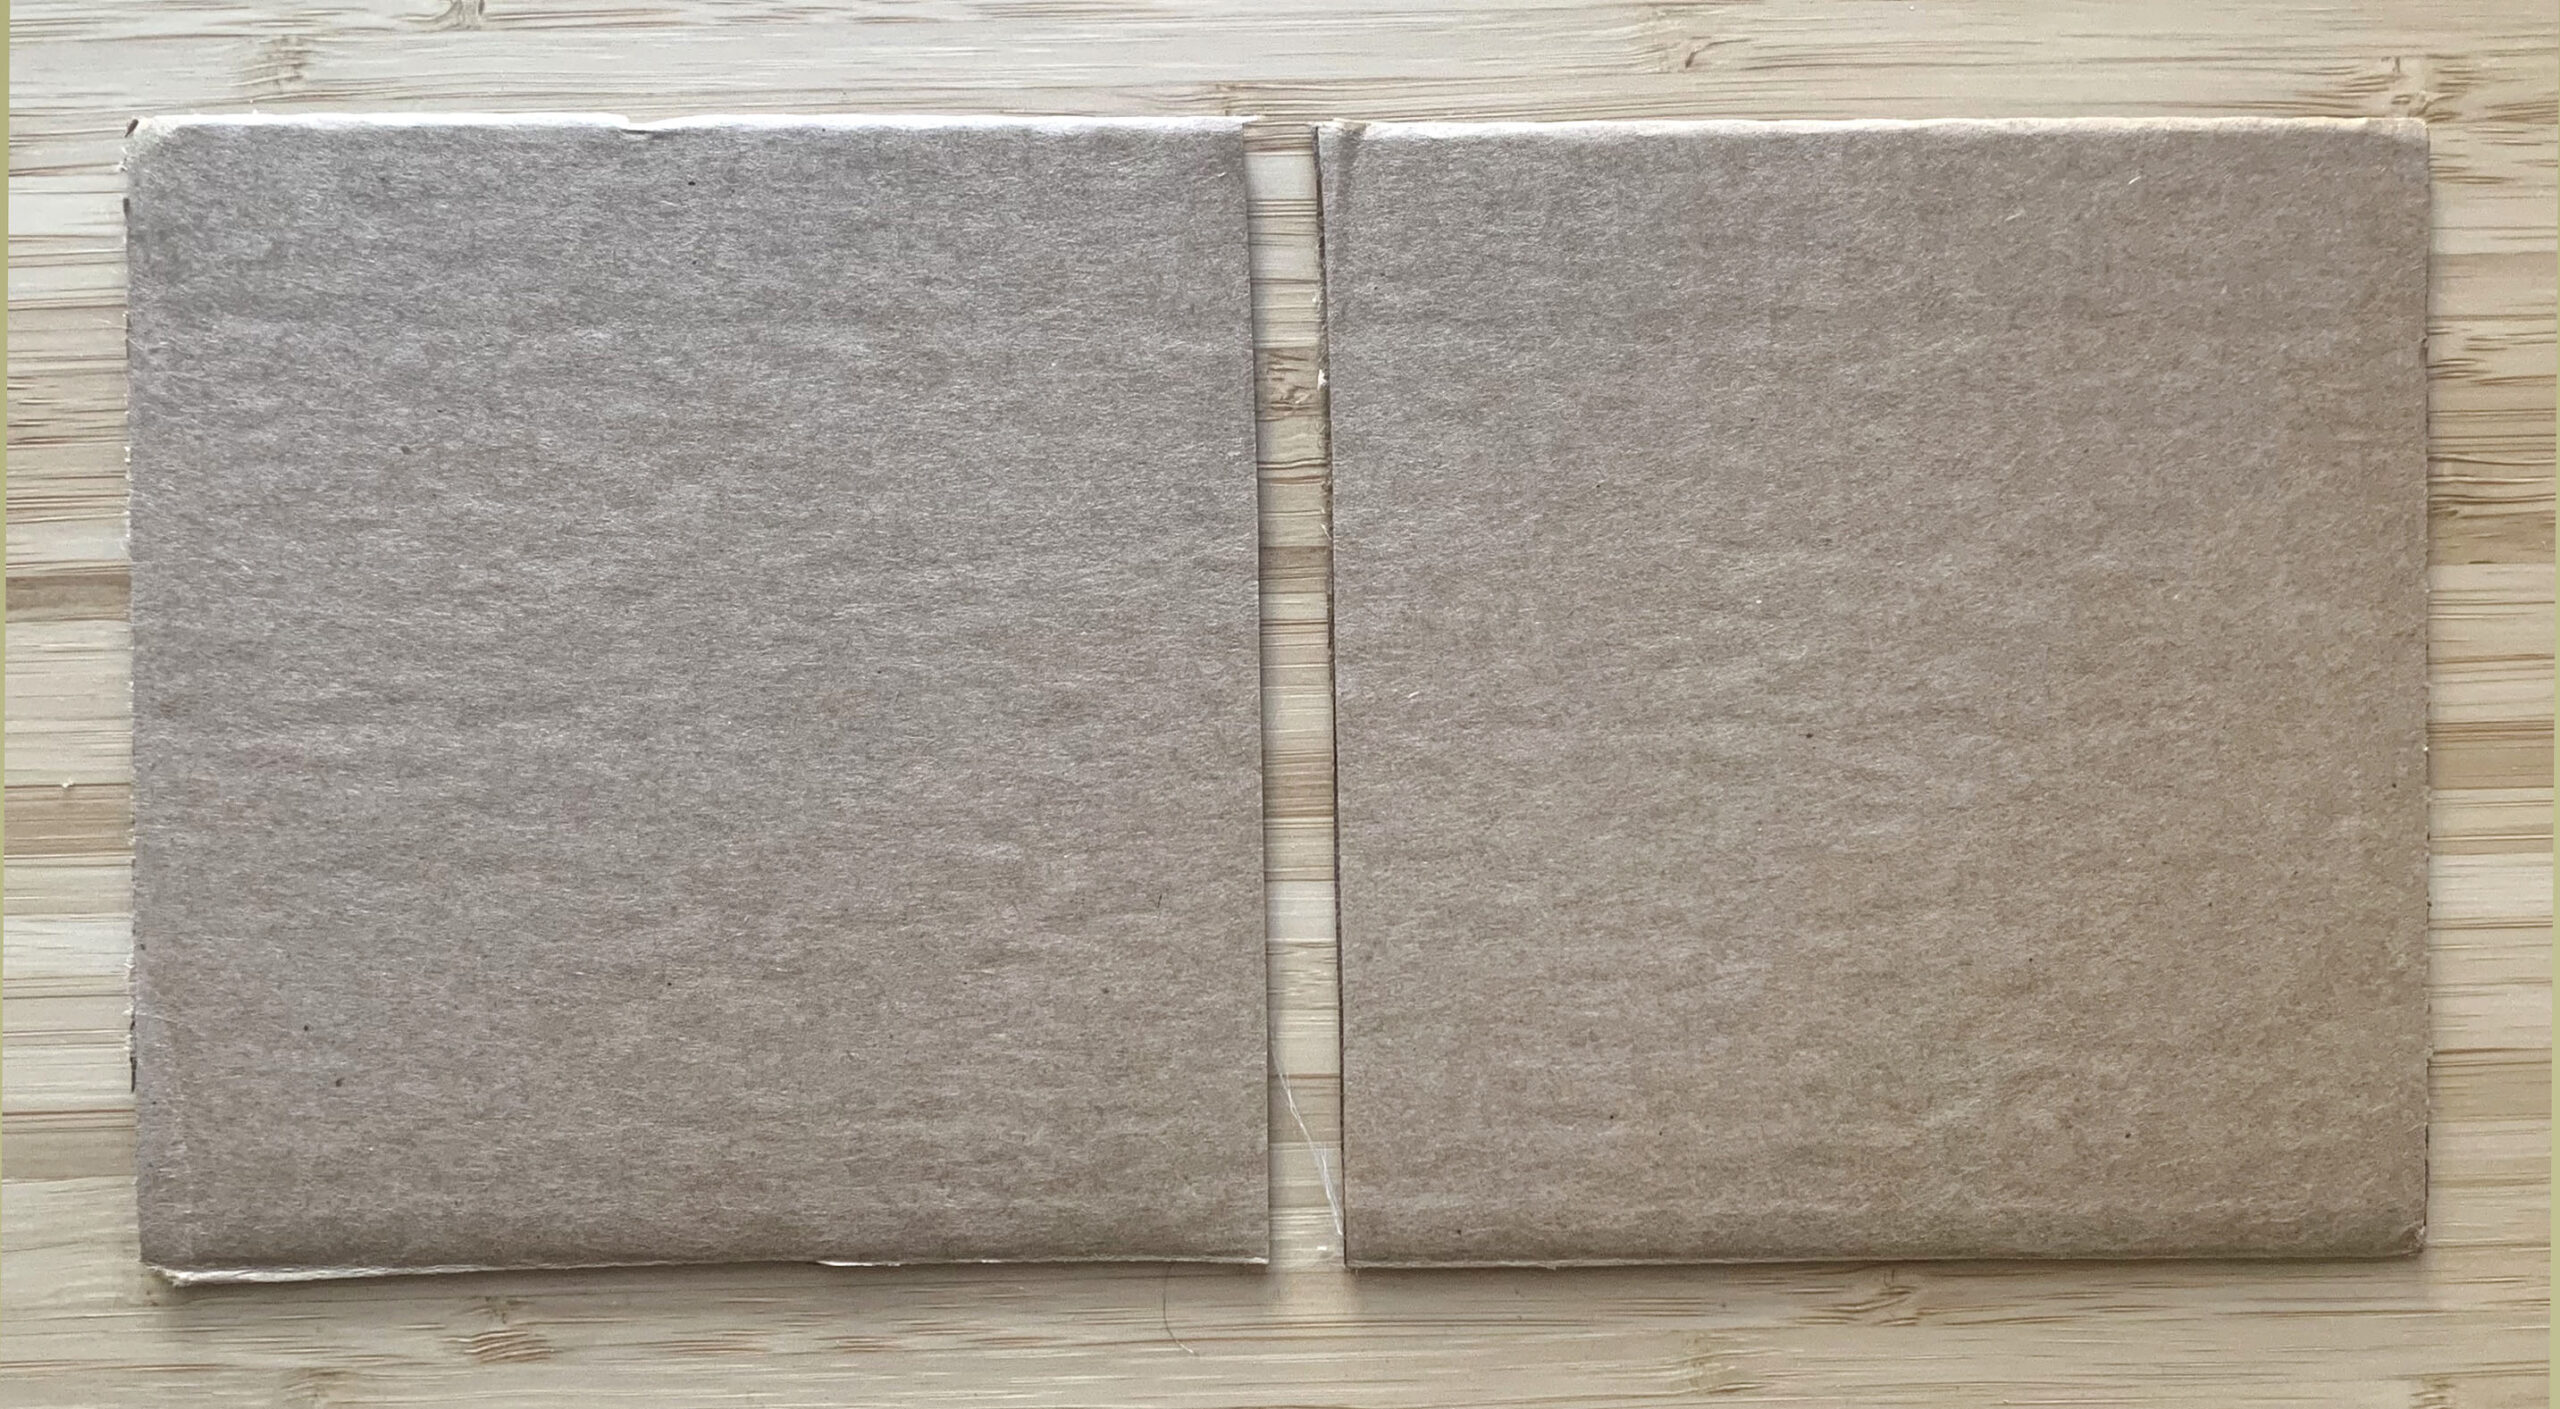
Here are a few tips to help you with the process:
- Try using scissors that are not dull
- Cut with the grain of the cardboard. To find the grain of the cardboard, peel back the top layer. Cut in the direction of the lines that you see
- Open your scissor blades completely to make large cuts
Once you get the hang of cutting geometric shapes, try creating an invented shape. Look at Student Slide #5 for some ideas.
Look at Student Slide #6.
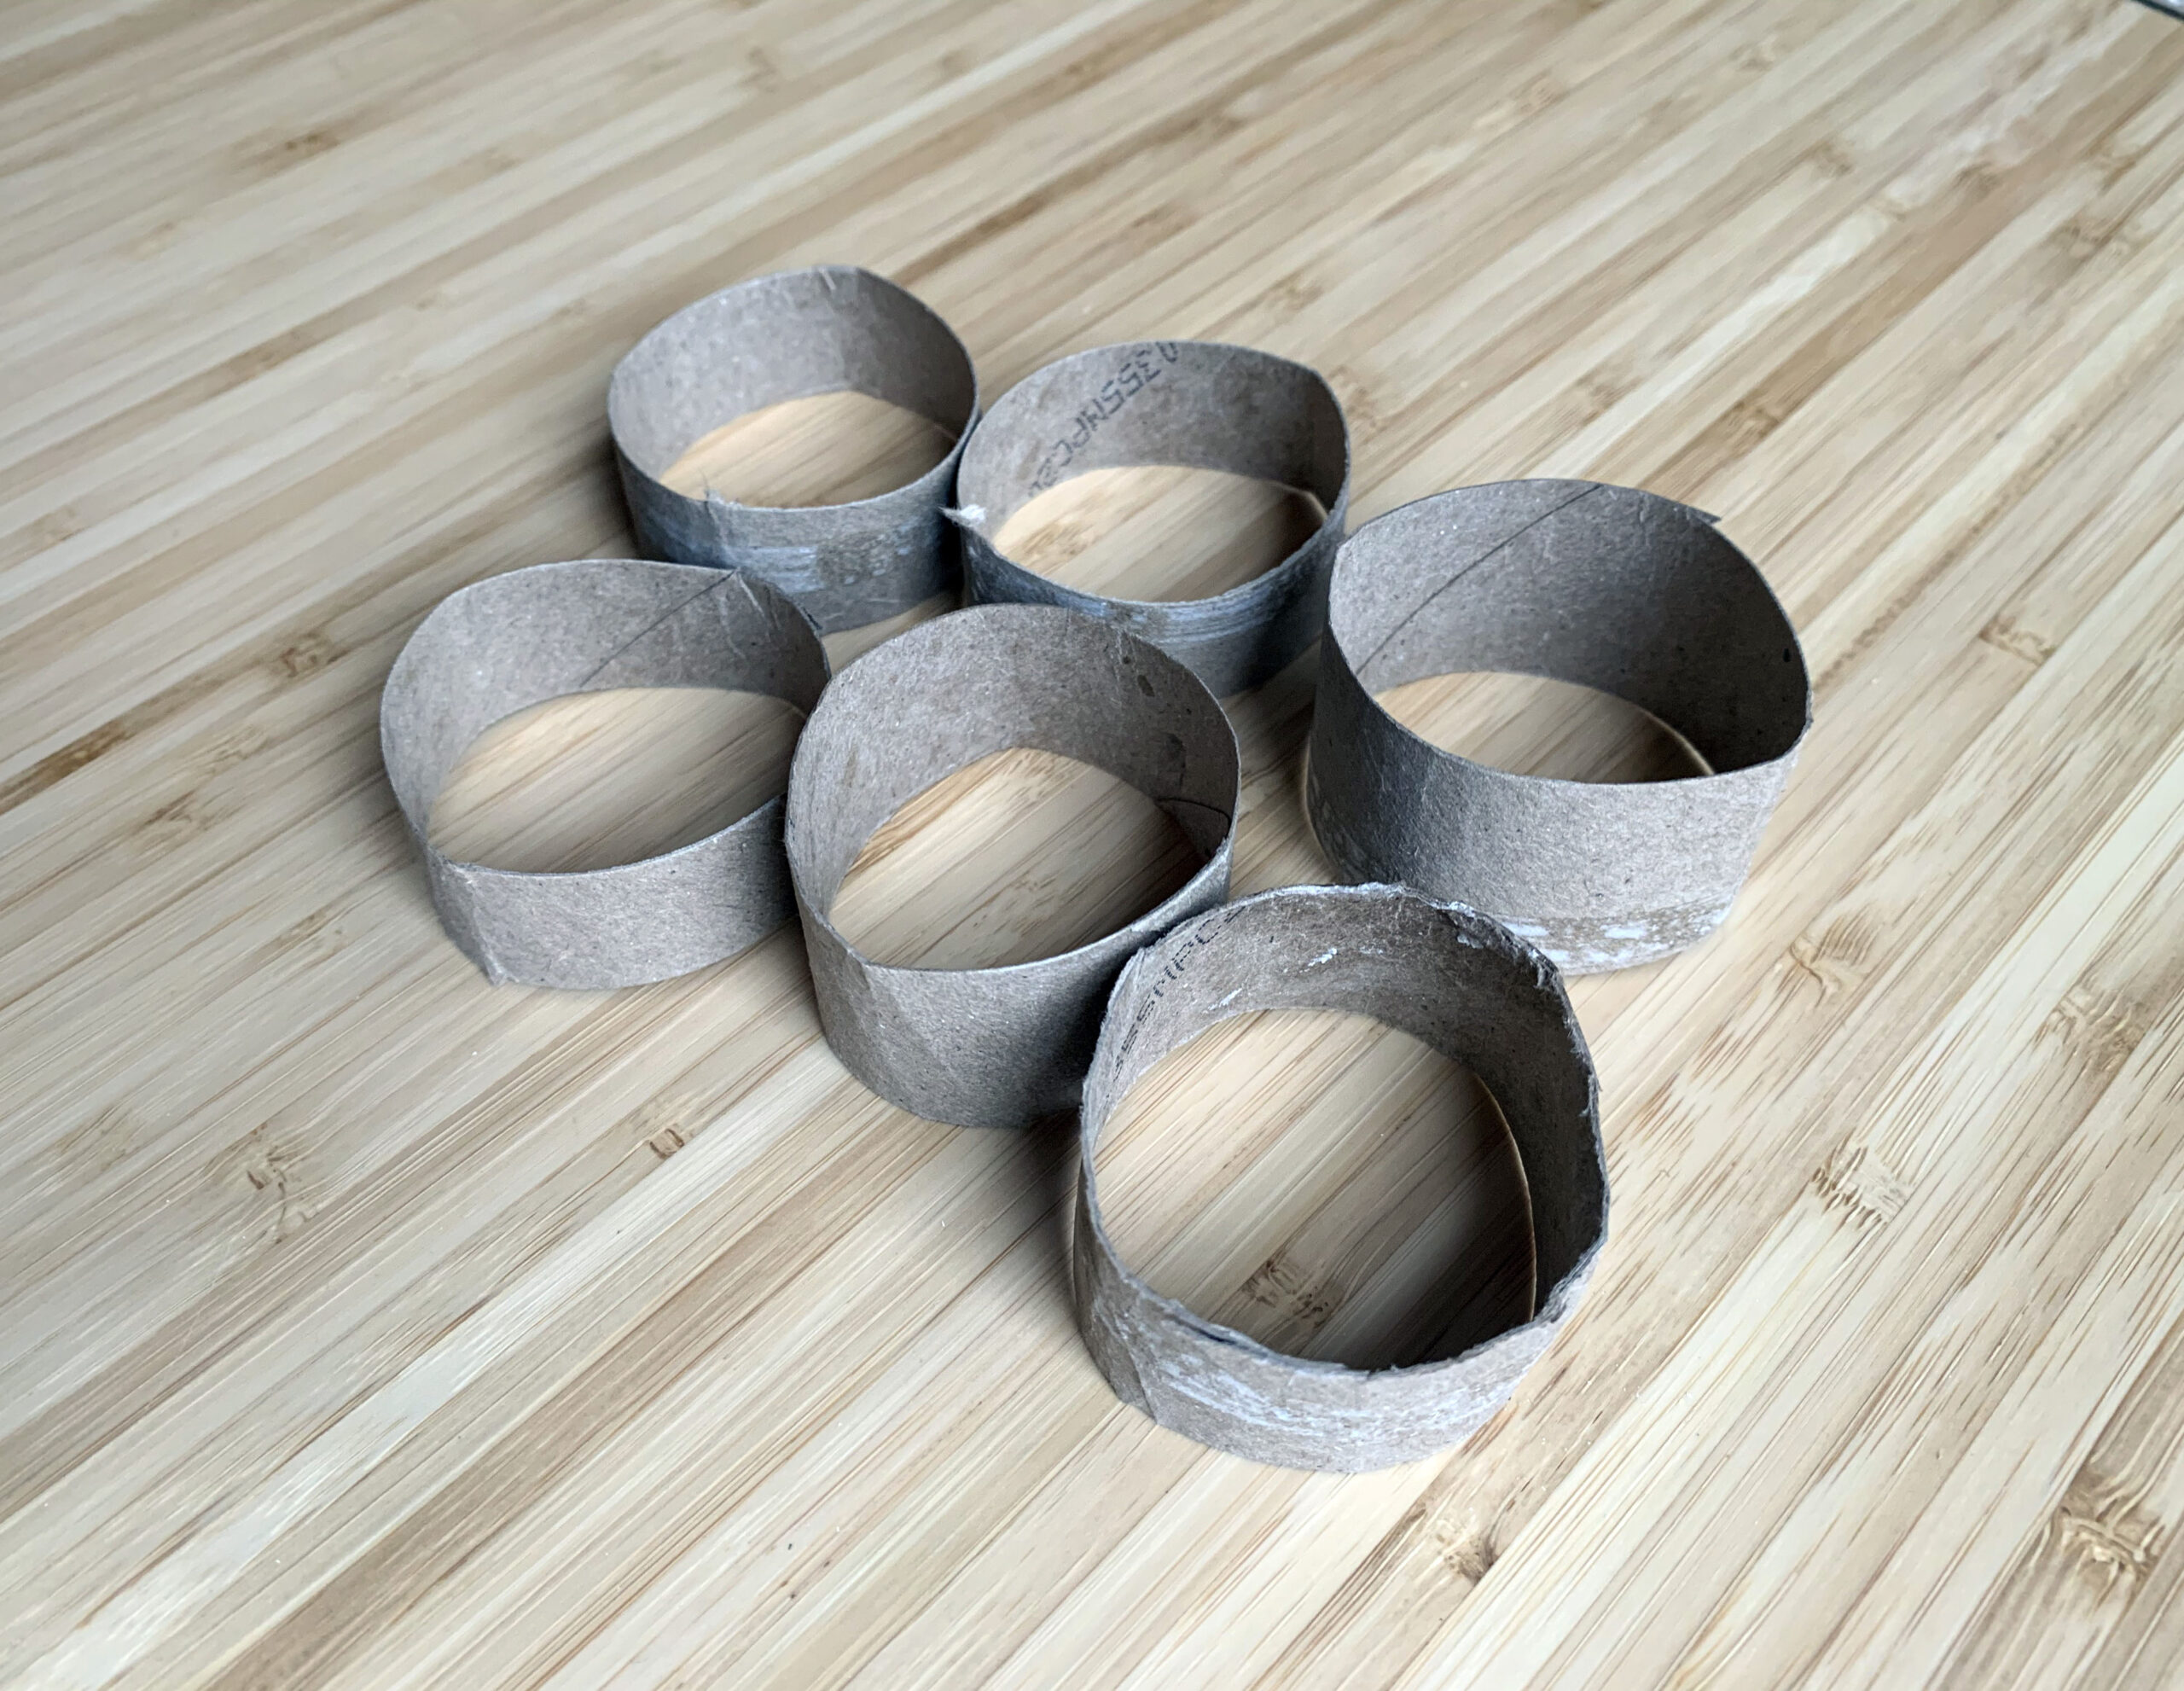
- How did the artist create cylinders?
- What do you notice about the type of cardboard they used?
- Why do you think that thinner cardboard lends itself to making curved forms?
When you are ready, follow the steps on Slide #6 to help with the process of creating forms with thin cardboard.
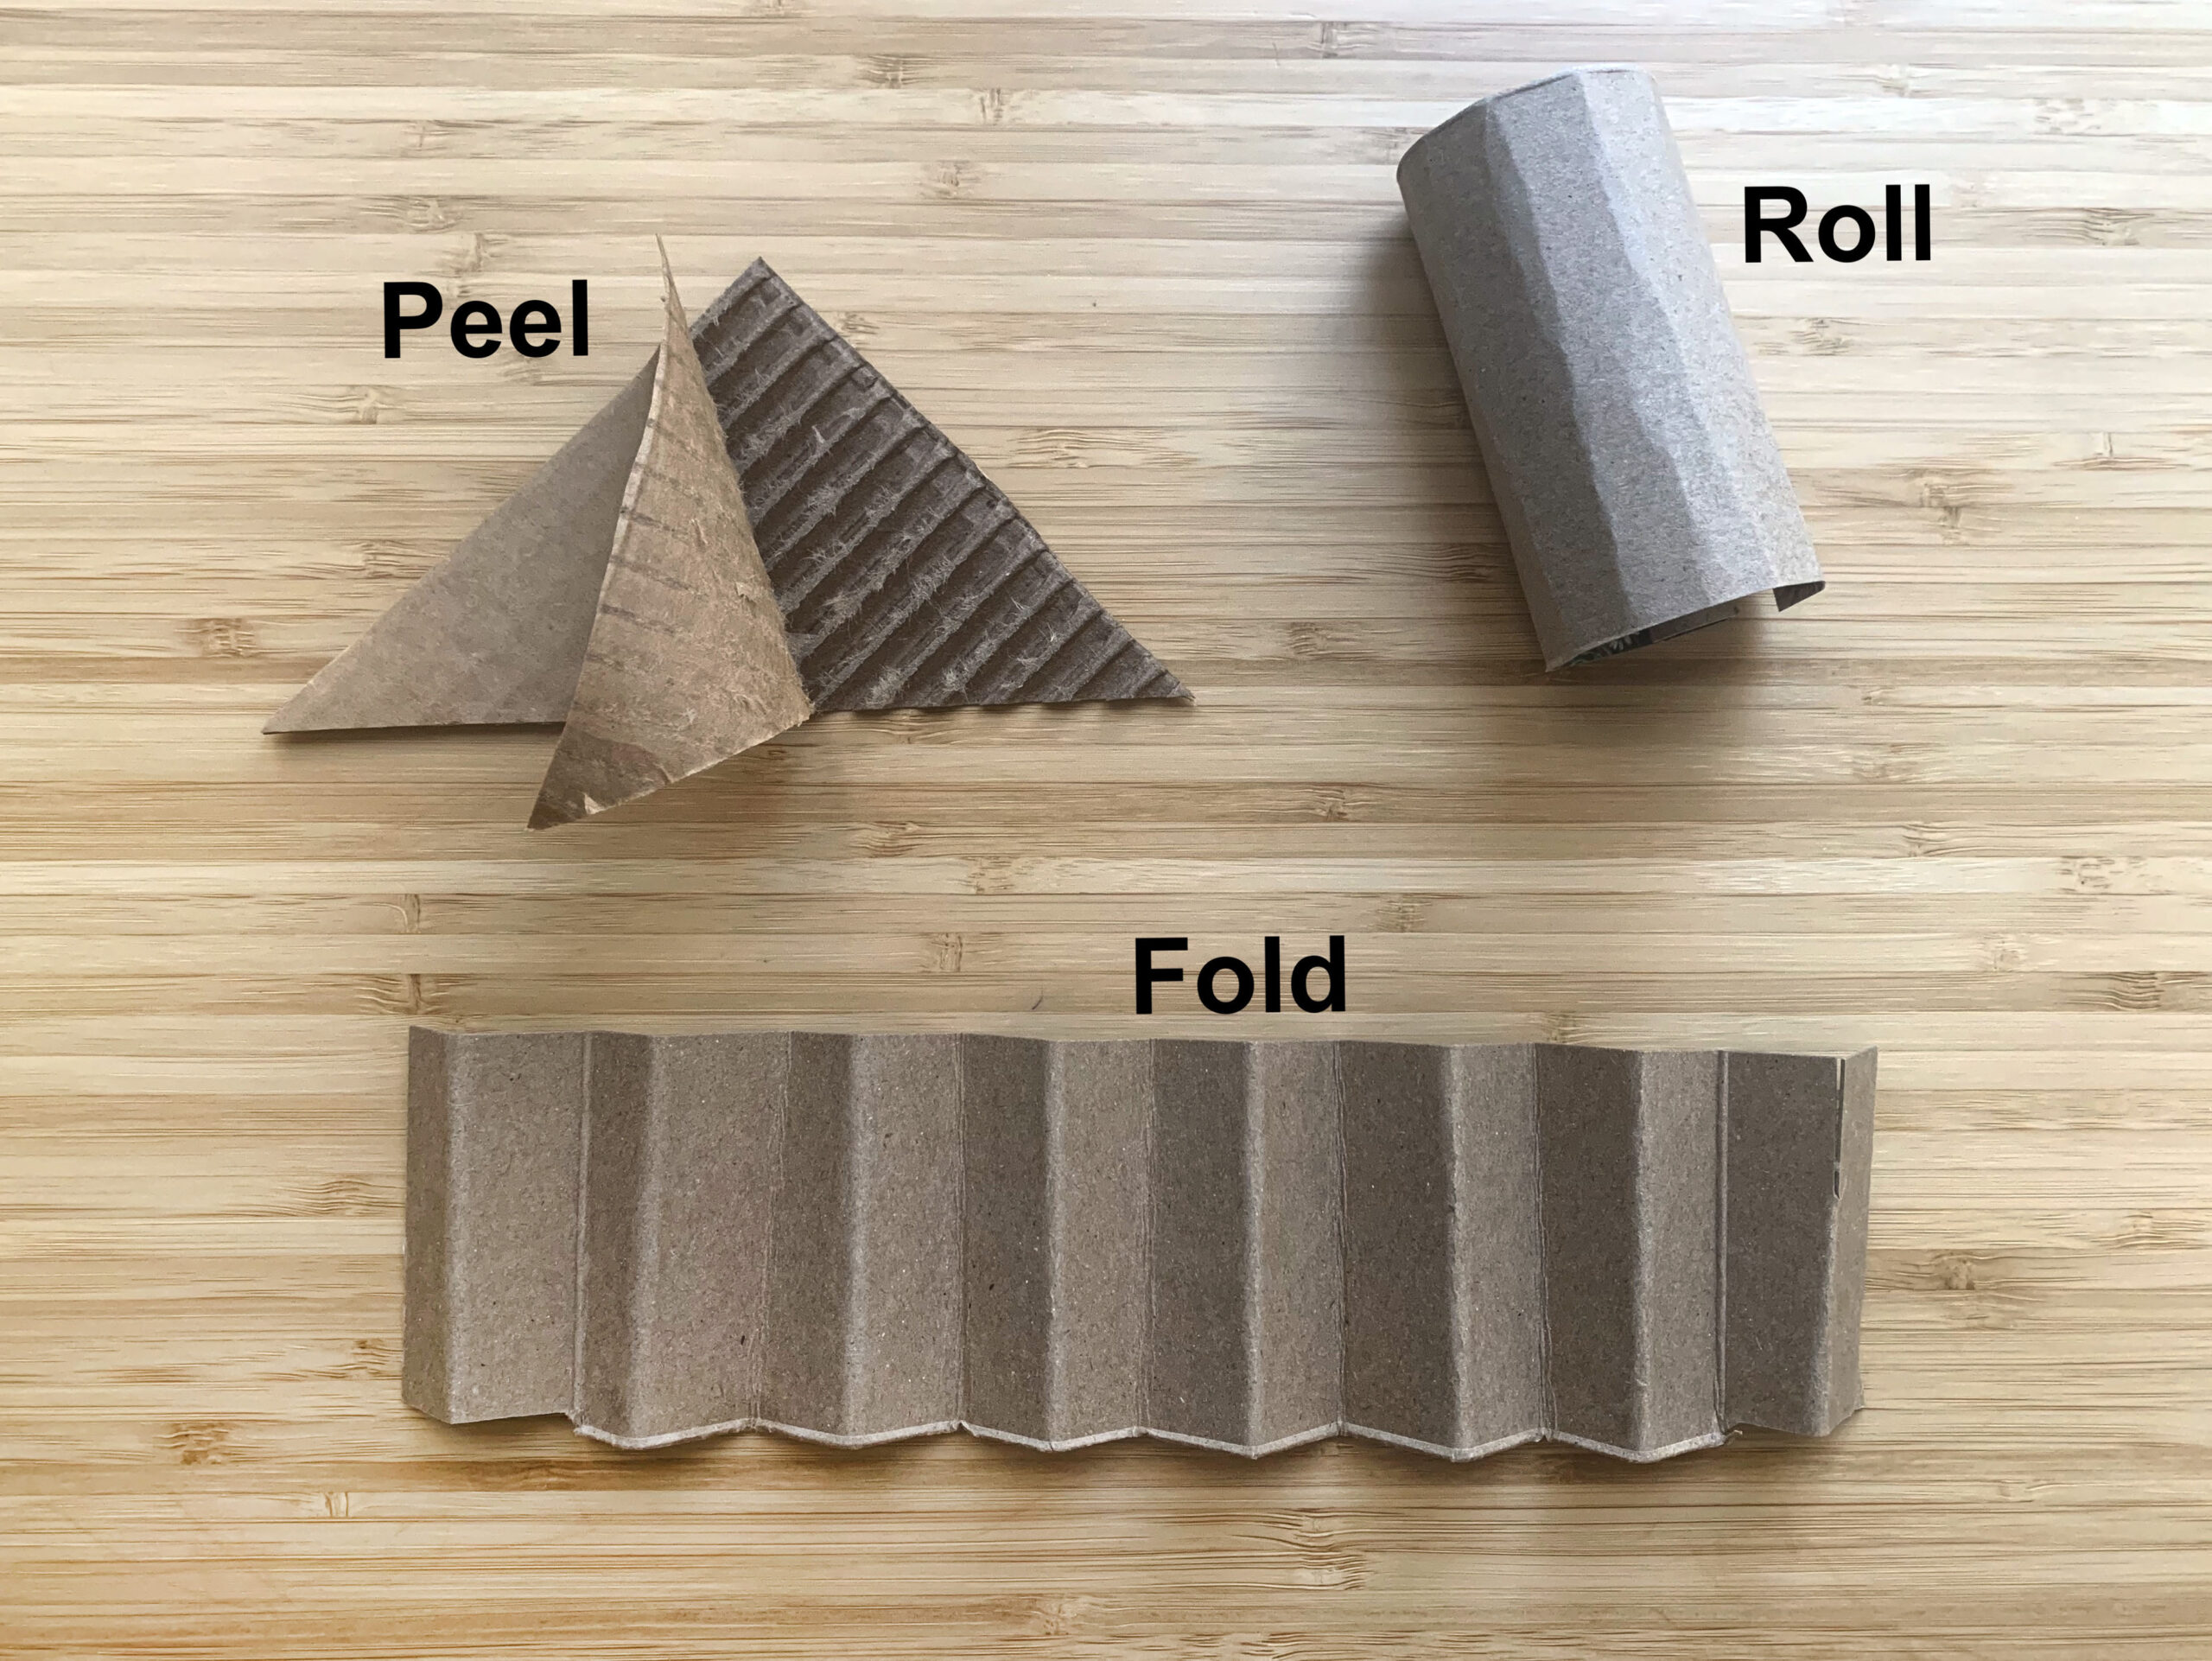
Step 4: Transforming Cardboard Shapes, with Student Slide #7 (10 minutes)
Student Slide #7 shows three different ways to further change your cardboard.
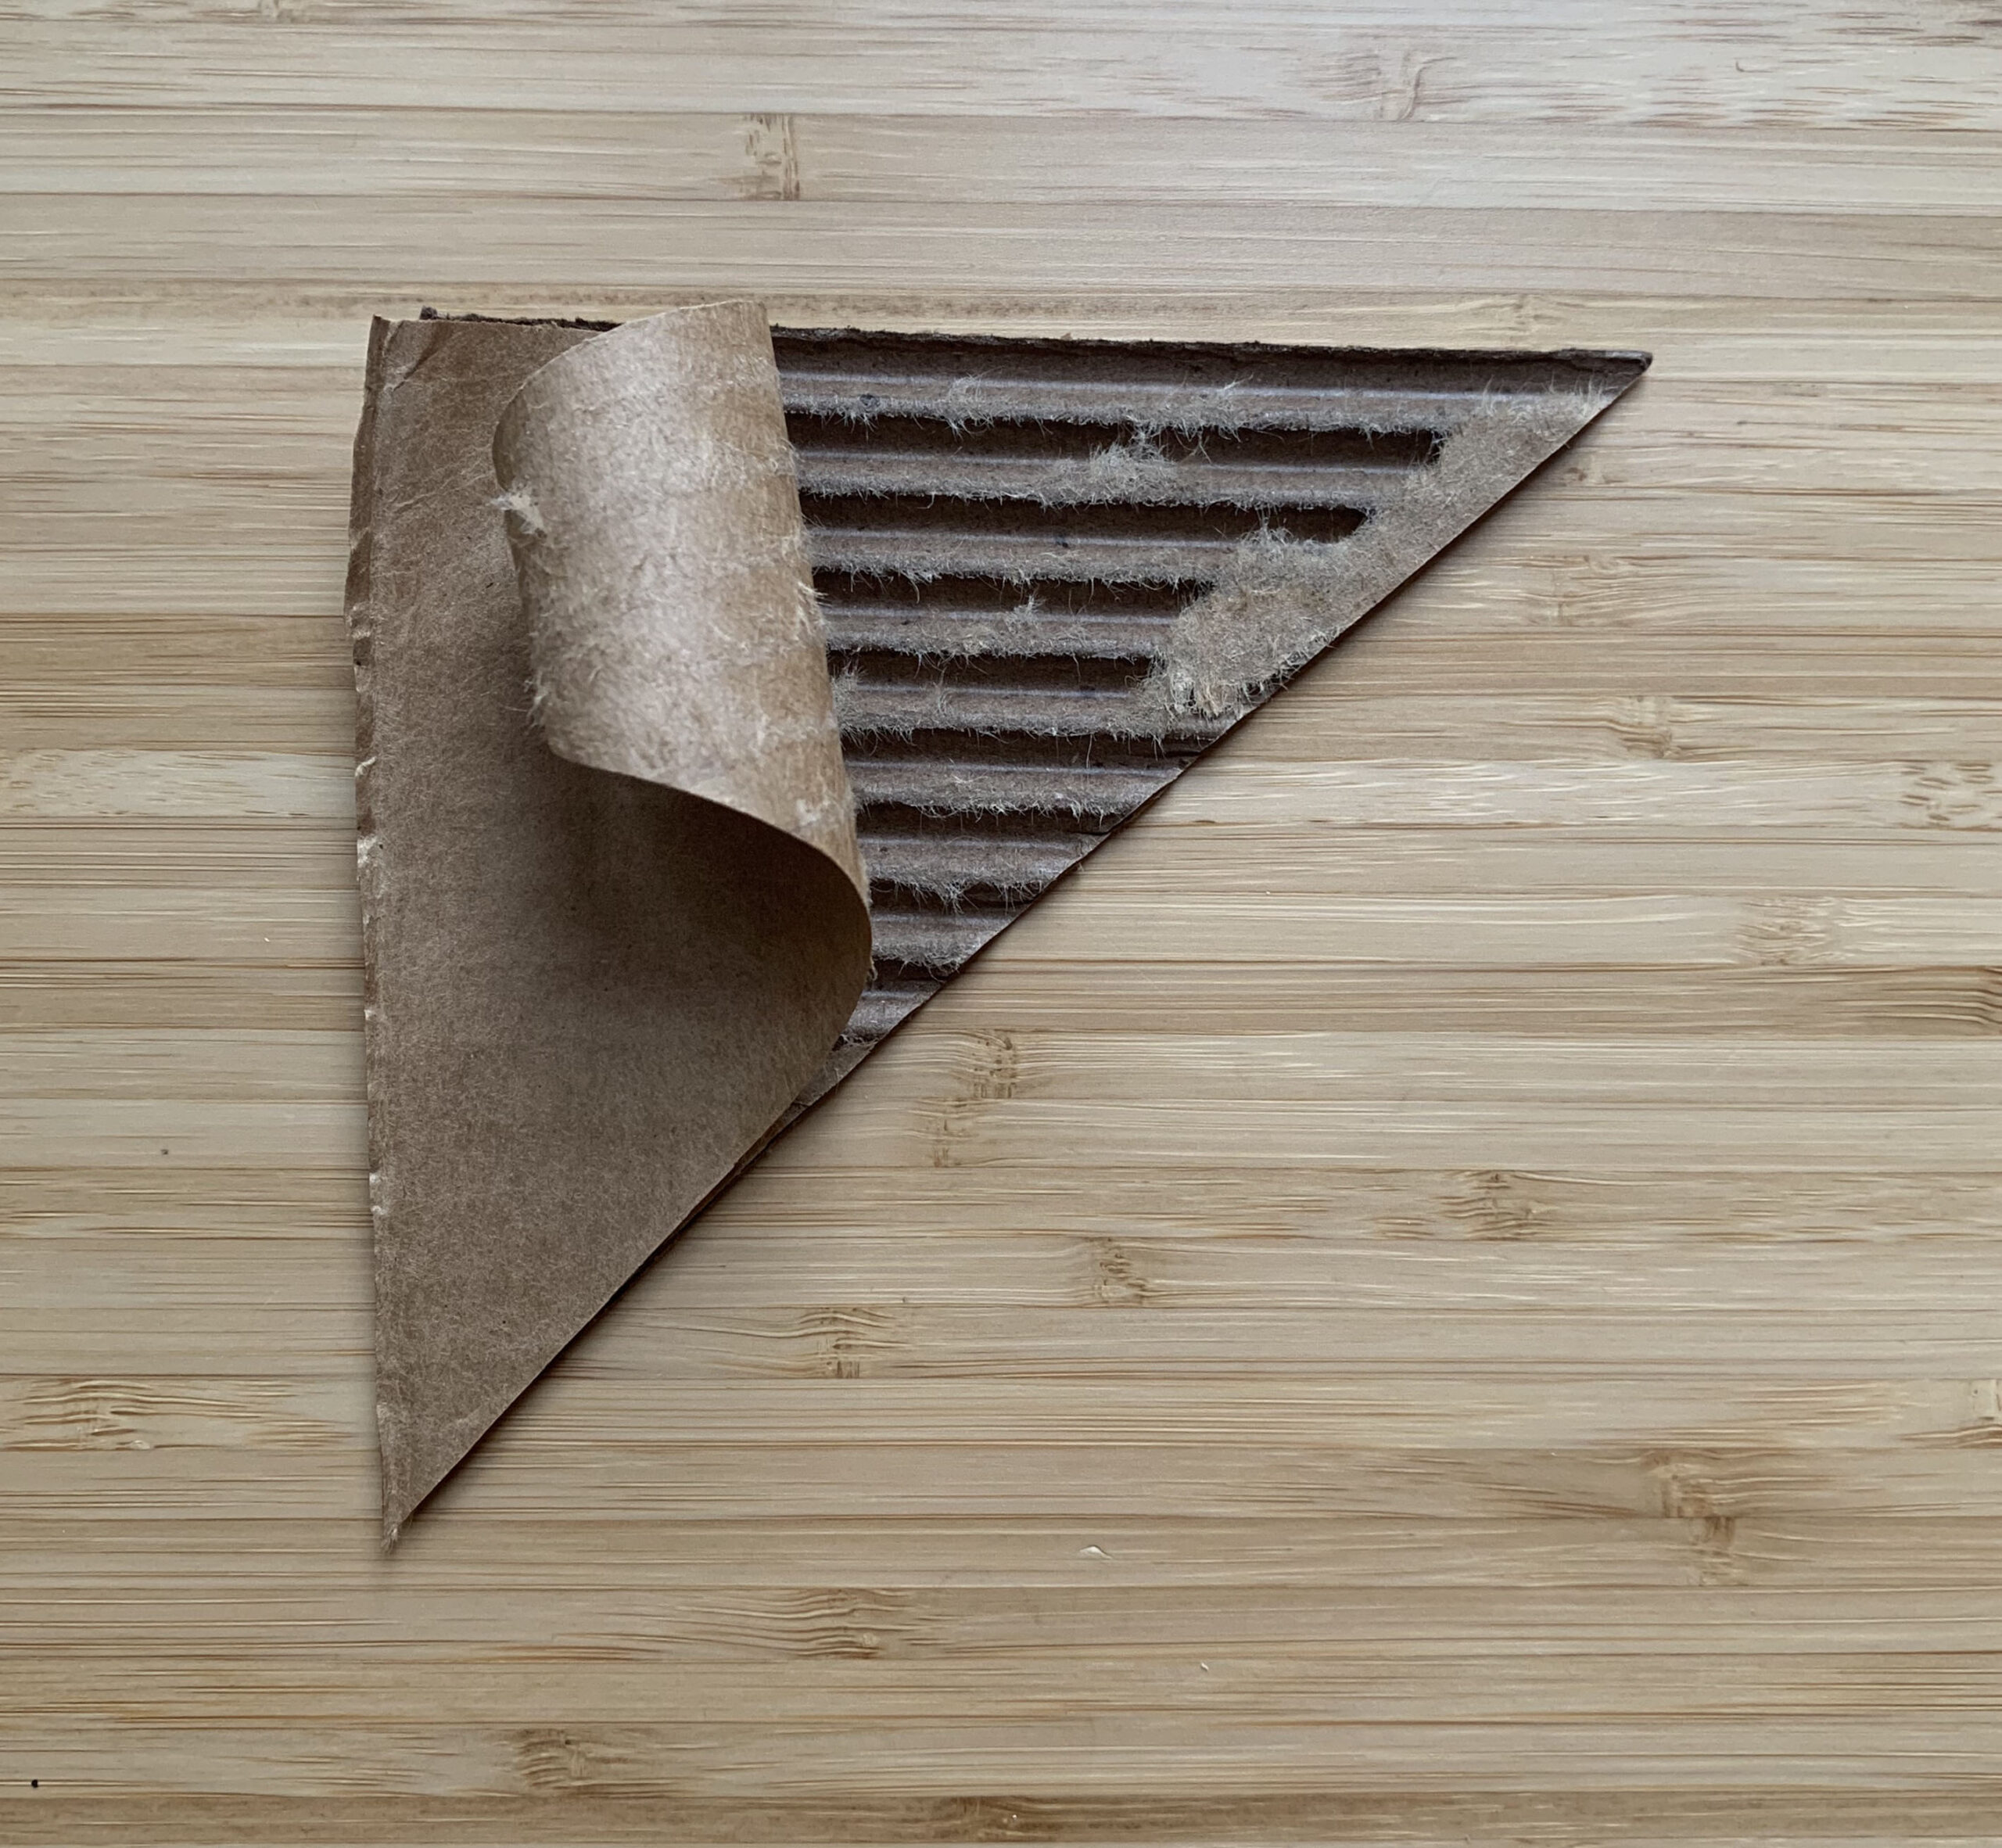
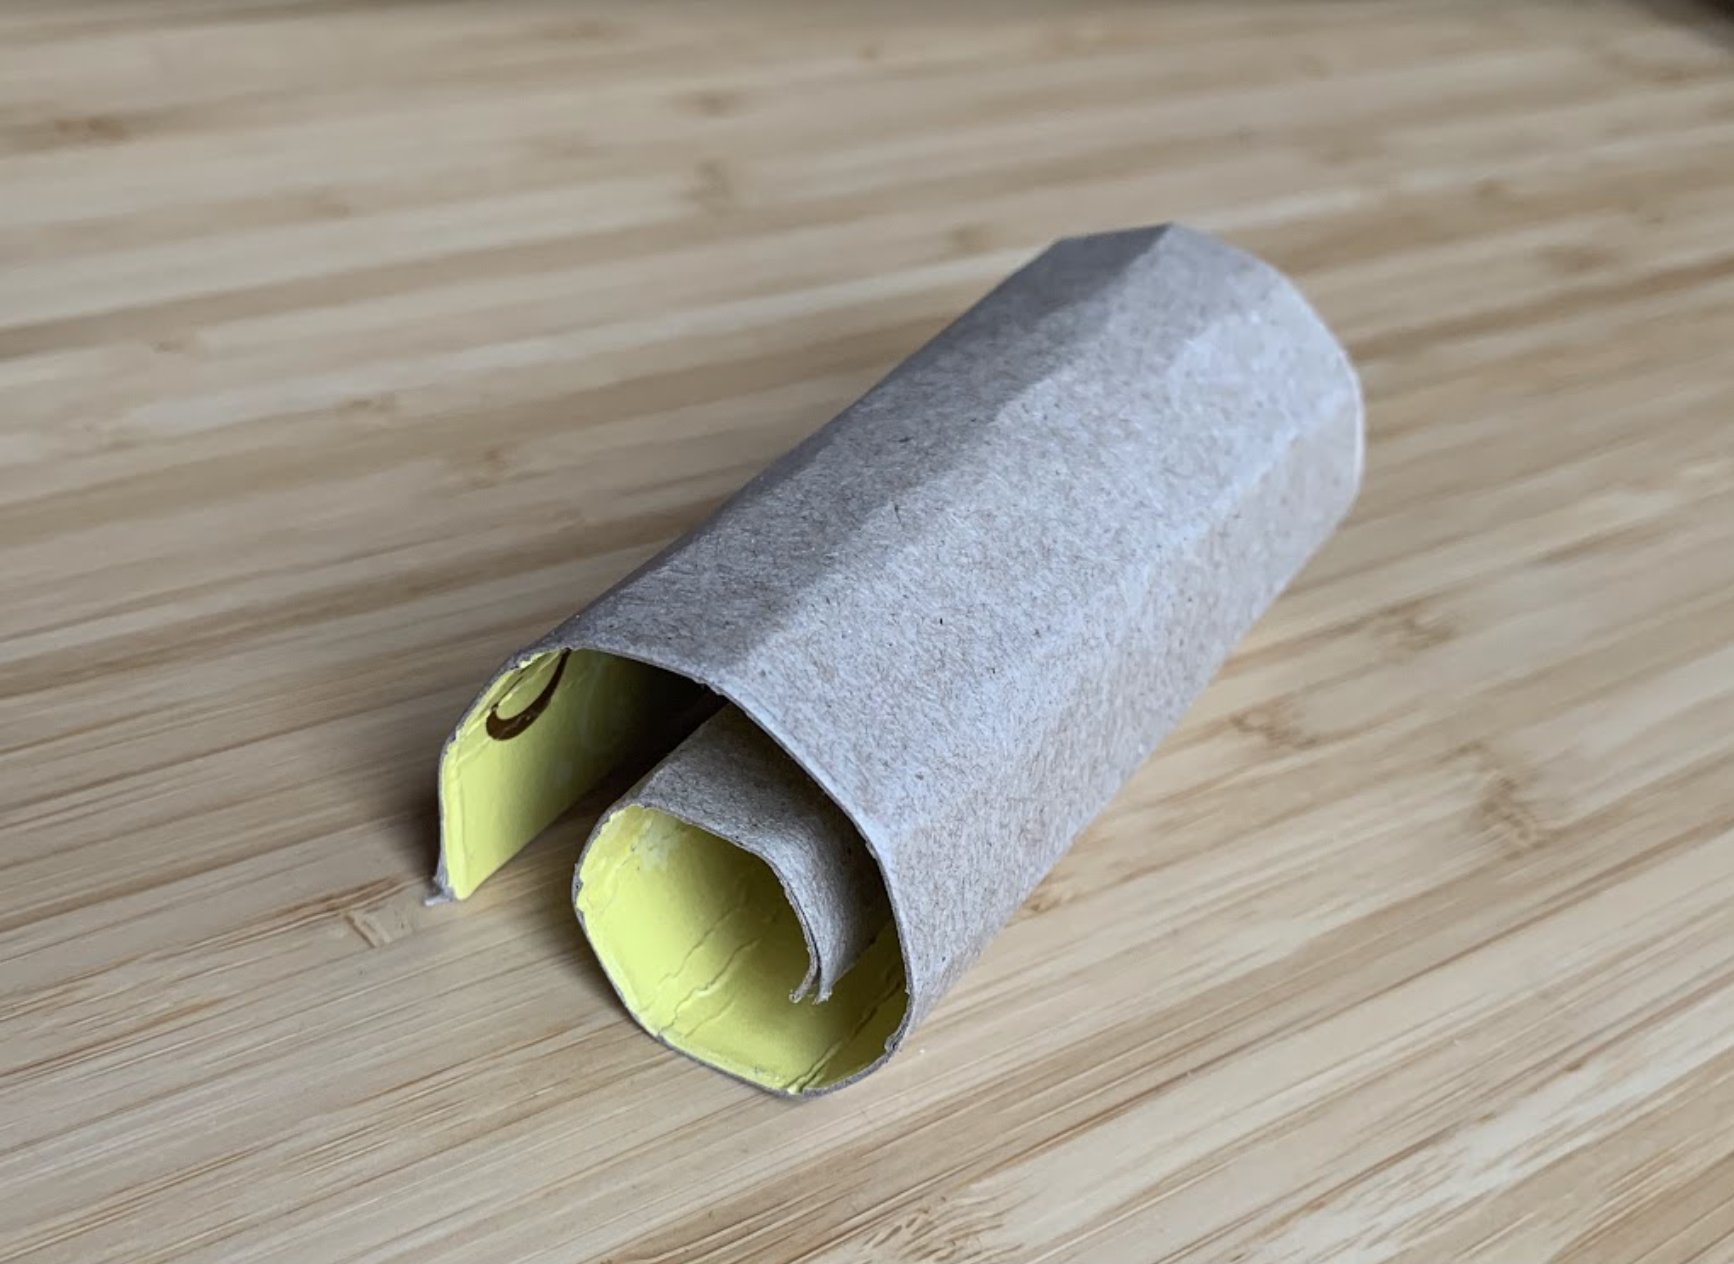
- What has the artist done to transform their shapes?
- Which previously explored techniques do you see in the three pieces?
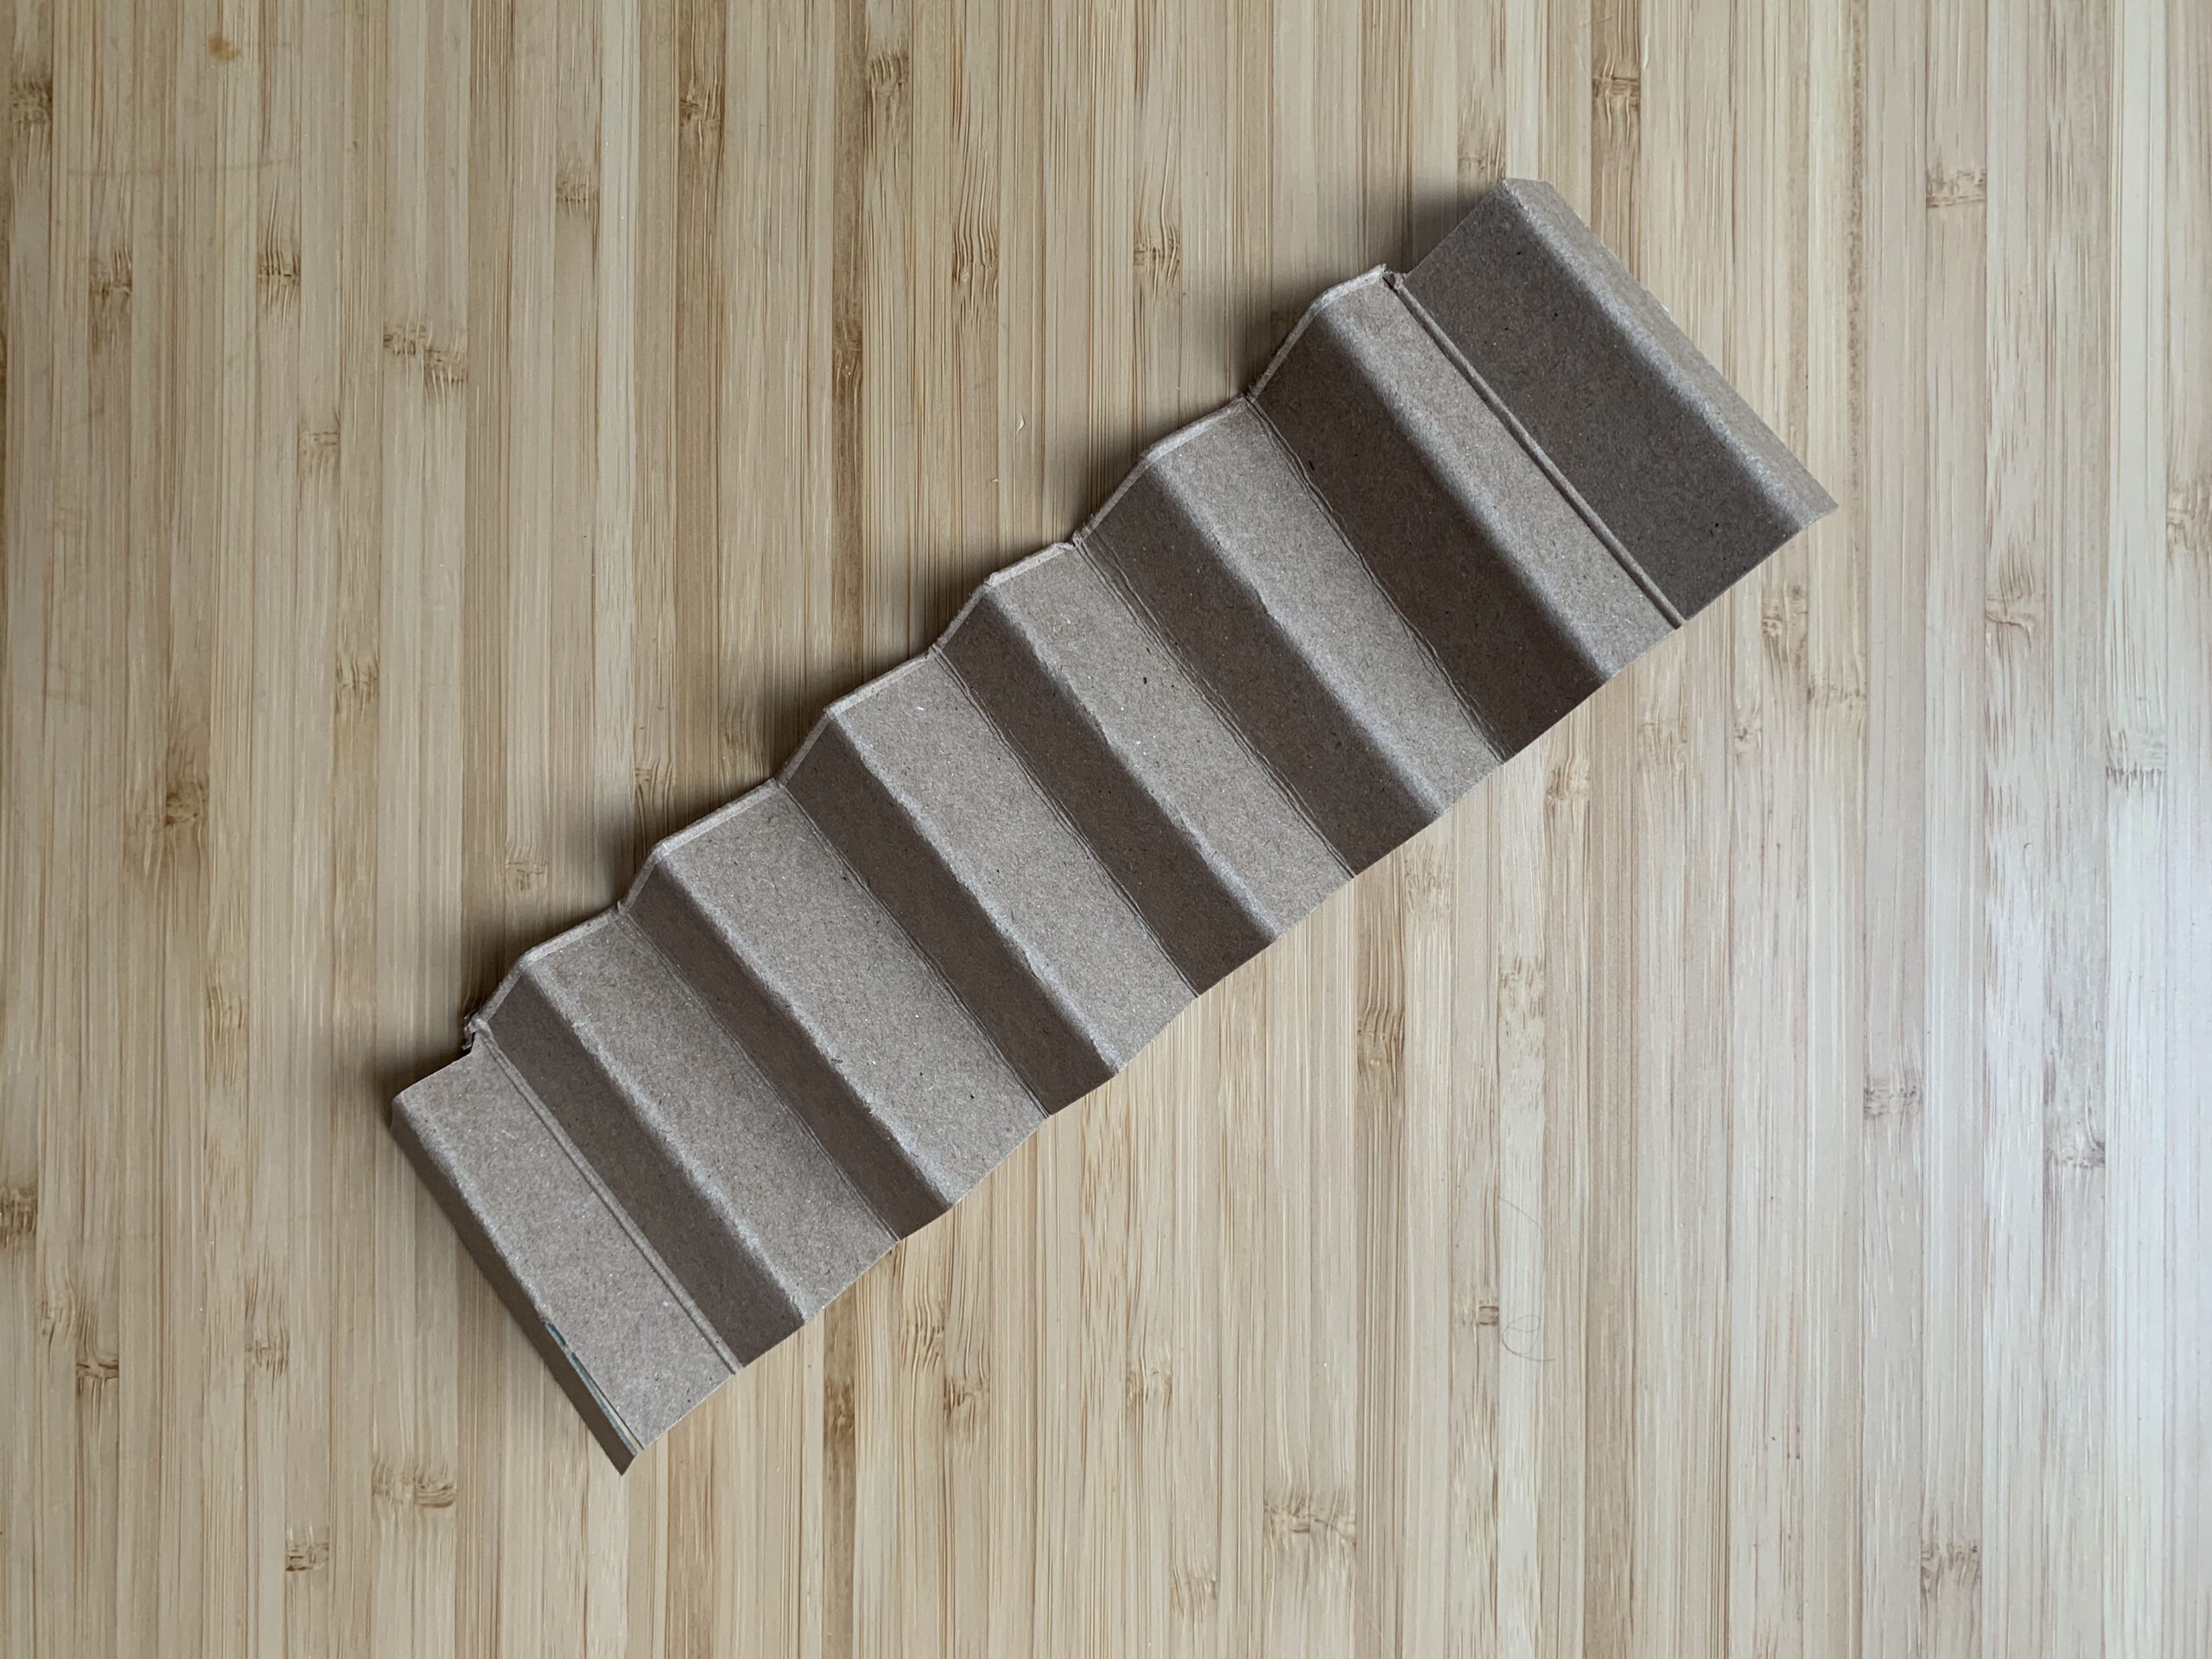
Try it out! Take a few of your cardboard shapes and explore changing them by peeling, rolling, and folding.
As you work, think about how changing the cardboard affects the way it looks.
- How does a peeled piece of cardboard look and feel different from one that is unpeeled?
- What do you see that makes you say that?
Step 5: Reflection Questions for Discussion (7-10 minutes)
- What new shapes did you cut out of cardboard?
- How did you change the cardboard?
- Where did you notice patterns?
Vocabulary
Geometric shape
Straight line
Zigzag line
Curved line
Pattern
Resources