Overview
Students will cut one sheet of paper in half and one sheet of paper into thin and wide strips, then make them stand up. They will arrange their forms into a free-standing sculpture.
Materials and Tools
- Two sheets of paper that are the same color
- Scissors
- From Relief to Free-Standing Sculpture video
- From Relief to Free-Standing Sculpture student slides

Objectives
Students will understand that:
- Two-dimensional paper can be made three dimensional
- Three-dimensional forms can be built into sculptures
- A free-standing sculpture is three dimensional, has many sides, and is not attached to a base
Students will be able to:
- Apply knowledge to make shapes stand up by rolling, folding, and slot-joining paper
- Demonstrate how to build by balancing, leaning, and stacking their shapes
- Arrange and rearrange their forms to create a free-standing sculpture
Activities
Note: The following steps are written with sample language you may use with your students as you go through the lesson. Explain to students that the slides and the video they see during the lesson will be shared with them so they can review the lesson on their own and continue to make more art.
Step 1: Introduction/Watch From Relief to Free-Standing Sculpture Video (16 minutes)
In our last lesson, we explored making a relief sculpture with our hands. Today, we will be creating a free-standing sculpture. How do you think a relief sculpture is different from a free-standing sculpture? Watch the From Relief to Free-Standing Sculpture video to find out.
Step 2: Close Looking, with Student Slide #3 (5 minutes)
Let’s look at Student Slide #3.
- What do you notice about this sculpture?
- How is it similar and different from a relief sculpture?
- What do you see that makes you say that?
This type of sculpture is called a free-standing sculpture.
- Why do you think it is called “free standing”?
- How do you think the process of making a free-standing sculpture will be different from making a relief sculpture?
- Do you suppose there are skills that you previously explored that will be useful in making a free-standing sculpture?
Let’s look and find out.
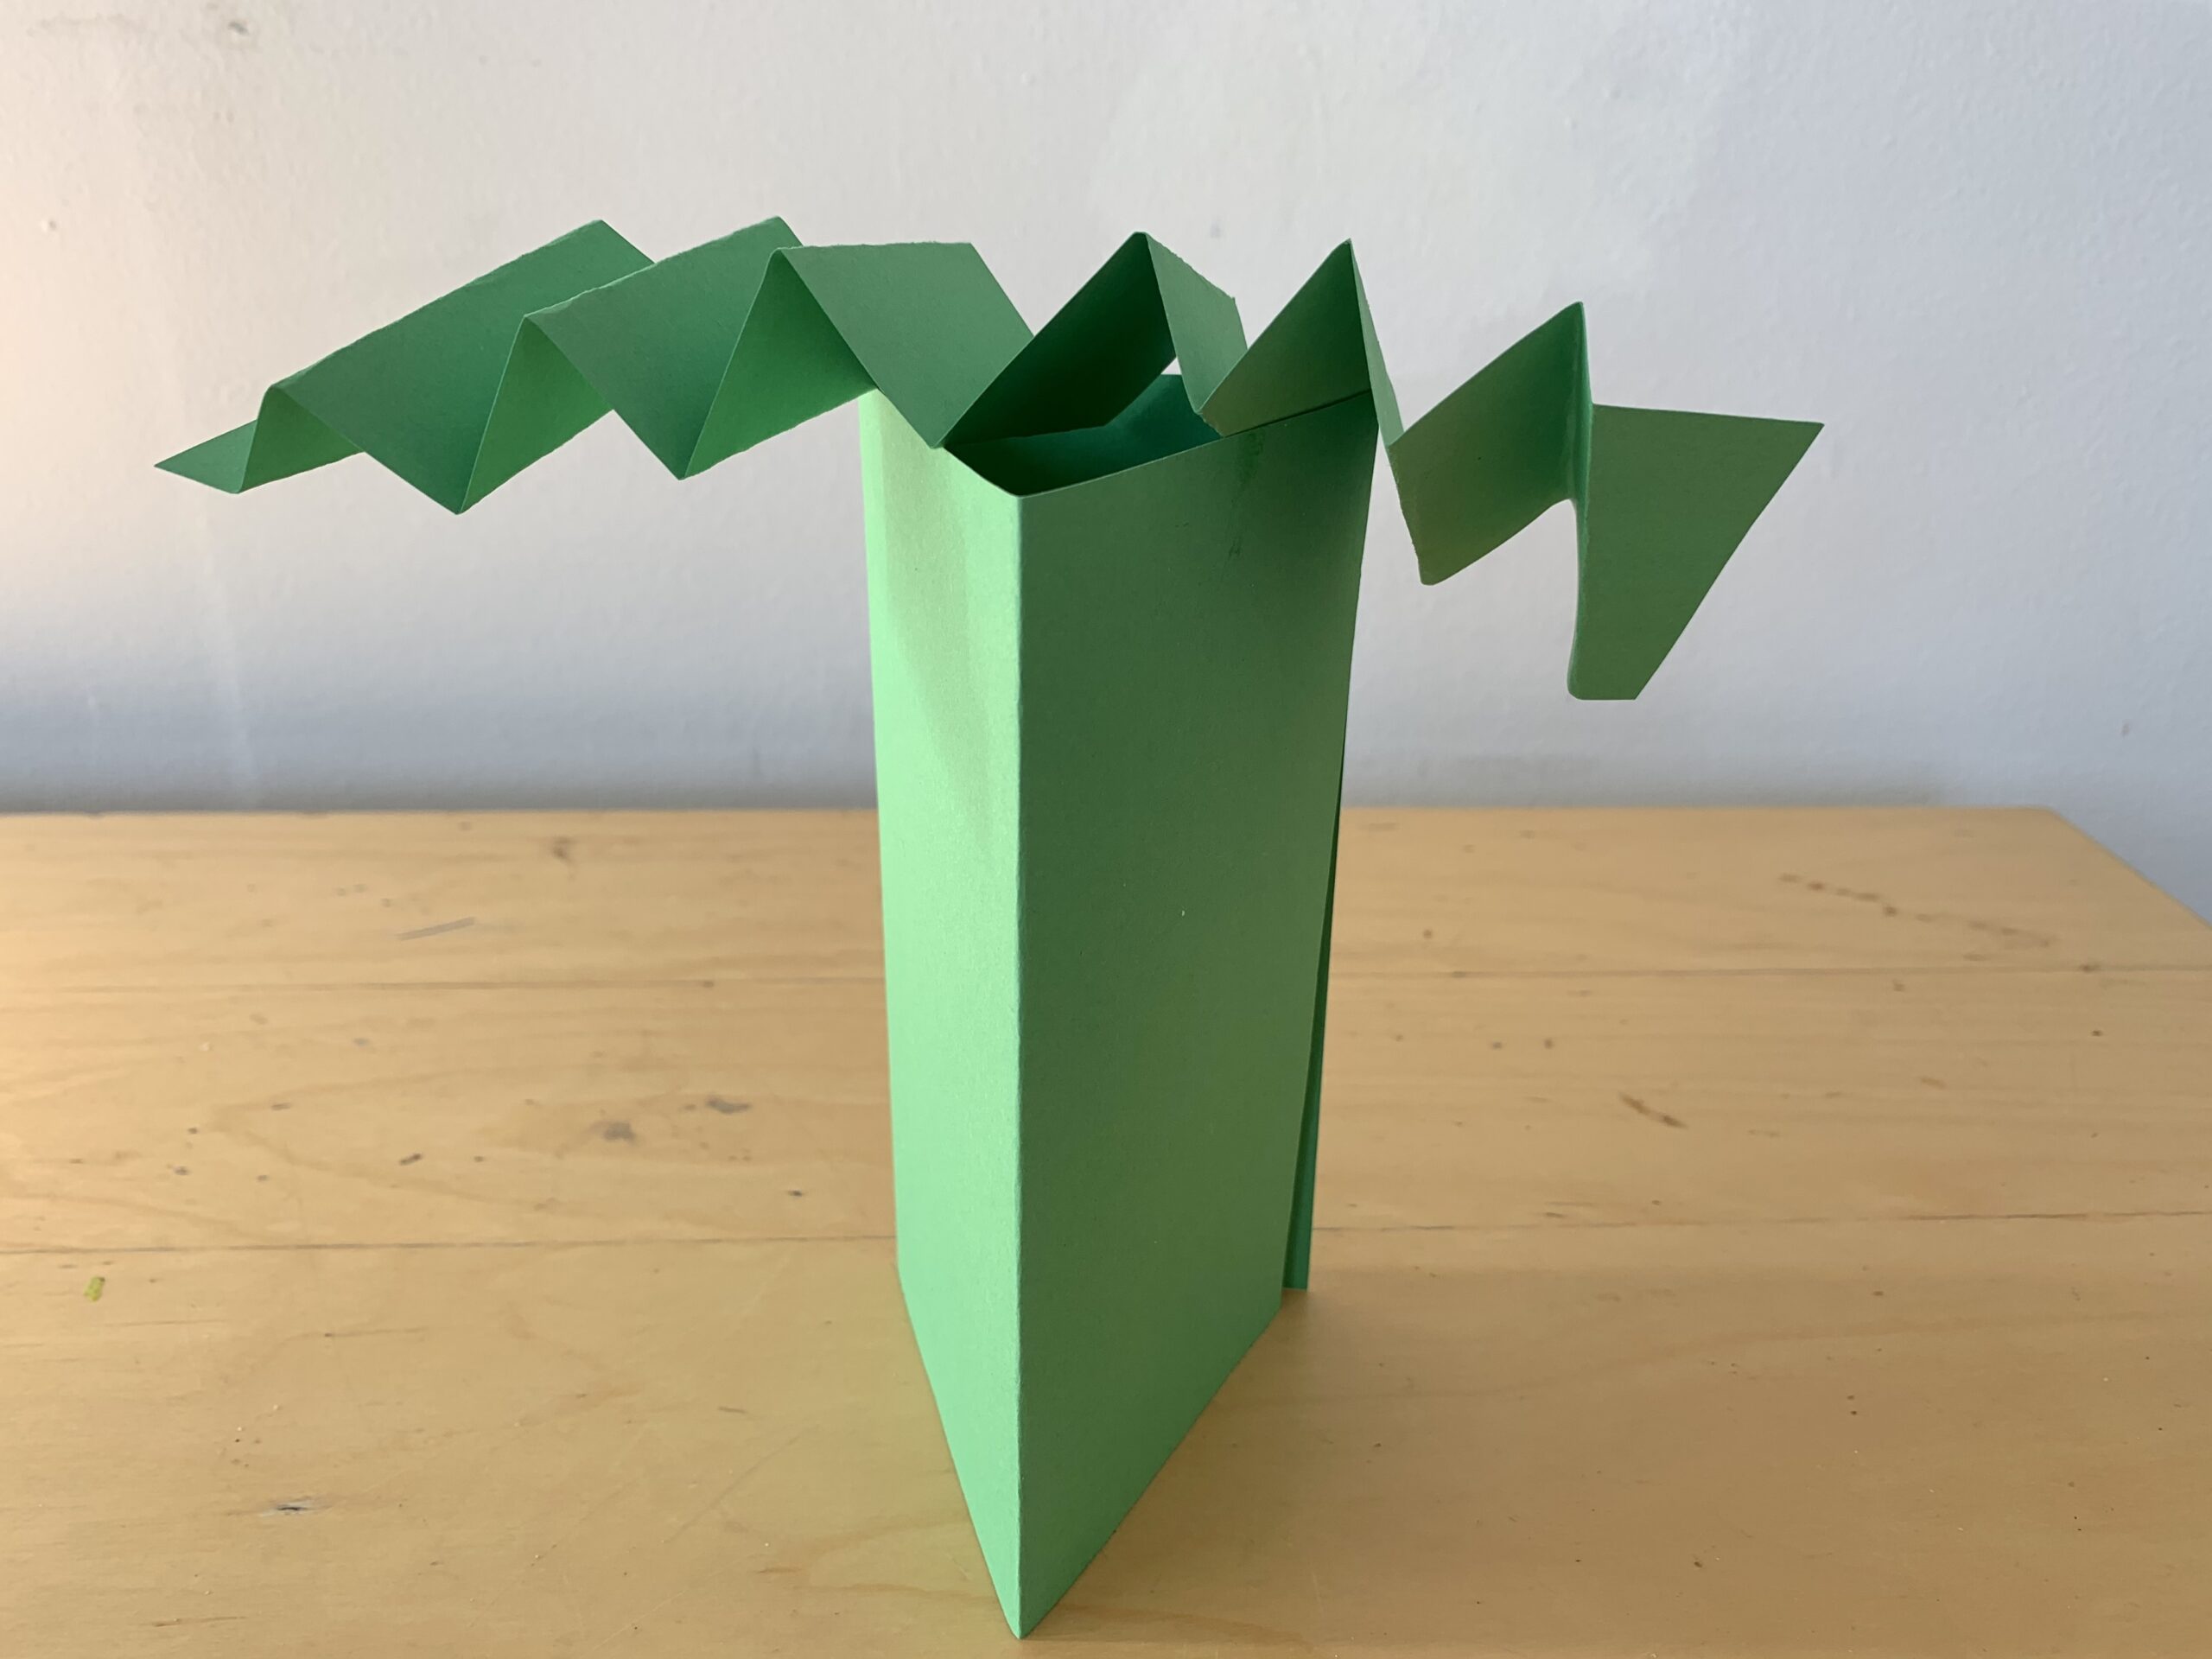
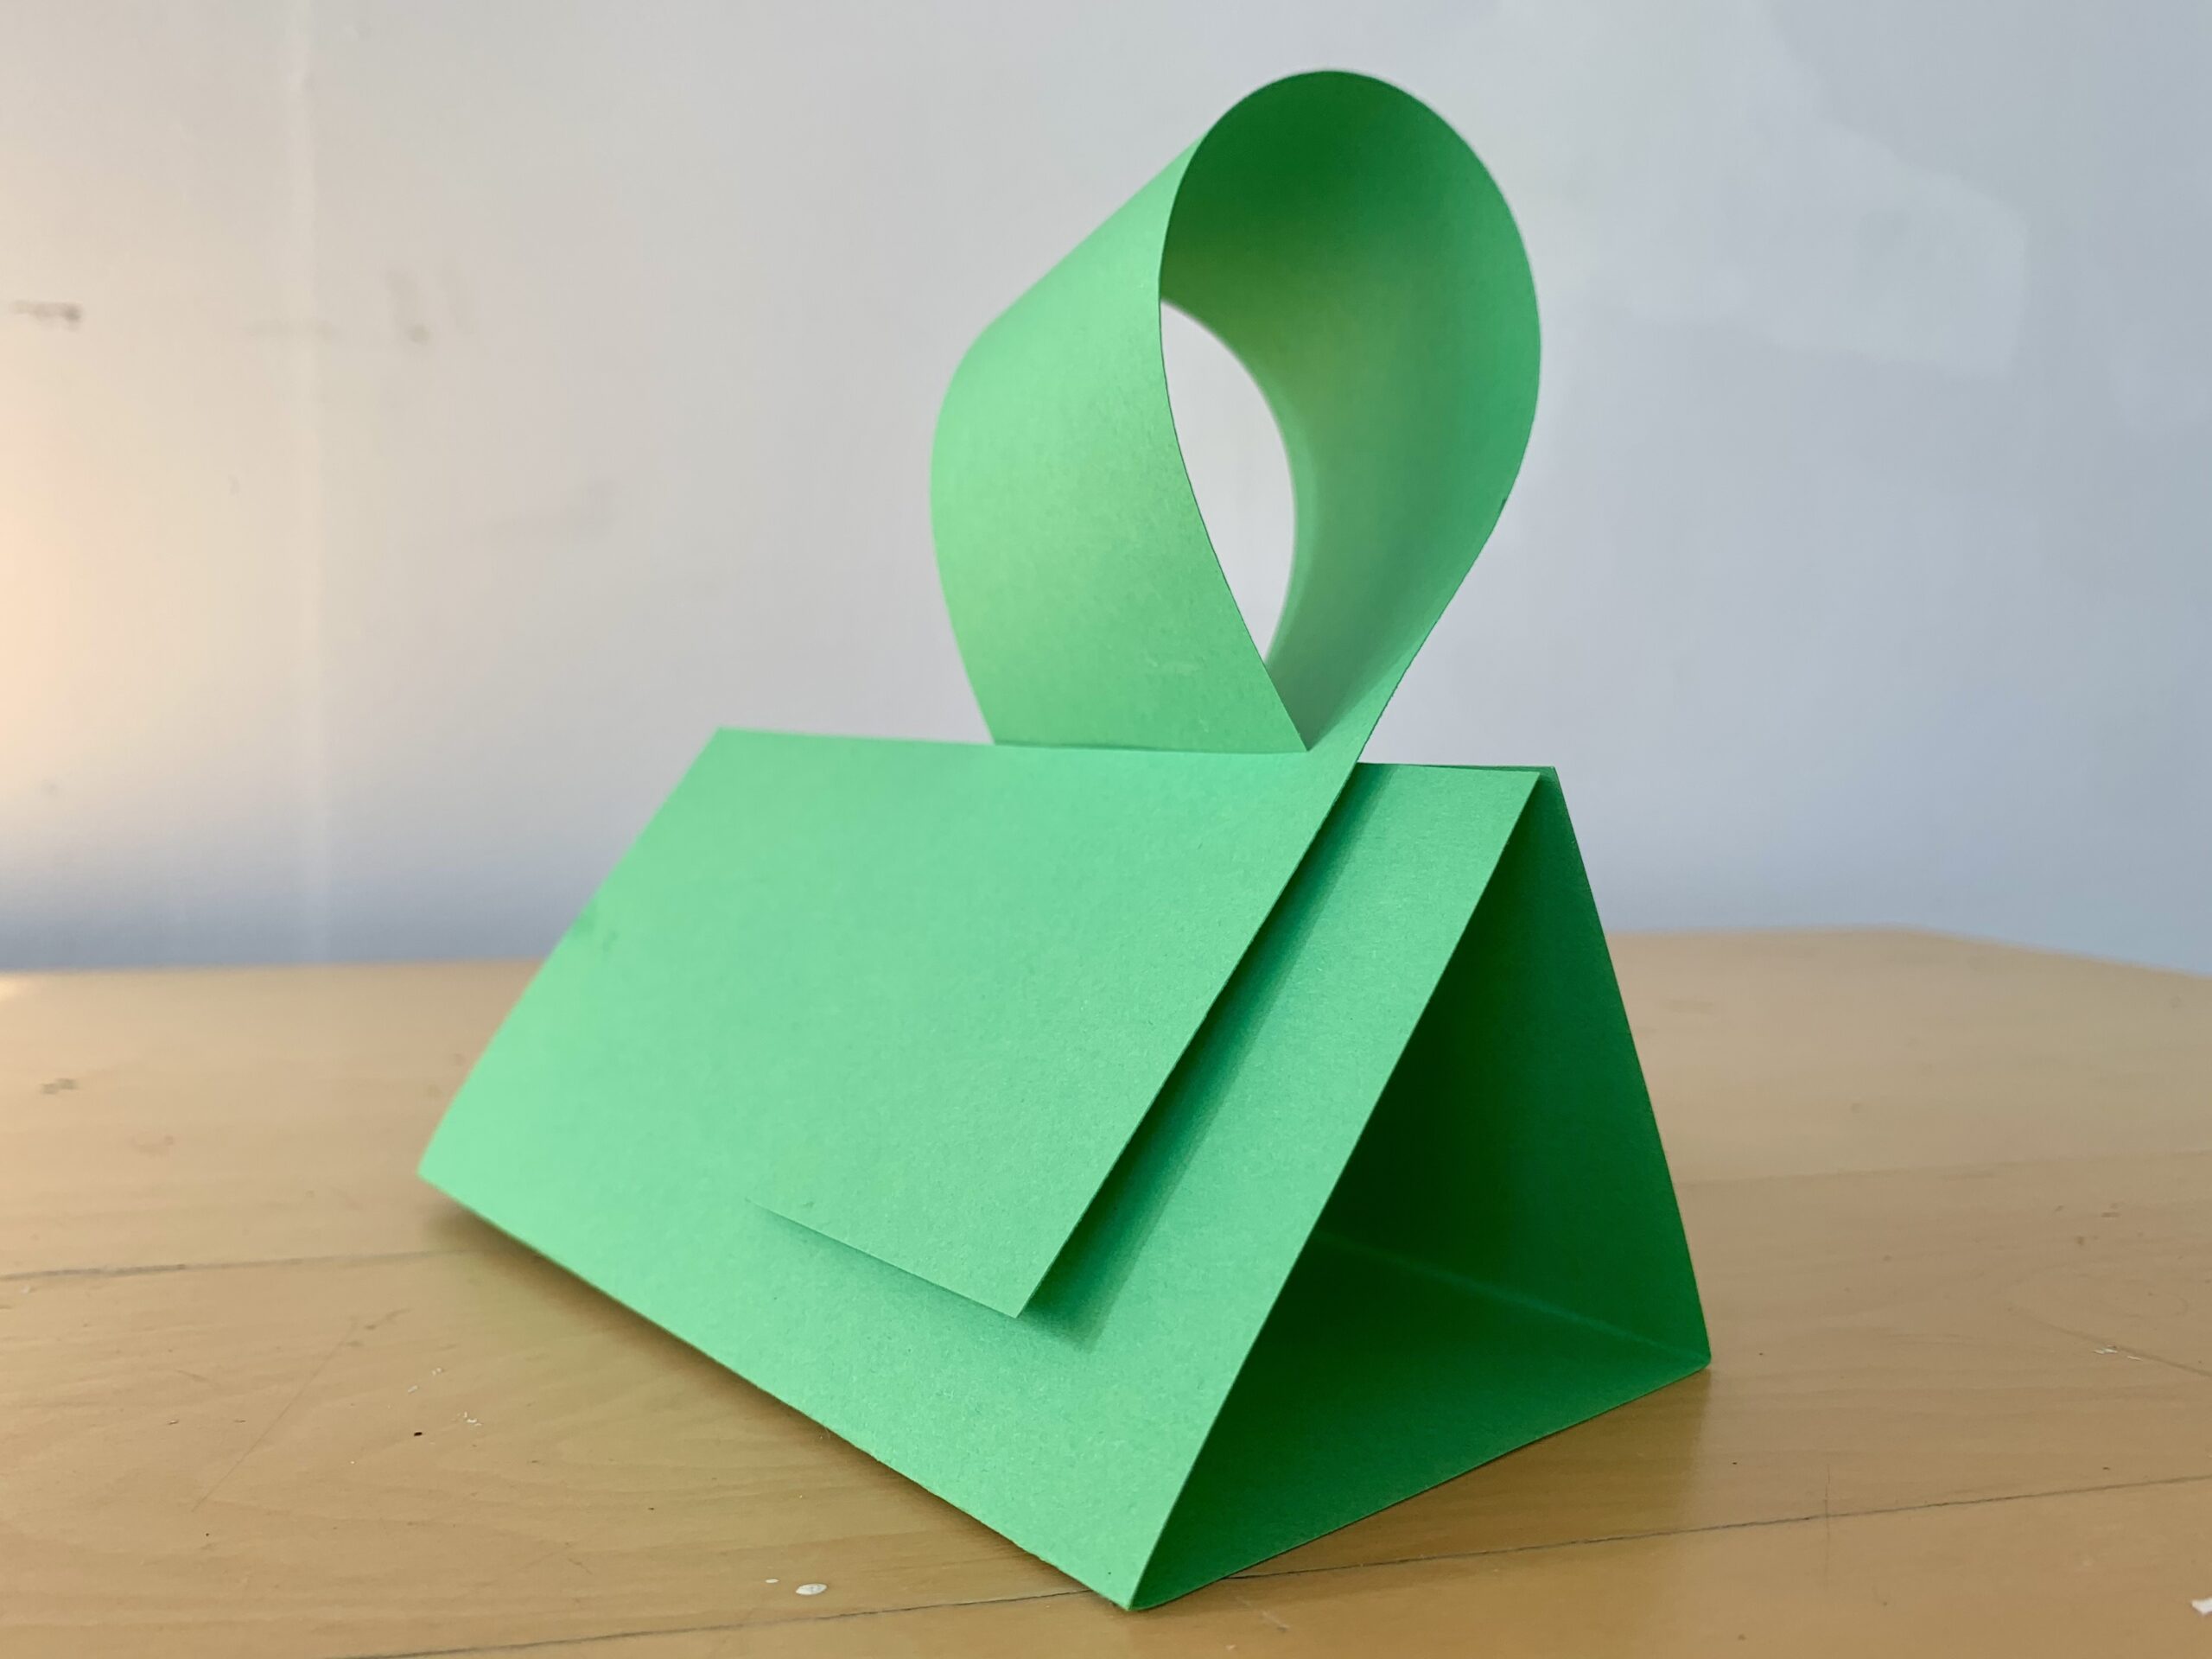
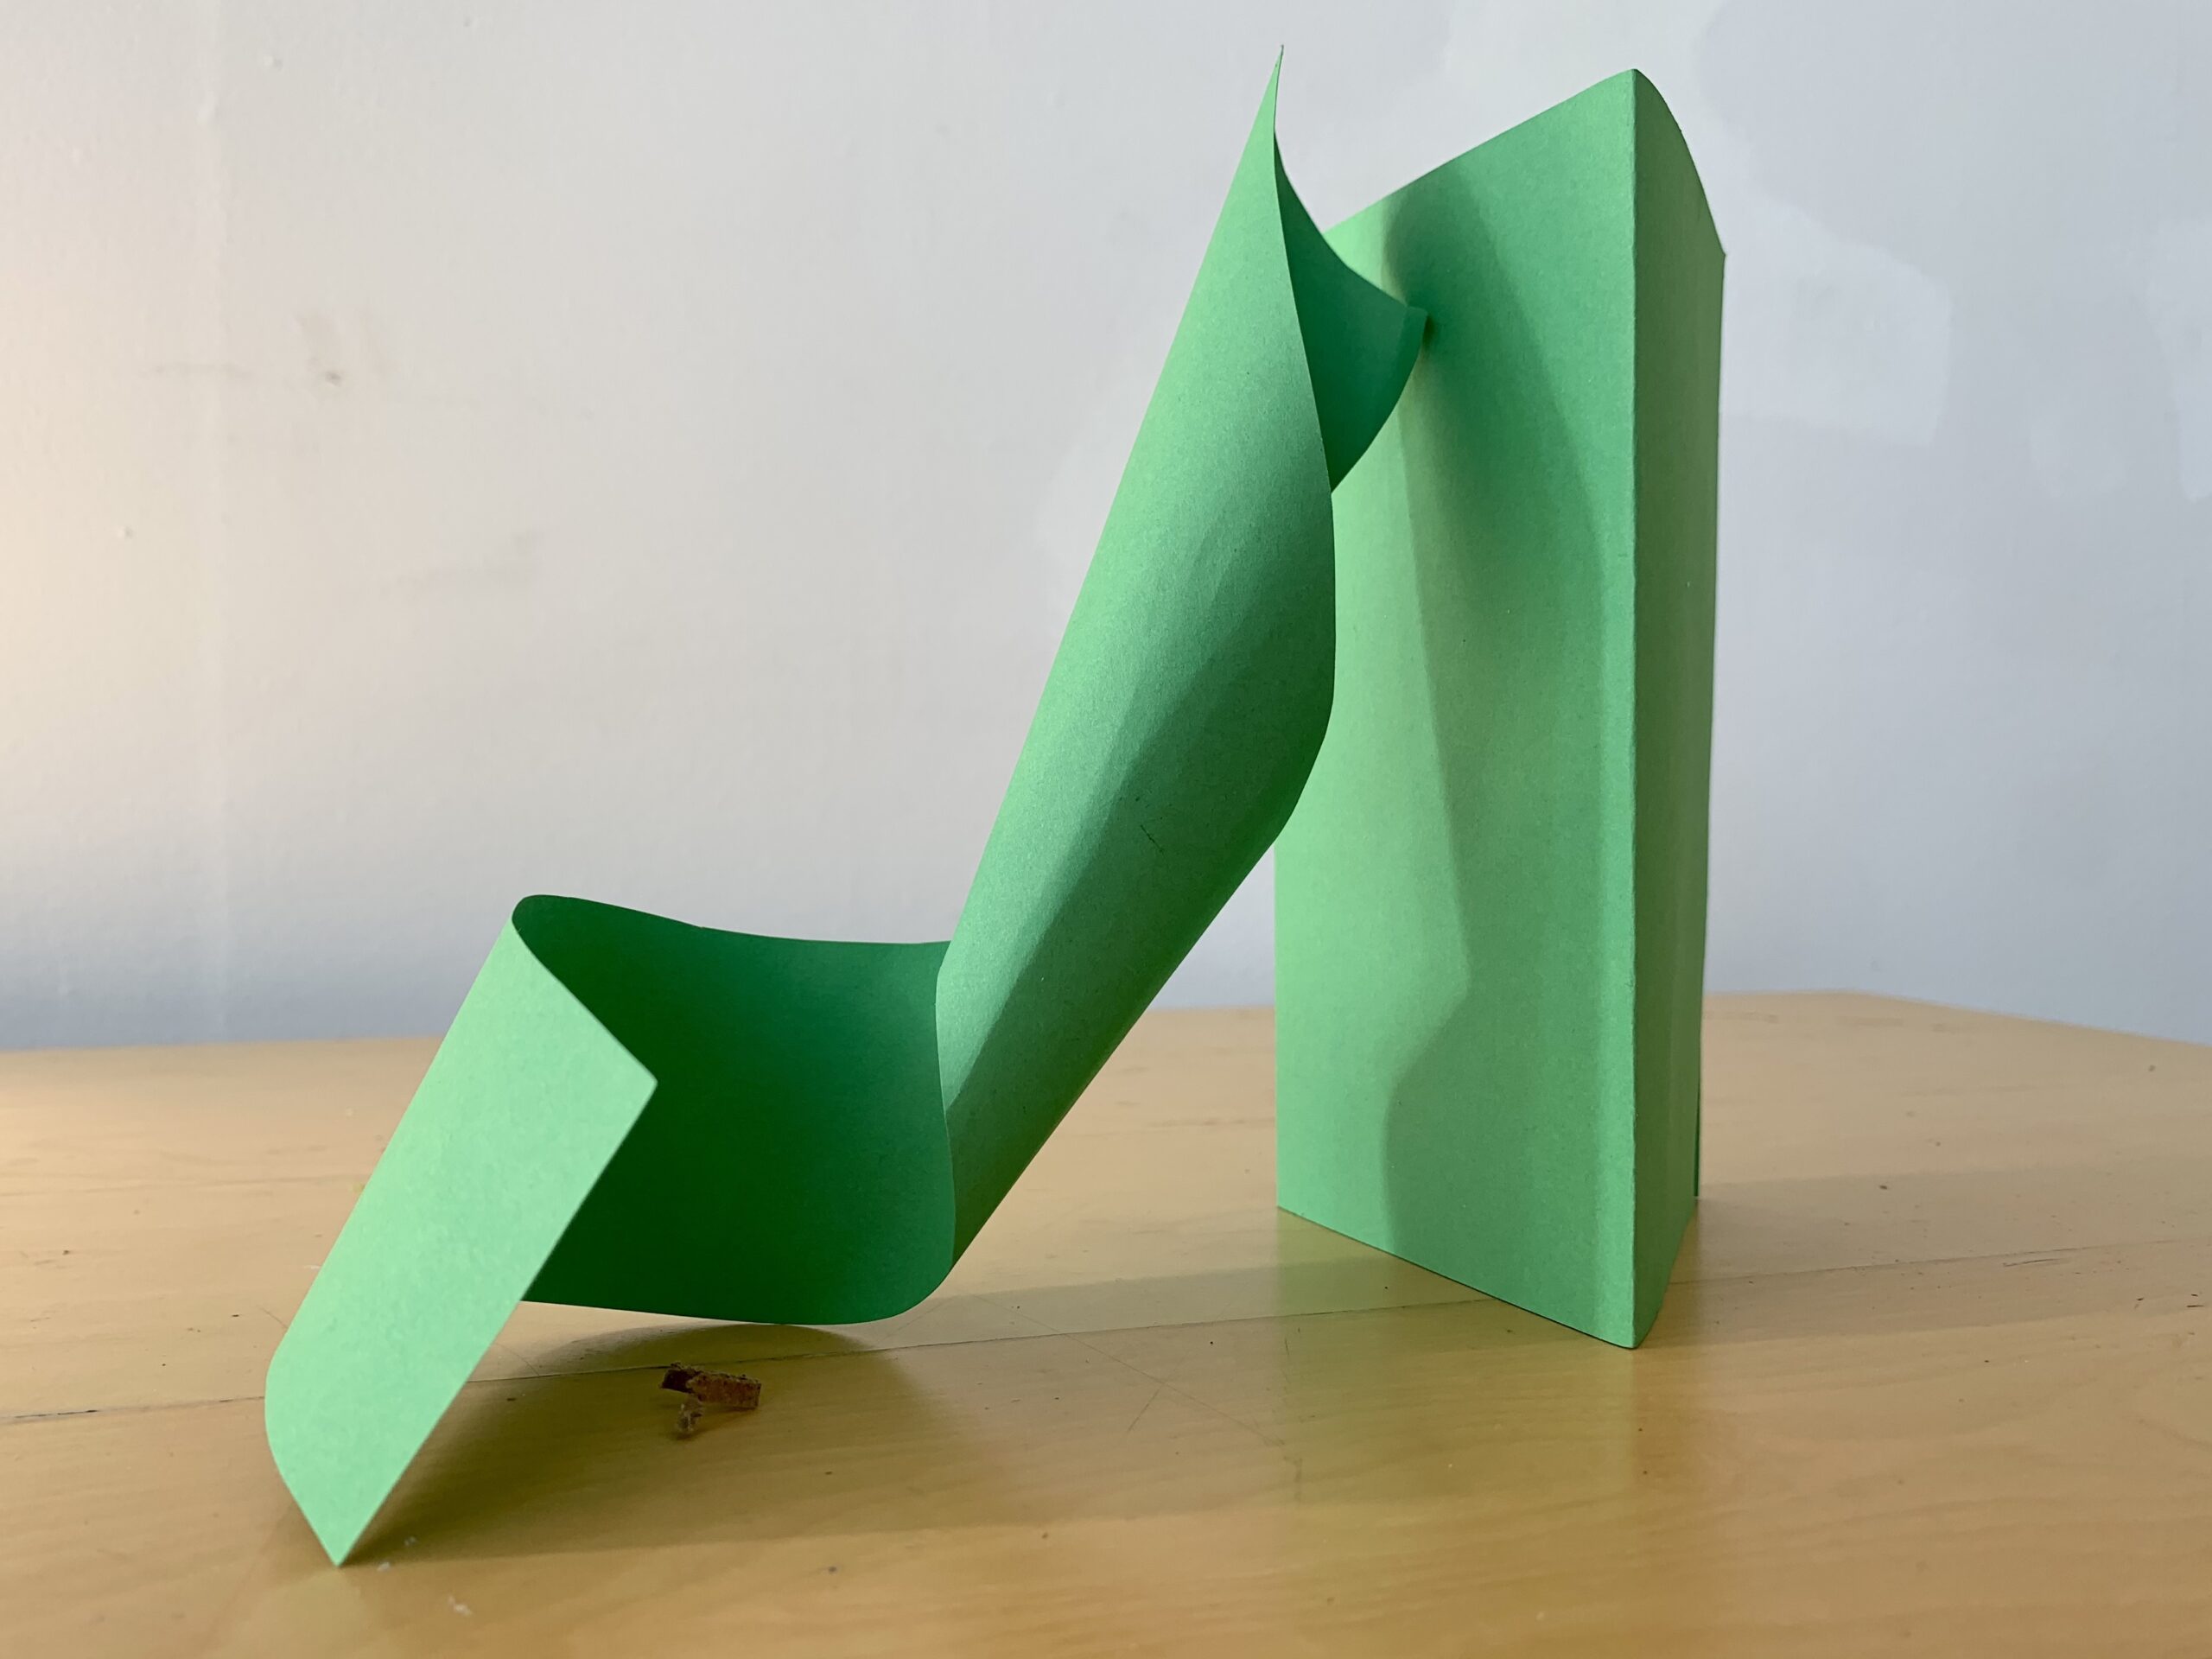
Step 3: Making Free-Standing Forms, with Student Slide #4 (15 minutes)
Student Slide #4 shows different ways that artists can change paper from flat to standing.

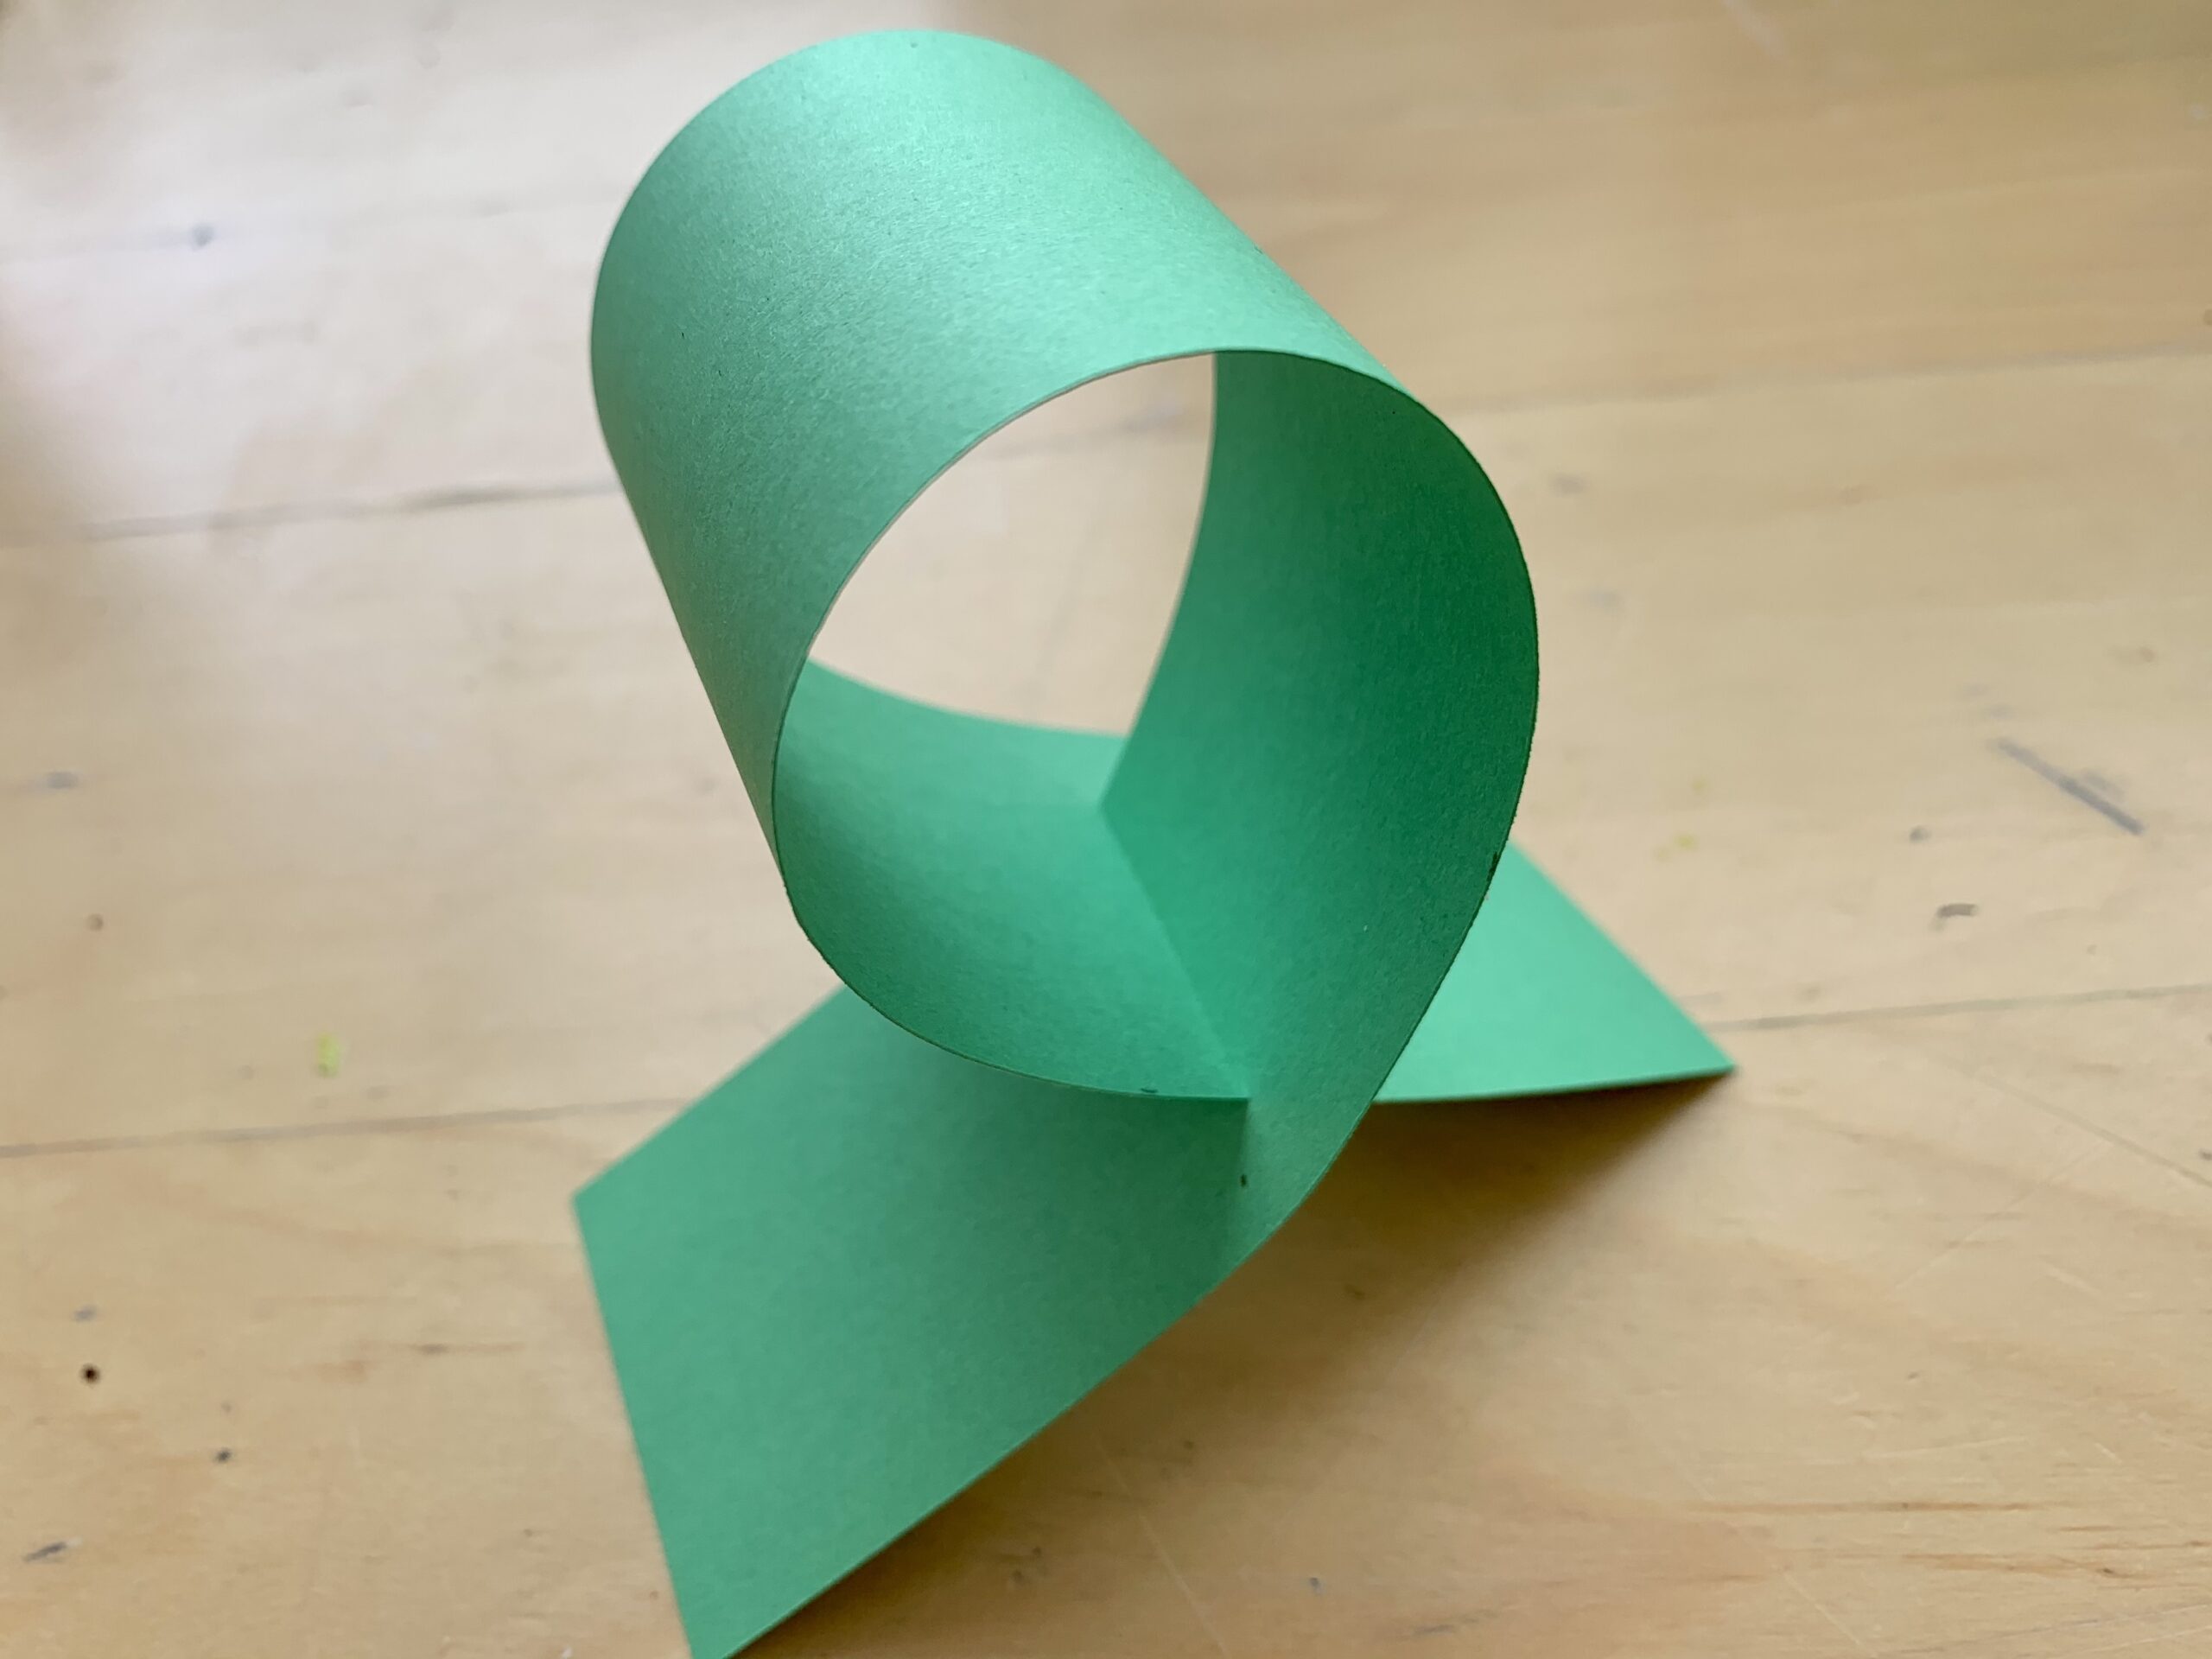
- What are some techniques you previously explored that you see here?
- What is a technique that we have not tried out yet?
The bottom piece was created by slot joining. A slot joint is made by making a cut midway across one paper for another to sit in.
Now it’s your turn to make free-standing forms. Try all the suggestions on the slide and see what else you can do. For an added challenge, try combining different methods in one piece. Here are some suggestions:
- Slot, join, and fold to create a form
- Fold and roll to create a form
- Your idea here
Step 4: Build a Sculpture by Arranging Forms, with Student Slides #5-6 (15 minutes)
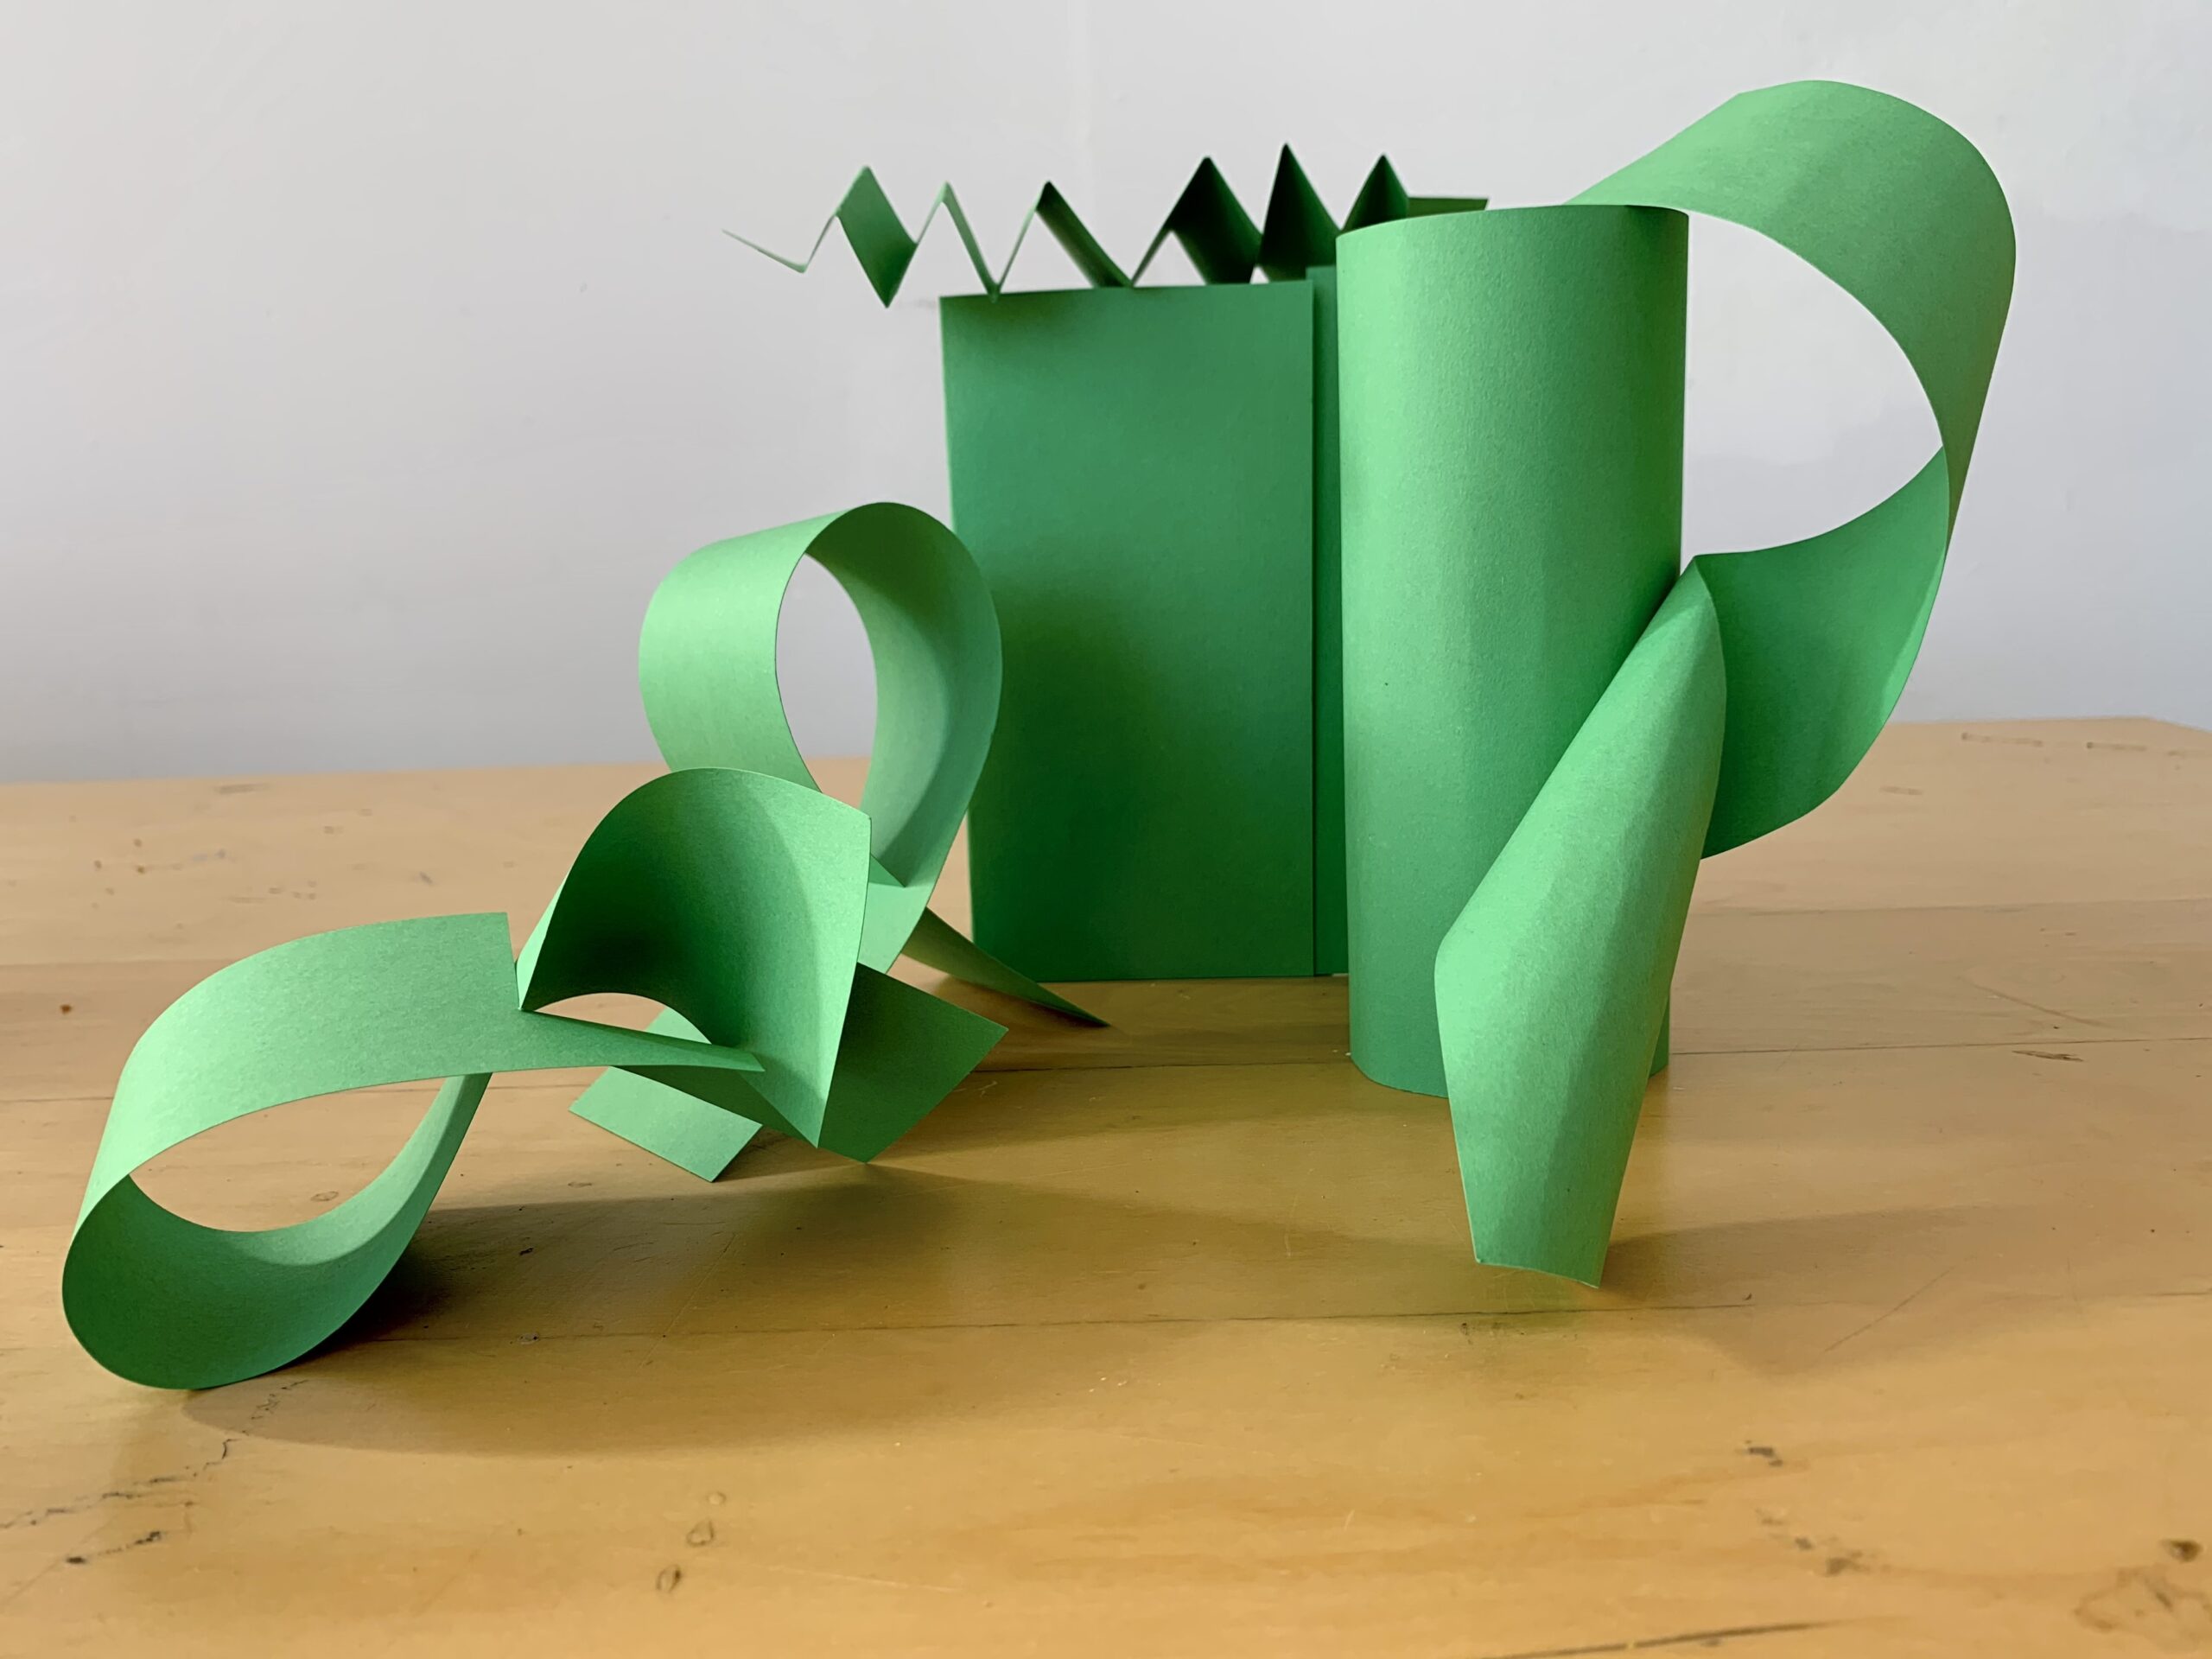
It’s time to build your free-standing sculpture. Student Slide #5 shows how you can arrange a free-standing sculpture by leaning, stacking, and balancing.
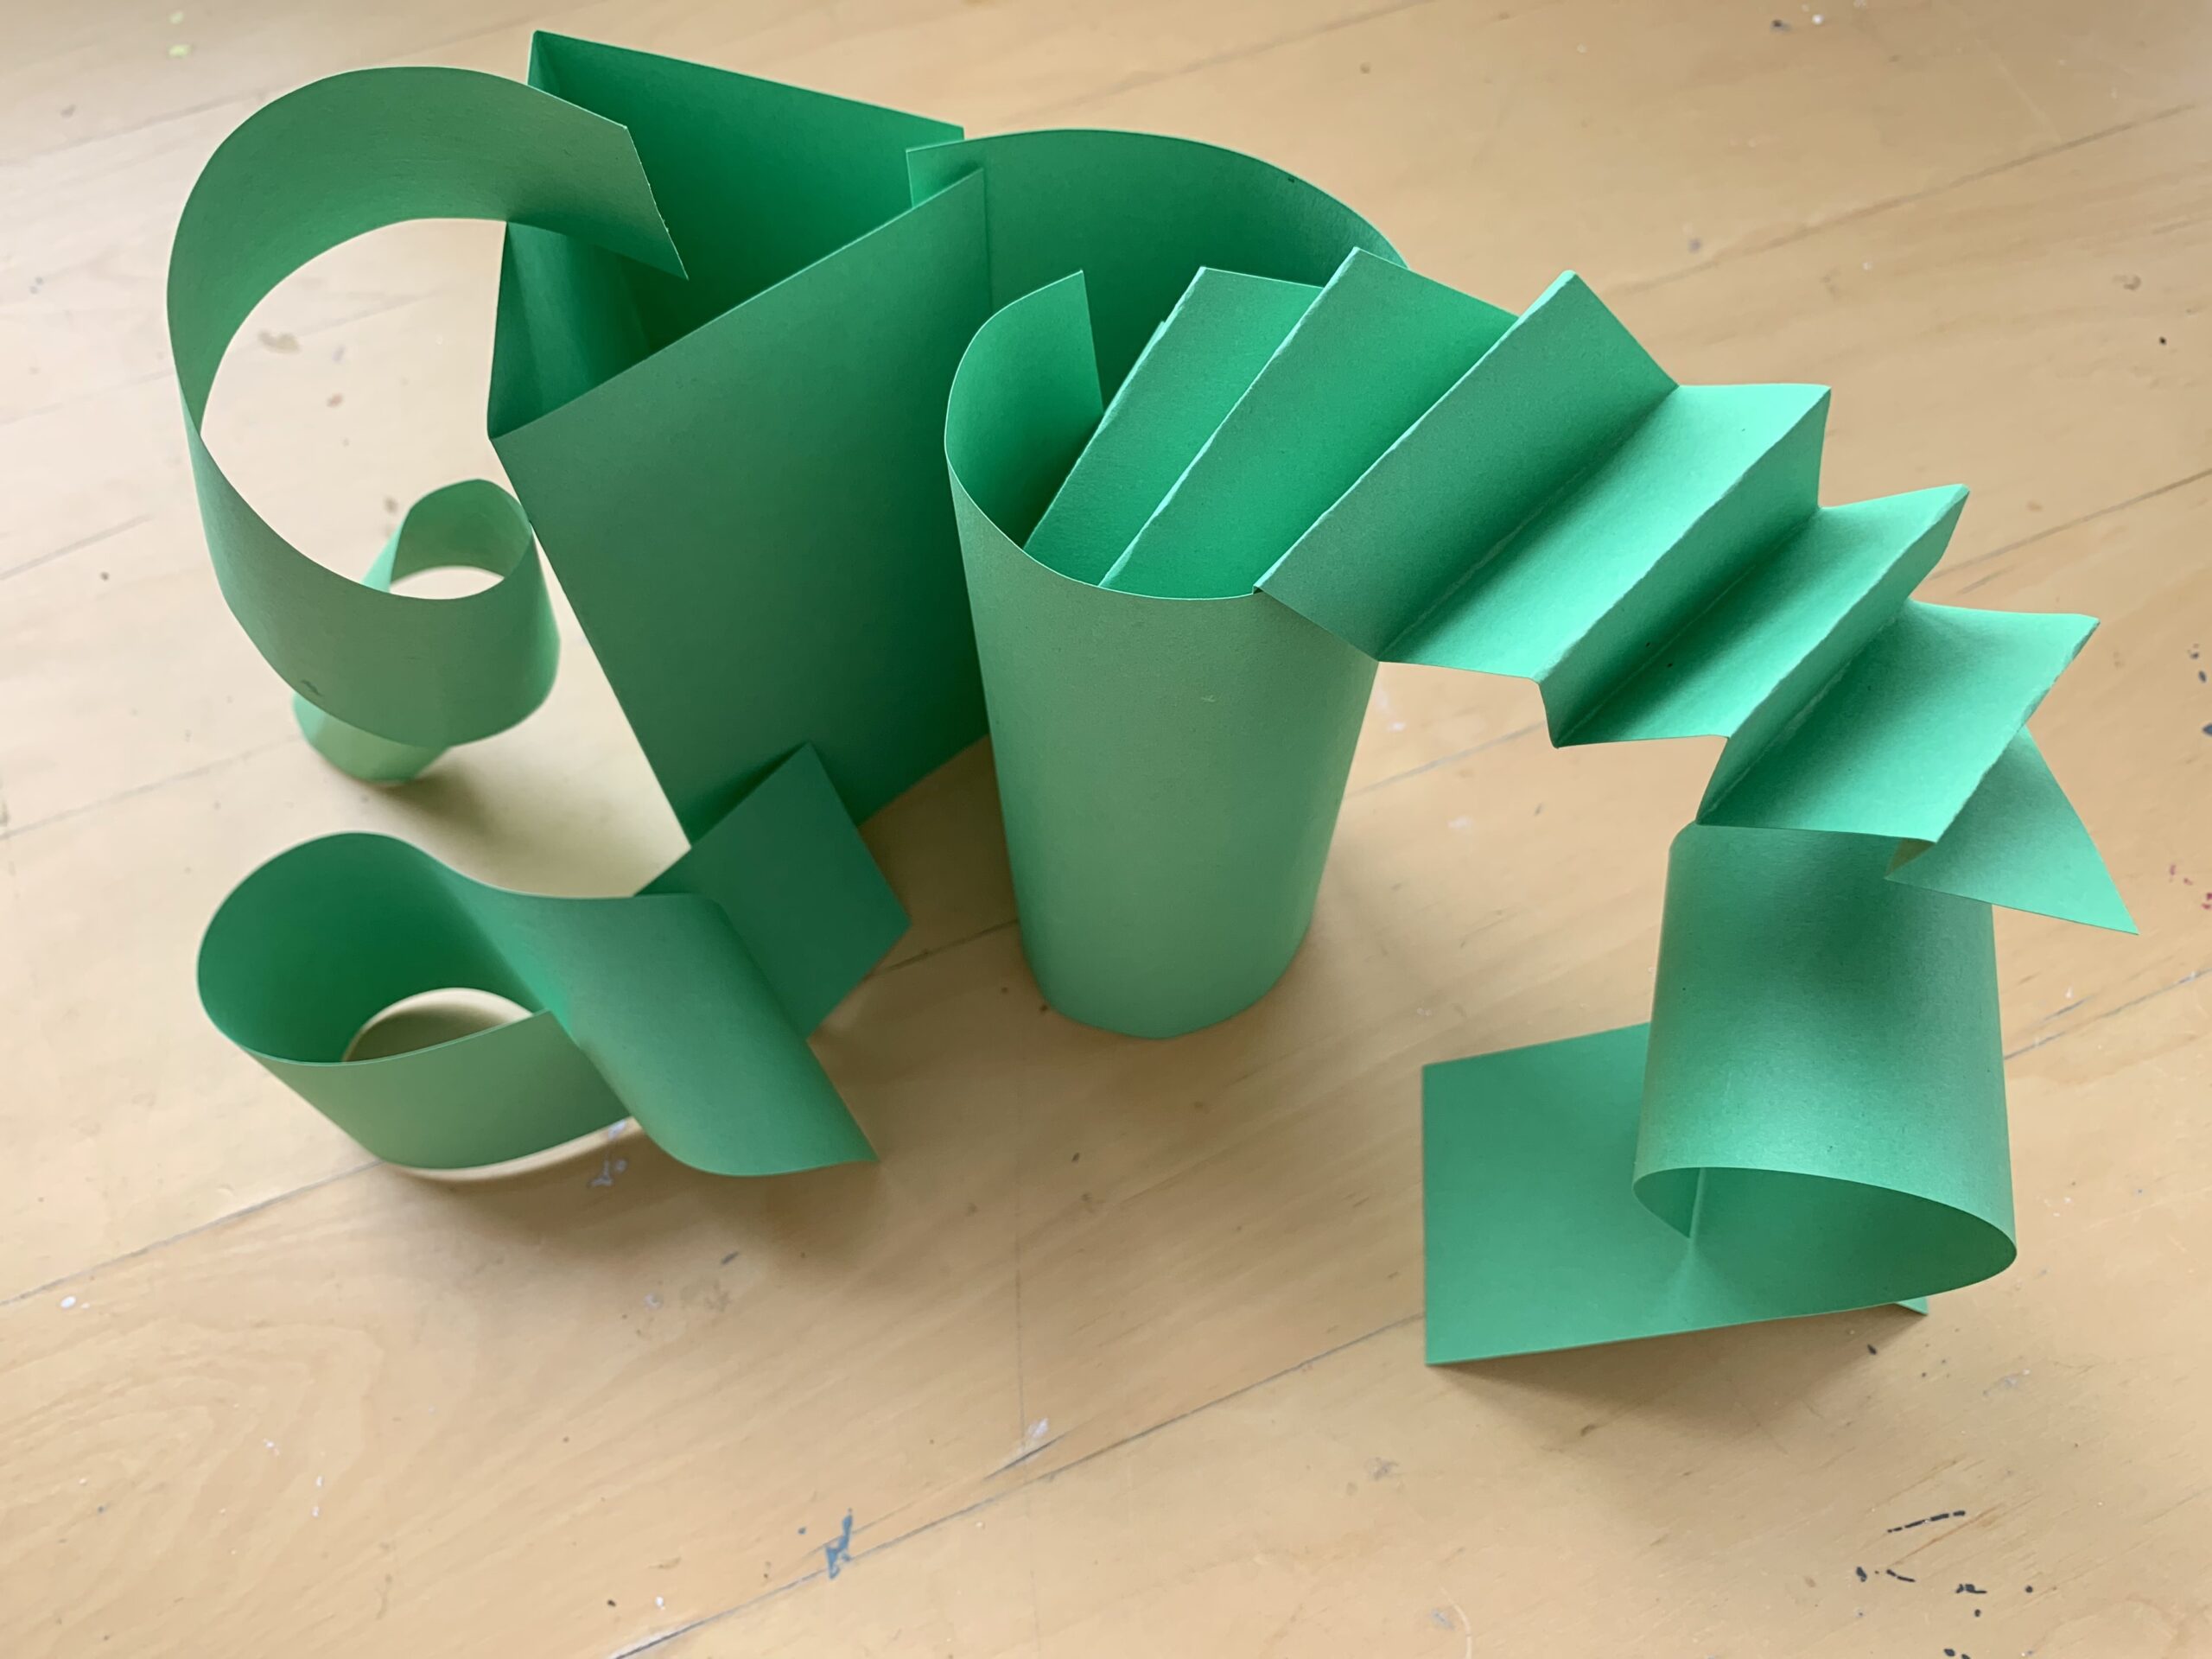
- Which arrangement feels the most stable? Why?
- Which arrangement feels like it could tip over on a windy day? What do you see that makes you say that?
As you play with placing your forms, think about how different arranging techniques can be used to create specific feelings.
Begin arranging your free-standing sculpture in different ways. Remember to try and combine all three techniques: leaning, stacking, and balancing.
As you work on your sculpture, stop and look at it from different sides. Notice how your arrangement feels and looks different depending on your point of view. Look at Student Slide #6 for some inspiration. Take note of the way the artist has used leaning, stacking, and balancing to create their sculpture.
If you have your previously made relief sculpture, look at it next to your free-standing sculpture.
- How are they similar and different?
- Which do you like more?
- What do you see that makes you say that?
- When might you choose to use one type of sculpture over the other? Why?
Step 5: Reflection Questions for Discussion (7-10 minutes)
- How did you change your paper from two to three dimensions?
- How did you make your paper stand?
- How did you build with paper? Which pieces did you balance, lean, stand, or stack?
Vocabulary

Free-standing sculpture
Slot-joint
Lean
Balance
Stand
Stack
Arrange
Form
Resources
Explore imaginary paper structures in the stage sets by the architect Frank Gehry: ArchDaily
Adaptations
For Multilingual Learners
Students can use their hands or bodies to act out vocabulary words: balance, lean, stand, and stack