Overview
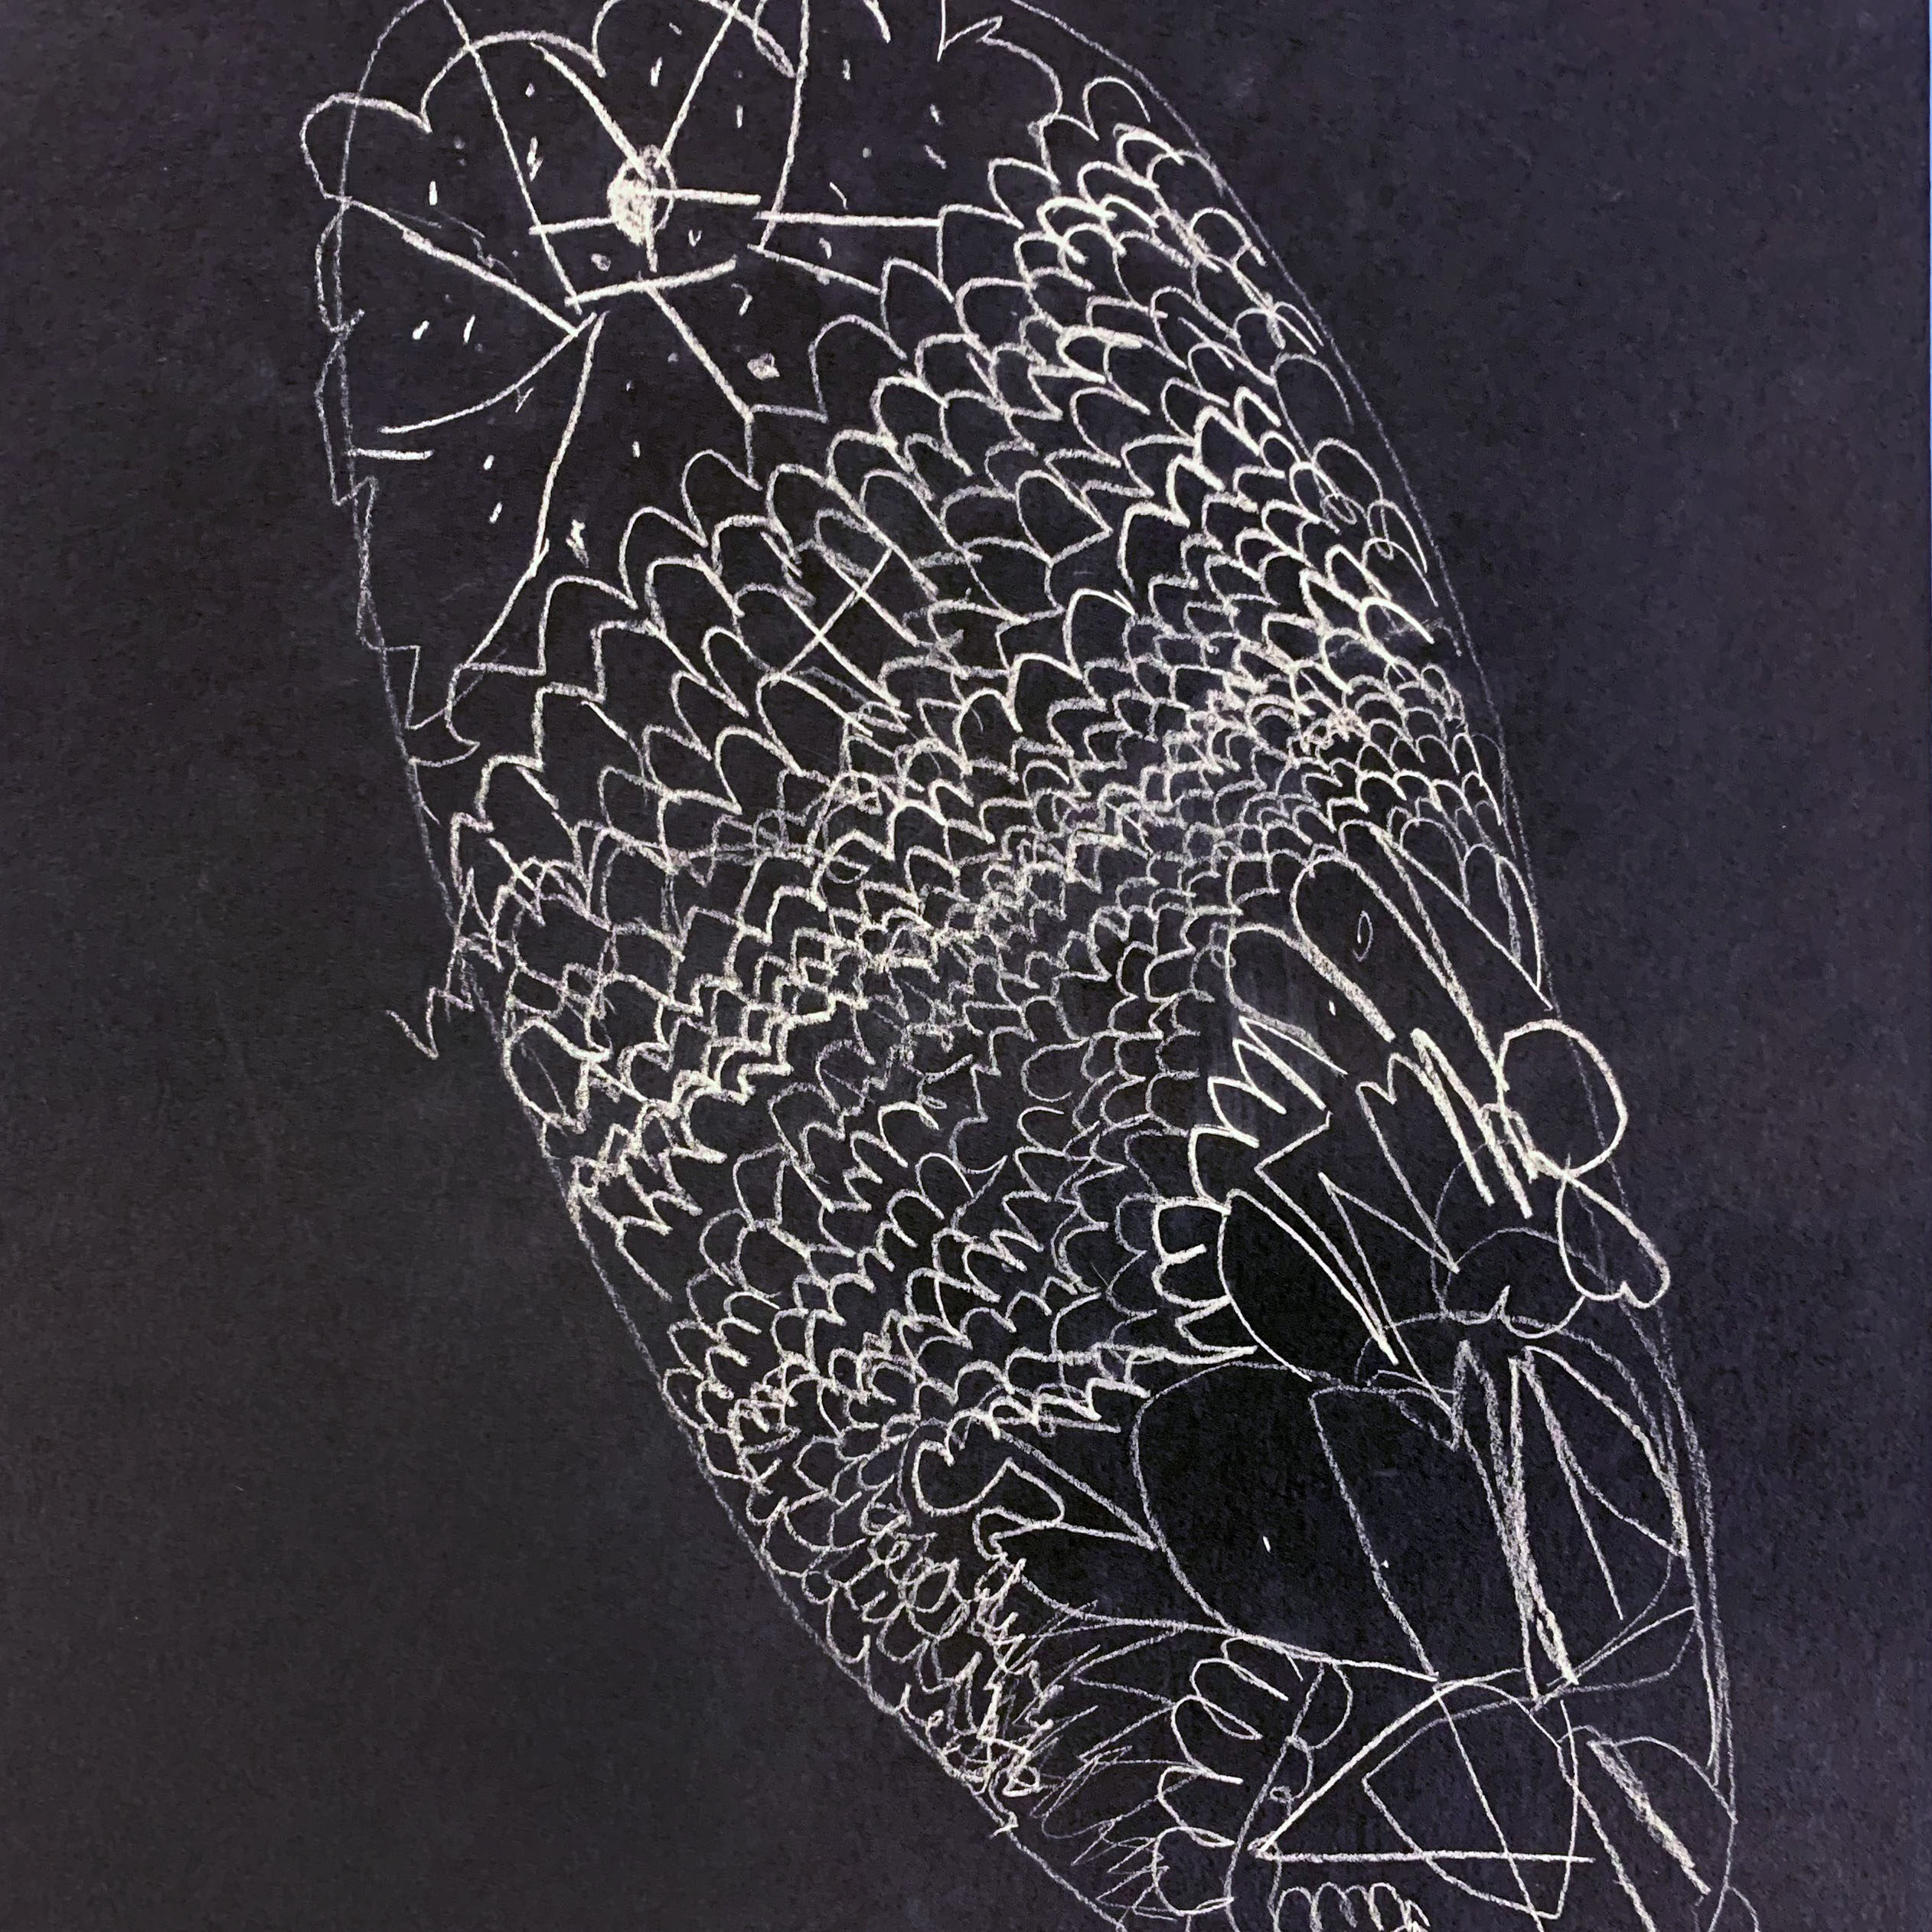
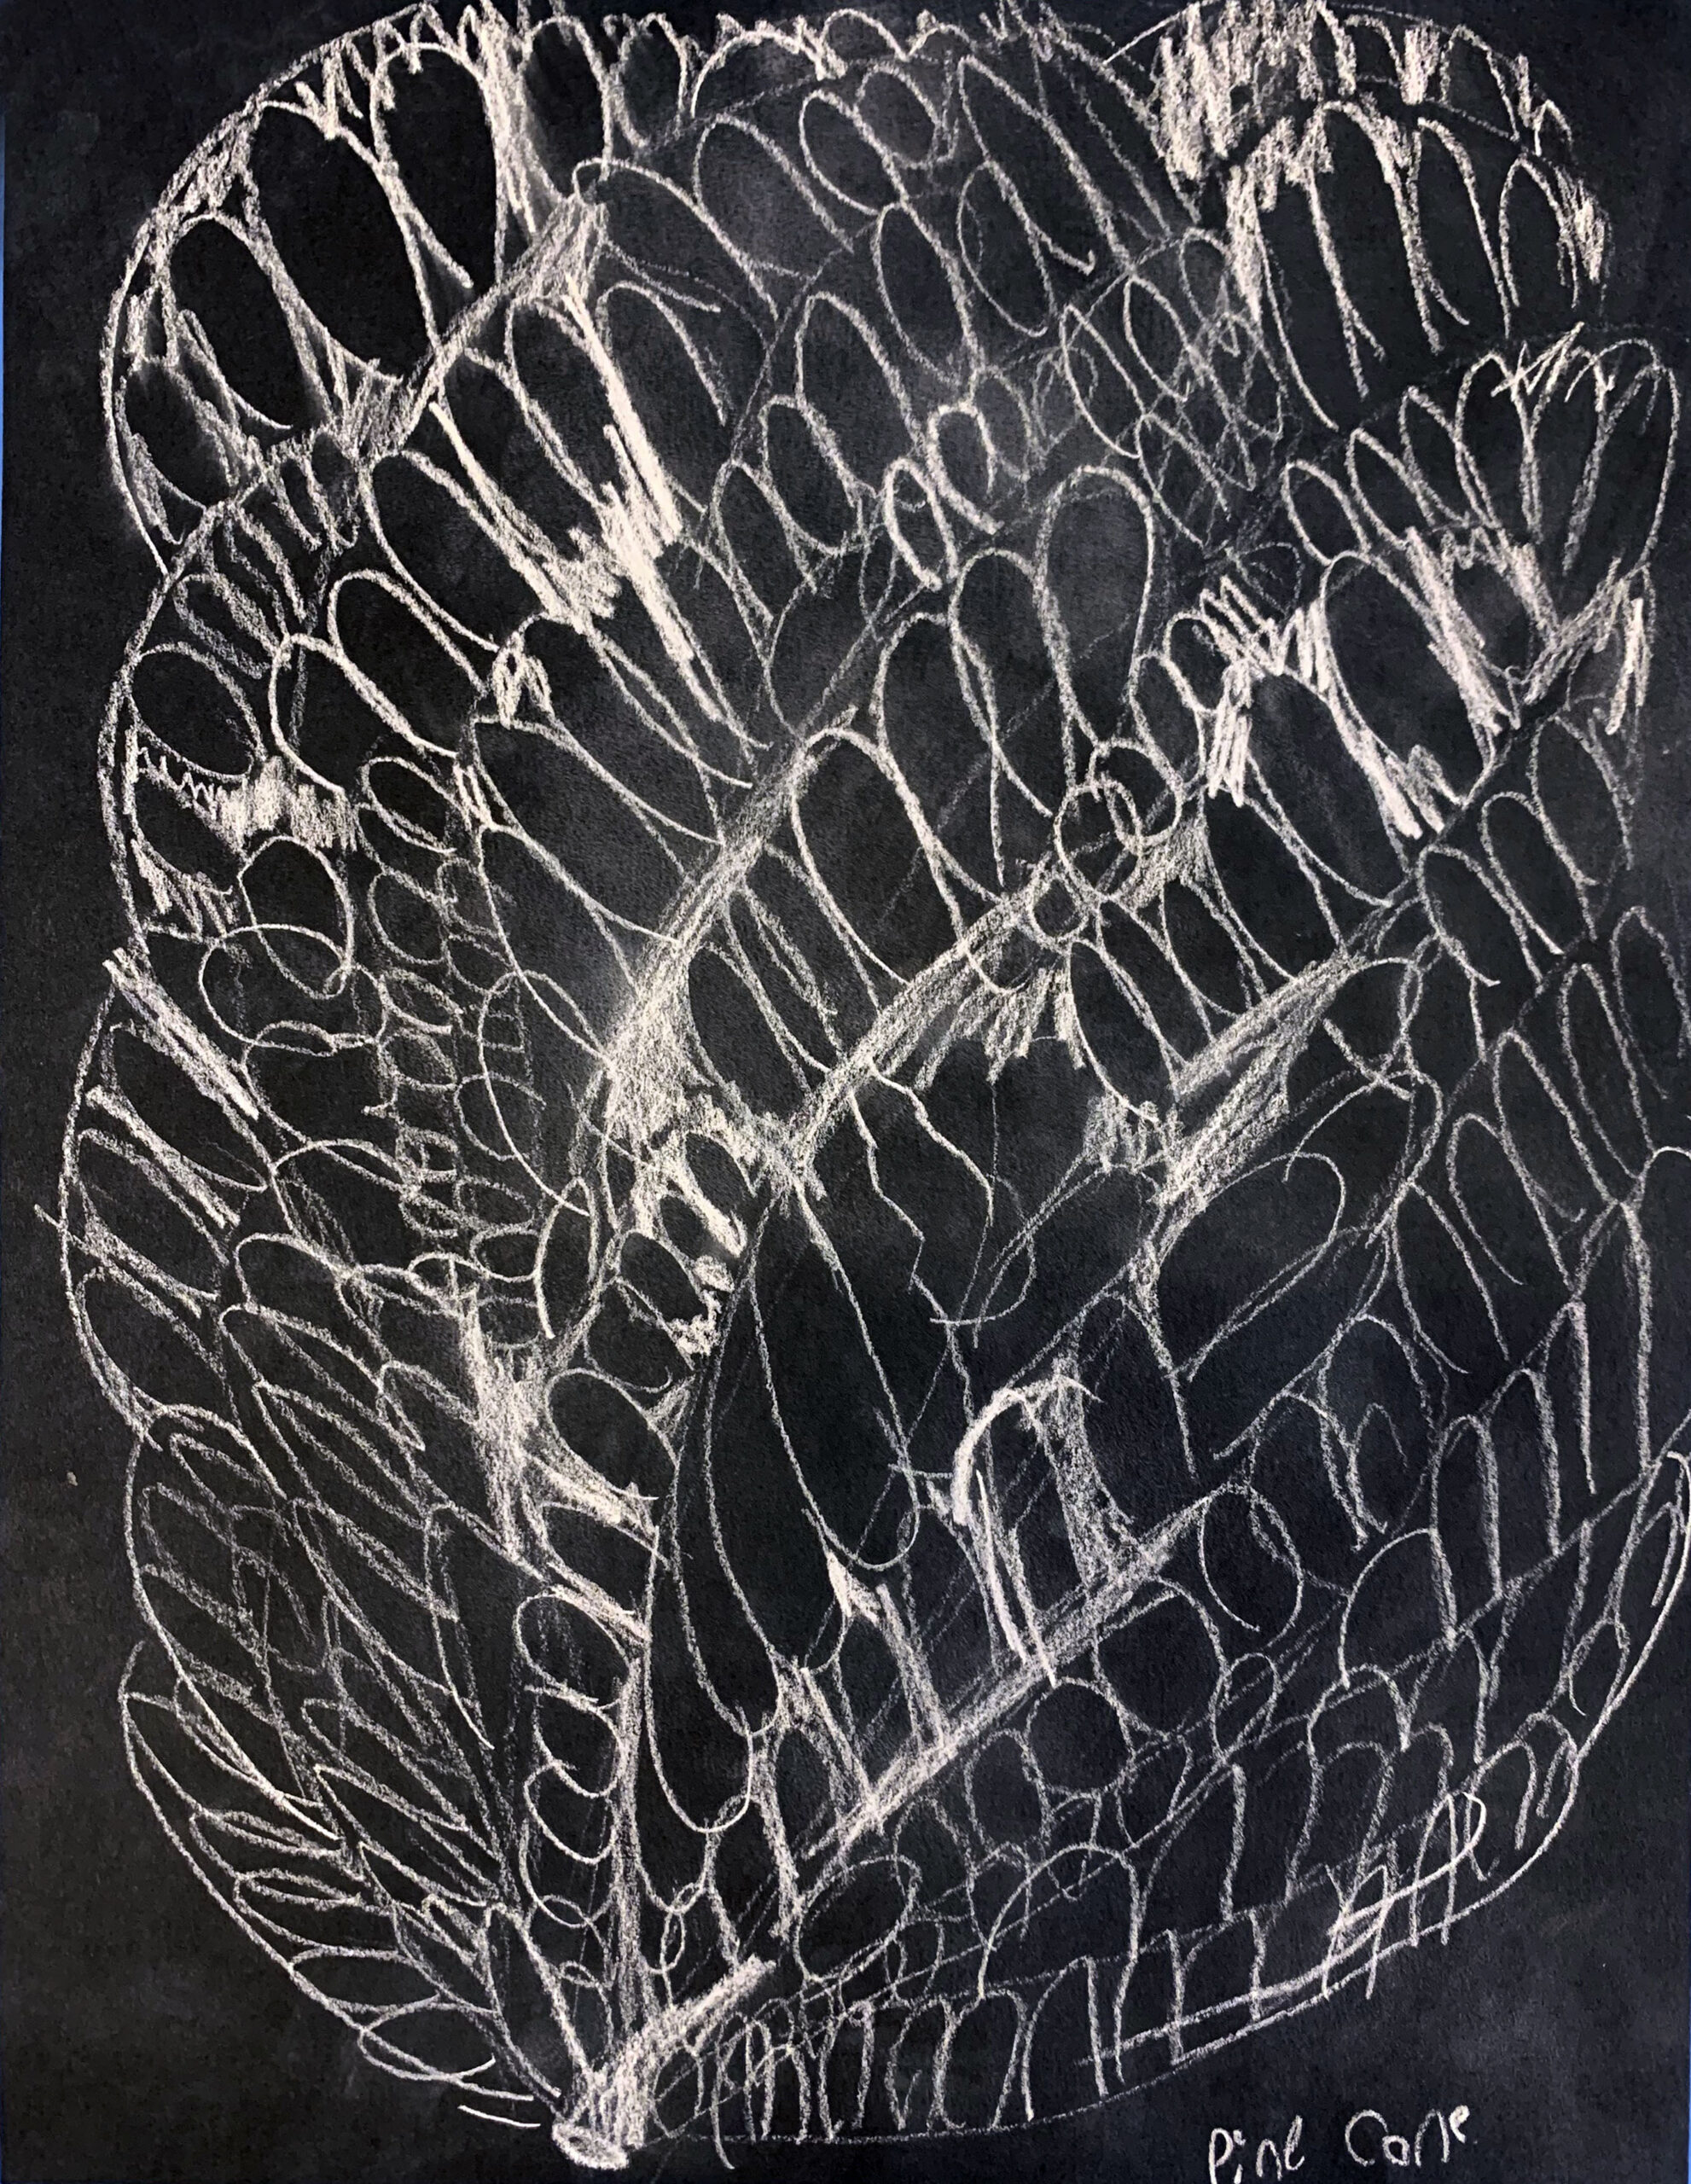
Students will look at natural objects such as pine cones, seed pods, etc. They will use their five senses to describe the objects, notice the lines, shapes, and textures, and make a drawing from observation.
Grade Level
2 & 3
Media
Drawing / Oil Pastels
Theme
Imaginary Plants
Big Idea
Artists are inspired by the world around them.
Essential Question
How is drawing from imagination different than drawing from observation?
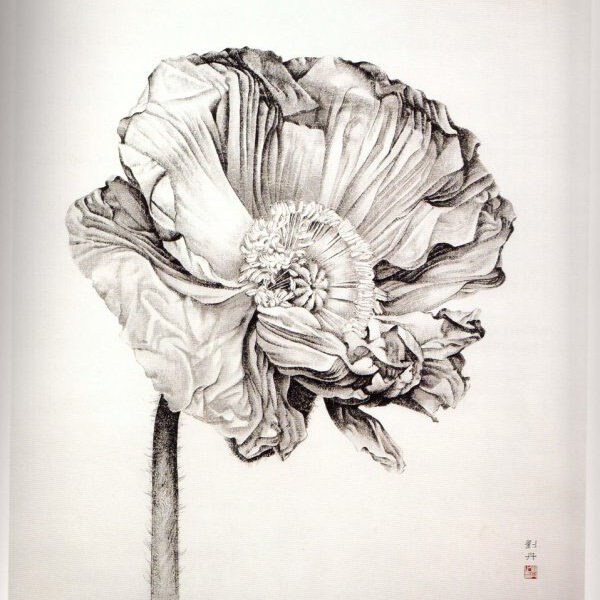
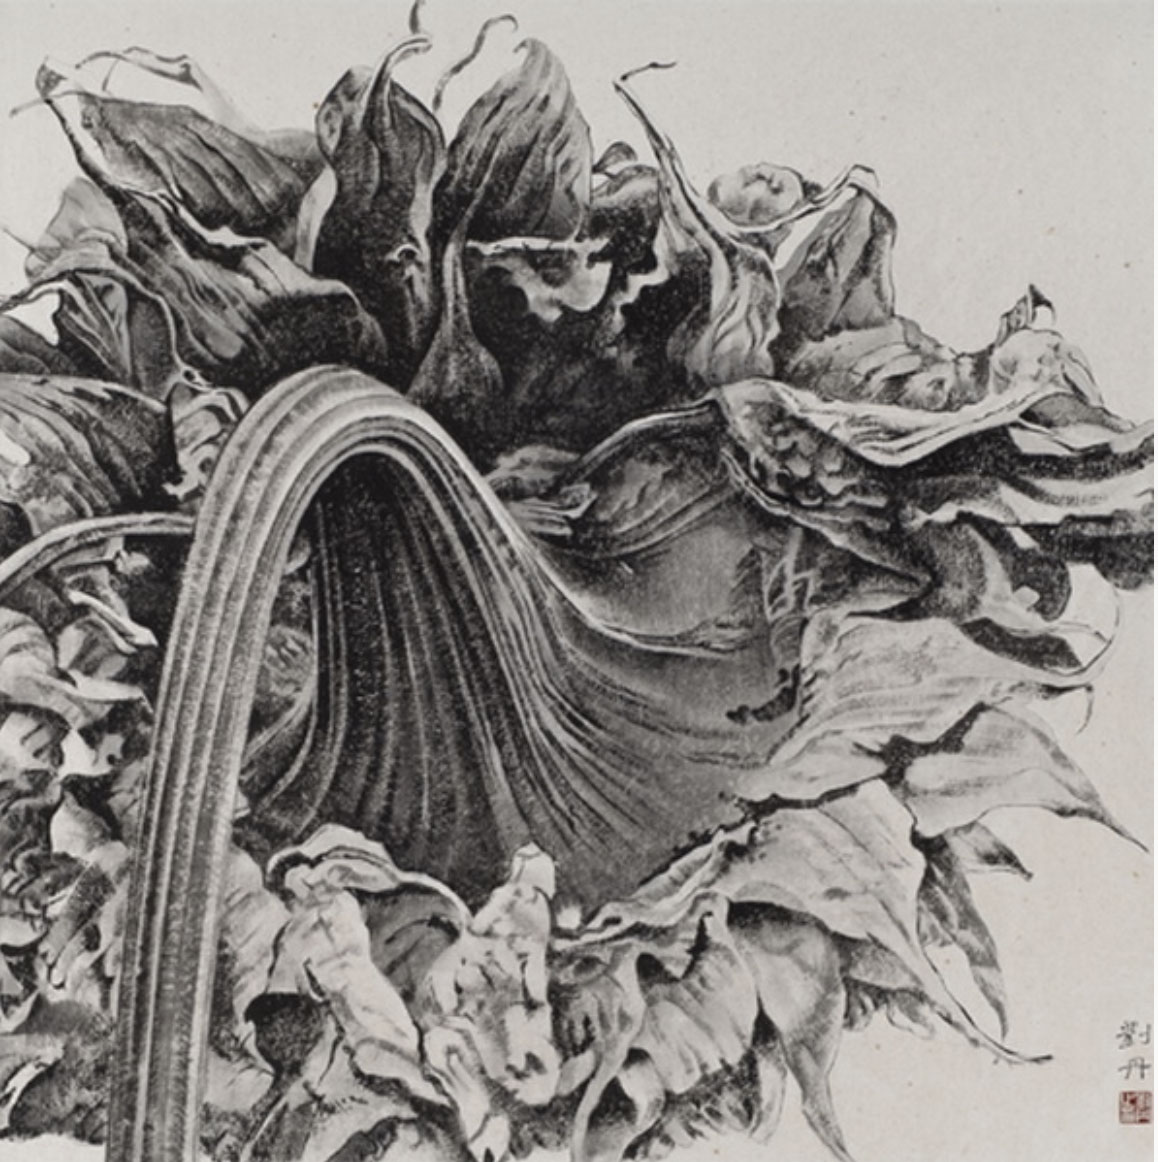
Case Studies
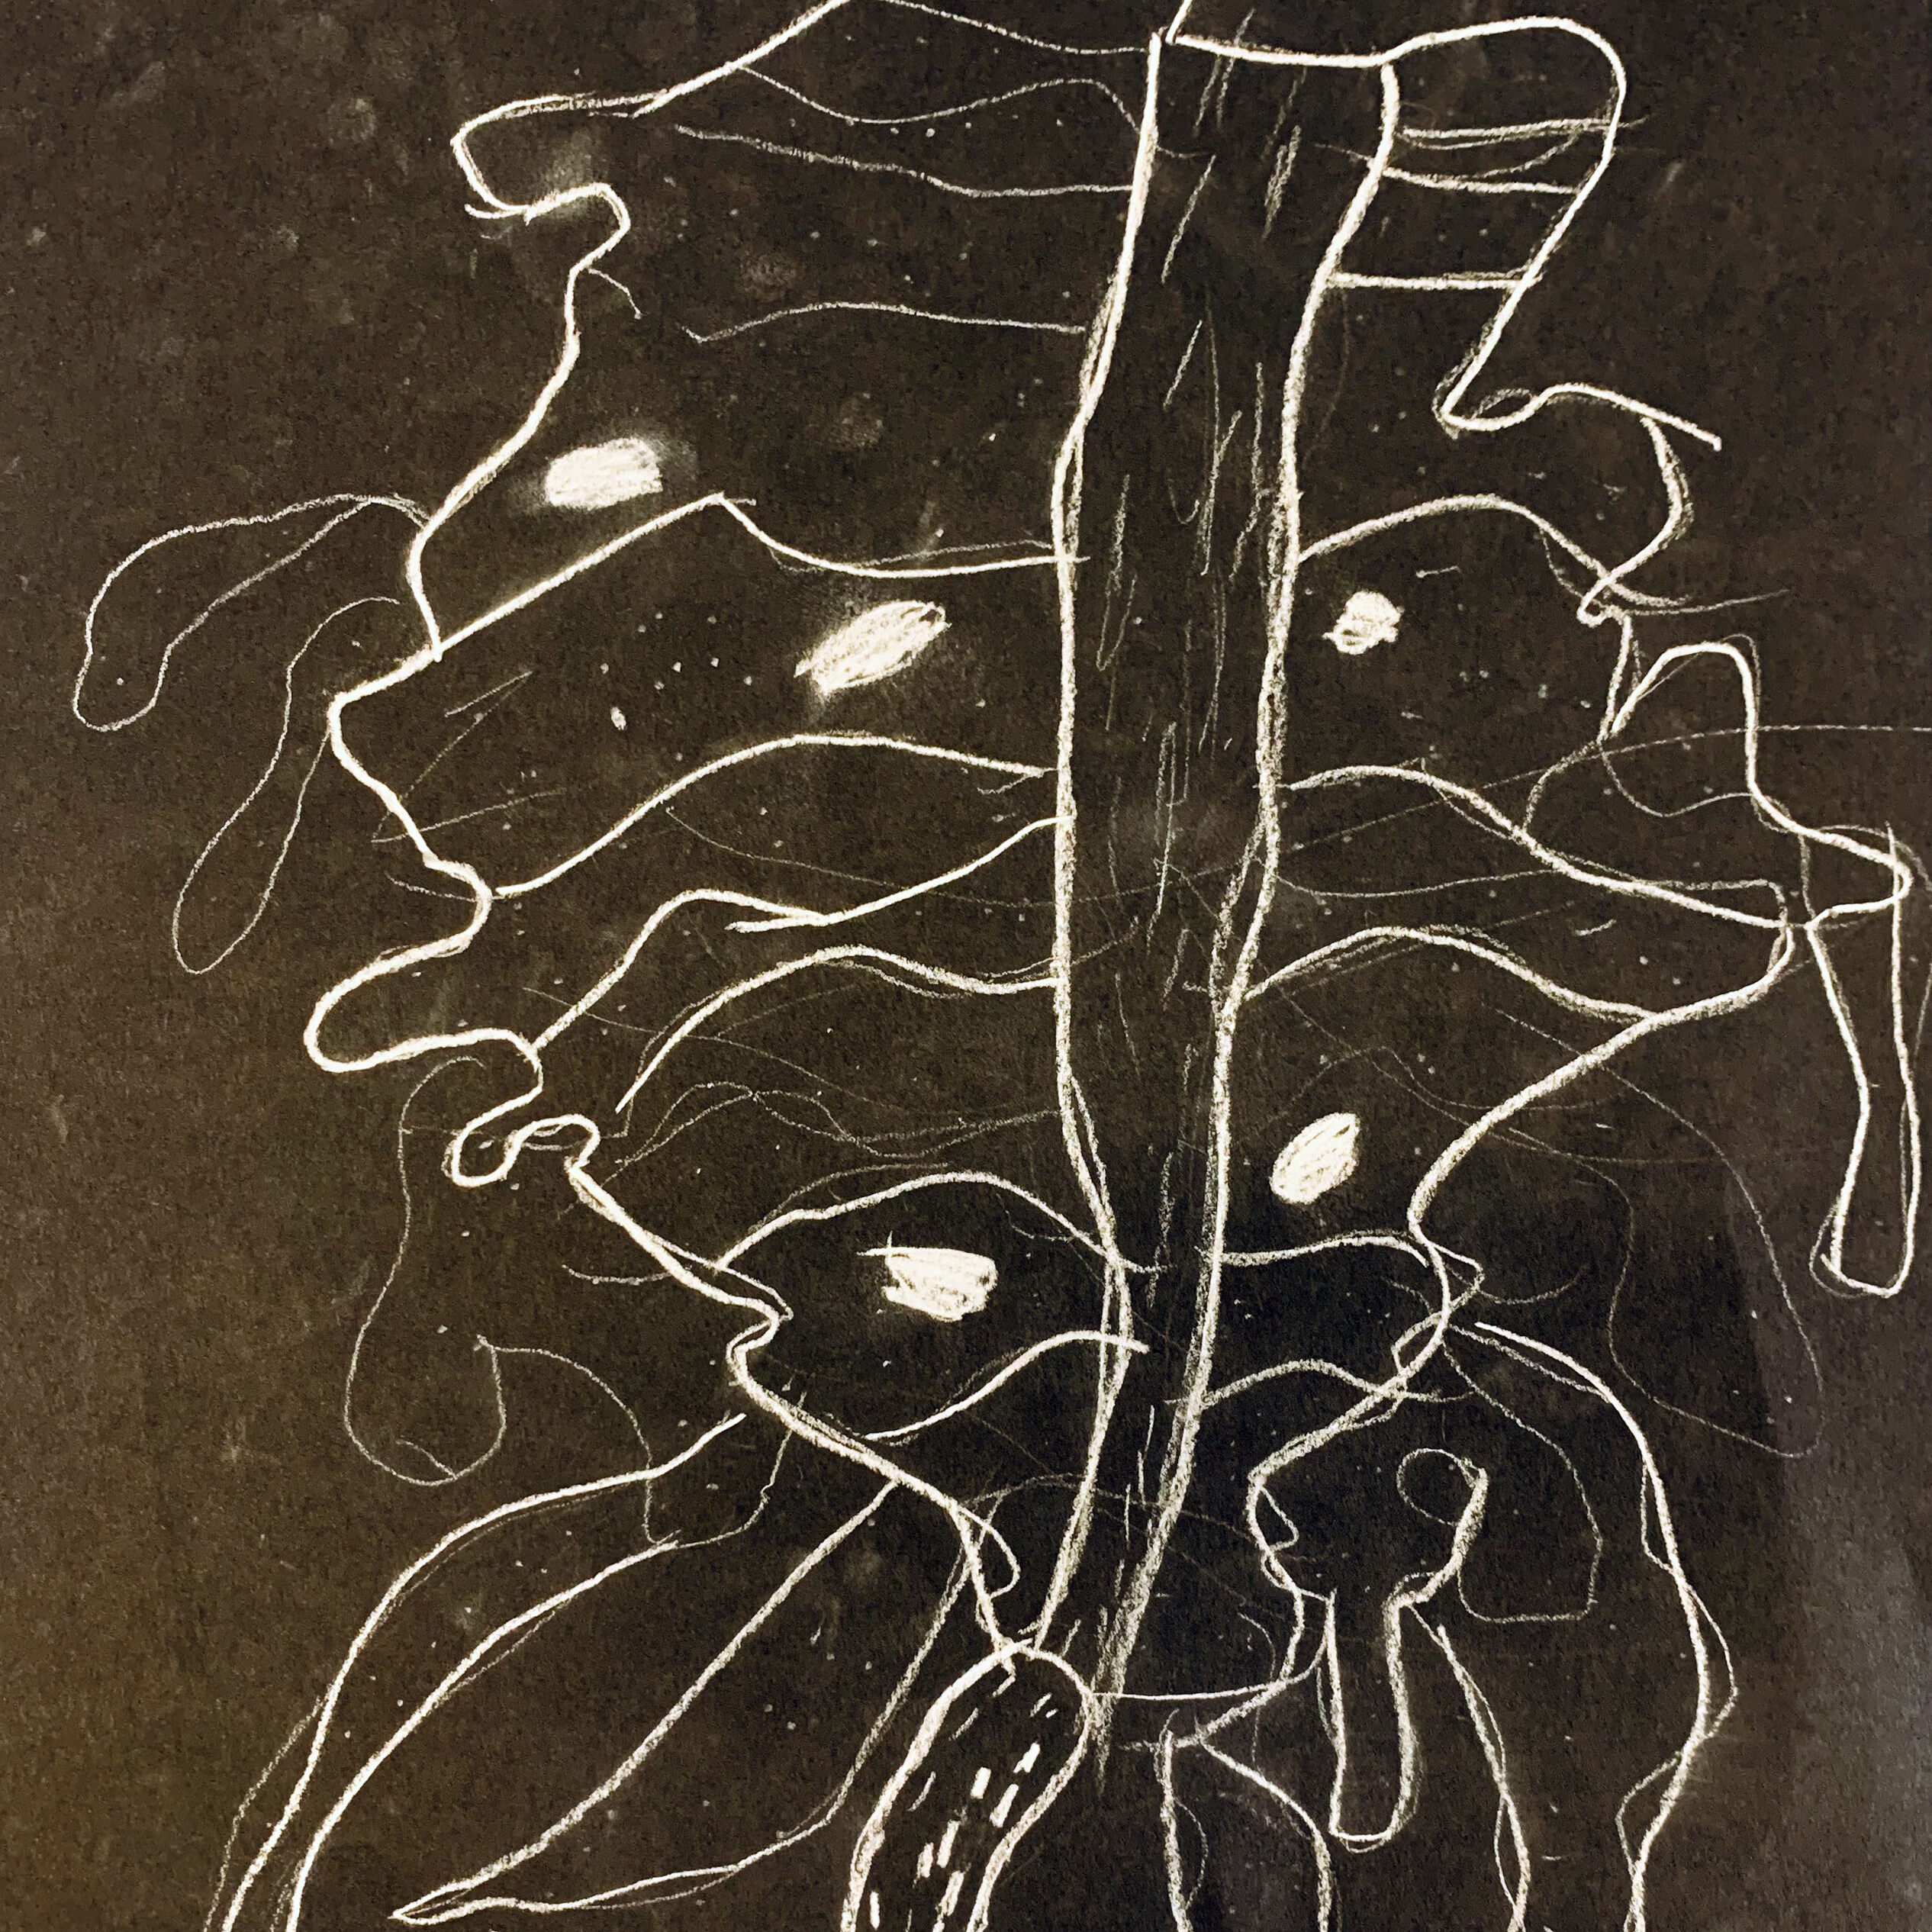
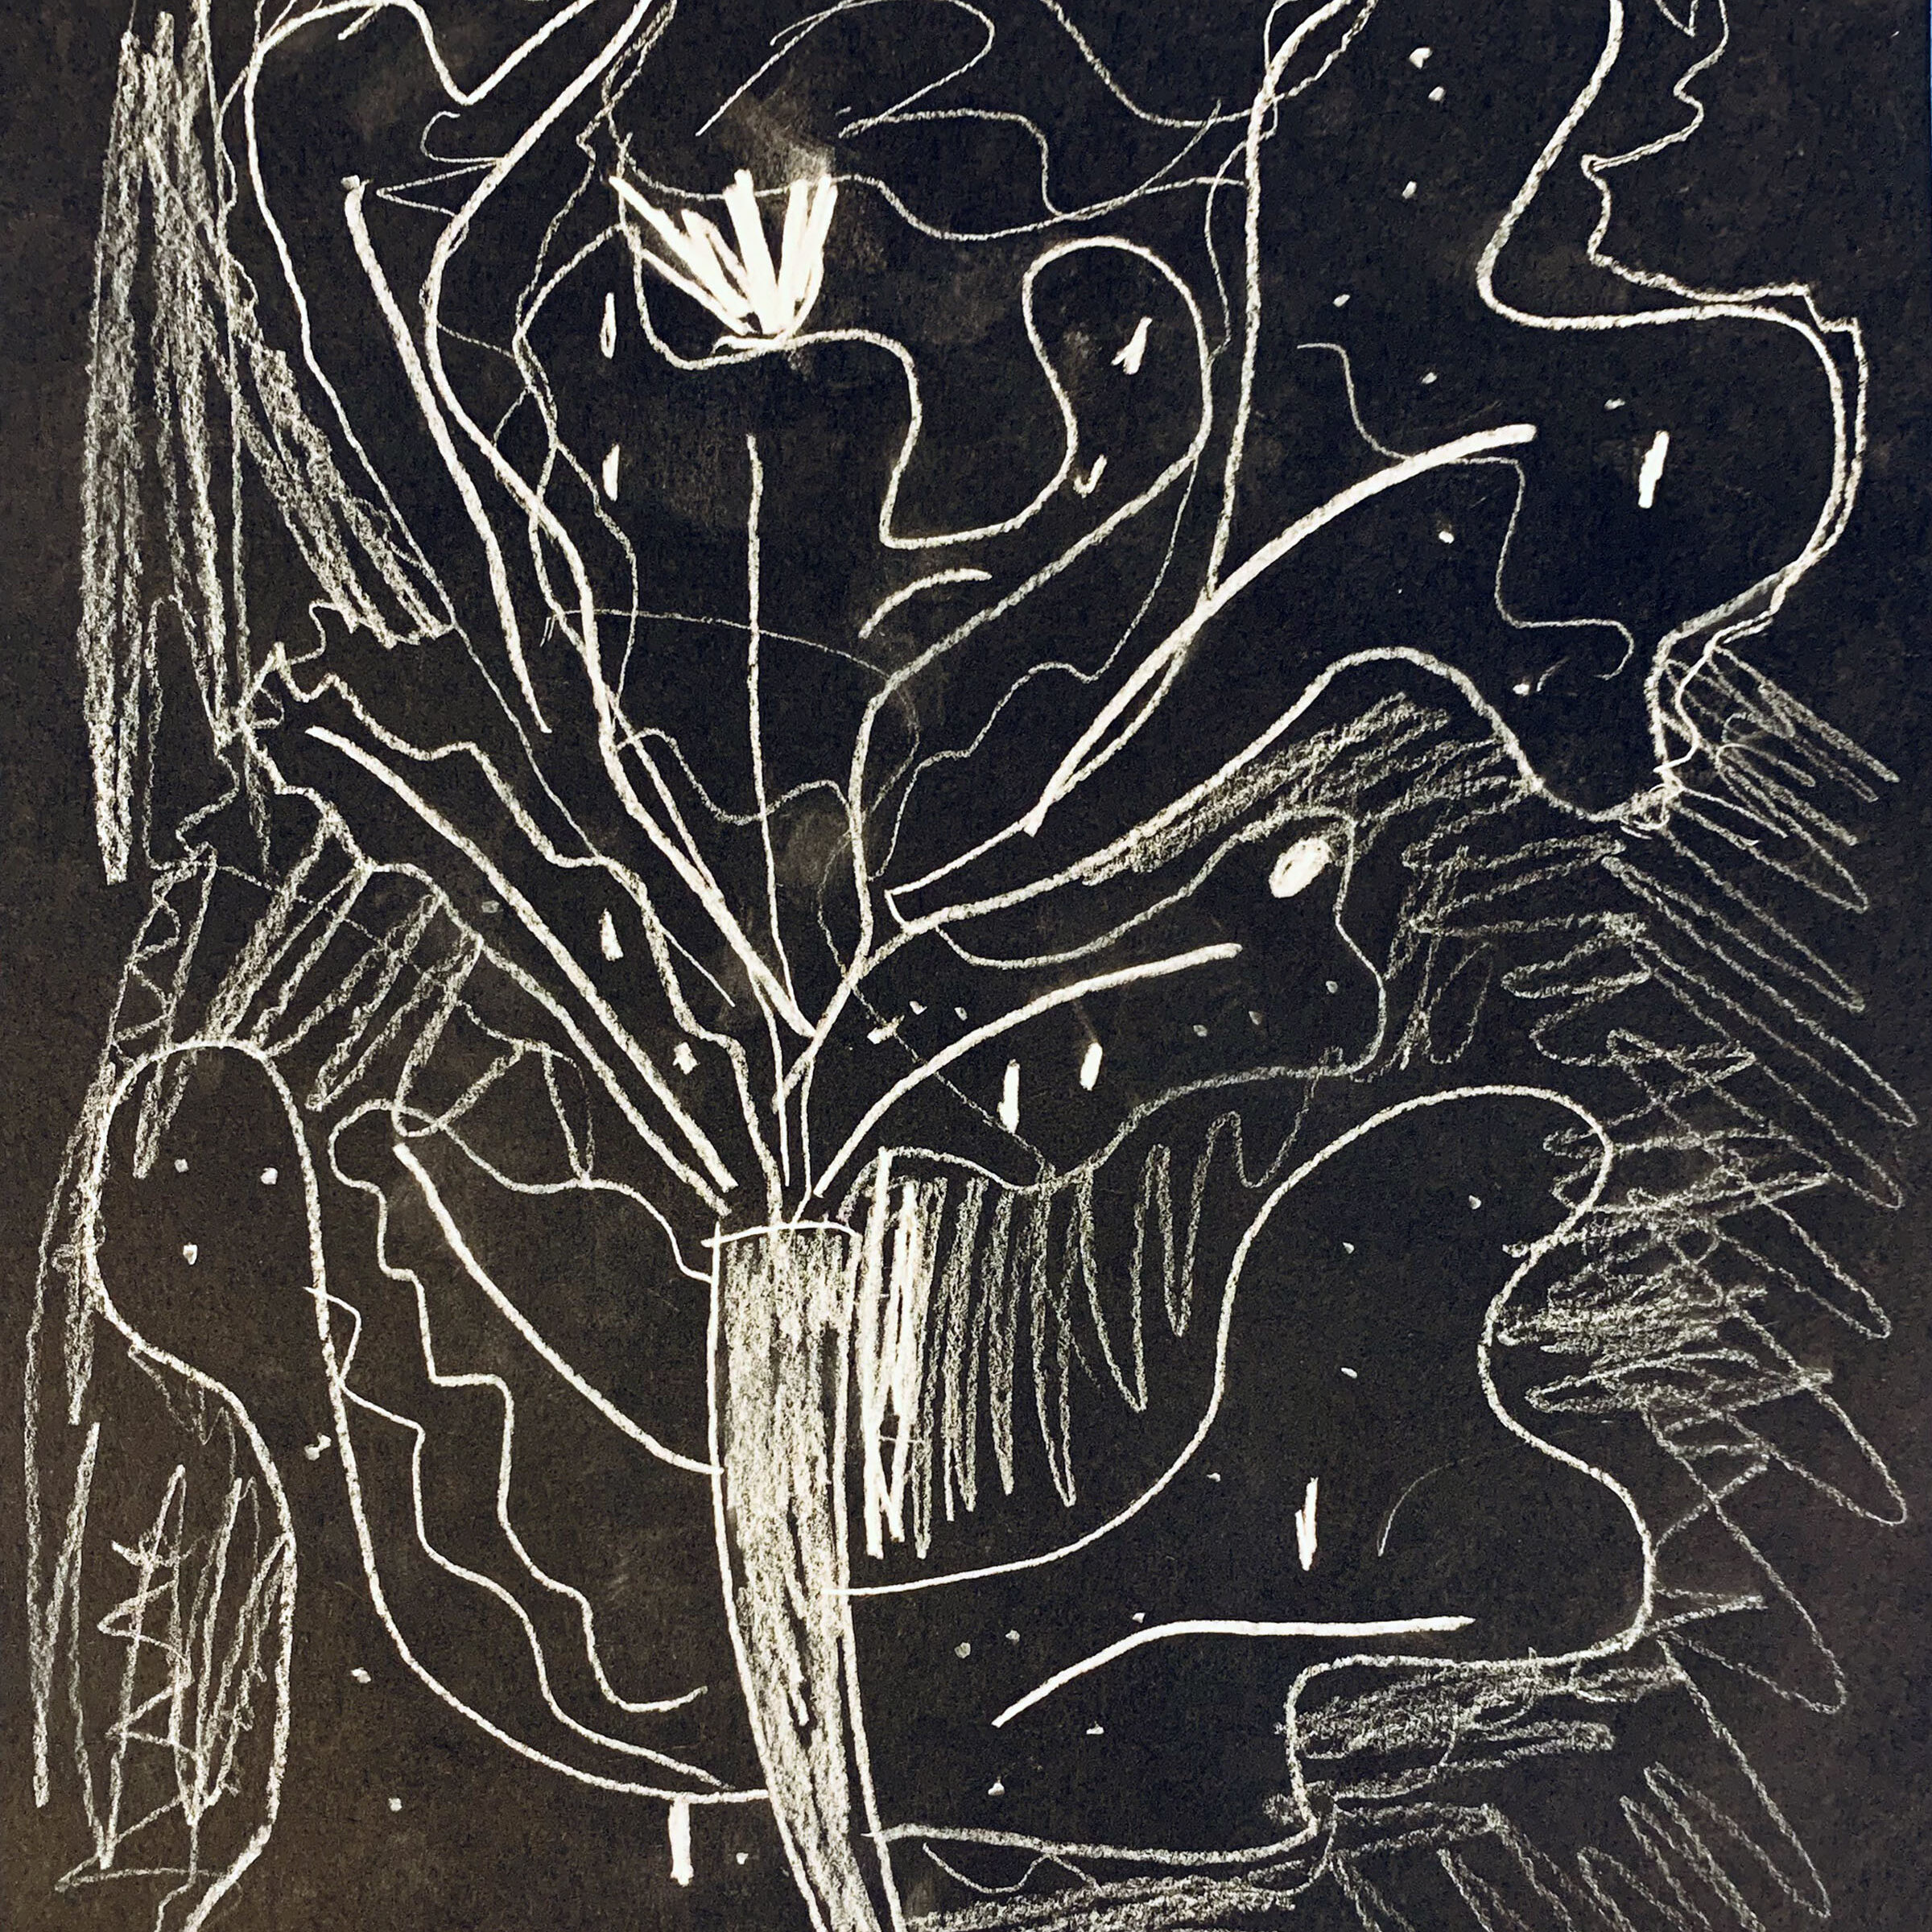

Materials and Tools
- Pine cones, seed pods, and other natural objects
- Blue construction paper
- White charcoal pencils
Step 1
Students will use their five senses to describe natural objects.
Step 2
Students will start by drawing all of the large shapes on their paper first.
Step 3
Students will add smaller details and visual texture to their drawings.
Reflection Questions for Discussion
- What shapes did you notice in your object?
- What lines did you notice?
- What details did you draw?
- What textures did you draw?
Vocabulary
Observation, Nature, Texture, Visual Texture
Resource