Overview
Students will design their own letters as templates for a composition.
Materials and Tools
- Five pieces of paper, at least one white
- Scissors
- Graphite pencil
- Eraser
- Colored pencils and crayons (optional)
- Designing and Cutting Letters video
- Designing Letters student slides
Objectives
- Students will learn about and implement the elements of art and principles of design
- Students will build problem-solving skills through experimentation with composition
- Students will understand that they can express aspects of themselves through their artistic choices
Students will understand that:
- Visual elements of a work of art express ideas
- Color, shape, texture, and line are foundational to design
Students will be able to:
- Create their own typography and use it to express their feelings and ideas
- Use the elements and principles of design to create a visually dynamic and meaningful composition
Activities
Note: The following steps are written with sample language you may use with your students as you go through the lesson. Explain to students that the slides and the video they see during the lesson will be shared with them so they can review the lesson on their own and continue to make more art.
Step 1: Introduction: Close Looking, with Student Slides #1-3 (10 minutes)
In the last lesson we explored how paper choice, shape, and arrangement can convey meaning in a work of art. Today we will be considering how typography, or letter design, can create meaning.
Look at Slide #2. The letter design in each artwork expresses a different mood.
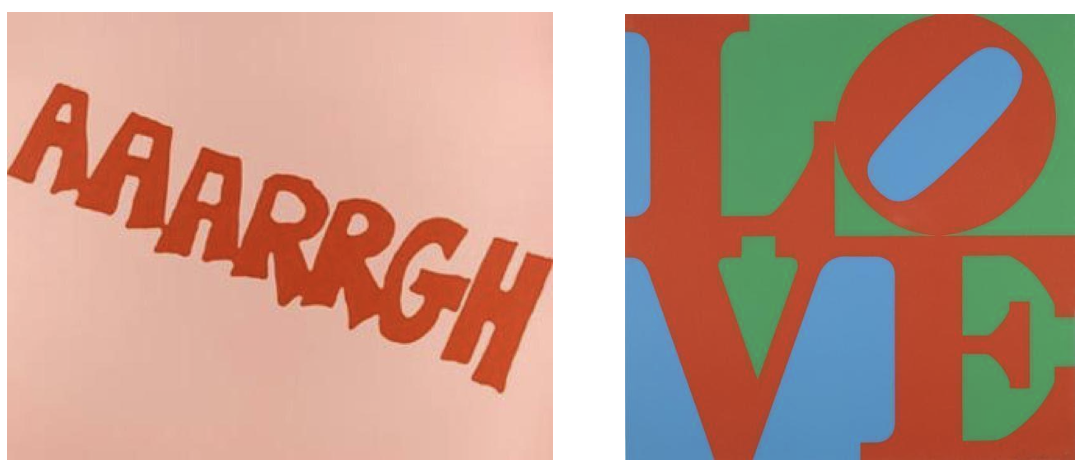
- Which word makes you feel strong and confident?
- Which word makes you feel angry and nervous?
- How does the design of the letters contribute to the above feelings?
Consider how Kass’s work, Being Alive, would be altered if it was written in the same style of letters as Ostendarp’s AAARRGH.

Now that we have observed how letter design can convey meaning, let’s deepen our thinking by answering the question in Slide #2.
Now look at Slide #3 to prepare your materials for today’s activity.
Step 2: Watch Designing and Cutting Letters Video (12 minutes), Choose Word and Plan Letter Design, with Student Slides #4-6 (15 minutes)
Slide #4 will help guide your idea development for today. Read the directions to help you with the process of selecting a word.
Let’s look at Slide #5. Notice how the designers have considered line, line weight, shape, and angle/movement to give the brand names a personality. Next time you look at a brand name on a box or piece of clothing, think about what the design of the letters is communicating. The design of the letter can tell us as much about the brand as the word itself.
Like the artist in Slide #6, you sketch out ideas to explore designing your word in different ways. Remember that the design of your letters will influence what the word communicates. Use the list on the Slide #6 to help you with this process.
Step 3: Drawing and Cutting Design with a Template, with Student Slides #7-9 (20 minutes)
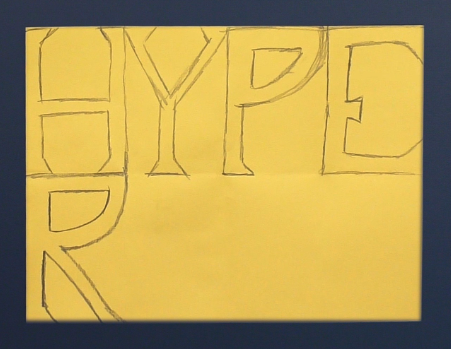
A template is a pattern made of metal, plastic, or paper, used for making consistent copies of a shape. You will be making a template from a single piece of paper to create the letters for your word in a similar shape and size. Begin by reading the directions in Slides #7, #8, and #9 to guide your process. Once you understand the steps, create your letters. As you work, think about why having letters of a consistent shape and size matter.
- How would your letters read differently if they were not the same size and shape?
Step 4: Explore Arranging Letters in Different Ways to Create Different Meanings, with Student Slides #9-10 (10 minutes)
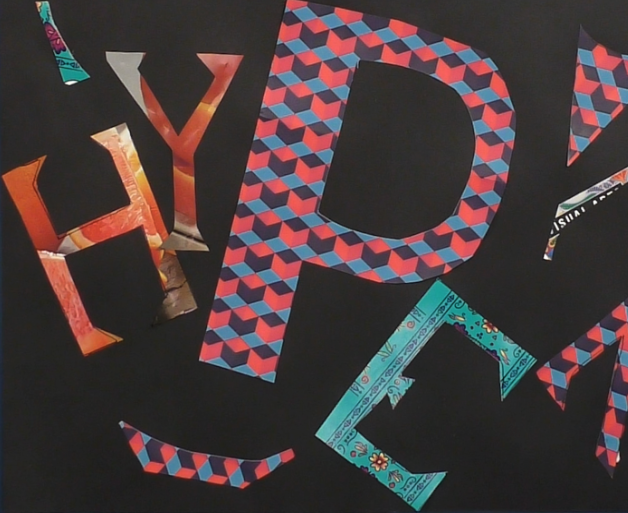
Previously, you explored creating different arrangements with a single shape to express a mood, such as calm or explosive. You will be considering the same idea today using your letters. Look at Student Slide #10. Notice the way the artist has arranged the letters in the word “hyper” to express the mood of the word.
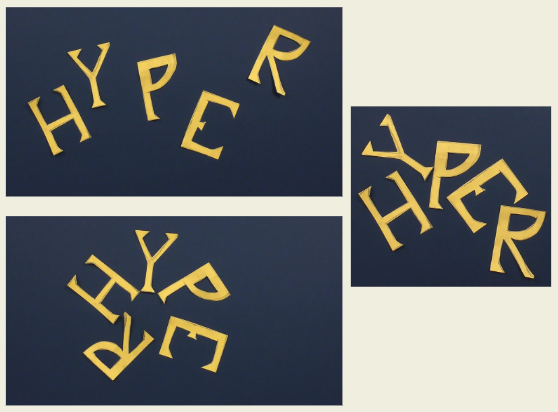
- Which design feels the most hyper?
- How would the feeling of the work change if the letters were arranged in a straight line?
Explore arranging the letters in your word in different ways. As you work, keep the meaning of the word in mind.
Important note: You will be using these letters in the next lesson, so be sure to store them in a safe place such as a folder or notebook.
Extension Activity: Create a Rubbing of Most Interesting Arrangement, with Student Slides #11- 12
To take your work a step further, look at Slides #11 and #12. Consider the following questions as you work:
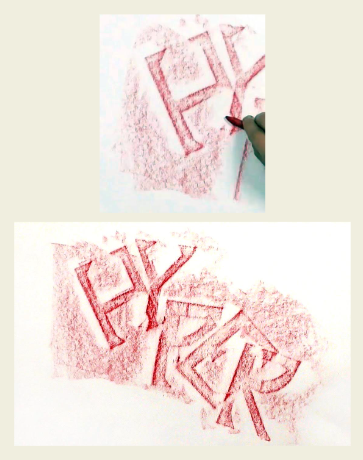
- How does the textural quality of the rubbing add to or change the meaning of the word?
- What new meaning-making possibilities can be explored through rubbing that could not be considered by playing with arrangement alone?
Step 5: Reflection Questions for Discussion (10 minutes)
- What do you think is the difference between writing a word and designing with letters?
- What was most important to you when you created your design with letters?
Close Looking
- What do you notice about how the letters are arranged in these artworks?
- How does the arrangement convey the meaning of the word?
Teaching Extension for Lesson 3
Extend the printmaking portions of the lesson.
Students can make textural collages and rubbings with colored pencils or crayons.
Vocabulary
Typography
Font
Design
Arrangement
Composition
Rubbing
Stencil
Template