Overview
In this lesson, students will experiment with using scissors to cut a variety of geometric and organic shapes and explore arranging them on paper.
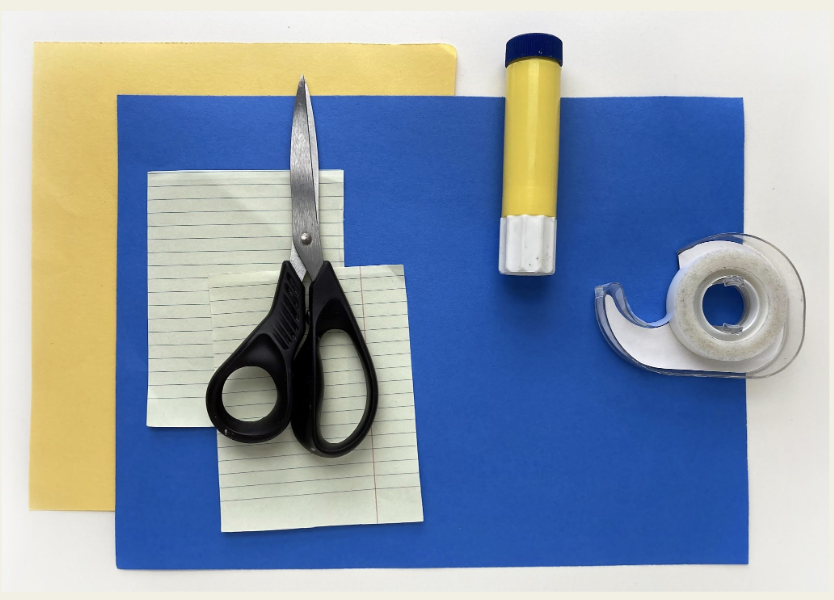
Materials and Tools
- Scissors
- Three sheets of different colored paper—one for background, two to cut
- Glue or tape
- Cutting Shapes video
- Cutting Shapes student slides
Objectives
Students will understand that:
- Scissors are tools that can make more precise shapes for our art
- We can control how we hold and use scissors to make different shapes
- Everything we see in the world around us is made of shapes
Students will be able to:
- Demonstrate use of scissors to cut straight lines and make a variety of geometric shapes
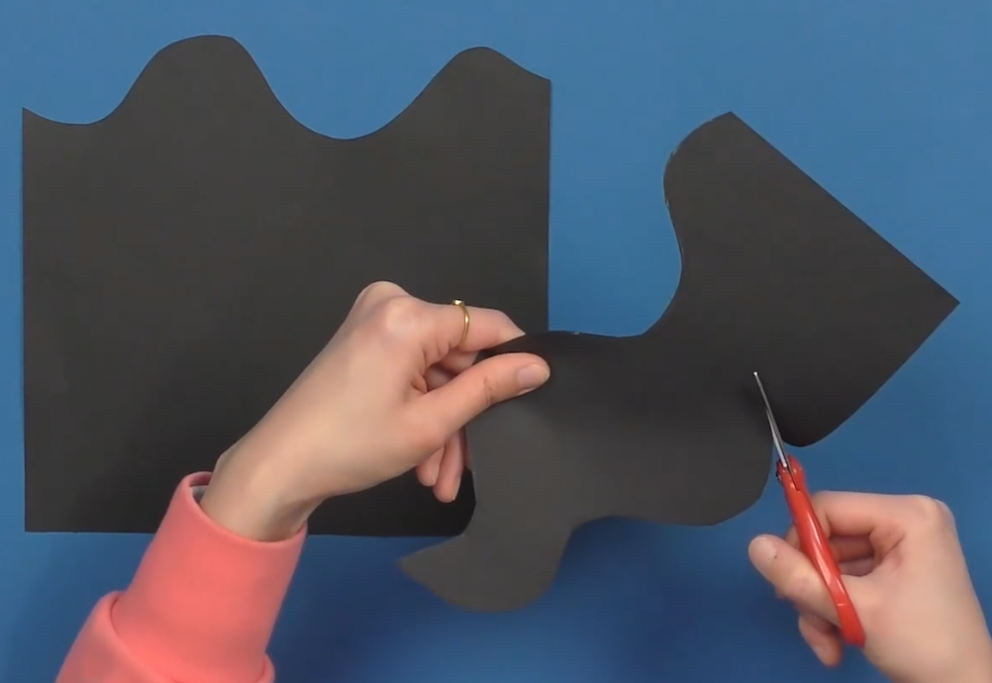
- Cut off corners or turn their paper while cutting to create curved and organic shapes
- Identify and create two to three different types of arrangements with their shapes
Activities
Note: The following steps are written with sample language you may use with your students as you go through the lesson. Explain to students that the slides and the video they see during the lesson will be shared with them so they can review the lesson on their own and continue to make more art.
Step 1: Introduction/View Cutting Shapes Video (16 minutes)
Welcome back, artists. In our previous lesson, we learned how to use our hands as a tool to tear shapes.
- What is something important to keep in mind when we are tearing shapes like artists?
Today we will explore using scissors to create shapes. Watch the Cutting Shapes video to learn how to cut shapes like an artist.
Step 2: Cutting Shapes, with Student Slides #3-4 (10 minutes)
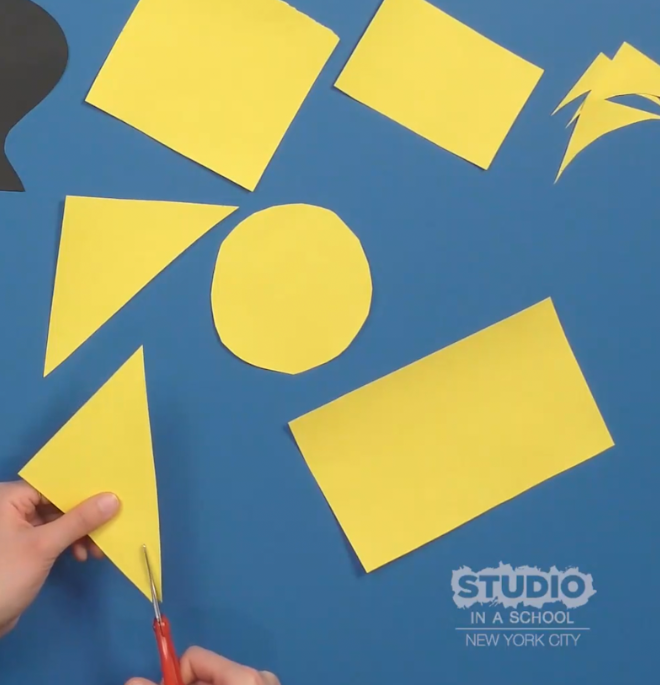
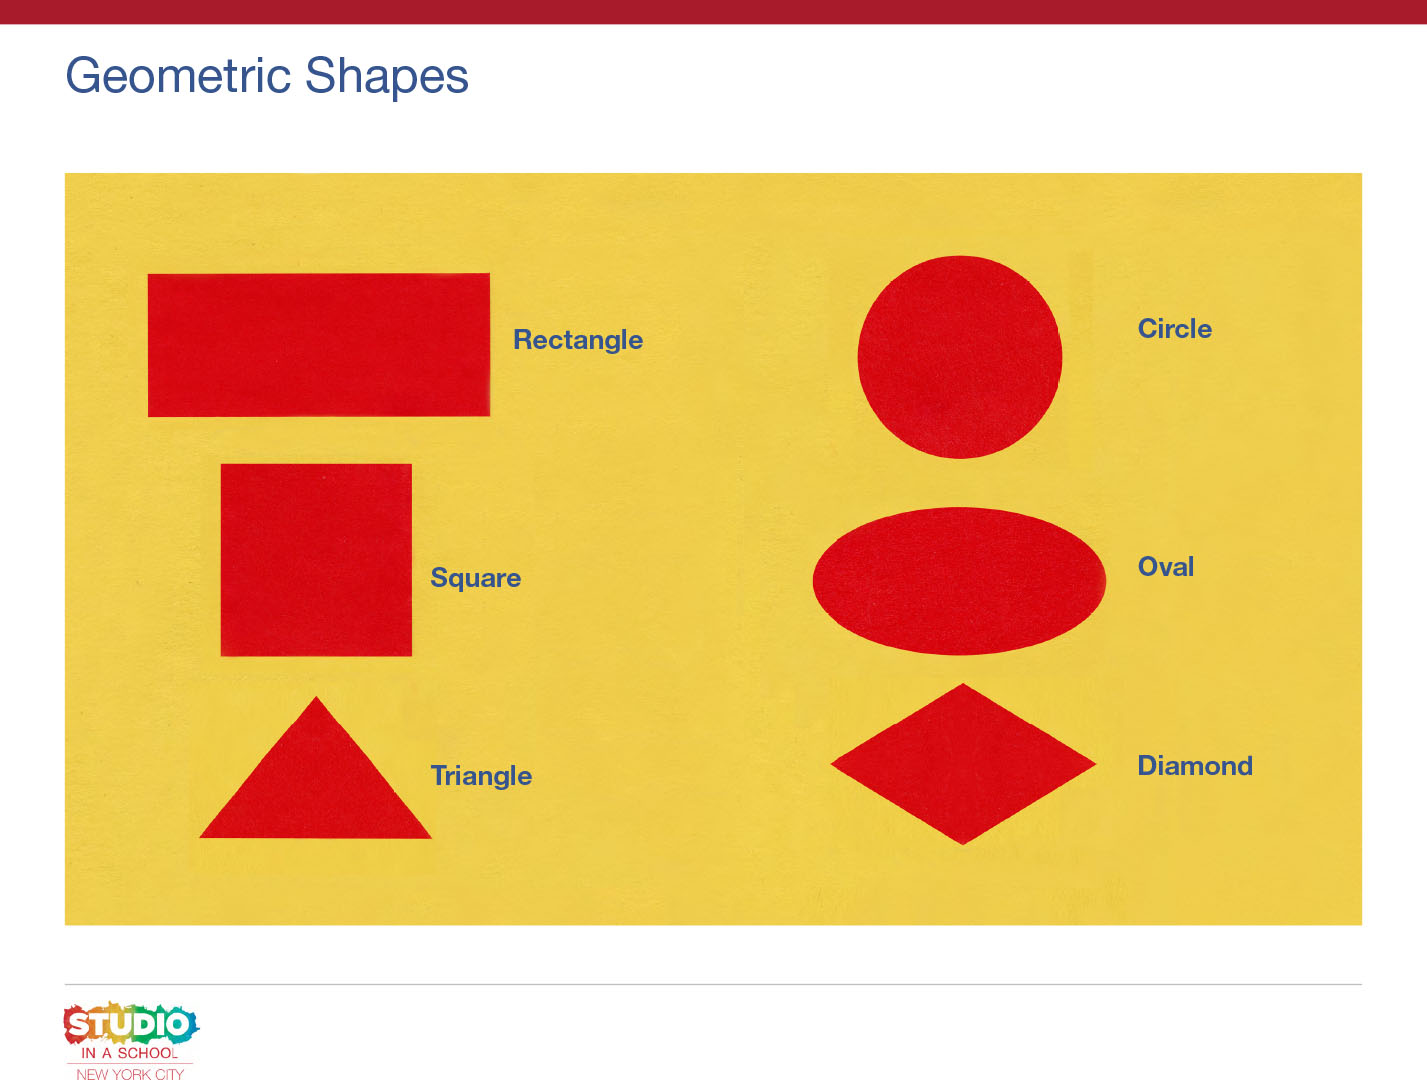
Let’s look at Slide #3.
- How are geometric shapes similar to and different from organic shapes?
- What do you see that makes you say that?
Keep these differences in mind when you are cutting your shapes.
Look at Slide #4.
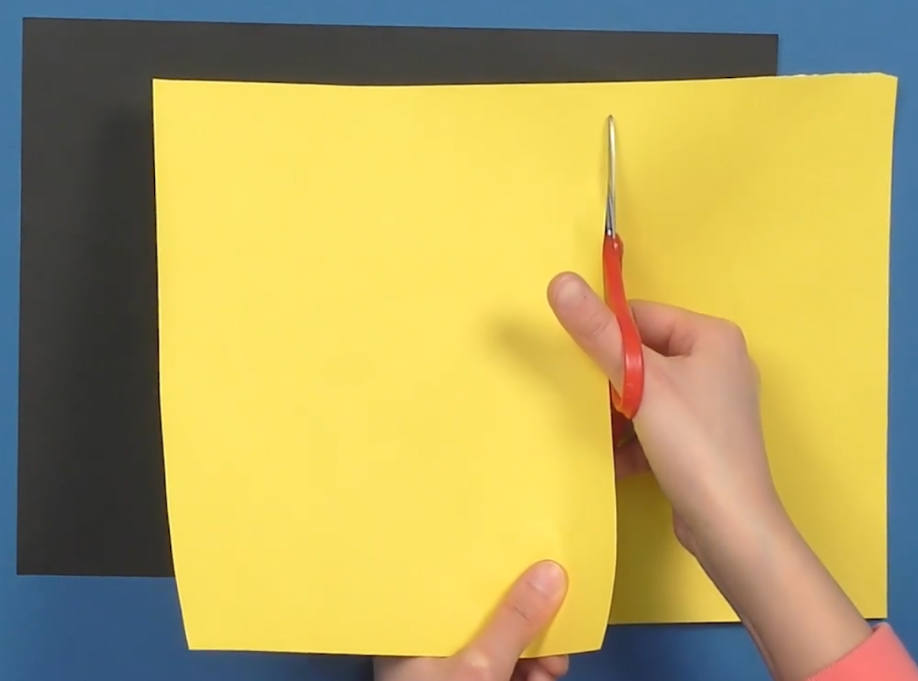
- What do you notice about the way the artist is holding her scissors?
- How many fingers does she have in the smaller hole of the scissor’s handle?
- Why do you suppose it’s important that we have the correct number of fingers in each handle hole?
Take a moment to check your scissor hold. Is your hand comfortable? If the scissor is wiggling or feels too tight, this may be a sign that you need to change the number of fingers you have in each hole. Just like tearing, cutting requires control of your hands and fingers. Be sure to set yourself up for success by checking the way you hold your tool before you begin cutting your shapes.
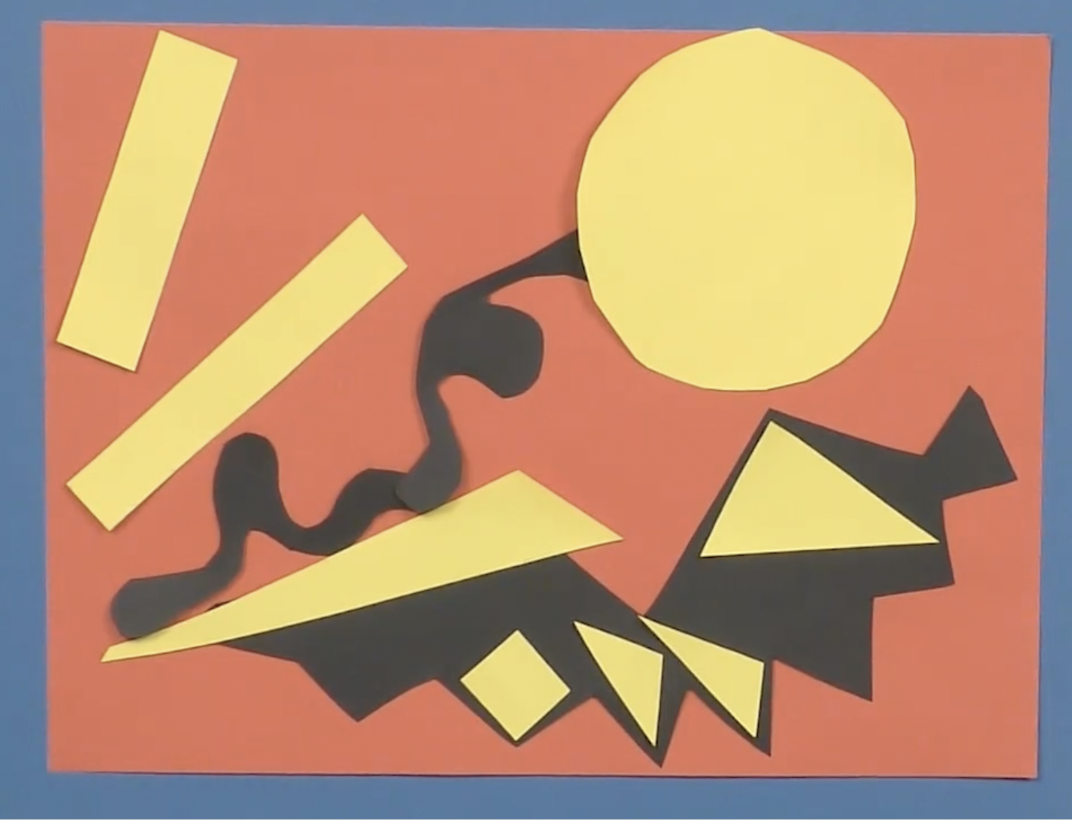
We’re going to cut eight to ten shapes. Once you are ready, begin cutting. Try cutting rectangles, squares, triangles, and circles. Then try to cut organic shapes with different types of edges. Remember to cut shapes of all different sizes.
Step 3: Arranging and Gluing Shapes, with Student Slide #5 (15 minutes)
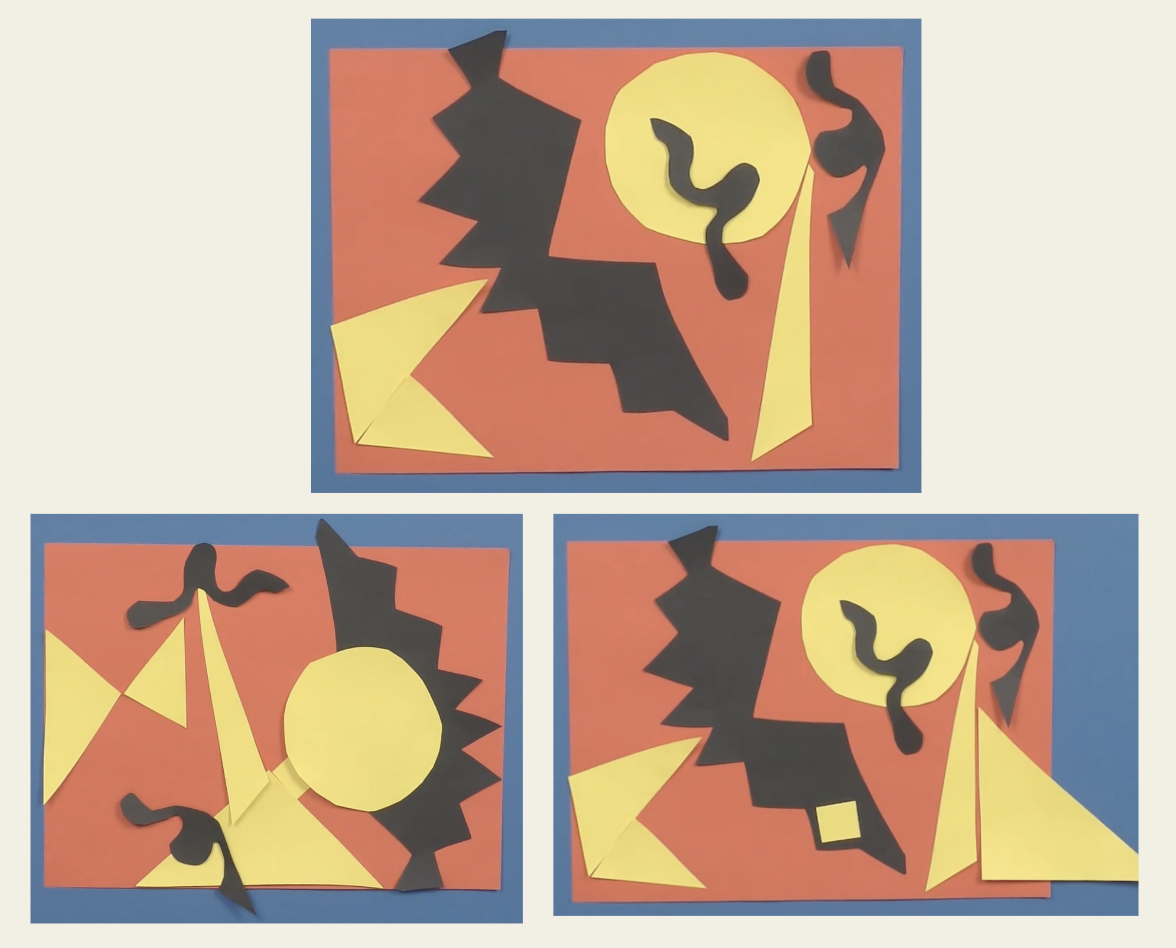
It is time to arrange our shapes! Slide #5 shows us different ways that the artist has arranged the same shapes.
- What does the arrangement on the left remind you of? Why?
- What about the one on the right?
Notice how different arrangements tell different stories. As you organize different arrangements, remember to play with overlapping and placing your shapes close together and far apart. Remember to try at least three different arrangements before gluing or taping down your arrangement.
Once you have selected your favorite arrangement, glue it down to your base paper.
Step 4: Reflection Questions for Discussion (7-10 minutes)
- What new shapes were you able to make by cutting with scissors?
- How did you make them?
Vocabulary
Smooth
Geometric shapes: square, rectangle, triangle, circle
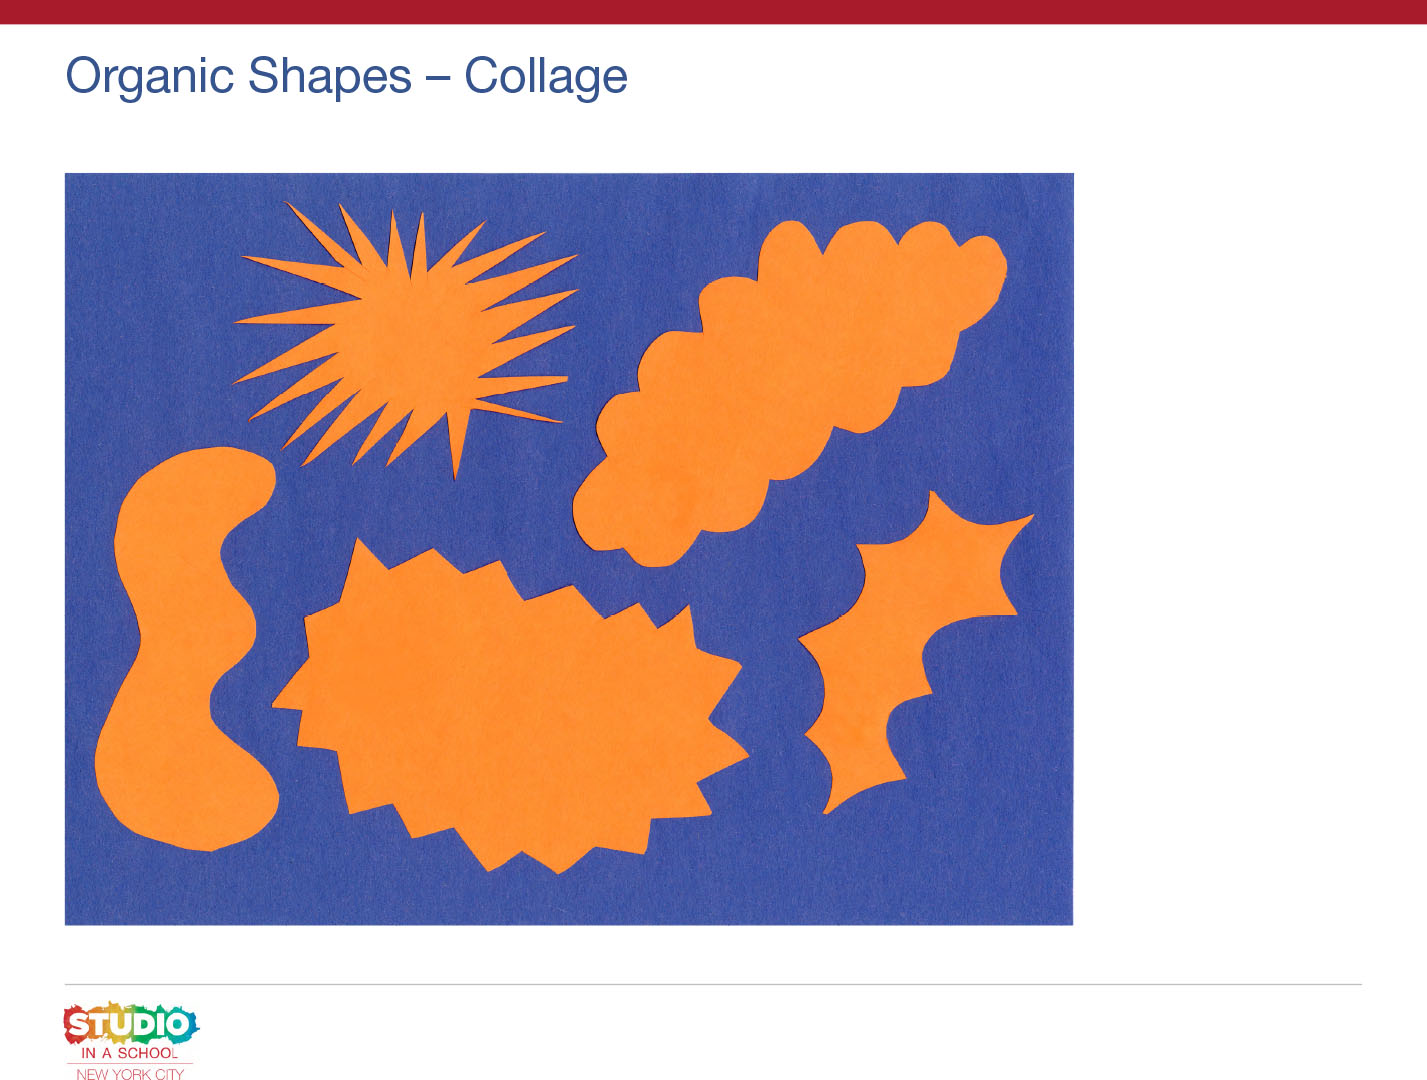
Organic shapes
Curve
Arrange
Overlap
Resources
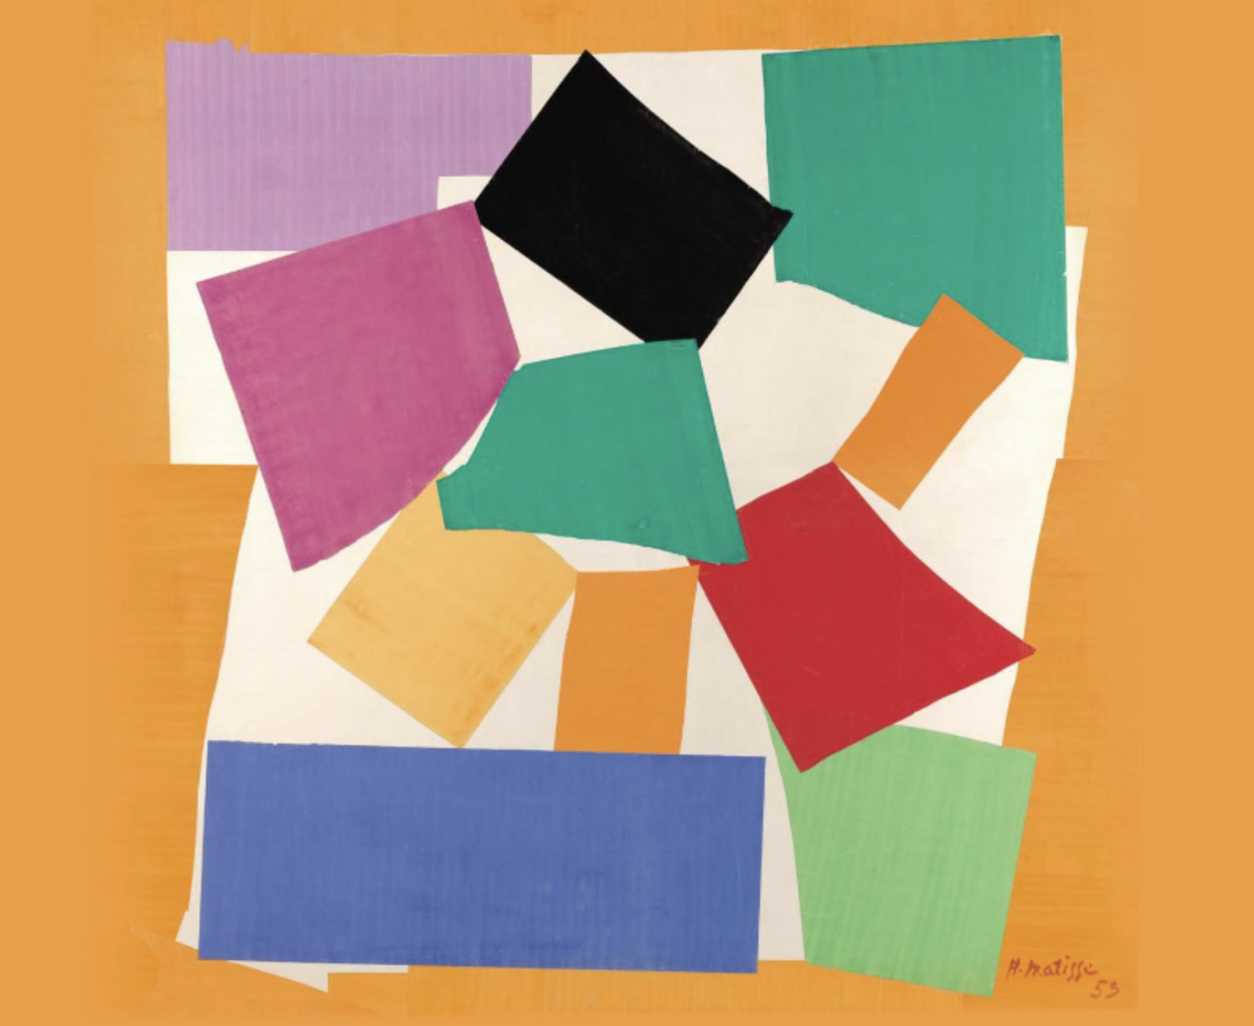

Children respond to Matisse’s Cut-Outs at the Tate Modern: