Overview
Students will learn strategies to scale their thumbnail sketches to create full-sized drawings.
Materials and Tools
- Pencil
- Paper *of the same size ratio as thumbnail sketch templates (see below)
- 3 object still life arrangement
- Thumbnail sketches
Objectives
Students will understand that:
- Through careful looking, an artist can accurately enlarge a composition from a thumbnail sketch to make full-sized drawing.
Students will be able to:
- Accurately enlarge a composition from thumbnail sketch to full-sized drawing.
Activities
Scaling Drawings Up in Size
Enlarging a thumbnail sketch to a full-sized drawing can be challenging. The most important factor in accurately enlarging a thumbnail sketch to a full-sized drawing (without the aid of a grid or a projector) is to maintain accurate proportions. This means that the relative sizes between the objects in the still life should stay the same as we make them larger.
We will use paper that’s the same ratio as our thumbnails. *
*If a thumbnail sketch is 4×3”, the size of the final drawing paper should also be a 4:3 ratio, such as 12×9” or 16×12”.
Step 1: Divide your thumbnail sketch
Choose a thumbnail sketch you’d like to work from and use a light guideline to divide it in half both vertically and horizontally.

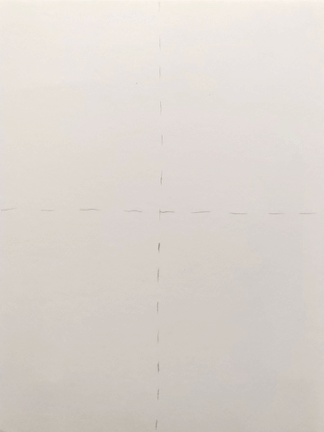
Thumbnail Sketch (left) Full-Sized Drawing Paper (right)
Step 2: Transfer the image
Begin to transfer the image of your still life from your thumbnail sketch to your full-sized drawing paper.


Thumbnail Sketch (left) Full-Sized Drawing Paper (right)
Point out relationships between the objects in your thumbnail sketch and the guidelines you just drew.
Ask students where different objects are in relationship to the vertical or horizontal guidelines.
Demonstrate working slowly while describing your process, continuously comparing your enlarged drawing with your thumbnail sketch. Compare your full-sized drawing to your actual still life arrangement as well.
Continue measuring and translating shapes and angles from the still life to your drawing.
Once you have transferred your thumbnail image to make a full-sized drawing, demonstrate editing to make each part accurate. Ask students for suggestions on what to adjust.

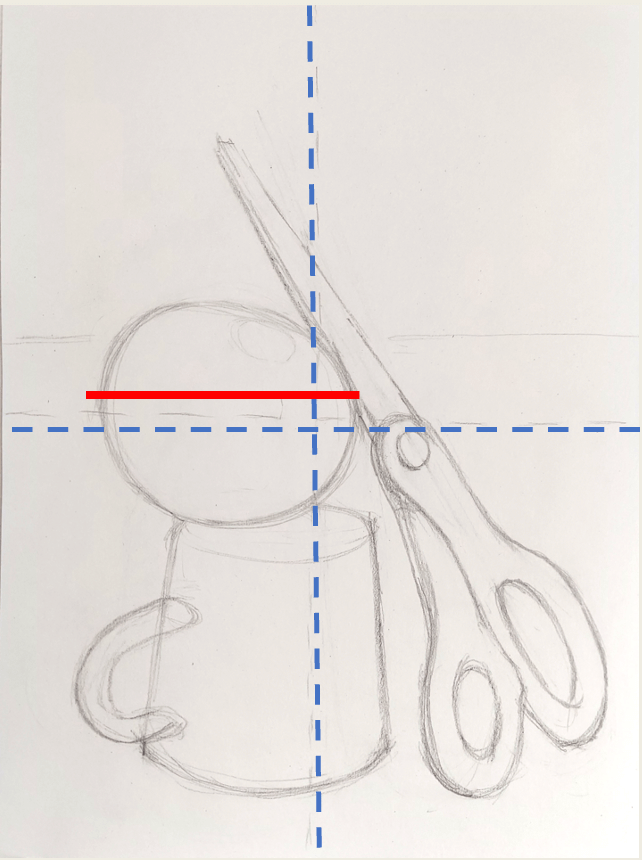
Thumbnail Sketch (left) Full-Sized Drawing Paper (right)
Work Time
As students transfer their thumbnail to a full-sized drawing, encourage them to:
- Notice the relationships between the objects in their thumbnail sketch and their guidelines.
- Working slowly, continuously comparing their enlarged drawing to their thumbnail sketch and their still life arrangement.
- Measure and translate shapes and angles from their still life to their drawing.
- Edit and adjust to make each part accurate.
Reflection Questions for Discussion
- What was a strategy you used to transfer your drawing today?
- What was a challenge you encountered and how did you work through this challenge?
Vocabulary
Transfer: to recreate an image on a different surface
Enlarge: to make bigger without losing size relationships
Proportion: relative size relationship between different parts
Resources
