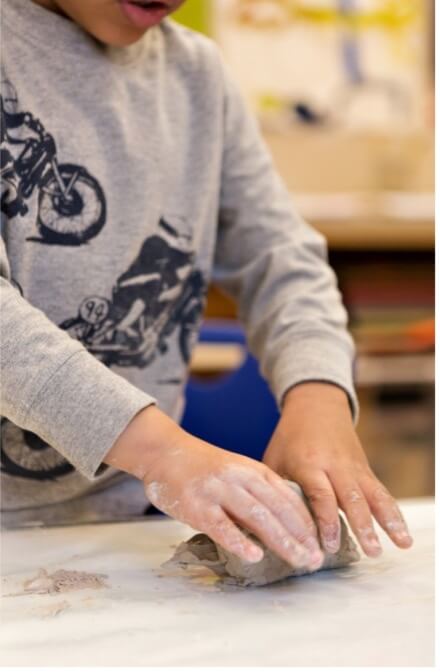
Overview
Students will discover that clay is a natural material that comes from the earth and can be manipulated by using only hands as tools.
Materials
- Gray self-hardening clay
- Wire clay cutter
- Deli containers to store the clay
- Canvas or other covering to lay on the floor during engagement
- Plastic scraper for clean up
- Table covers (optional)
Activities
Step 1: Invitation to Explore
- Show students the bag of clay.
- What do you think is in this bag? Wait for as many answers as possible, repeating each one for the class to hear.
- Accept all responses even if students contribute an incorrect response. You will hear: a brick, mud, stone, concrete, etc.
- Open the bag and fold down the sides. Do you think this is hard or soft?
- Let’s find out!
- Hold up the wire clay cutter. What do you think I have in my hand?
- What do you think that I can do with this wire? Make clear that this tool is only to be used by adults. Warn students that it is sharp and only for adults to use.
- Slowly cut the clay with the wire — a very exciting moment! You will undoubtedly elicit many responses.
- Cut a few pieces of clay. What do you think this clay feels like?
- Pass around a fist-sized piece and ask the students what it feels like — cold, smooth, wet, etc.
- Collect all of the pieces.
- Where do you think clay comes from?
- Explain that it comes from the earth and can be found in the ground near lakes and rivers.
- What do you think you can do to clay? Ask a few students to model their responses — roll or poke it, for example.
- Let’s go and explore the clay!
- Explain that the students will not be saving their work when work time ends and that each student will roll the clay into a ball and put it back into the plastic bag.
Step 2: Work-time
- It is easiest to work directly on the table, however you may decide to cover them with plastic, reusable tablecloths or garbage bags cut to fit.
- Use the wire cutter to cut a fist-sized piece of clay for each student.
- Invite students to begin to explore the clay.
- Encourage students to manipulate the clay with their hands in different ways.
- Circulate the classroom. Notice aloud how students roll, press, pinch, poke, flatten, pull, squish, and twist the clay.
- At the end of work time tell students to press their clay back into a ball and return it to the bag.
- End this first clay exploration by proposing an experiment: What do you think will happen if we leave a ball of clay in an open container for a week? What do you think will happen if we leave a ball of clay in a closed container for a week? Place the clay in containers. Ask students for their predictions.
Step 3: Reflection
- How did you change the clay using your hands as tools? Elicit many responses. Be sure to repeat the words students contribute. Record these action words: roll, poke, push, twist, flatten, etc.
- As students describe the ways they changed the clay, ask them to model in the air how they rolled (around or back and forth), poked, pushed, squeezed, etc.
Tips
- Clay produces more conversation than other media. It’s all about your hands and conversation!
- Students may experience sensory challenges when working with clay. Offer students clay in a Ziplock bag to manipulate in a way that is manageable for them.
- Place the clay “experiment” in the art or science center.
- Reflection is the time to build common vocabulary about techniques students can use to manipulate clay.
- Students love to share how they are changing the clay as they work; this medium suggests something different to each student and they go with it! Encourage students to observe one another and share other techniques for manipulating the clay.
Vocabulary
Clay, earth, natural material, smooth, cold, mushy, roll, coil, pinch, poke, push, flatten, twist, squish, squeeze, fold, tear, experiment, predict

