Overview
Students will reflect on their artmaking using the close looking, speaking, writing, and/or sketchbook prompts.
Materials and Tools
- Pencil
- Sketchbook or 1 piece of paper
- Drawing from the previous lesson
Activities
Note: The following activities are written with sample language you may use with your students. Following the art-making lesson, you may choose as many reflection activities as desired for students to work on in class or independently.
Explain to students that the slides they see during the lesson will be shared with them so they may review the lesson on their own and continue to make more art.
Step 1: Close Looking: Julie Mehretu (10-15 minutes)
Hello Artists! Today we are going to continue exploring lines and shapes. Let’s look at an artwork by Julie Mehretu to begin.
Note to Teachers: Before teaching with a work of art, spend some time looking closely on your own. Familiarizing yourself with the artwork will prepare you to guide the close looking activity.
If your students are new to looking at art together, you can introduce the activity to students in the following way:
Today we are going to spend some time looking at and discussing a work of art together. When we look at art, there are no right or wrong answers. I’m going to ask you to look closely, share your ideas about what you see, and listen respectfully to others’ ideas. Everyone’s ideas are important. We all see things differently and when we look at art, we can learn to see through each other’s eyes.
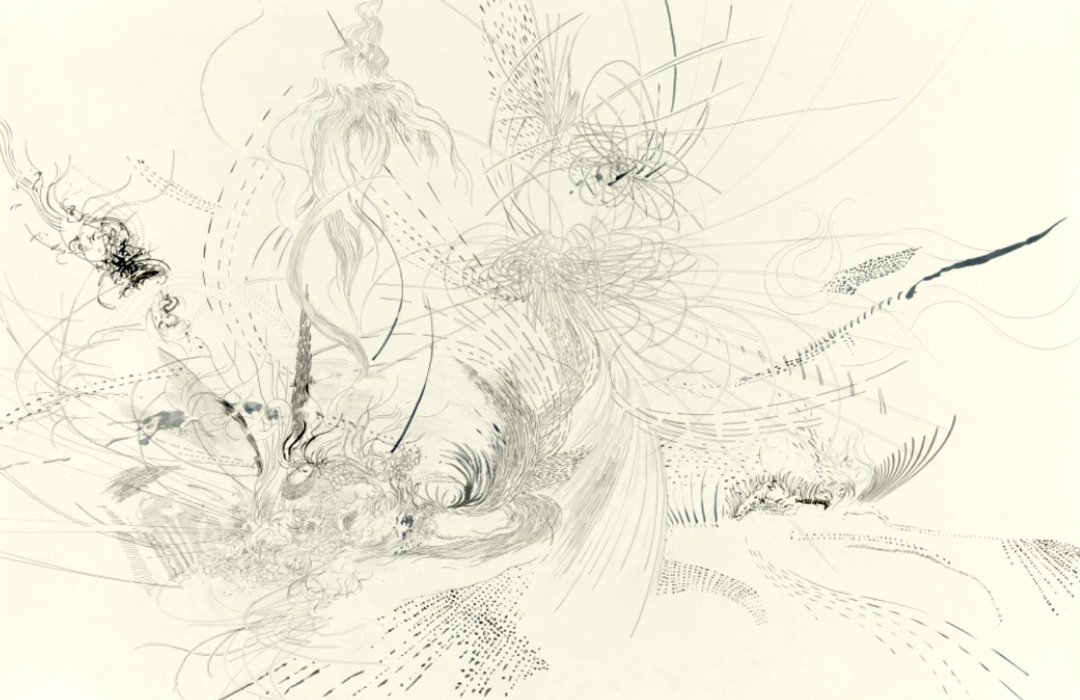
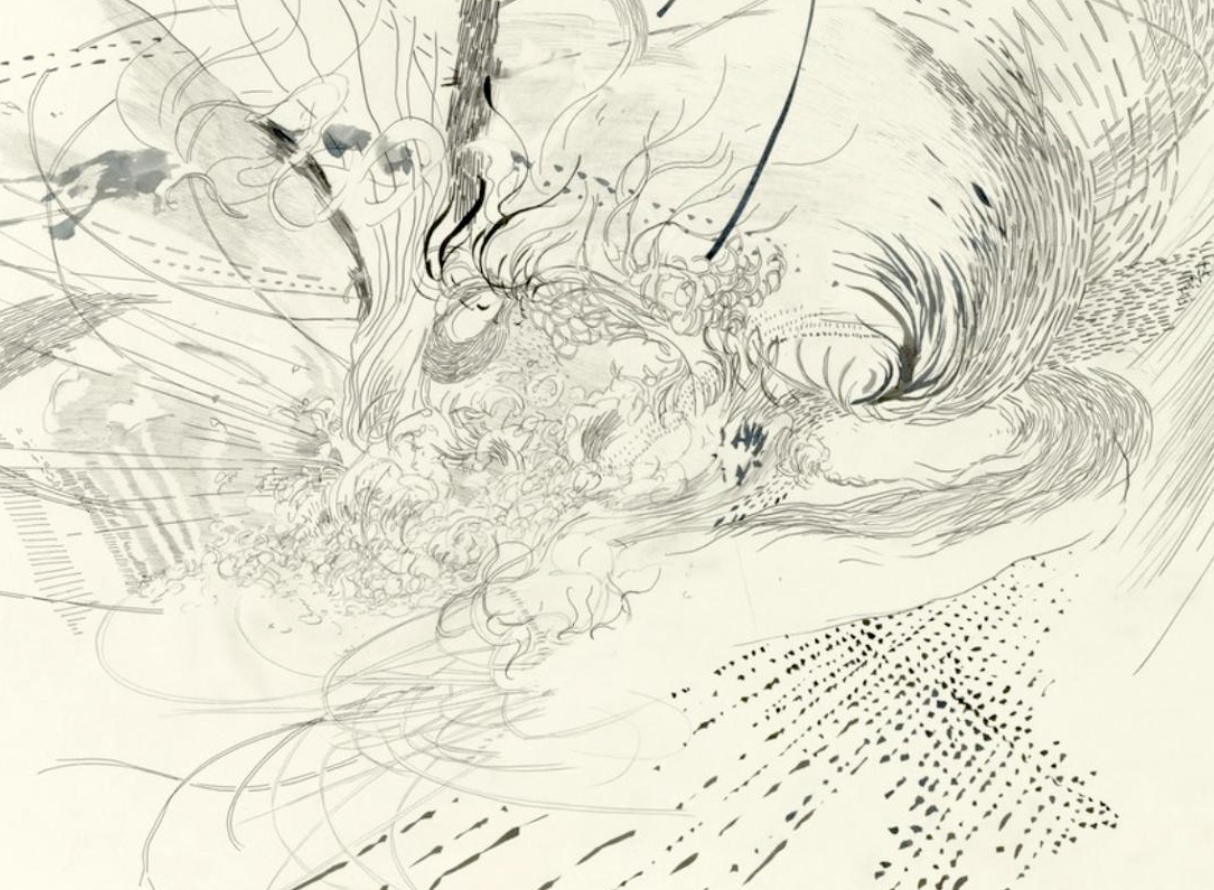
Look closely at this drawing by Julie Mehretu and the following image showing a detail of the piece.
Discuss with a partner, the class, or a grown-up:
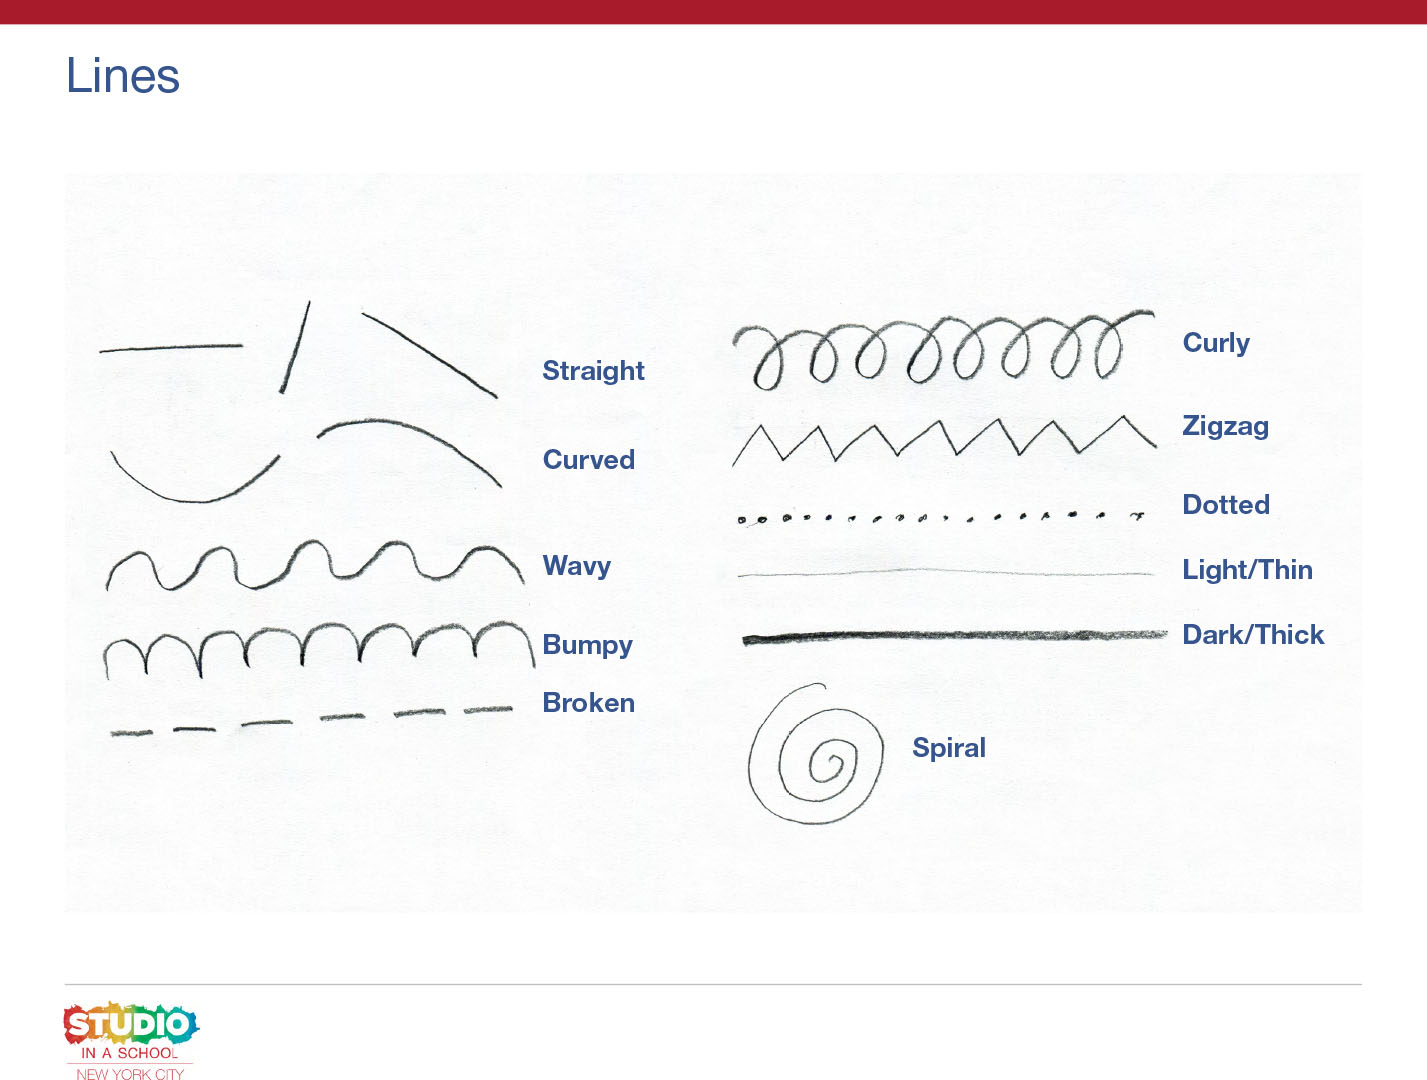
- What lines do you notice?
- Choose one line that interests you:
- How can you make different movements of your hands, arms, head or body to show this line?
- How do you imagine this line might sound?
- What kind of feeling does this line express?
Optional:
Create a chart or graphic organizer with different line names, sounds and expressive qualities.
Step 2: Writing Activity (10 minutes)
Now we are going to write about our artwork. Look closely at your shape drawing from the previous lesson. Choose your favorite shape.
- What types of lines did you draw to make this shape?
- What would you title this shape? Why?
Based on your students’ writing skills, choose from the options below.
Option 1: Write a sentence to describe your shape.
For example:
I used curved, zigzag and bumpy lines to make this shape.
The title of this shape is Bouncy Bubbles because the curved lines remind me of bouncing and the bumpy lines look like bubbles.
Option 2: Use the sentence frames and vocabulary list below to write 2 sentences about your artwork.
I drew ________, ________ and ________ lines to make this shape.
The title of my shape is ________ because _________________________.
Option 3: Label your shape using the line names from the chart below. Write a title for your shape.
Step 3: Sketchbook Activity (10-15 minutes)
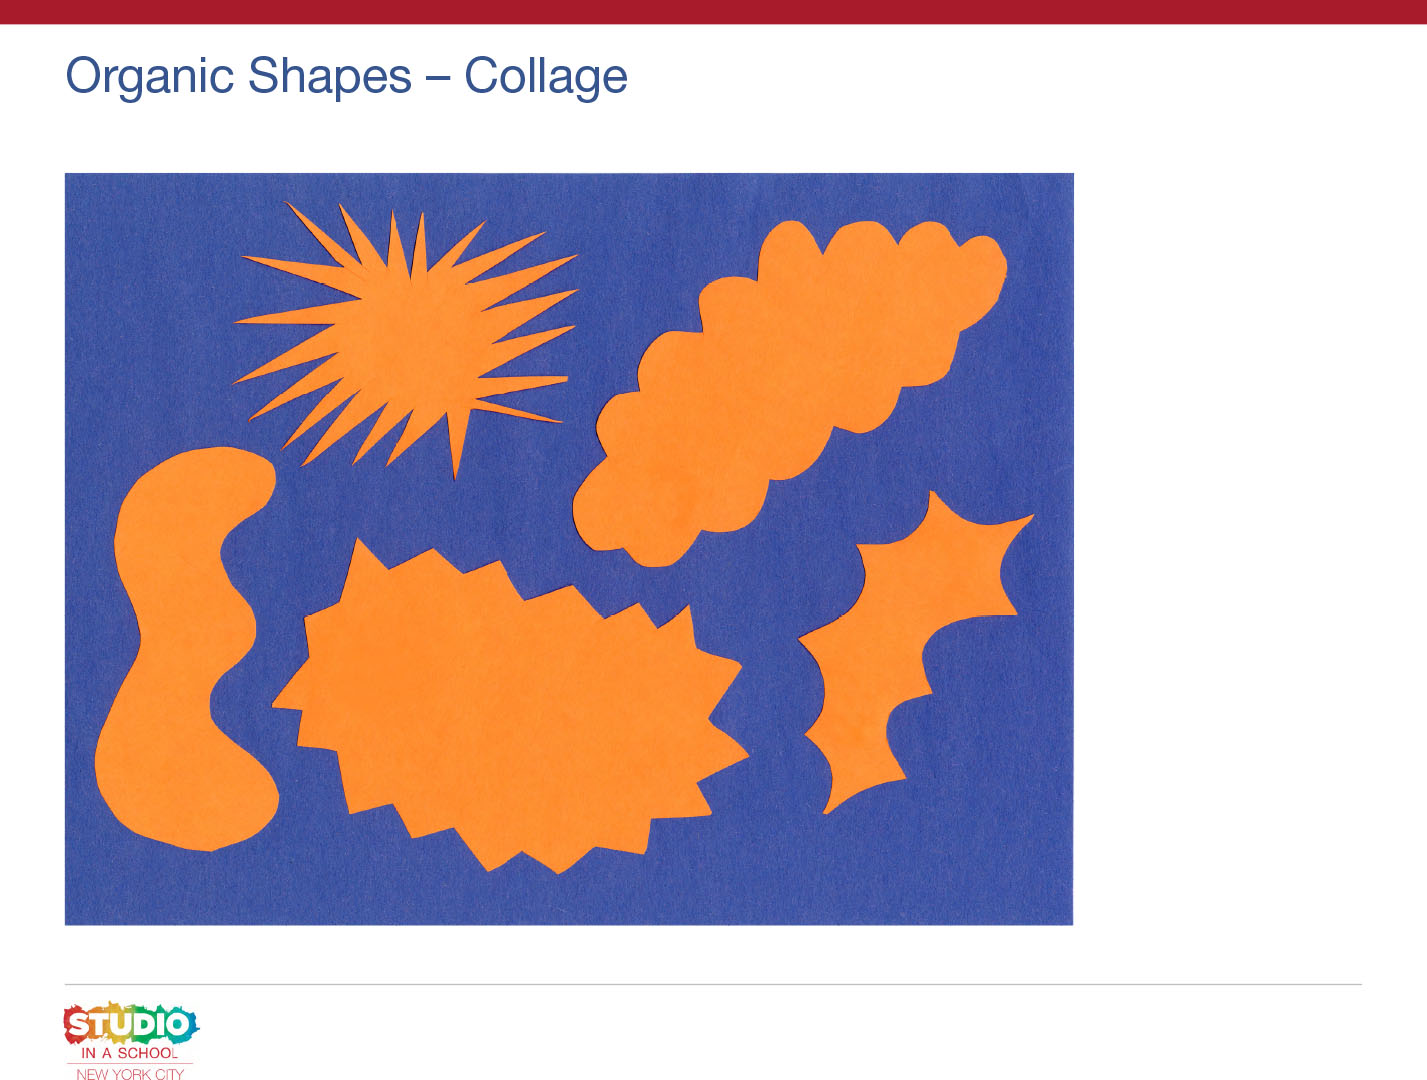
You have looked closely at the shapes in your drawing and thought about the lines you used to make them. Now, we’re going to see how we can transform a shape into something new, using our imagination.
Create a new shape using 3 different lines.
Look at your shape drawing.
Turn it around in different directions.
What does it remind you of?
What can it become?
What details can you add to transform or change it?
Add lines or small shapes as details to transform your original shape into something new.
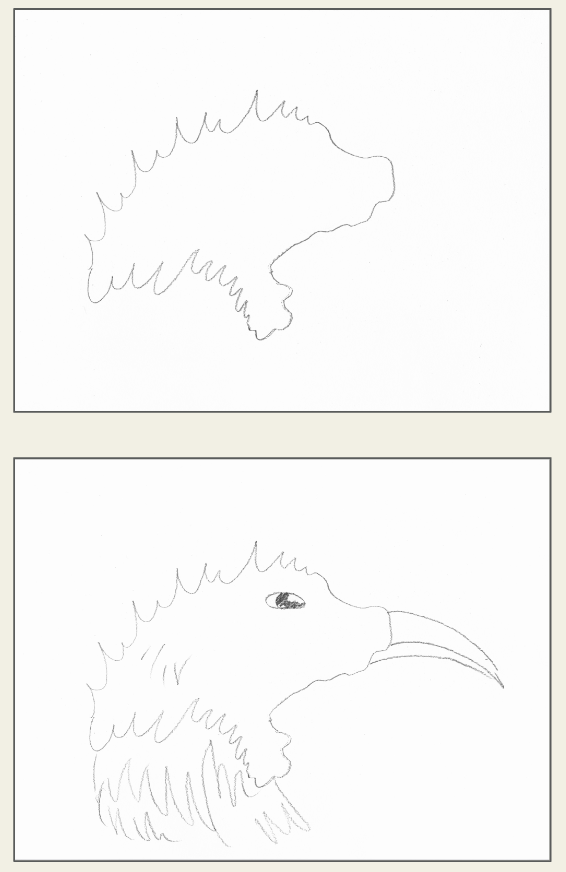
Model drawing an organic shape using three different lines. Ask students for suggestions on what the shape could become: What does this shape remind you of? What do you see that makes you say that? Model adding details to transform your shape into one of the ideas suggested.
Now it’s your turn. What kind of shape will you create? How will you change your shape? After students finish their drawings, ask: What will you title your drawing? Have students write the title of their new drawing in their sketchbook.
Resources
NY Times article and scavenger hunt on lines in objects and art