Overview
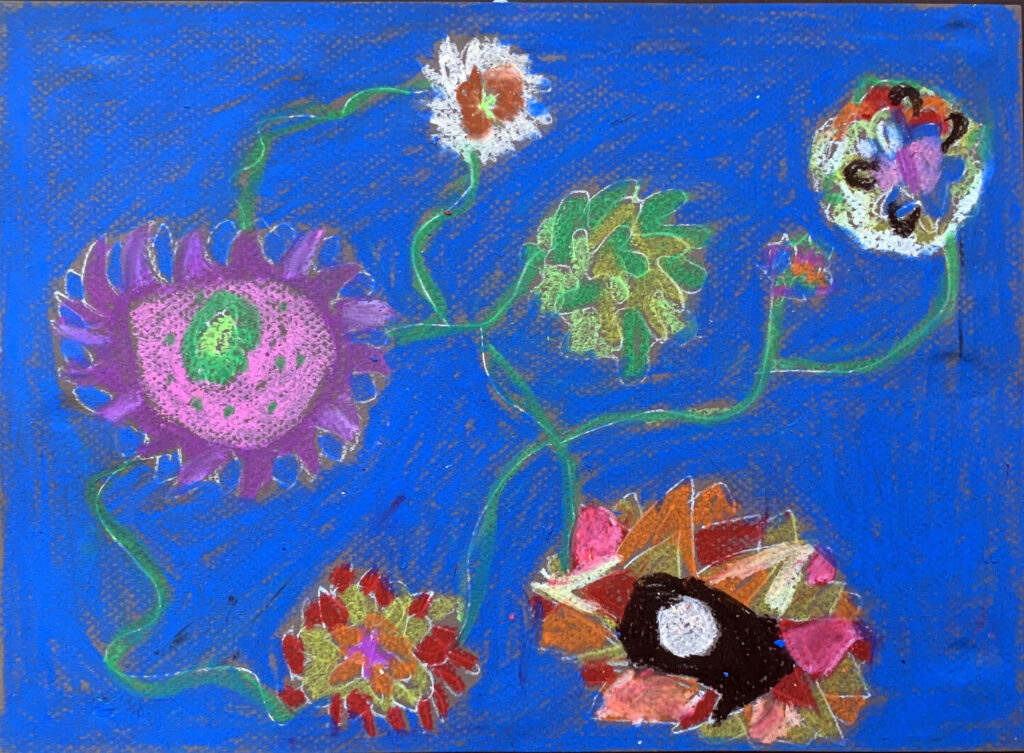
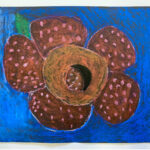
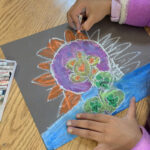
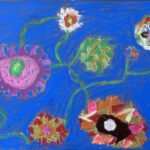
In this unit, students will explore oil pastels, draw natural objects and plants from photos, then create imaginary plants by combining features.
Lessons
Materials and Tools
- Natural objects with texture: rocks, leaves, pinecones, bark, wood pieces, seed pods, seashells, etc.
- Ebony or regular pencils
- White charcoal pencils
- Oil pastels
- 9 x 12″ and 12×18” white drawing paper
- 9×12” black or blue construction paper
- 9×12″ white paper
- 9×12″ grey paper
Alternative Materials
- In place of pencils, different drawing tools can be used, such as:
- Artist pencils with different degrees of hardness
- Artist pens of different thickness
- Colored pencils
Objectives
- Students will learn techniques to use a pencils and oil pastels to make a variety of marks, lines and shapes.
- Students will mix primary colors to create secondary colors using oil pastels.
- Students will be able to identify the expressive qualities of the lines, shapes, textures and features of different natural objects and plants.
- Students will learn strategies for observational and imaginative drawing.
Student Outcomes
Students will understand that:
- Marks, lines and shapes have different expressive qualities.
- Oil pastels can be used as drawing tools, to make marks, lines and shapes, and can blend and mix like paint.
- We can make a drawing by looking closely at an object or image.
- We can record what we see using marks, lines and shapes.
- We can combine or exaggerate features to create an imaginary plant.
Students will be able to:
- Identify different kinds of marks, lines and shapes, and use pencil and oil pastels to demonstrate how to make them.
- Identify lines, shapes and textures when observing an object, and apply this knowledge to draw from observation.
- Envision and draw their own imaginary plant, combining or exaggerating features from natural objects or plants from around the world, considering shape, color and visual texture.
Resources
List of fictional plants from books, movies and video games: https://en.wikipedia.org/wiki/List_of_fictional_plants
Parallel Botany: The Study of Imaginary Plants by Anne Percoco
A book of imaginary plant specimens made using consumer products: https://www.blurb.com/books/9000873-parallel-botany
“What is Botanical Art?” article from Botanical Art & Artists website: https://www.botanicalartandartists.com/what-is-botanical-art.html
Article on the history of botanical art in India: https://scroll.in/magazine/913816/from-temple-walls-to-instagram-the-long-and-rich-history-of-botanical-art-in-india
The exhibit Seeds of Knowledge: Early Modern Illustrated Herbals Herbals highlights illustrated texts that included both the folklore of plants and their medicinal uses: https://www.themorgan.org/exhibitions/seeds-of-knowledge
The exhibit The Botanical Mind: Art, Mysticism and the Cosmic Tree explores the ongoing significance of the plant kingdom to human life, consciousness and spirituality. The exhibition brings together works by over 60 visionary, surrealist, modern, outsider, indigenous Amazonian and contemporary artists: https://www.botanicalmind.online
Series of lessons from Science World on “Plants All Around Us”: https://www.scienceworld.ca/resource/plants-all-around-us/
Explore resources from the Brooklyn Botanical Gardens include:
- In-person and virtual tours and field trips
- Project Green Reach (PGR), a semester-long program for K–8 teachers and their classes in Brooklyn’s Title I schools
- Packages of videos and interactive lessons, such as “Tropical and Desert Plant Explorations” (K–8) and “Exploring Plants in Our Lives” (K–8)
Brooklyn Botanical Gardens website: https://www.bbg.org/learn/teachers_and_schools
Resources from the New York Botanical Gardens in the Bronx include:
- In-person class trips and workshops on plants and gardening
- Activity guides
New York Botanical Gardens website: https://www.nybg.org/learn/schools-teachers/
Resources from the Queens Botanical Garden include:
- In-person tours and workshops
- Virtual lessons and activity guides
Queens Botanical Garden website: https://queensbotanical.org/learn/
Resources from the Snug Harbor Cultural Center and Botanical Gardens include:
- Class trips and workshops
Snug Harbor Cultural Center and Botanical Gardens website: https://snug-harbor.org/class-trips/
BOOKS:
What’s Inside A Flower?: And Other Questions About Science & Nature by Rachel Ignotofsky
A World of Plants by Martin Jenkins (Author), James Brown (Illustrator)
Tillie and the Wall by Leo Lioni
Plant: Exploring the Botanical World by Phaidon Editors
Adaptations
For Students with Disabilities
- Use hand motions or body motions to show different lines and shapes, for example moving the body to show a wavy line.
- Think about the sounds a line might make, or that you might hear in an artwork.
- Try different ways to hold drawing tools to find a comfortable position.
- Use alternate drawing tools and materials. Think about different-sized paper and drawing tools with different girth or grip.
- When drawing an object, feel the object with eyes closed and describe how it feels.
- Choose a natural object to draw that has special relevance—personal, familial or cultural.
- Use of technology: have students draw lines and shapes on an iPad or in Google Classroom.
- Use of audio with visuals in the student-facing Google Slides.
For Multilingual Learners
- Use visual charts and images paired with vocabulary words for new artistic concepts.
- Use icons or symbols to provide visuals for lines and shapes.
- Re-cast and spiral vocabulary: repeat vocabulary and concepts in lessons so that students gain familiarity. Activate a student’s prior knowledge.
- Connect to prior knowledge: What else do you know that is wavy like this line? What are some other places that you have seen a texture like this?
- Use TPR (Total Physical Response) to draw lines and shapes in the air with their fingers or hands.
- Signpost: tell students what you are going to do next.
- Break down processes into multiple steps with visuals for each.
- Chunk information and keep instructions concise.
- Elicit information: ask questions, give students time to think about an answer, and extend the wait time.
- Have multiple entry points: speaking, showing and doing.
- Use of audio with visuals in student facing lesson guides.
- Connect ideas to books: look at illustrated books about plants and the natural world.
Extensions
Imagine a Plant that Heals
Plants provide humans with many things, including healing properties. Design and draw your own imaginary plant, thinking about what it could help heal. How will you show your plants healing properties?
Resource:
A medical garden in book form that contains data on the appearance, gathering, preparation, and use of medicinal plants.
Pedanius Dioscorides of Anazarbus, De medicinali materia, 1542, from Gart der Gesundheit, Hortus Sanitatis (The Garden of Health)
Plants From Home
Draw a plant from your own culture or home country. Research a specific plant, or work from memory.
Find out or remember as much as you can about the plant: Where is this plant from? Or where did you see this plant? What is it used for? What shape is it? What color is it? Does the plant have a texture?
Collage an Imaginary Plant
Use textured paper (corrugated, sandpaper, smooth, tissue, etc.) to make a collage of an imaginary plant. Explore tearing and cutting to create shapes with different edges. Spend some time arranging the composition of your plant before gluing. Layer additional details.
You can also make painted paper to create plant collages. Mix and layer colors with paint, then use combs or other tools to create visual textures. After these papers dry, they can be used to tear and cut to make plant collages.
Clay Texture Tiles
Explore using additive and subtractive techniques with clay. Try using hands and clay tools to make a variety of marks and lines by poking, pinching, scraping, etc. How can you use these techniques to create the different textures of the natural objects we looked at?
Roll flat slabs of clay, then use a template to make a tile shape. Create the texture of one of the natural objects on your clay tile.
Still-Life Drawing From Observation
Suggestions for different observation drawing objects to focus on specific skills:
- Textures: cacti, leaves, sea shells
- Different viewpoints: flowers
- Parts to whole: tools; kitchen tools; bicycles; toy cars, trucks, trains, planes or boats
- Contour lines: shells, fruits, vegetables
Alternative art materials to use in place of media indicated in the lesson plans:
- Oil pastels or colored pencils (students can create value scales with colored pencils)
- Black, gray or tan drawing paper is great to experiment with value and contrast.
- Tempera or watercolor paint
New York Teaching & Learning in Visual Arts Standards
Art Making: 5th Grade Learning Indicators for Drawing
an imaginative interpretation of an observed subject
- the ability to observe and then combine shapes to represent a subject
- identification and rendering of detail
- ability to create a variety of visual textures through mark making
- basic organization of space such as foreground and background
Create a drawing that demonstrates:
Literacy in the Arts
- Looking at and Discussing Art
- Developing Visual Arts Vocabulary
- Reading and Writing About Art
- Problem Solving: Interpreting and Analyzing Art
Making Connections
- Recognizing the Societal, Cultural, and Historical Significance of Art; Connecting Art to Other Disciplines
- Observing and Interpreting the World
Community and Cultural Resources
- Cultural Institutions
- Online Resources and Libraries
- Community-Based Organizations (CBOs), Local Artists, and Studios
Careers and Lifelong Learning
- Awareness of Careers in Visual Arts
- Art for Enjoyment and Lifelong Learning
NYS Learning Standards for the Arts
Artistic Process: Creating
Anchor Standards:
- Anchor Standard 1: Generate and conceptualize artistic ideas and work
- Anchor Standard 2: Organize and develop artistic ideas and work
- Anchor Standard 3: Refine and complete artistic work
Artistic Process: Presenting
Anchor Standards:
- Anchor Standard 4: Select, analyze, and interpret artistic work for presentation
- Anchor Standard 5: Develop and refine artistic techniques and work for presentation
- Anchor Standard 6: Convey meaning through the presentation of artistic work
Artistic Process: Responding
Anchor Standards:
- Anchor Standard 7: Perceive and analyze artistic work
- Anchor Standard 8: Interpret meaning in artistic work
- Anchor Standard 9: Apply criteria to evaluate artistic work
Artistic Process: Connecting
Anchor Standards:
- Anchor Standard 10: Relate and synthesize knowledge and personal experiences to inspire and inform artistic work
- Anchor Standard 11: Investigate ways that artistic work is influenced by societal, cultural, and historical context and, in turn, how artistic ideas shape cultures past, present, and future
Credits
Written By:
Belinda Blum, Artist Instructor
Andrea Burgay, Artist Instructor
Traci Talasco, Artist Instructor
Copyright © 2023 Studio in a School NYC LLC

