Overview
Students will reflect on their art making using close-looking, speaking, writing, and/or sketchbook prompts.
Materials and Tools
- Pencil
- Sketchbook or one to two pieces of paper
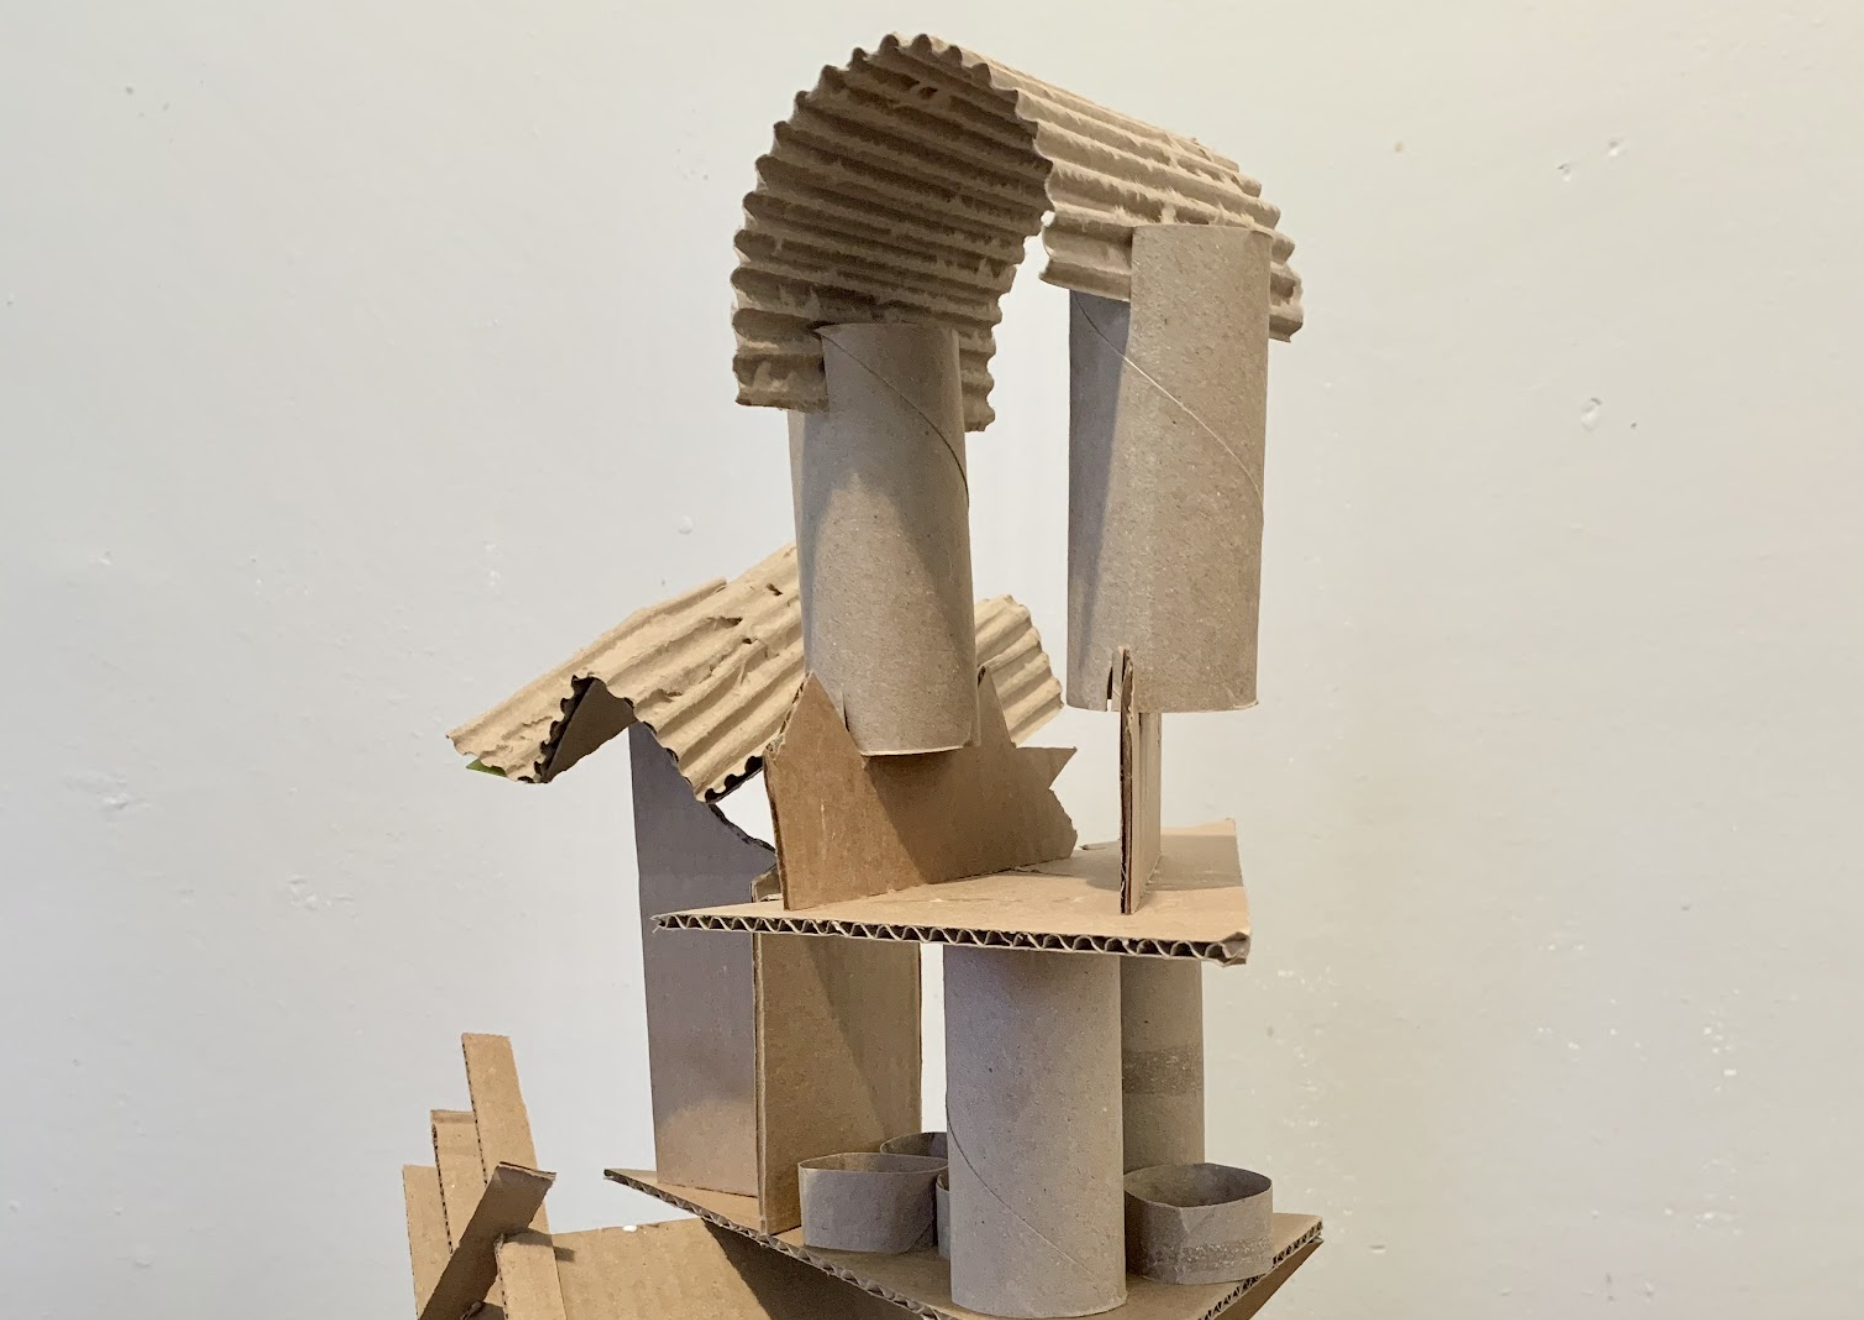
- Imaginary structure sculpture from the previous lesson
Activities
Note: The following activities are written with sample language you may use with your students. Following the art-making lesson, you may choose as many reflection activities as desired for students to work on in class or independently.
Step 1: Close Looking: Siah Armajani (10-15 minutes)
Hello, artists! Today we are going to continue to explore our materials and identify what makes them unique. To begin, let’s look at an artwork by Siah Armajani.
Note to Teachers: Before teaching with a work of art, spend some time looking closely at it on your own. Familiarizing yourself with the artwork will prepare you to guide the close-looking activity.
If your students are new to looking at art together, you can introduce the activity to students in the following way:
Today we are going to spend some time looking at and discussing a work of art together. When we look at art, there are no right or wrong answers. I’m going to ask you to look closely, share your ideas about what you see, and listen respectfully to each other’s ideas. Everyone’s ideas are important. We all see things differently, and when we look at art, we can learn to see through each other’s eyes.
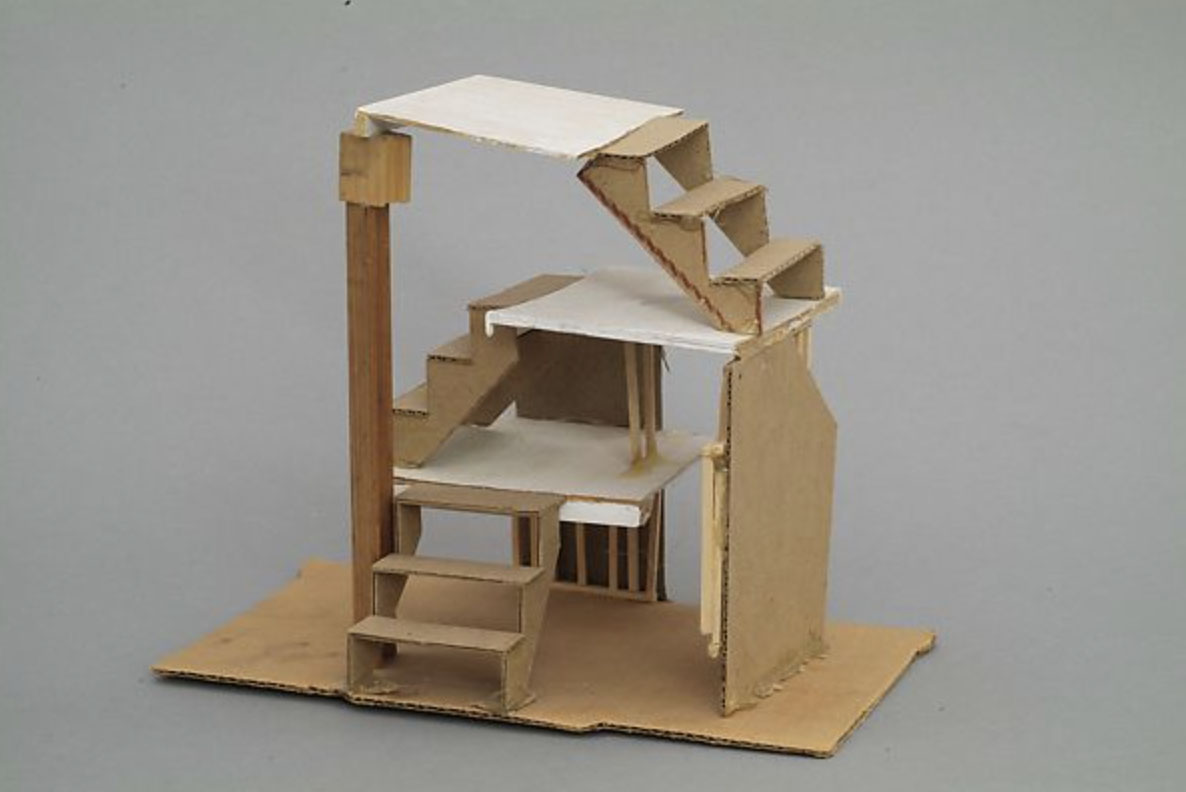
Find the negative spaces in this sculpture.
- What shapes do the empty spaces create?
- How would you imagine moving through the empty spaces?
Step 2: Writing Activity (10 minutes)
Now we are going to write about our artwork. Imagine if your sculpture were life-sized.
- How does it feel to be inside this sculpture?
- What will you do here?
Artists often title their work to tell viewers more about their idea. Let’s come up with a title for your imaginary play space.
- What kind of a place is this?
- What would you want people who view your sculpture to know about it?
Write a title for your artwork and one sentence about why you chose that title.
Step 3: Sketchbook Activity (10-15 minutes)
Now look closely at your sculpture from three different sides. Draw all the negative spaces you see from each point of view. You can also draw all the negative spaces you see in the artwork by Siah Armajani.
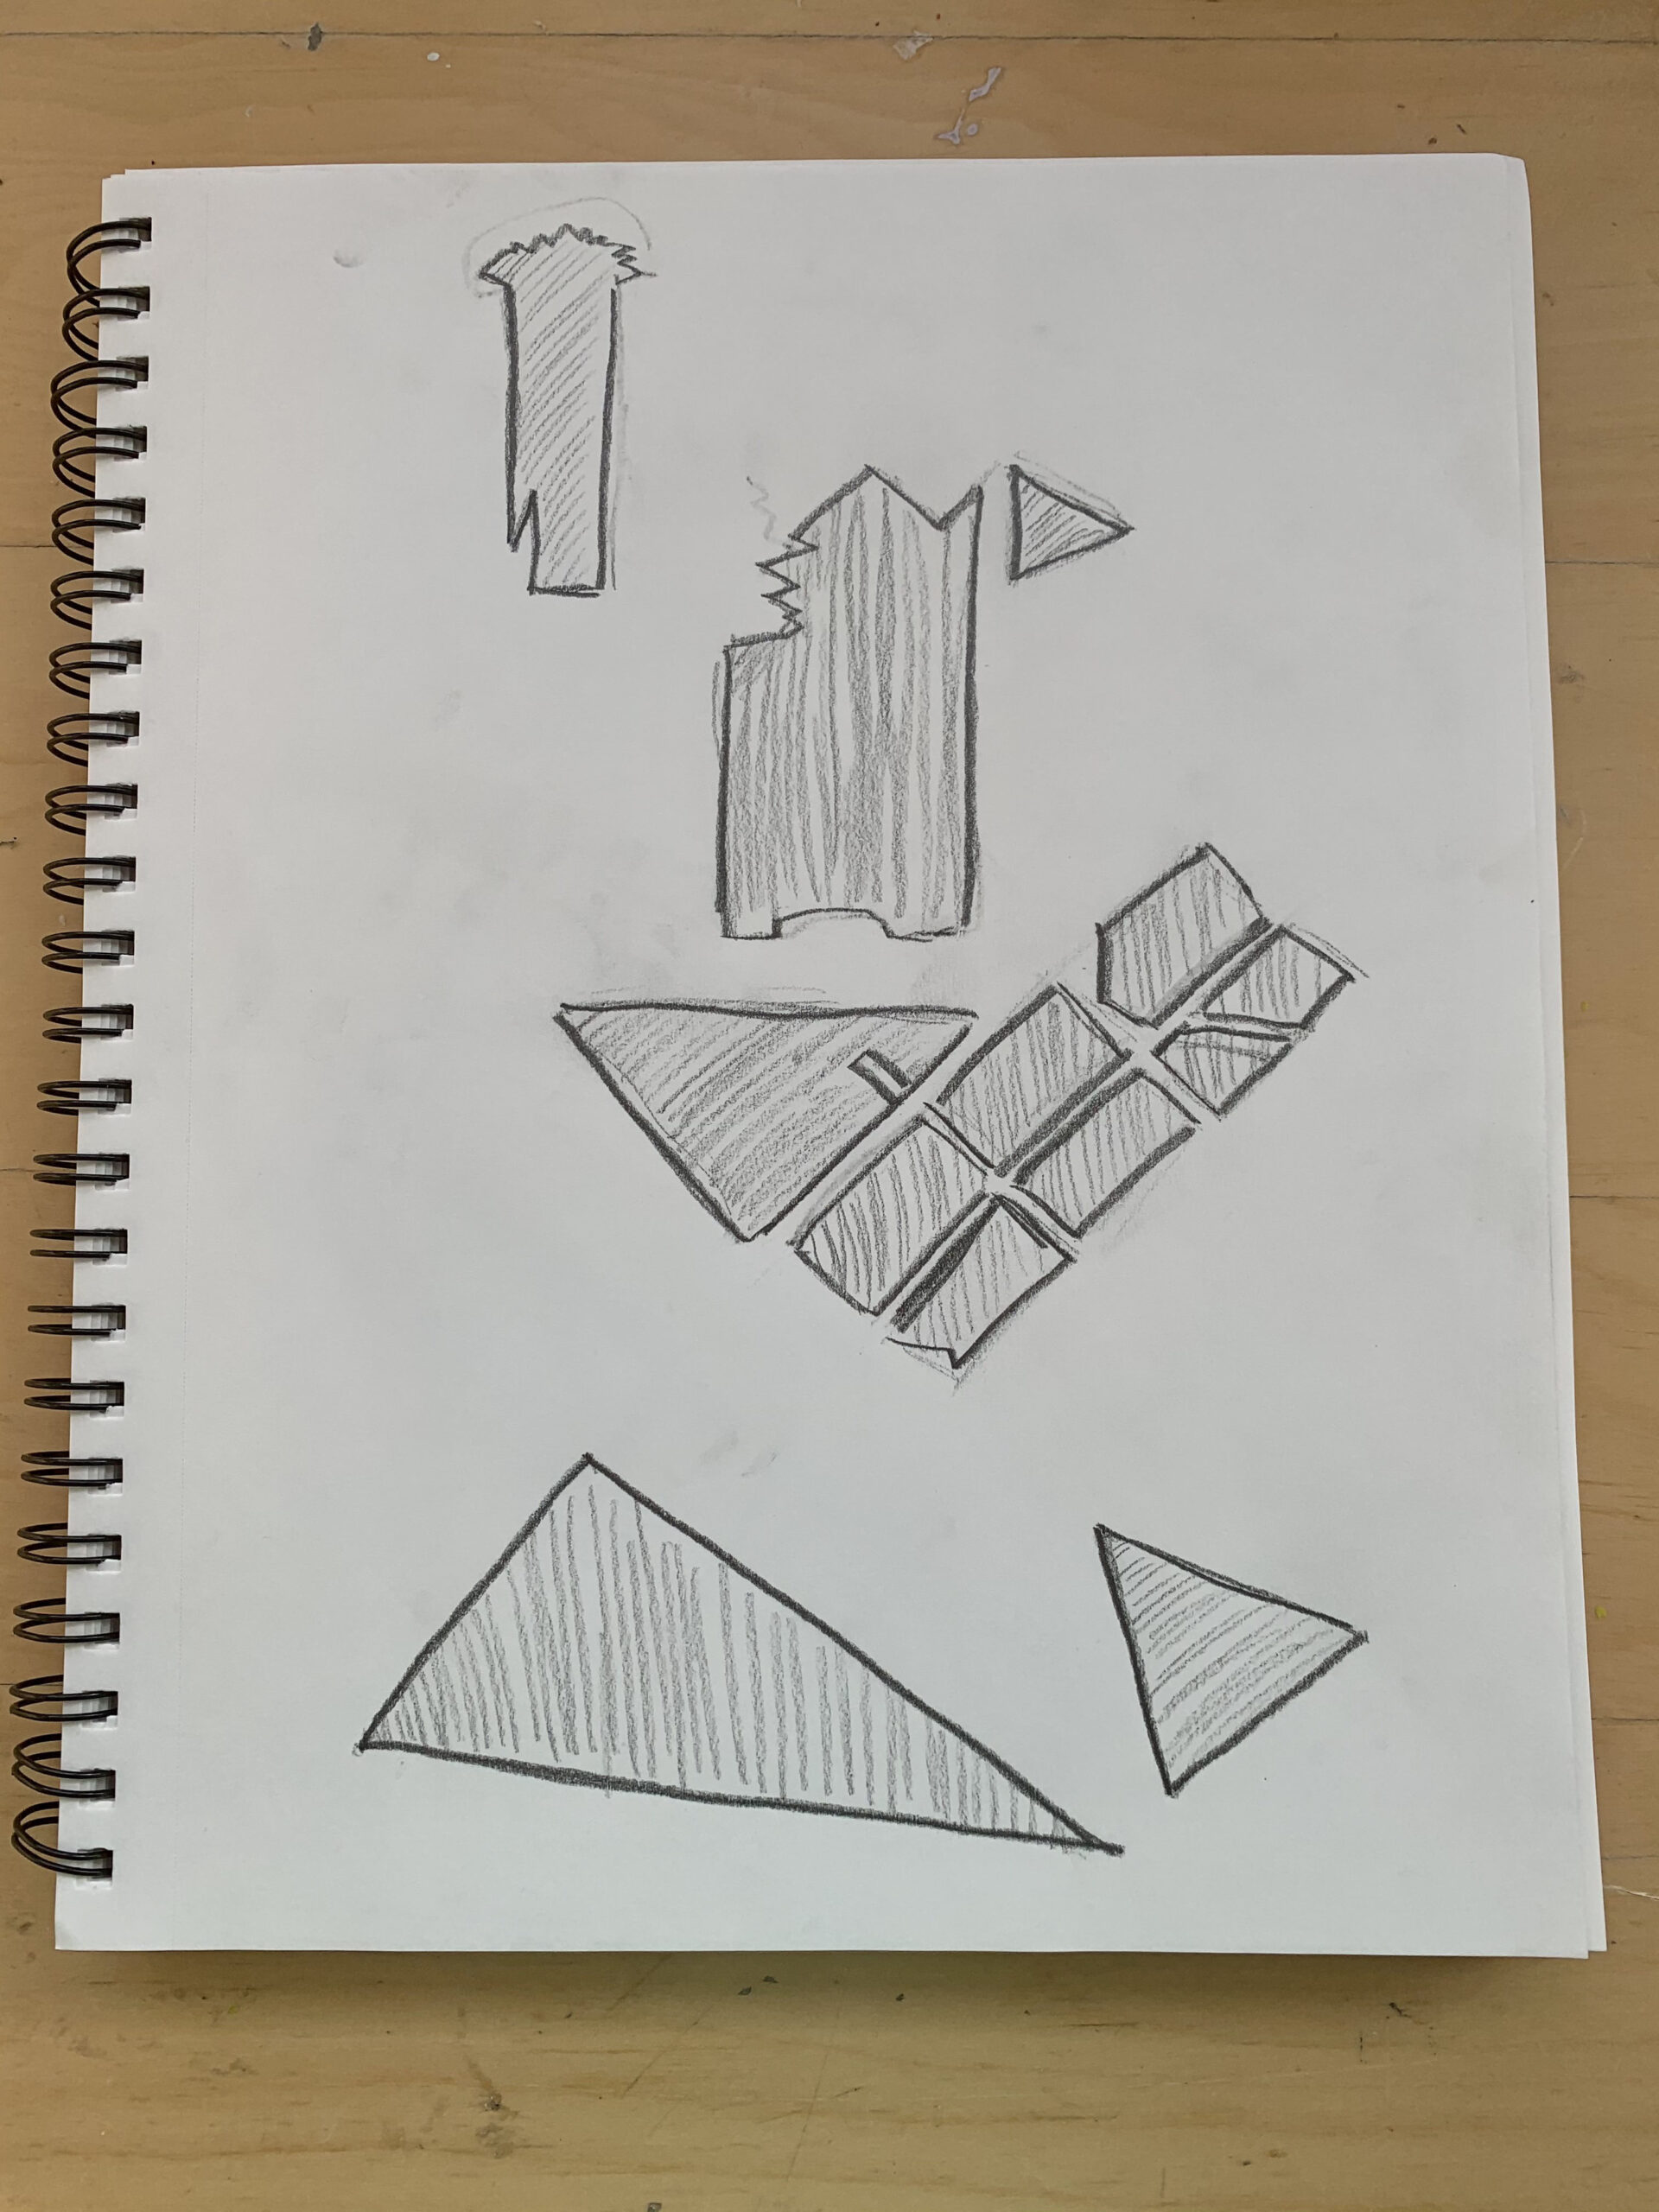
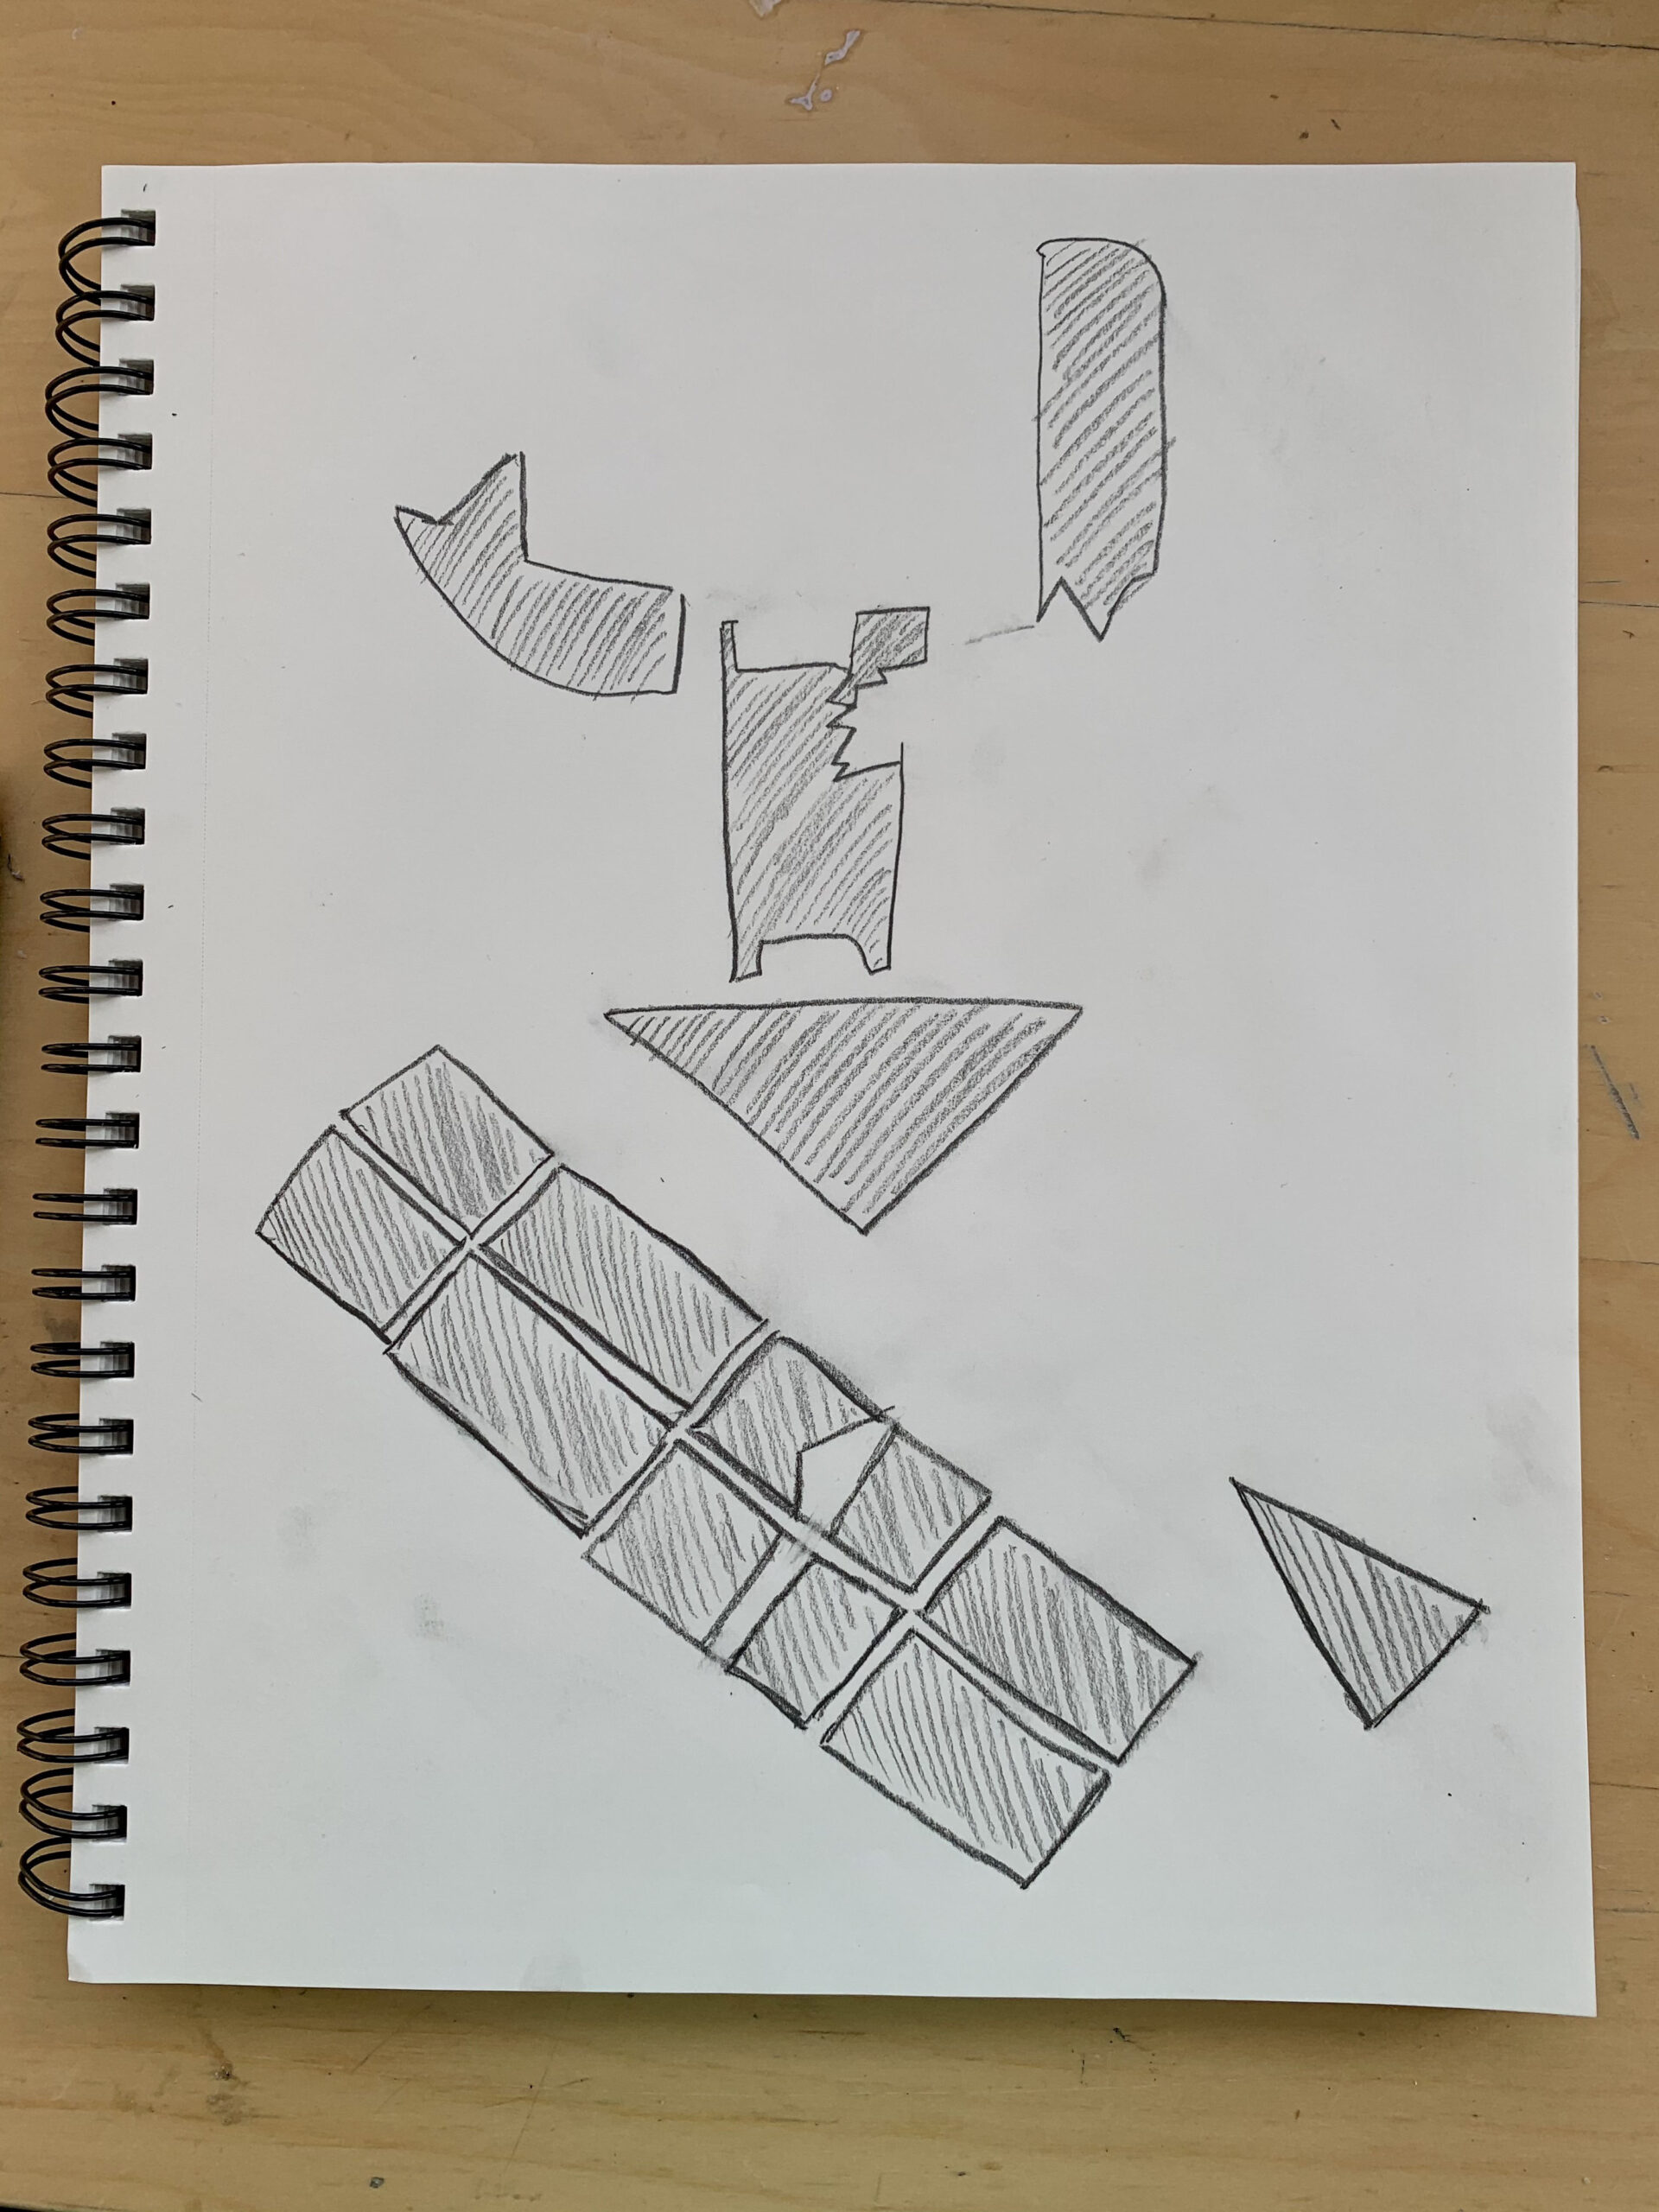
After students finish their drawings, ask:
- What new negative spaces did you notice while drawing?
Resources
Siah Armajani. Dictionary for Building: From First Floor to Third Floor. 1974-1975, The Metropolitan Museum of Art, New York
More work by Siah Armajani: https://walkerart.org/collections/artists/siah-armajani
Discussion with Siah Armajani: https://www.youtube.com/watch?v=AXhtCwAXZbI
Imaginary architecture lesson inspired by artist James Casebere. Nassau County Museum of Art: https://nassaumuseum.org/wp-content/uploads/2020/04/Museum-Kid-Art-Activity-James-Casebere.pdf