Overview
“Three-dimensional art expands possibilities for children who are already skilled with drawing and painting. It challenges children to add depth to the visual two-dimensional work, moving up and down, how lines and shapes take up space, how they fit together, balance or collapse.”
–Ann Pelo
Grade Level
Pre-Kindergarten (Three- and Four-Year Old’s)
Media
Clay, Paper Sculpture
Essential Question
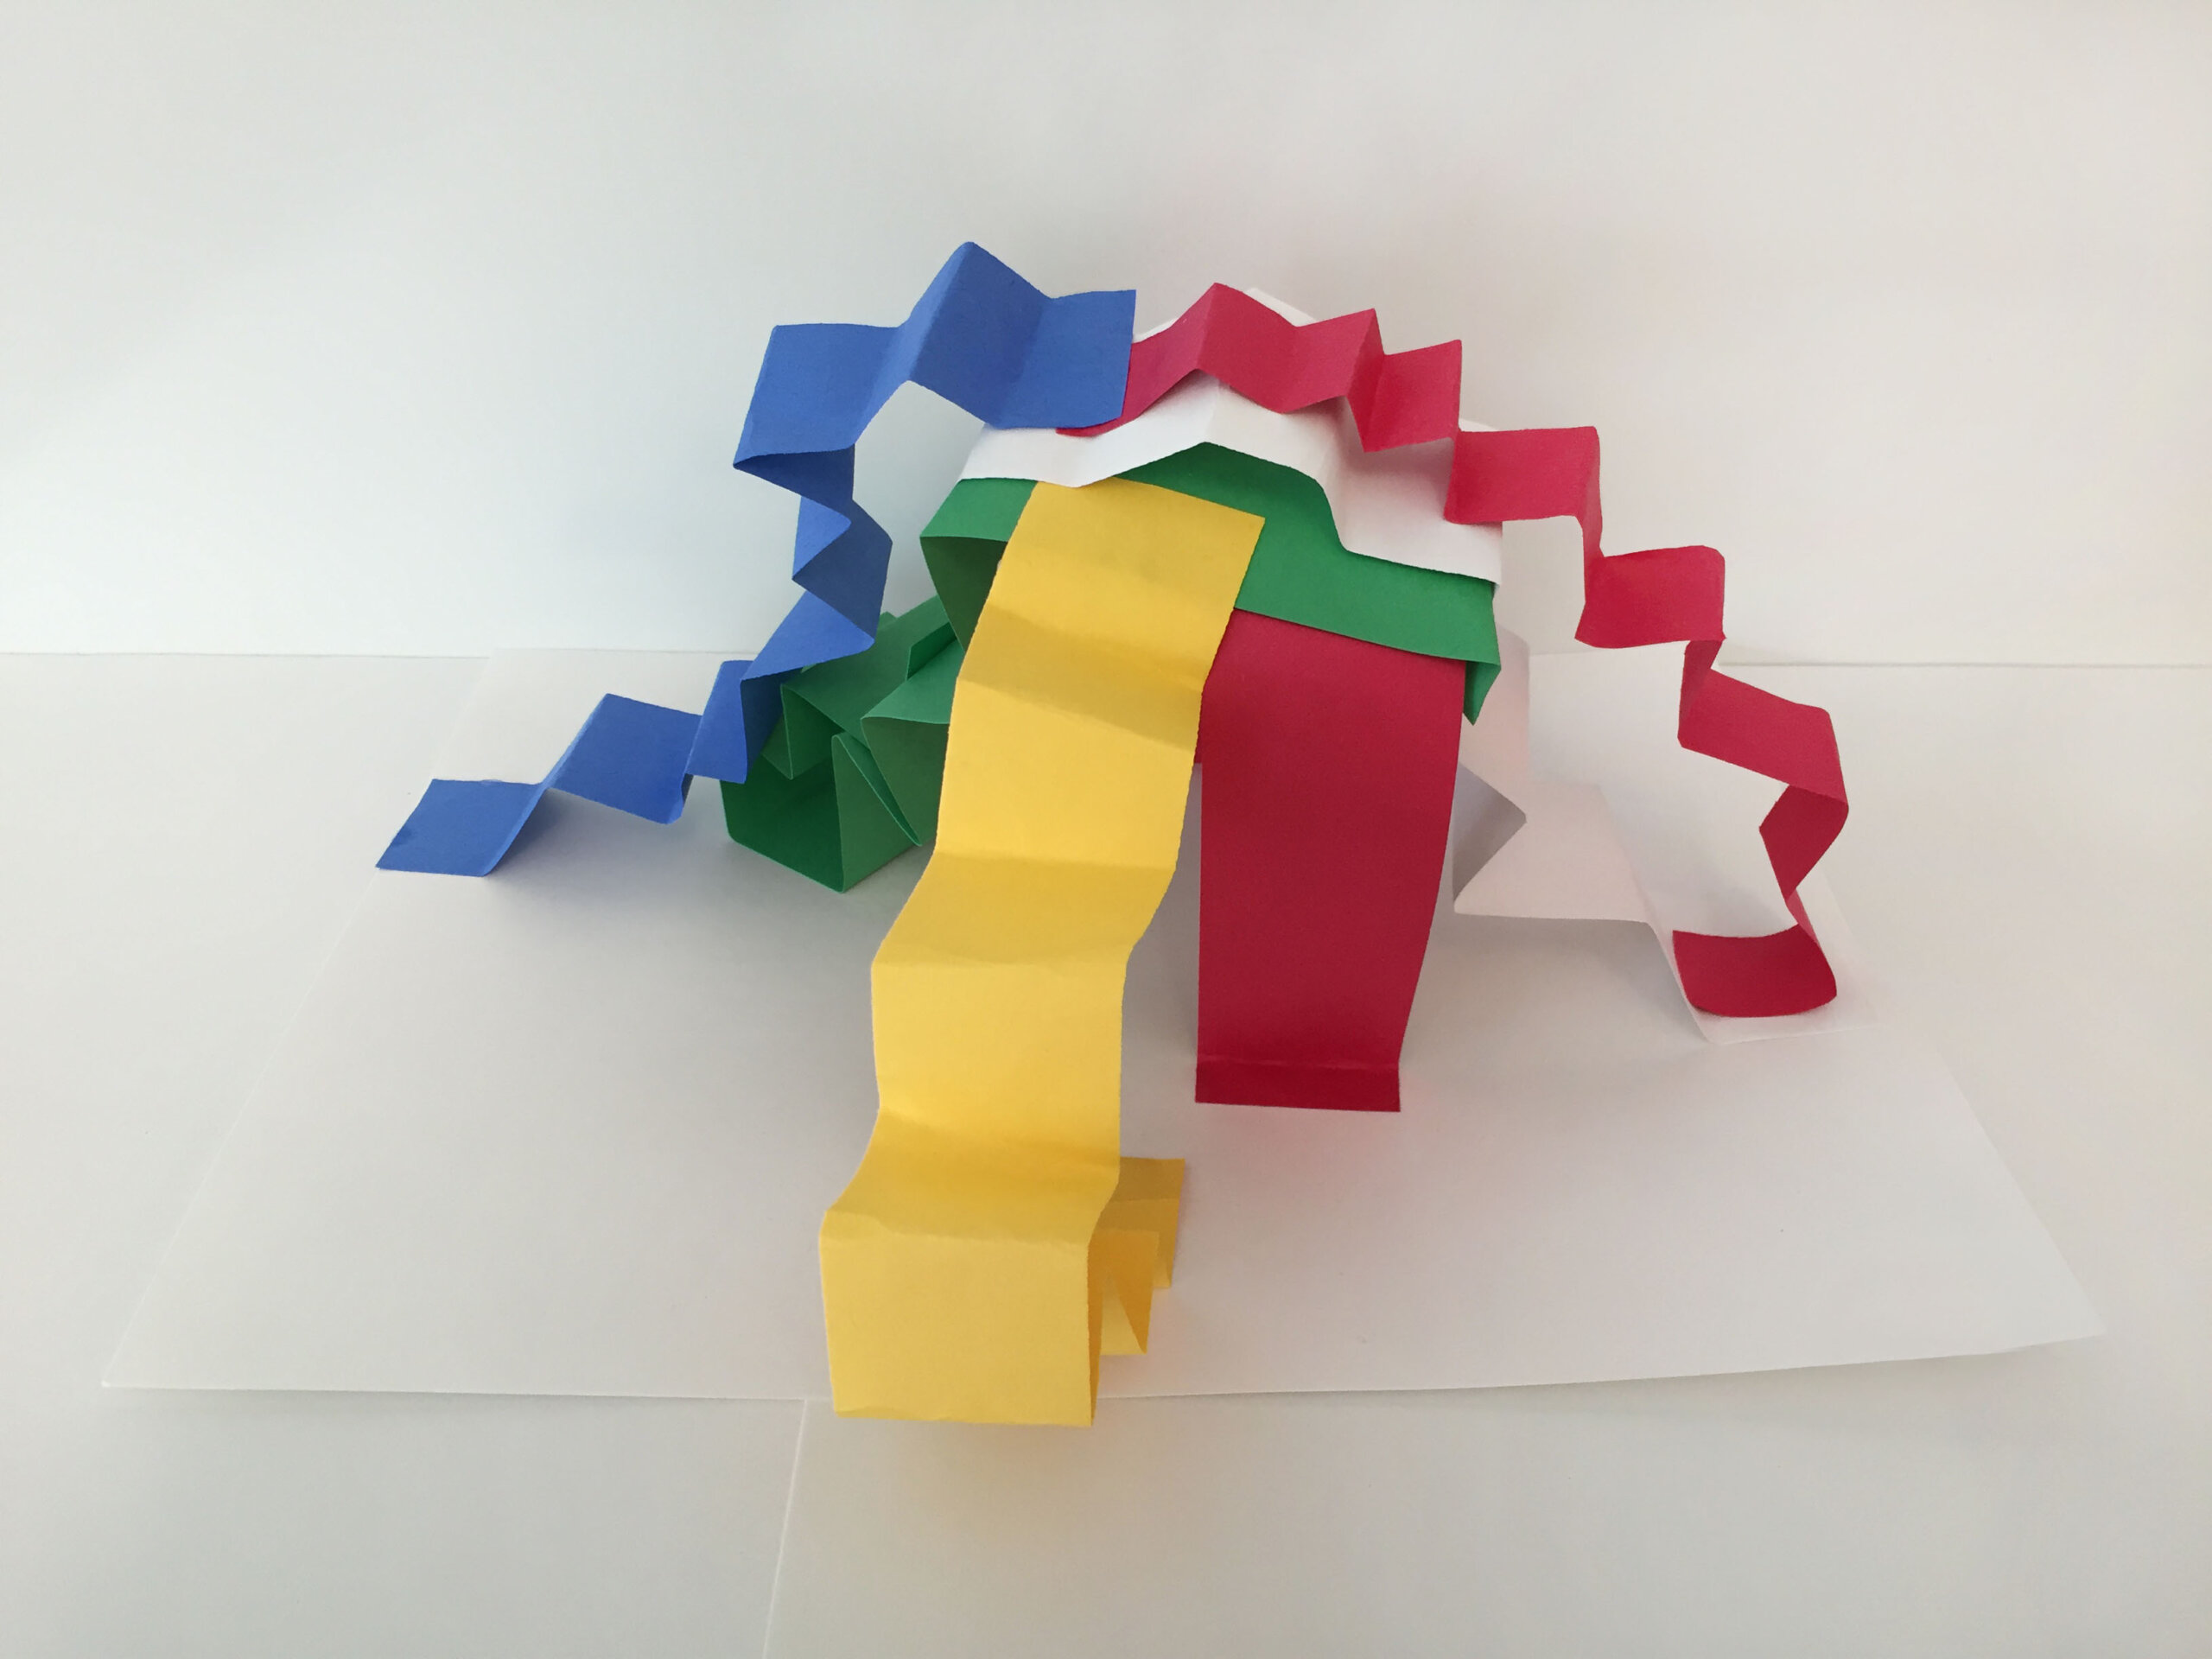
How can we make paper stand up?
Materials
- Construction paper cut into strips
- Case paper — black or white (9 x 12”)
- Glue in soufflé cups
- Craft sticks
Activities
Step 1: Invitation to Explore
- What do you see on my tray today?
- Today we are going to do something different with paper!
- How do you think we can make the paper stand up?
- What helps you to stand up?
- Have a student stand up and ask again.
- You have feet. Let’s see if we can give our paper feet.
- Model folding and pinching the strips of paper.
- How can we make it stay standing up on our base paper?
- Demonstrate the glue routine: “dip, dip, dip” in the glue, “tap, tap, tap” on the side to wipe off the excess and “spread, spread, spread” on the foot.
- What else can we do with the paper to make it stand up, and where can we add it to our base paper?
- Model over, under, around, and on top.
- Turn the paper sculpture around to look at it from all sides.
- It looks different as we turn it around. We made a paper sculpture. It’s three-dimensional! It has a top, bottom, and sides. It sticks up and out into space!
- Now it’s your turn. Let’s go create a sculpture!
Step 2: Work-time
- Invite students to begin making their own sculptures.
- Have students write their names on the back of their base paper before they begin.
- Circulate the room and observe students as they begin to work. Some students may need help folding, gluing, and arranging their strips of paper. Often peers offer to help one another.
- You may have to remind students about the gluing routine, “dip, dip, tap, tap,” as they work.
- Comment about where students are placing the colored paper strips: over, around, and under. For example, “I noticed you put a red strip over a blue strip,” etc.
- When students have finished working on their paper sculptures, leave them on the tables.
Step 3: Reflection
- This lesson is a perfect opportunity for a “gallery walk.”
- Explain to the students that the best way to view three-dimensional artwork is to walk around the classroom, and to look at the sculptures from all angles.
- Tell students to form a single-file line. Explain that they will walk around the classroom and look at each other’s sculptures.
- Before the “gallery walk” begins, explain to the students that they should look carefully at the works of art and notice a part of a sculpture that is different from their own. For example, perhaps a student has twisted a strip of paper around another strip of paper or folded their strip of paper like a staircase.
- Notice the many different approaches to making a paper sculpture.
- Ask a few students to share their observations with the group.
Tips
- Make sure to allow ample time for students to explore different ways of making the paper stand up. This is an ideal time to observe problem solving in action.
- This exploration is scissors free! Do not pass out scissors. Observe the many different ways students manipulate their paper. Resist requests for scissors!
- Offer help to students who might be struggling to glue down one part of the paper strip while trying to hold on to another part of the paper. If you can help at the beginning of the exploration, students are more likely to remain engaged and interested in creating.
- You may want to implement a “turn and talk” reflection strategy for this activity. Students can walk around the classroom in pairs. For example, they can find a sculpture that they find interesting and talk about it with a partner.
- This lesson is perfect for a group activity or a parent workshop.
Vocabulary
Three-dimensional, two-dimensional, sculpture, under, over, around, on top of, fold, bend, twist