Overview
Students will draw a variety of lines and organic shapes.
Materials and Tools
- 2 sheets of white paper, 9 x 12” or 12 x 18”
- An Ebony or regular pencil
- Lines and Shapes video
- Lines and Shapes student slides
Objectives
Students will understand that:
- Changing the position or pressure of our hand creates different line qualities.
- Organic shapes are invented shapes that remind us of things in nature.
- Lines and shapes convey different feelings, emotions and ideas.
Students will be able to:
- Control their pencil and use different hand positions to make light/dark and thin/thick lines.
- Draw and identify a variety of lines and describe associated feelings.
- Use and combine different lines to draw organic shapes.
Activities
Step 1:Introduction to the lesson, view Lines and Shapes video (11 minutes)
Hello artists! Today we are going to start our drawing unit by talking about lines. What are “lines”? What lines do you notice when you look around the room you are in?
Artists use lines to show both what they see, and to express different ideas. How can we draw different kinds of lines? And how can a line express a feeling? Let’s find out. View the Lines and Shapes video from the beginning to 06:32 to learn how to use your pencil to draw different types of lines and explore how these lines convey feelings.
Step 2: Exploring our pencil and drawing lines, with student slides #4 -7 (15 minutes)
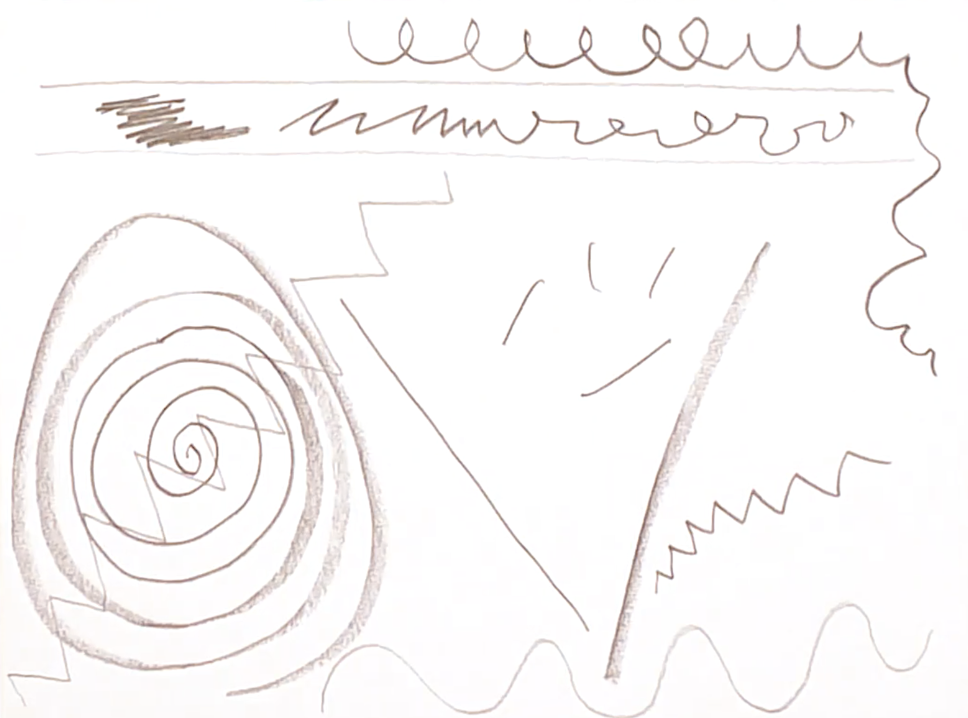
Let’s begin by exploring drawing different lines. Student slide #4 shows how we can use our pencil to make light and dark, and thin and thick lines. Notice how the artist holds the pencil loosely and uses very little pressure on the pencil to make thin, light lines. What do you notice about how the artist makes dark lines, and thick lines? Have you used your pencil like this before?
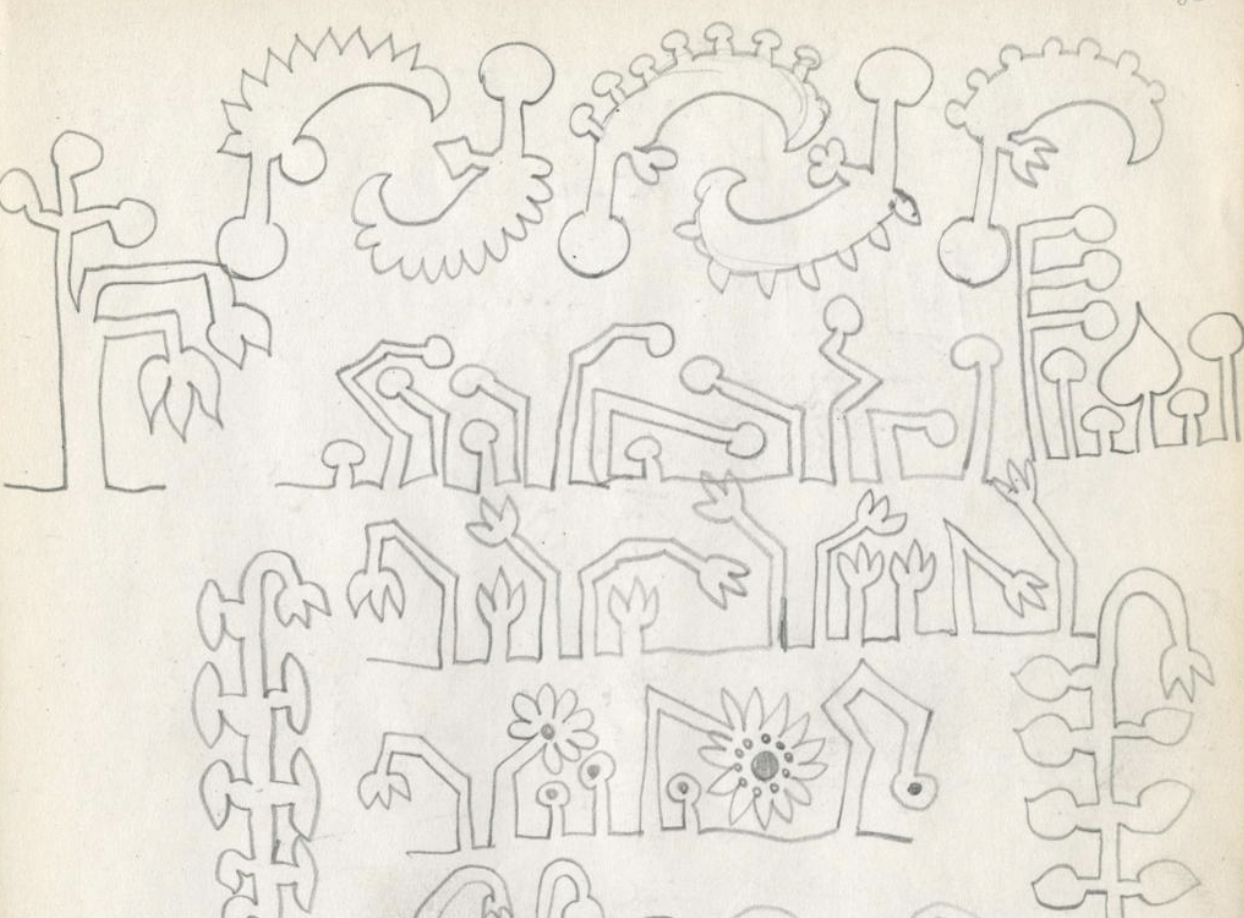
Student slide #6 shows an example of a drawing with many kinds of lines. What is one of the lines that you notice in the drawing? How can you describe this line? What does this line remind you of? What feeling or emotion does this line express? What makes you say that?
Now it’s your turn to explore drawing different kinds of lines. Try all the suggestions on the slides and see what else you can do.
Here are the suggestions:
- Drawing thin, light lines
- Drawing dark lines
- Holding your pencil from above to draw thick lines
- Drawing lines that convey an emotion or feeling
- Combining different lines to create your own lines
Step 3: Drawing organic shapes, with student slides #8 and 9 (15 minutes)
Now how can we change these lines to make them into interesting shapes? View the Lines and Shapes video from 06:32 to the end to learn how to use different types of lines to create organic shapes.
Student slide #8 shows what happens when any kind of line closes—it makes a shape! An invented shape like this is called an organic shape. Organic shapes are often the shapes of things that grow, or that we might find outside in a park or in the sky. Why do you think we call these shapes “organic”? How do you think artists use organic shapes in their work?
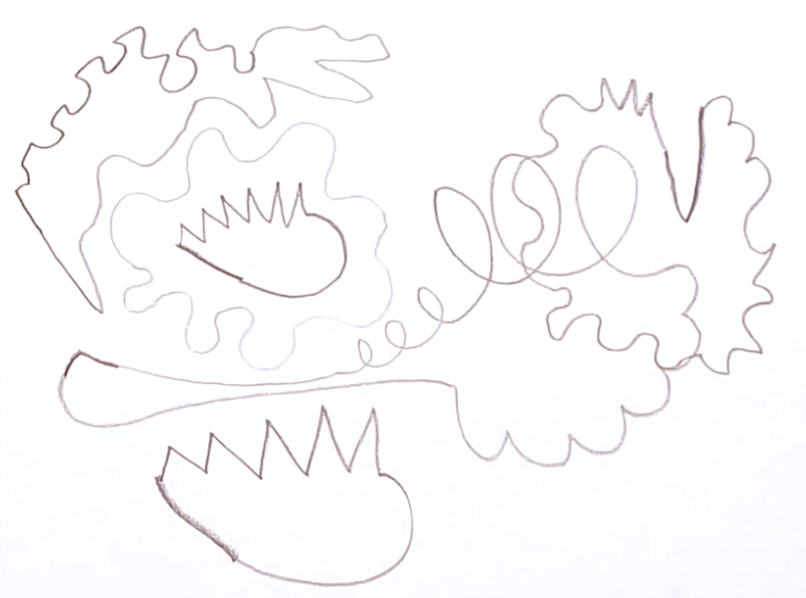
On your second paper, try drawing a few organic shapes using different kinds of lines. Then, choose 2-3 different lines and combine them to make a new shape.
Step 4: Reflection Questions for Discussion (10 minutes)
Questions for Individual Students
Line drawings:
- How did you use your pencil to draw these lines?
- What emotion or feeling does this line have?
Shape drawings:
Pick one of your favorite shapes.
- How can you describe this shape?
- What lines did you use to make it?
- If you could feel the edge of this shape with your hand, what do you imagine it would feel like?
Questions for Whole Group
- How do you think the artist used their pencil to draw these lines?
- Describe a favorite shape that you notice in this drawing.
- What lines did the artist use to make it?
- If you could feel the edge of this shape with your hand, what do you imagine it would feel like?
Vocabulary
Drawing
Ebony pencil
Overlap
Organic shapes
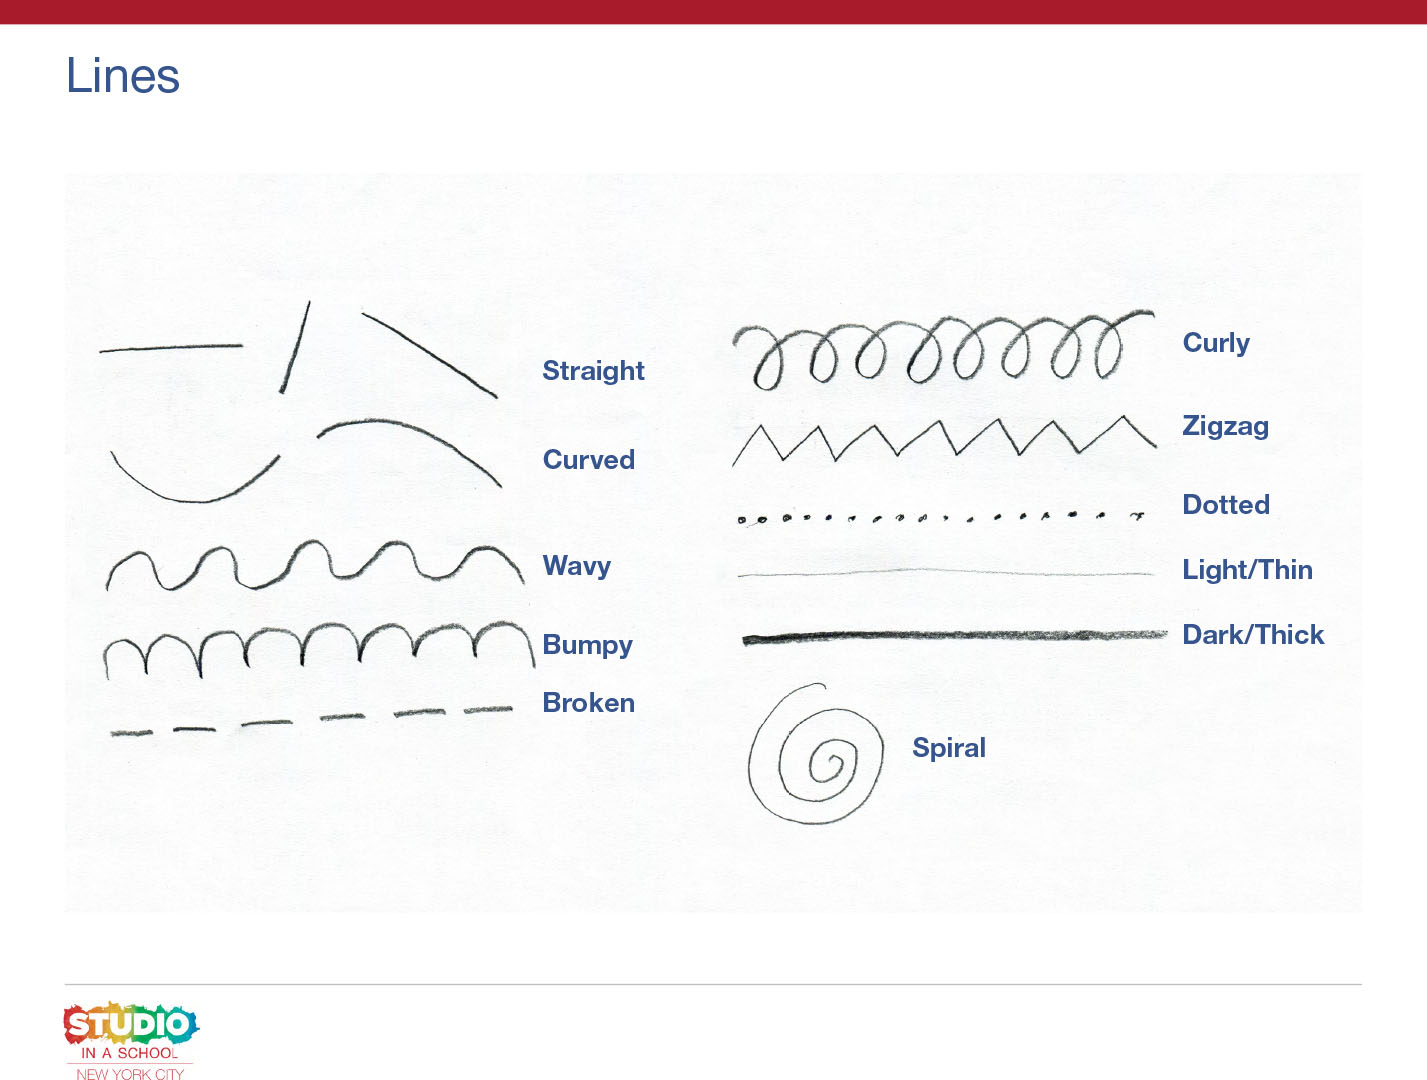
Lines: straight, bumpy, zigzag, wavy, curly, dotted, broken, spiral
Line qualities: soft/hard, light/dark, thin/thick, short/long
Resources
Charles E. Burchfield. Untitled. 1916, Graphite on paper. Charles E. Burchfield Foundation Archives at the Burchfield Penney Art Center, Buffalo. https://burchfieldpenney.org/art-and-artists/artwork/object:a2006-008-005-079-80-untitled/
Resource: Explore shapes in works of art in the lesson: Elements of Art: Shape from the National Gallery of Art: https://ny.pbslearningmedia.org/resource/shape-image-gallery/elements-of-art-national-gallery-of-art/
Explore shapes in works of art in the lesson: Elements of Art: Shape from the National Gallery of Art:
https://ny.pbslearningmedia.org/resource/shape-image-gallery/elements-of-art-national-gallery-of-art/
Adaptations
For Multilingual Learners
- Students can use their hands or bodies to show different kinds of lines and shapes.
- Students can show the hand and arm motions used to draw different lines and shapes.
- Students can share different sounds that they associate with their lines and shapes.