Overview
You will learn how to make your own viewfinder that you can use to view things from a new perspective.
Materials and Tools
- Smooth cardboard box
- Scissors
- Tape or scotch tape
Activities
A viewfinder is a simple device that allows you to isolate or “crop” a scene. You can adjust the viewfinder back and forth, left and right, up and down, or close up and far away, looking for the most dramatic and engaging composition. Try making this simple viewfinder to help you capture scenes or find things to look closely at that you would not otherwise notice. Artists, photographers, and filmmakers use viewfinders to compose a scene or capture an image for their work.
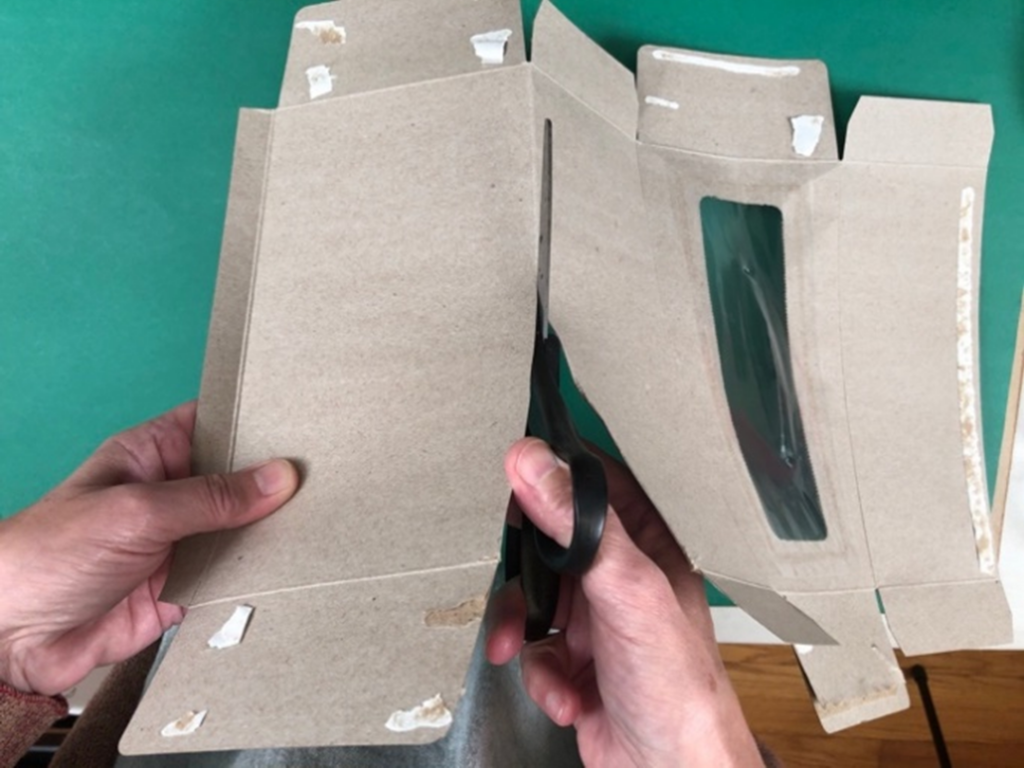
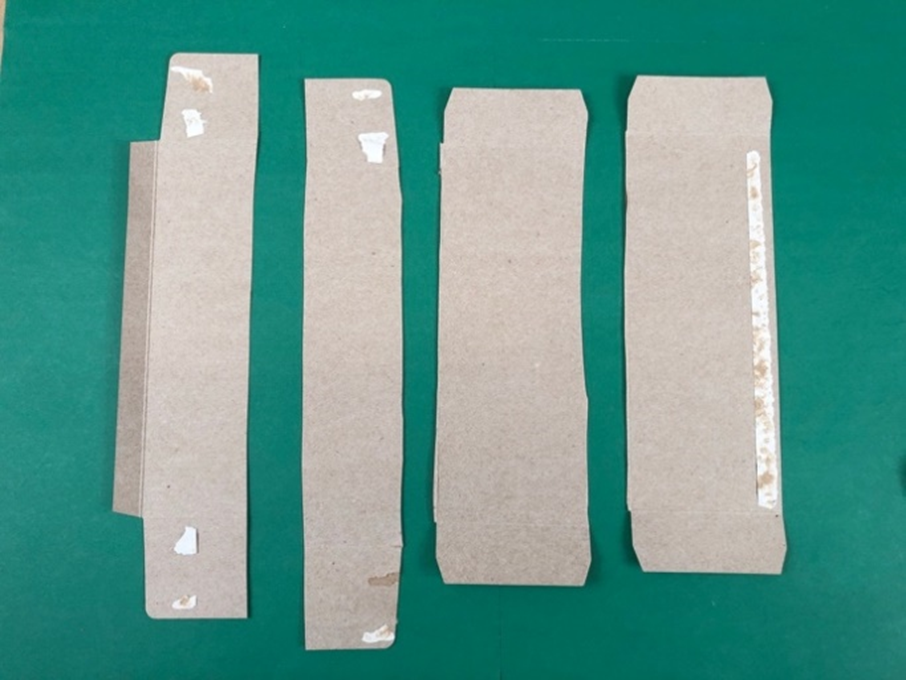
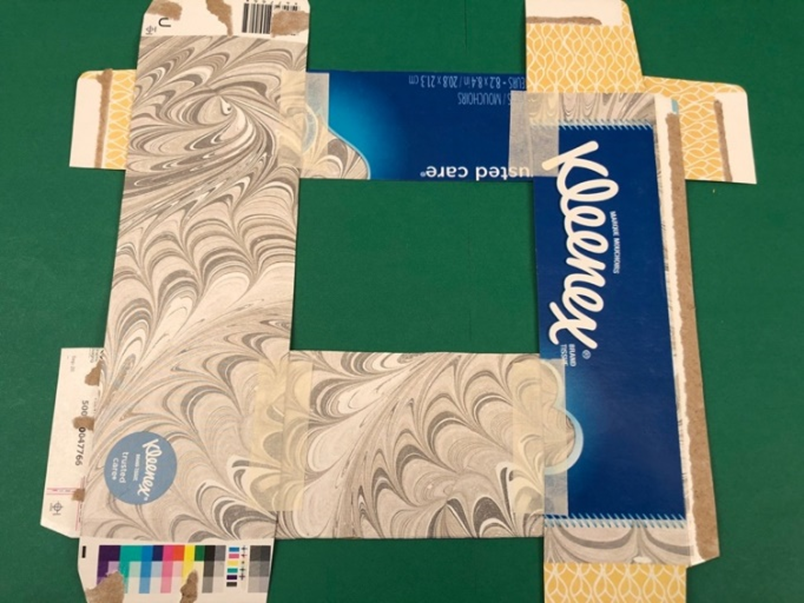
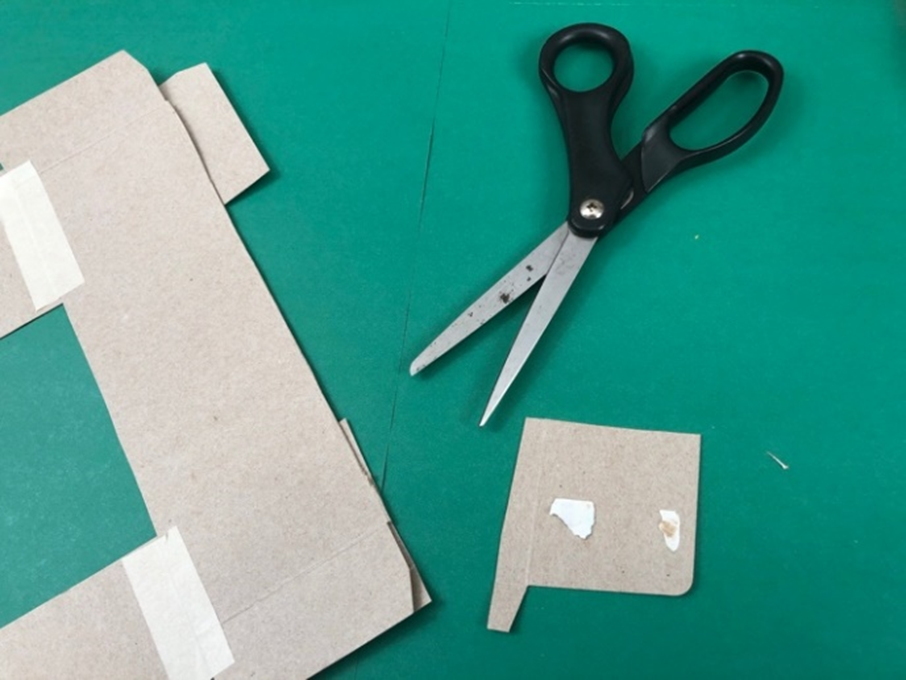
Step 1: Cut your box into 4 long straight pieces, you can use the folds as a guide.
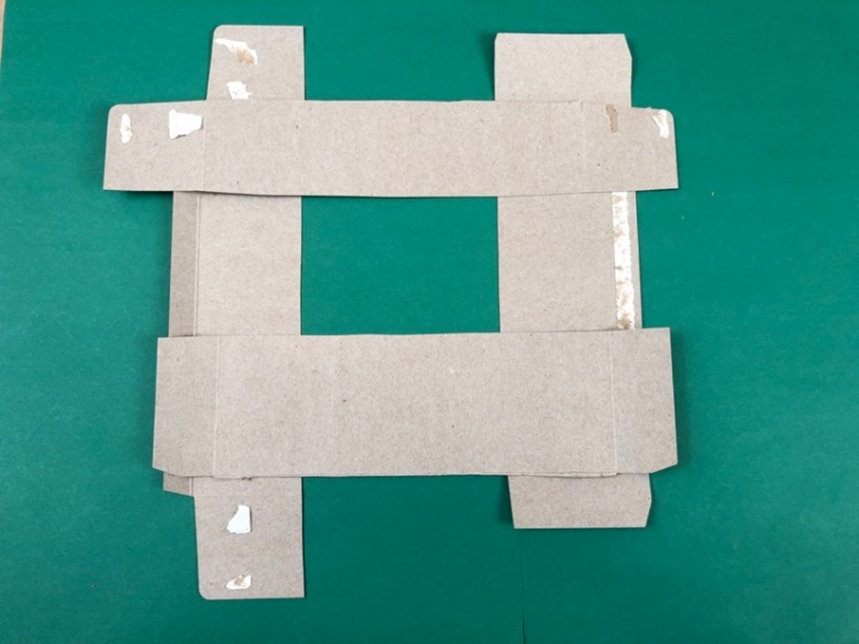
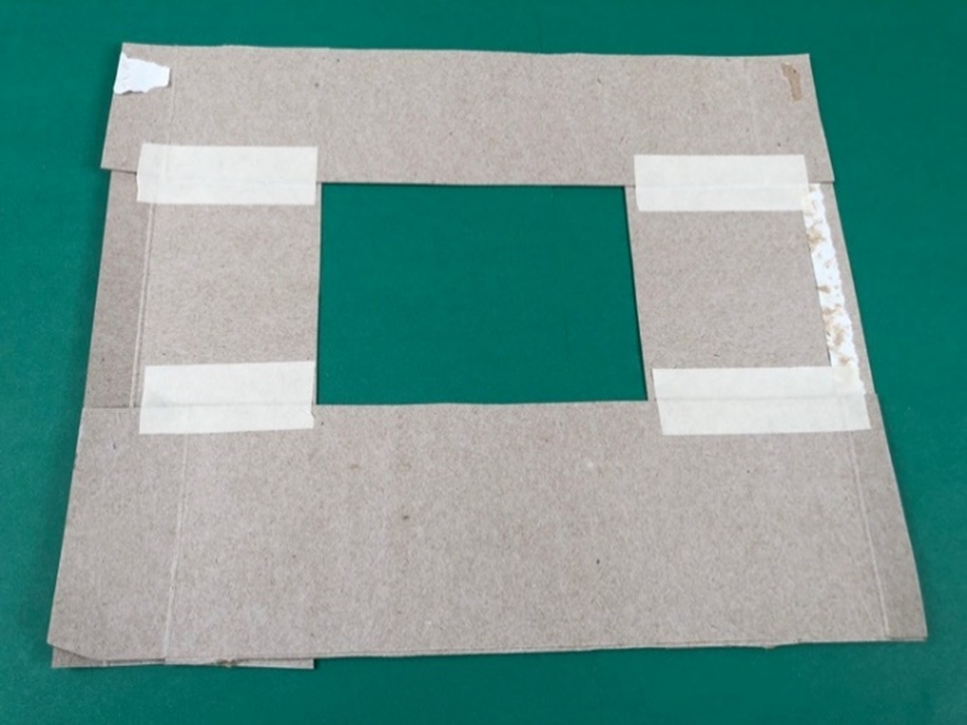
Step 2: Place your 4 pieces down to create a rectangular frame. You can estimate that your center rectangular space should be about 3 inches x 5 inches.
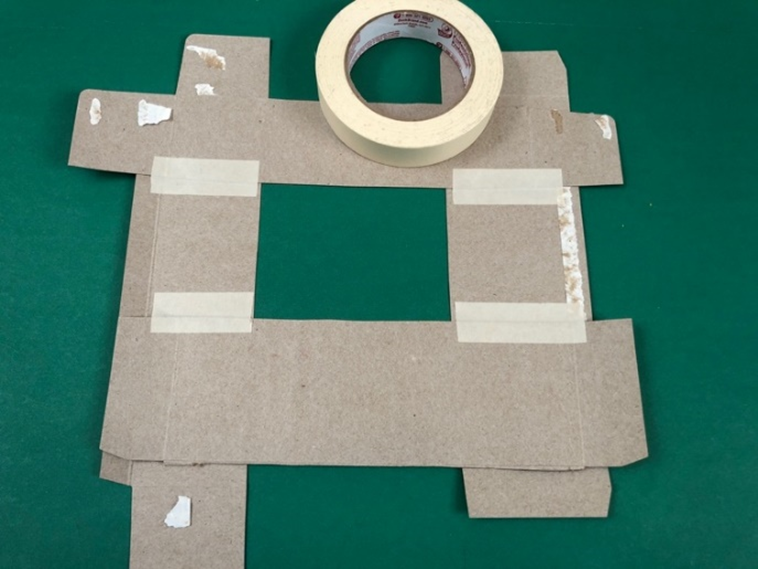
Step 3: Tape the cardboard together on the front and back.
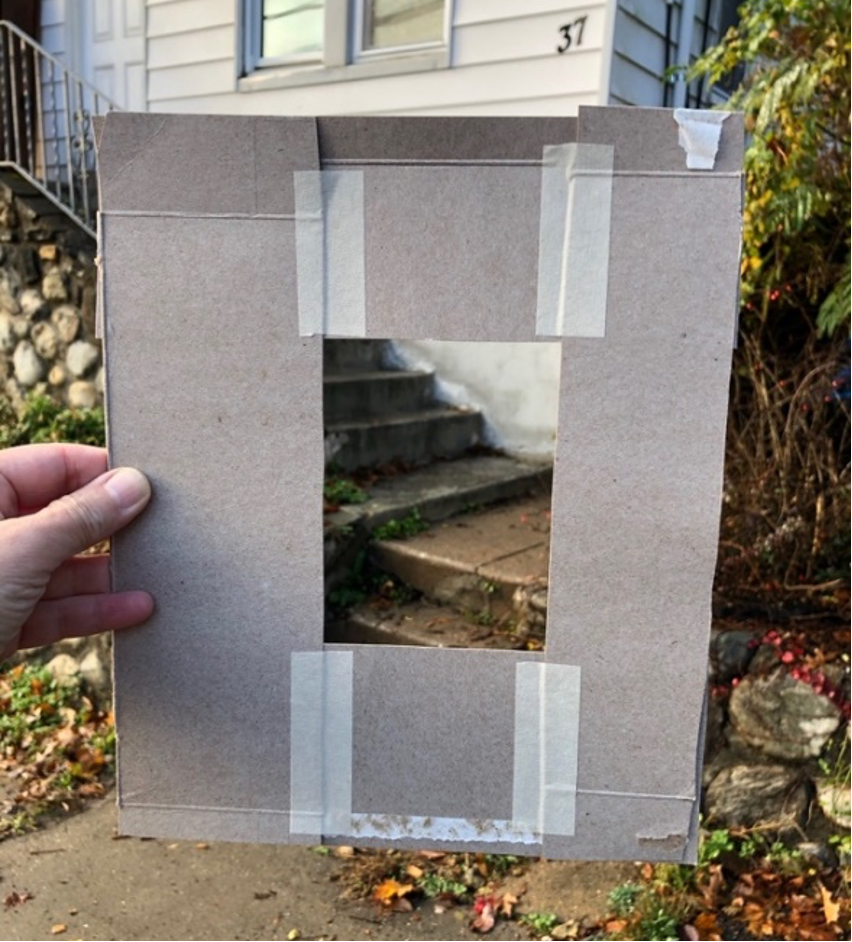
Step 4: Trim the outer edges of your viewfinder so you end up with a sturdy rectangular viewfinder.
Step 5: Carry your view finder with you and use it as a frame to help you think about composition and what you want to draw.
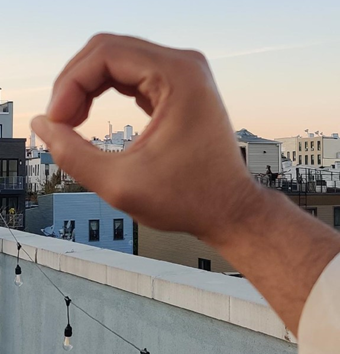
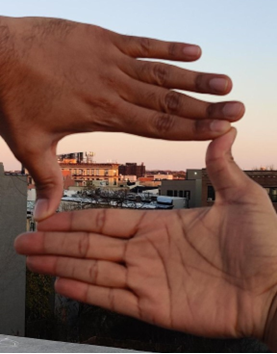
You can also use your hands as a view finder. Make a circle with your fingers to help you focus on a detail or build a square with two hands to help frame an area.
Credits
How to Make a Viewfinder
Written by Anne-Marie McIntyre, Artist Instructor
Lesson Development
Julie Applebaum, Senior Director
Copyright © 2023 Studio in a School NYC LLC