Overview
In this lesson, students will use value to create volume in a drawing of a round object.
Materials and Tools
- Pencil, pen, or crayon
- Paper or cardboard
- Round object
- Light source (lamp or window)
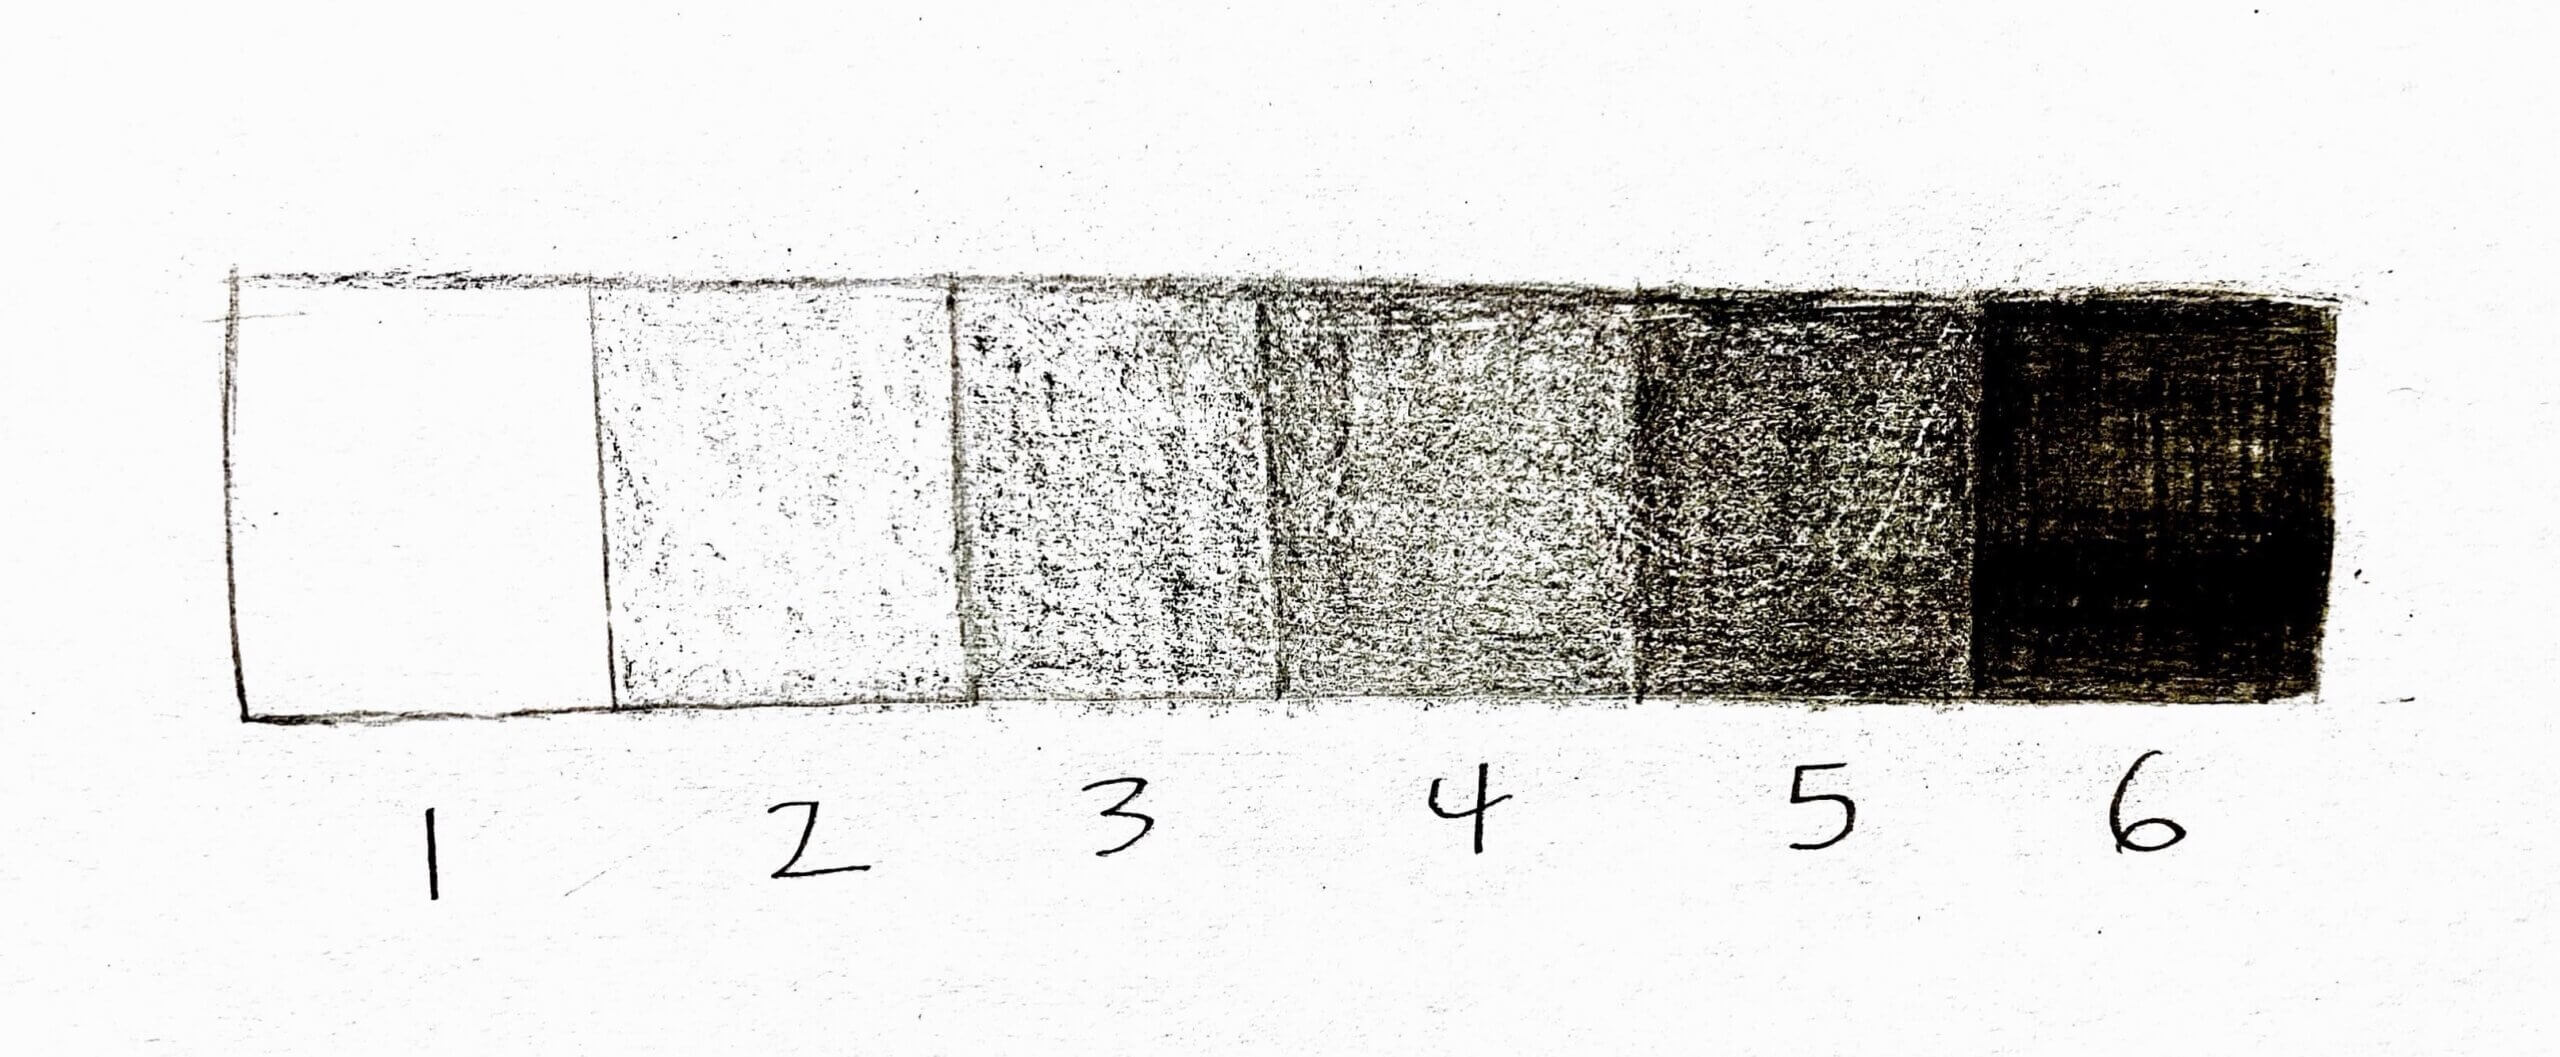
- Value scale
Objectives
Students will understand that:
- Value describes how light or dark a color appears.
- Value can create volume, or space, in a drawing.
Students will be able to:
- Use their understanding of value to create a drawing of a round object with volume.
Activities
Value can be used to create volume in a drawing. Volume is created when an object is drawn to look 3-dimensional.
In this lesson, we will draw a round object with a full range of value.
Step 1: Position a round object on a clean surface
A ball, piece of fruit, egg, or even a mug will work well for this drawing.
Place the object on a white surface to make the cast shadow more easily identifiable.
Step 2: Choose a light source
A light source is the place where light comes from when it hits an object. Here are some terms we’ll use to describe what we see when light hits an object.
- Highlights are the areas on an object that catch the most light.
- Mid-tones are areas with little highlight or shadow.
- Shadows are the darkest area on the actual object.
- Cast Shadows are the shadows made by an object.
The position of a light source changes the highlights and shadows on and around an object.
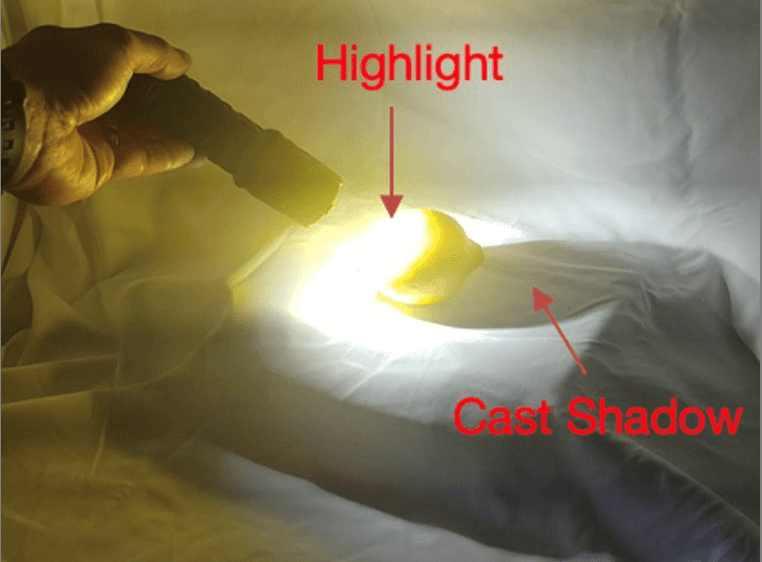
Look at the following examples:
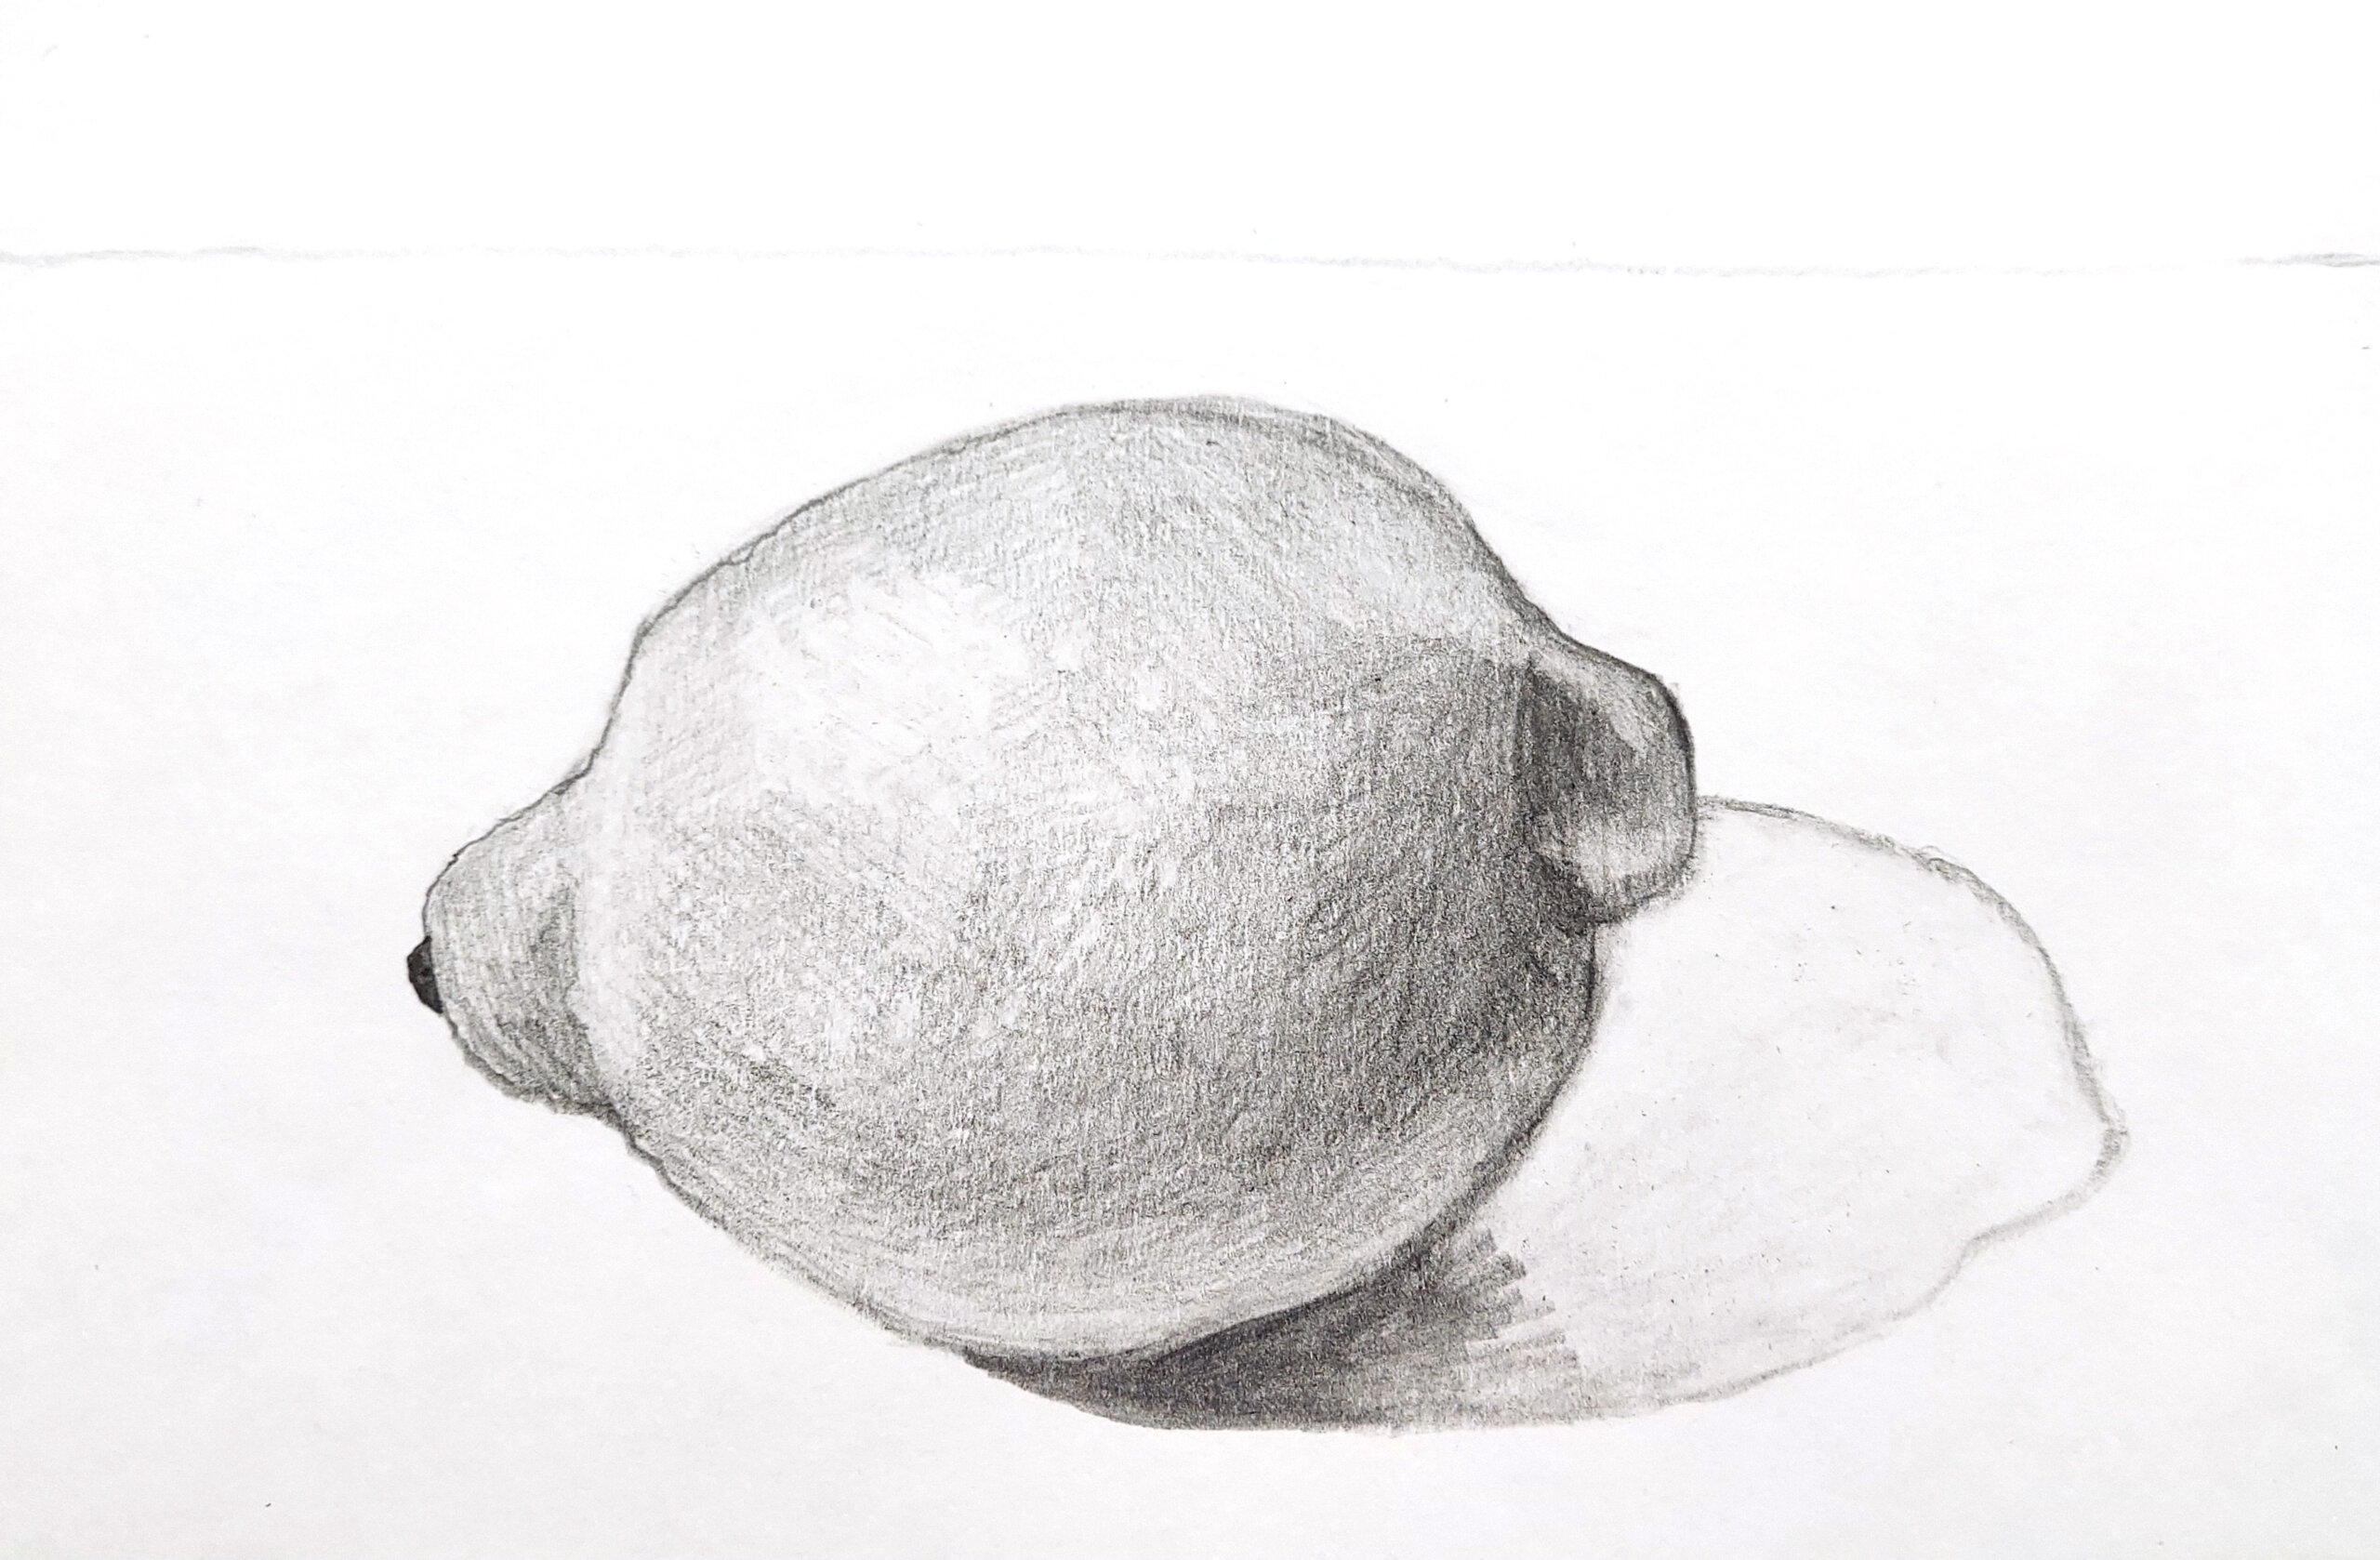
When the light source is close to and above the lemon, the highlight is very large, and the cast shadow is very long.
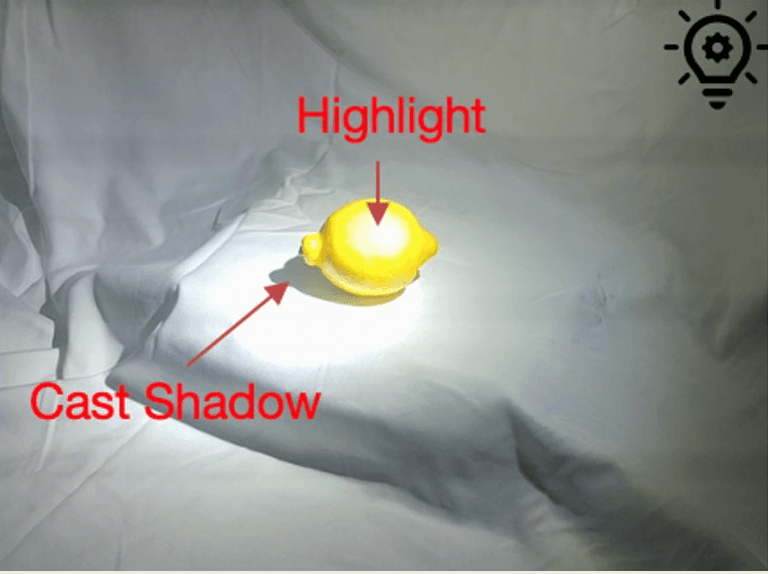
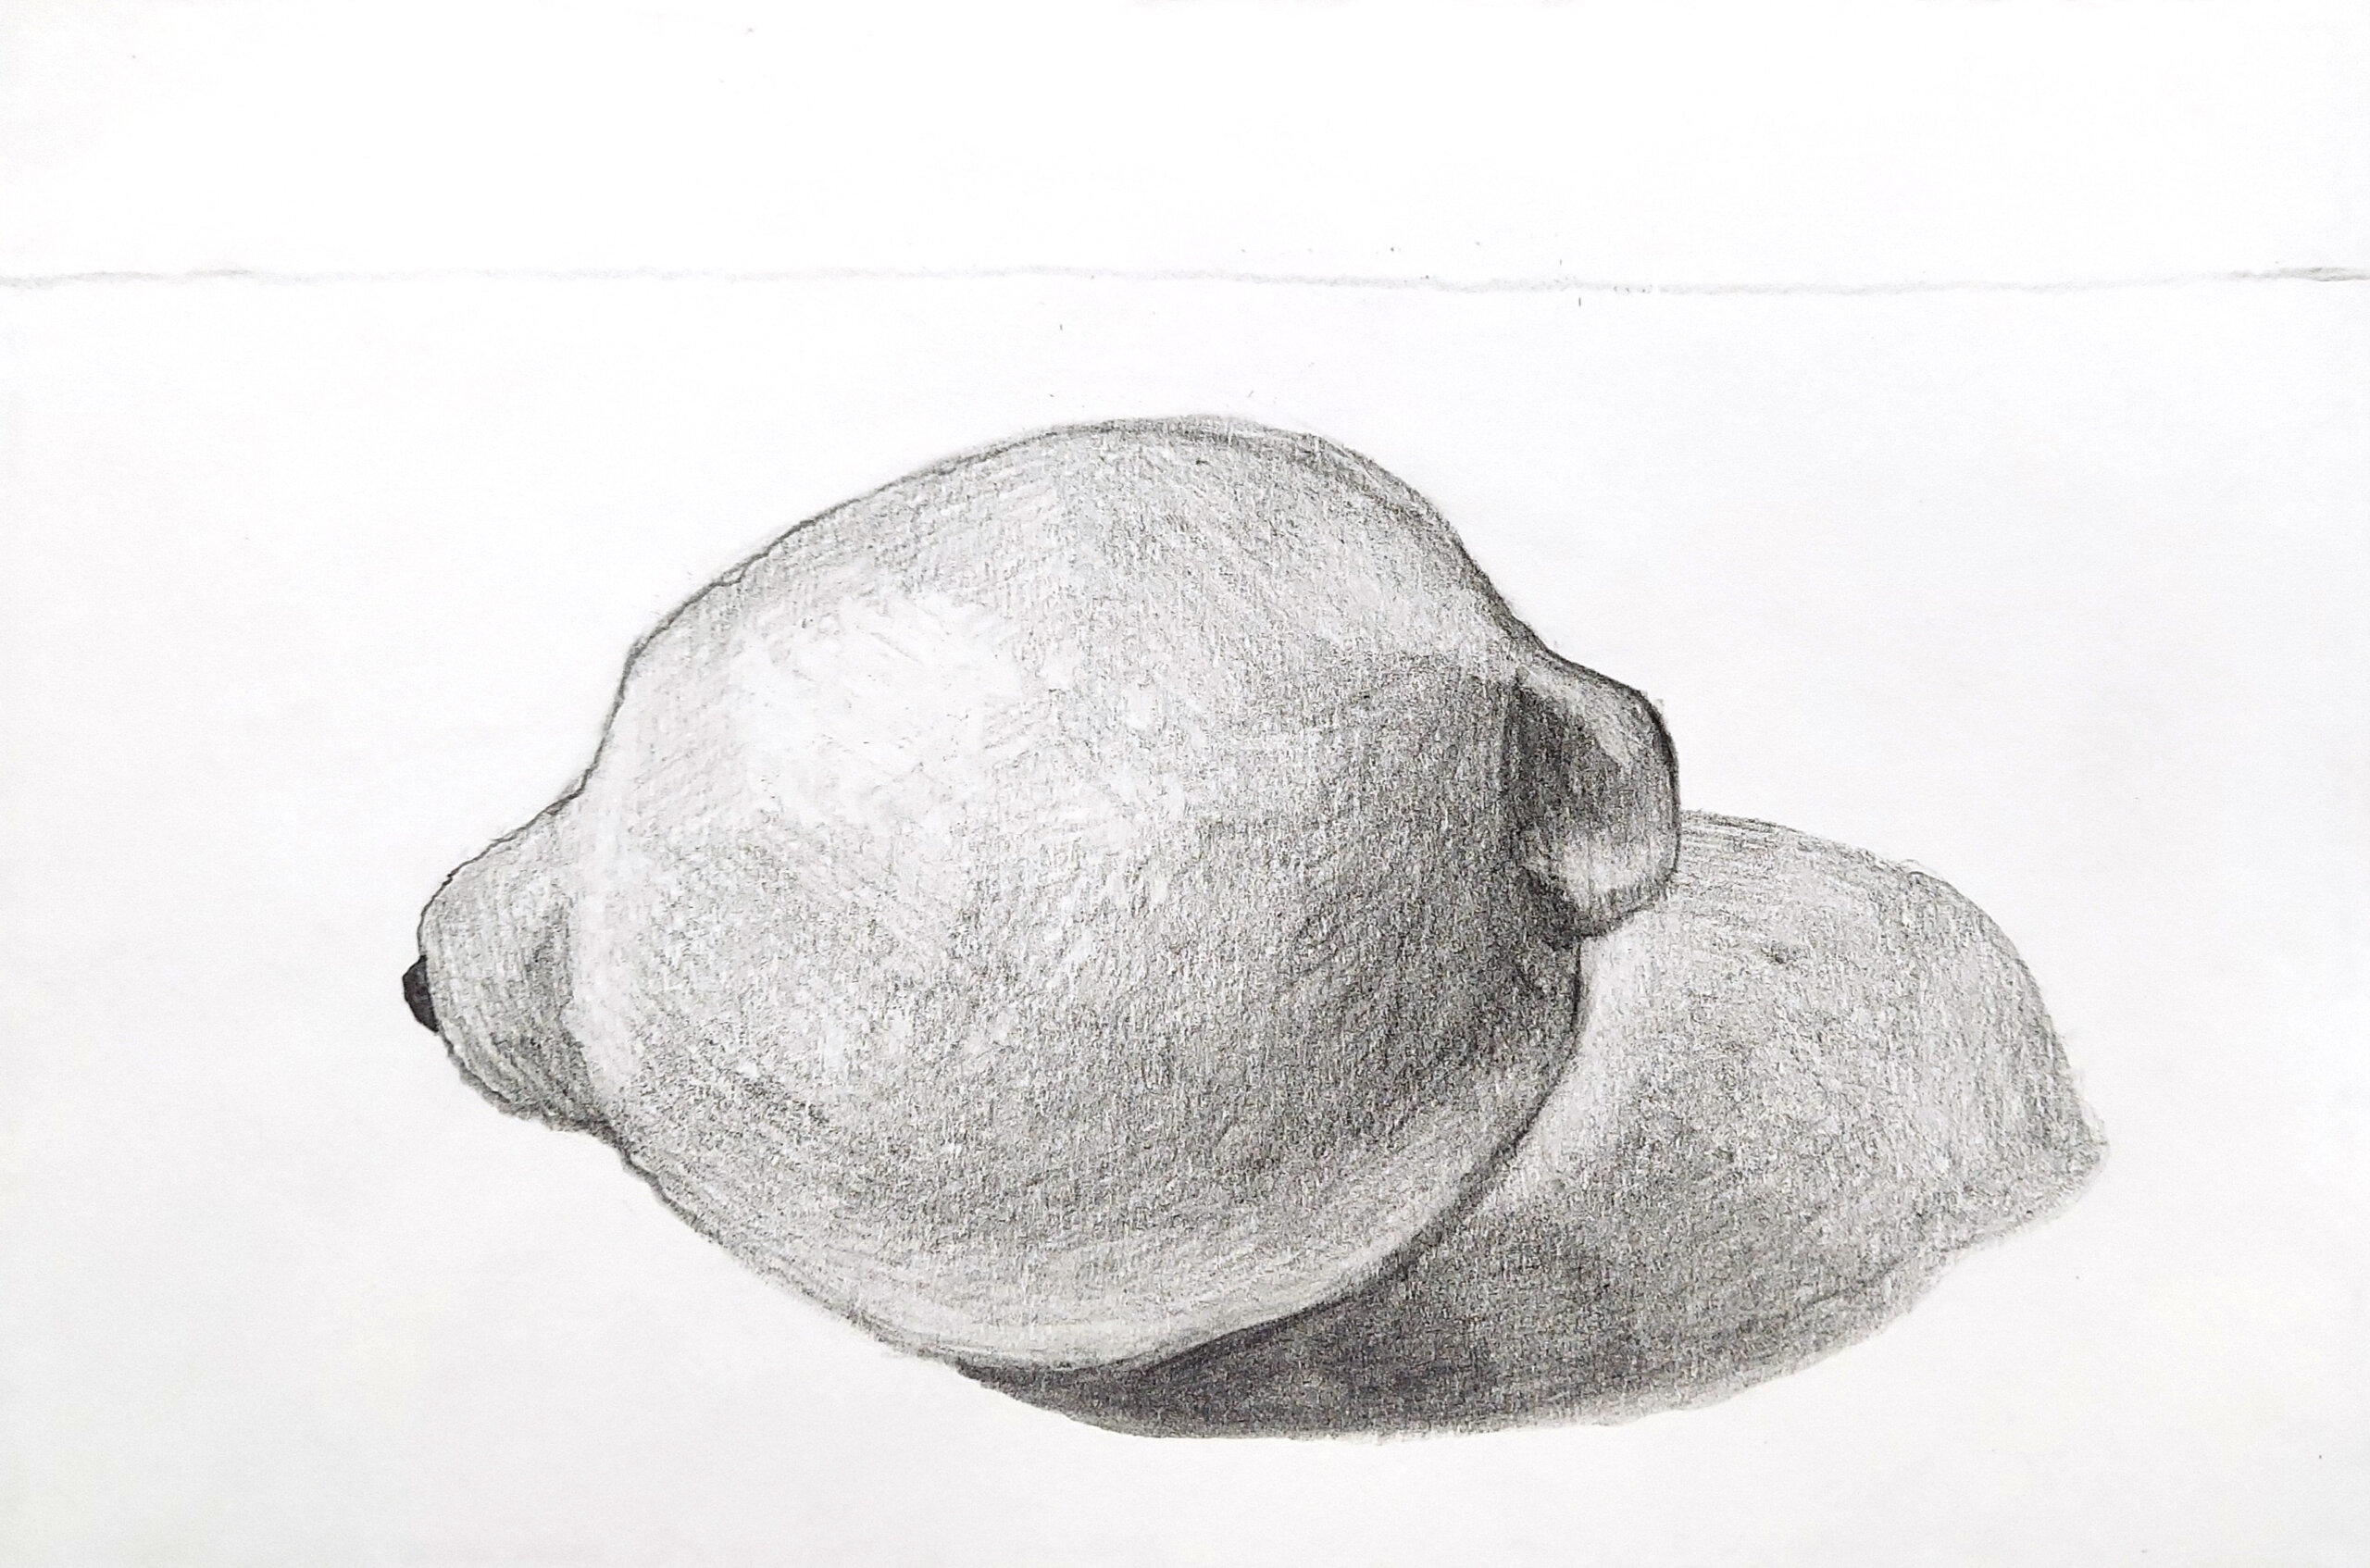
When the light source is farther away and higher above the lemon, the highlight and cast shadow are smaller.
*Here the lightbulb icon indicates the light source.
When there are two light sources, there are two highlights and two cast shadows.
*Here the lightbulb icon indicates the light source.

Ask students:
- How does the size of a highlight change when the position of the light source is adjusted
- How does the size of the cast shadow change?
Experiment with the position of a light source, moving the object if needed.
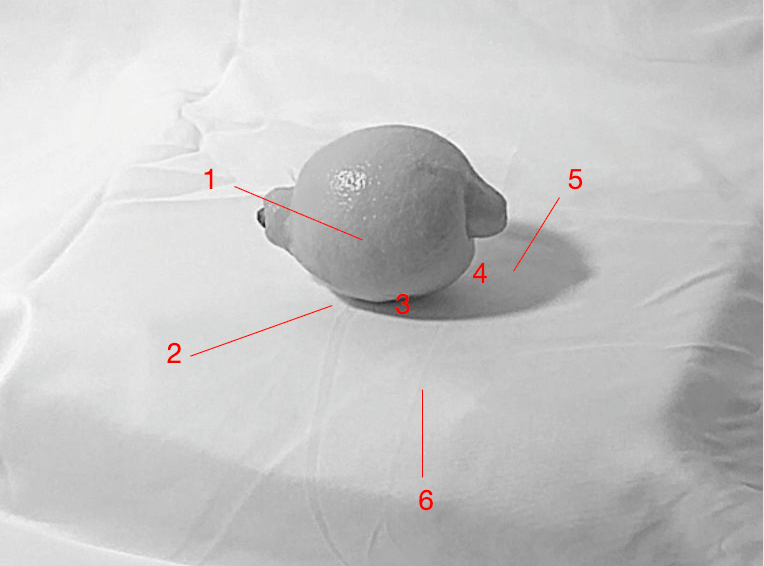
Step 3: Identify the values on and around an object
There is a range of values throughout this lemon and its cast shadow. Have students use a value scale to determine the values of the highlights, mid-tones, shadows, and cast shadows that they see on your object.
*The photo has been changed from color to black and white to make the values clear.
Highlight Mid-tones Shadows
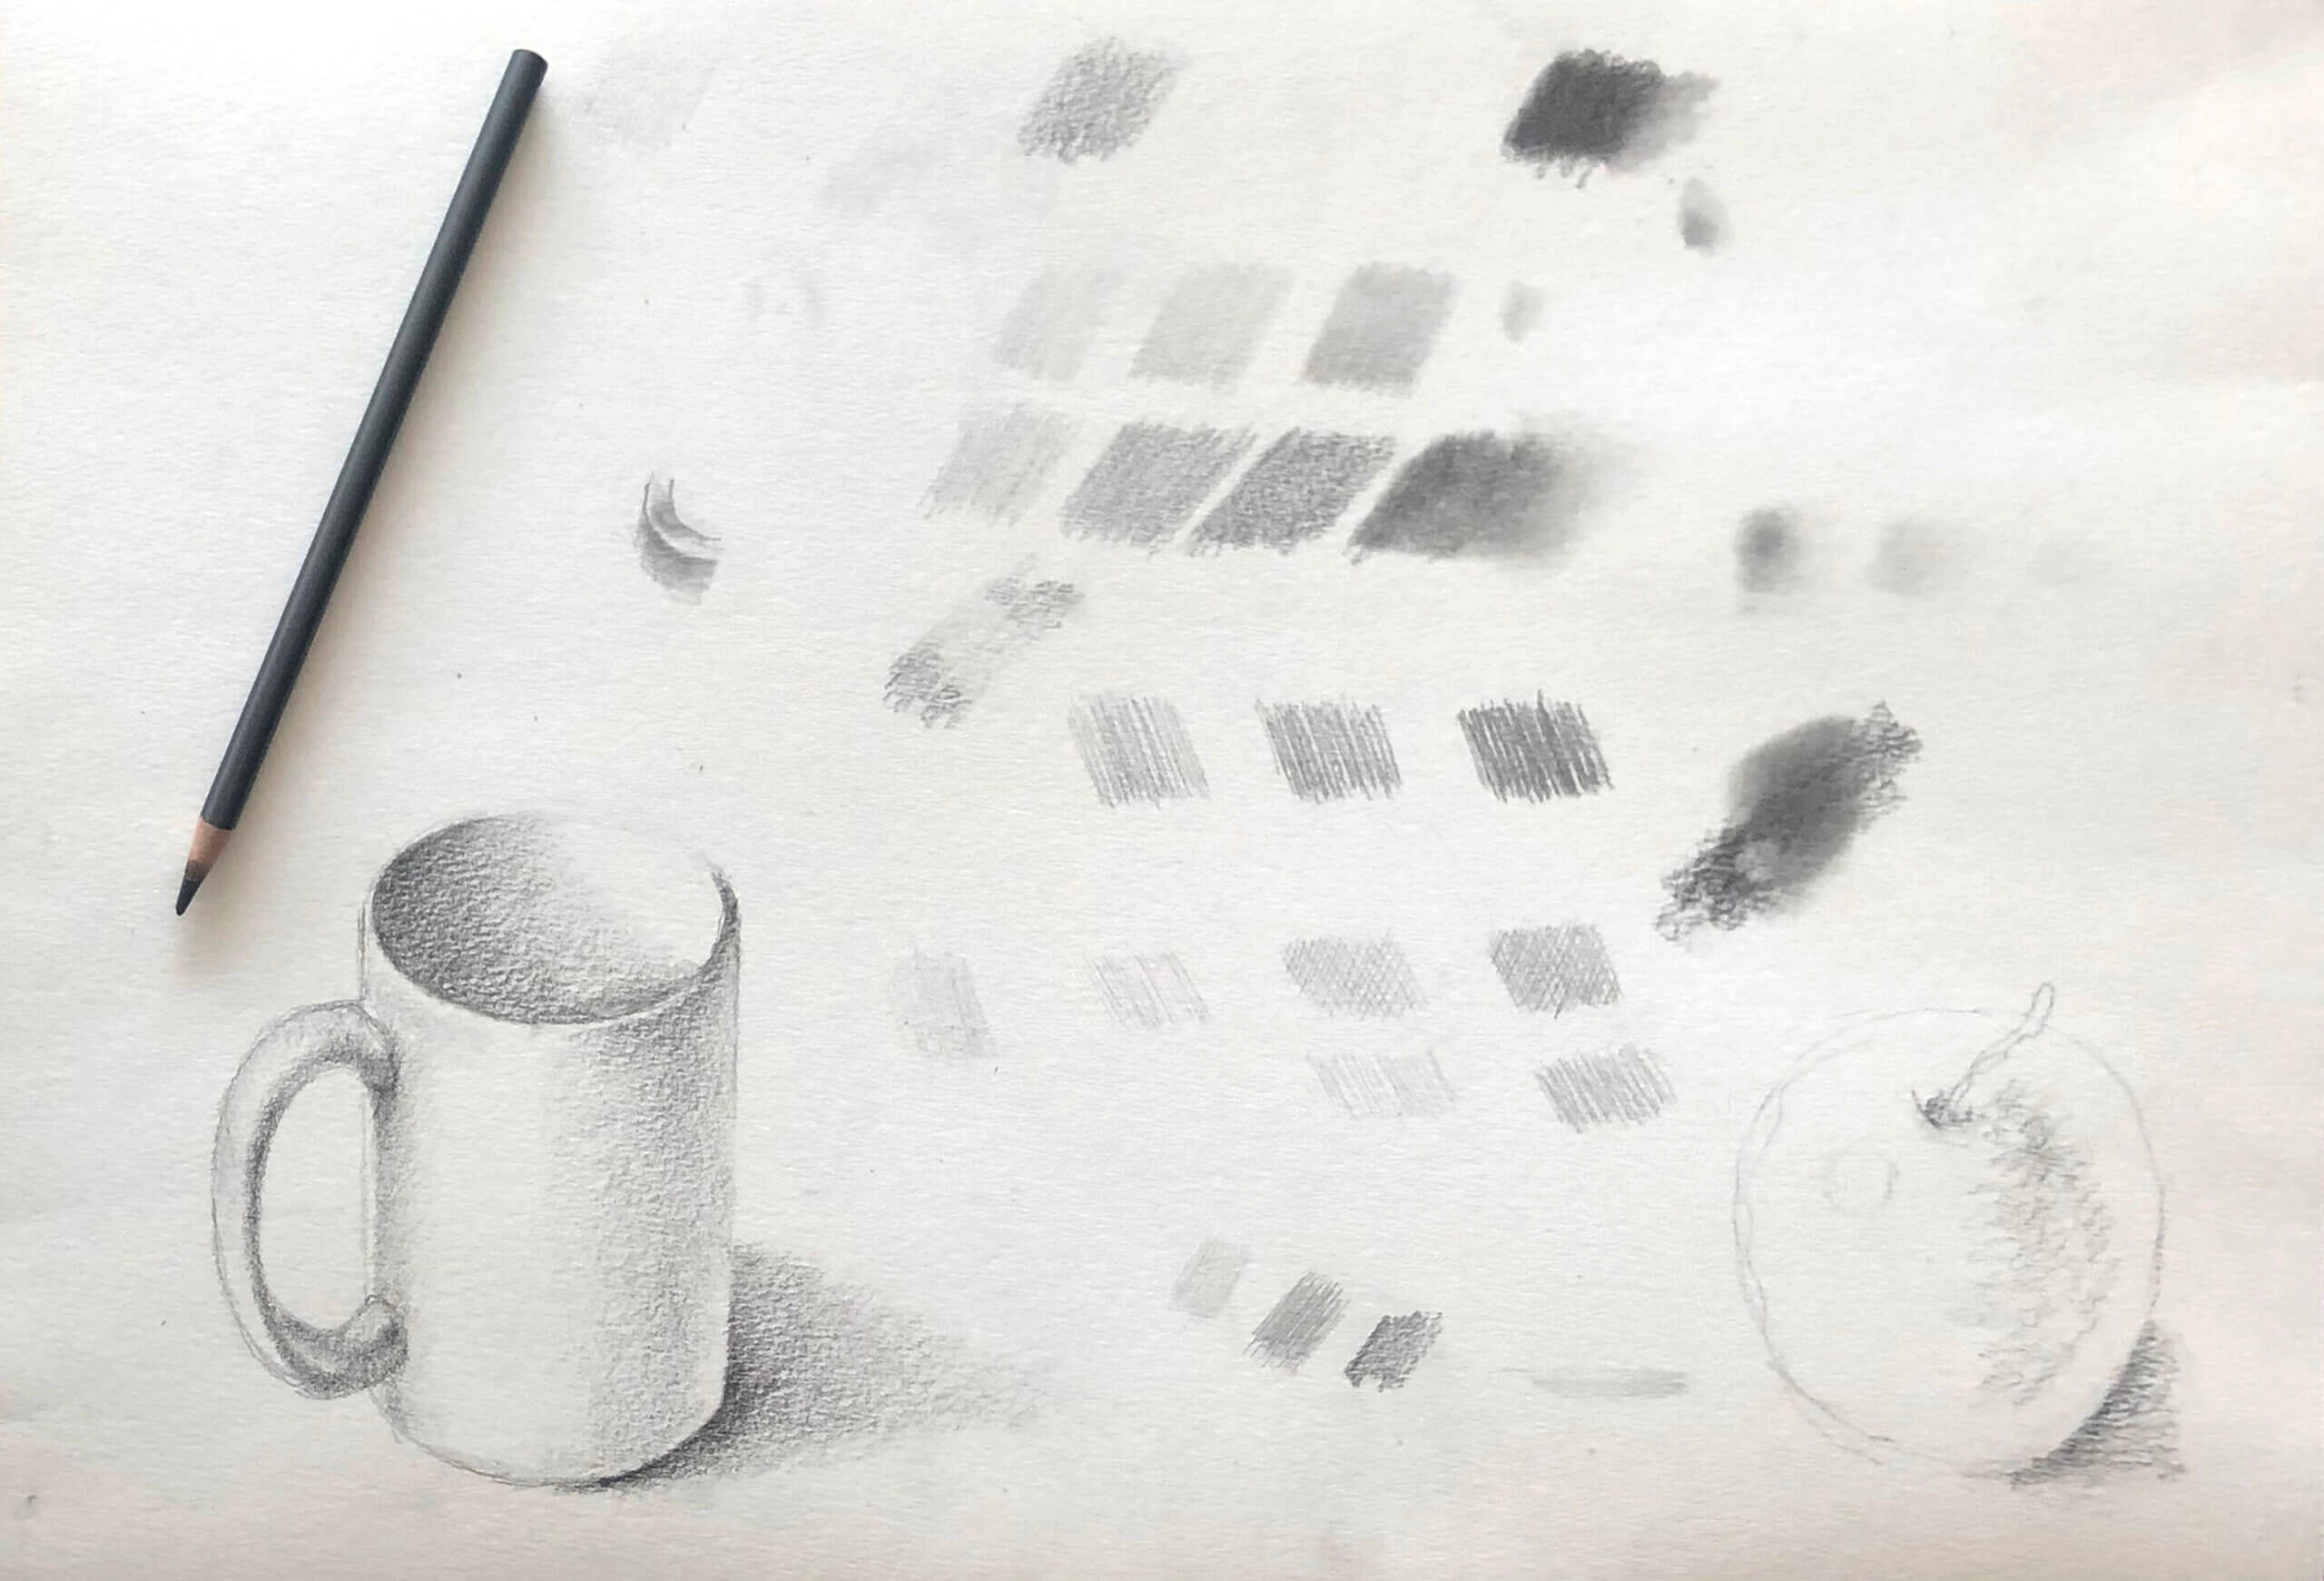
Step 4: Drawing the object
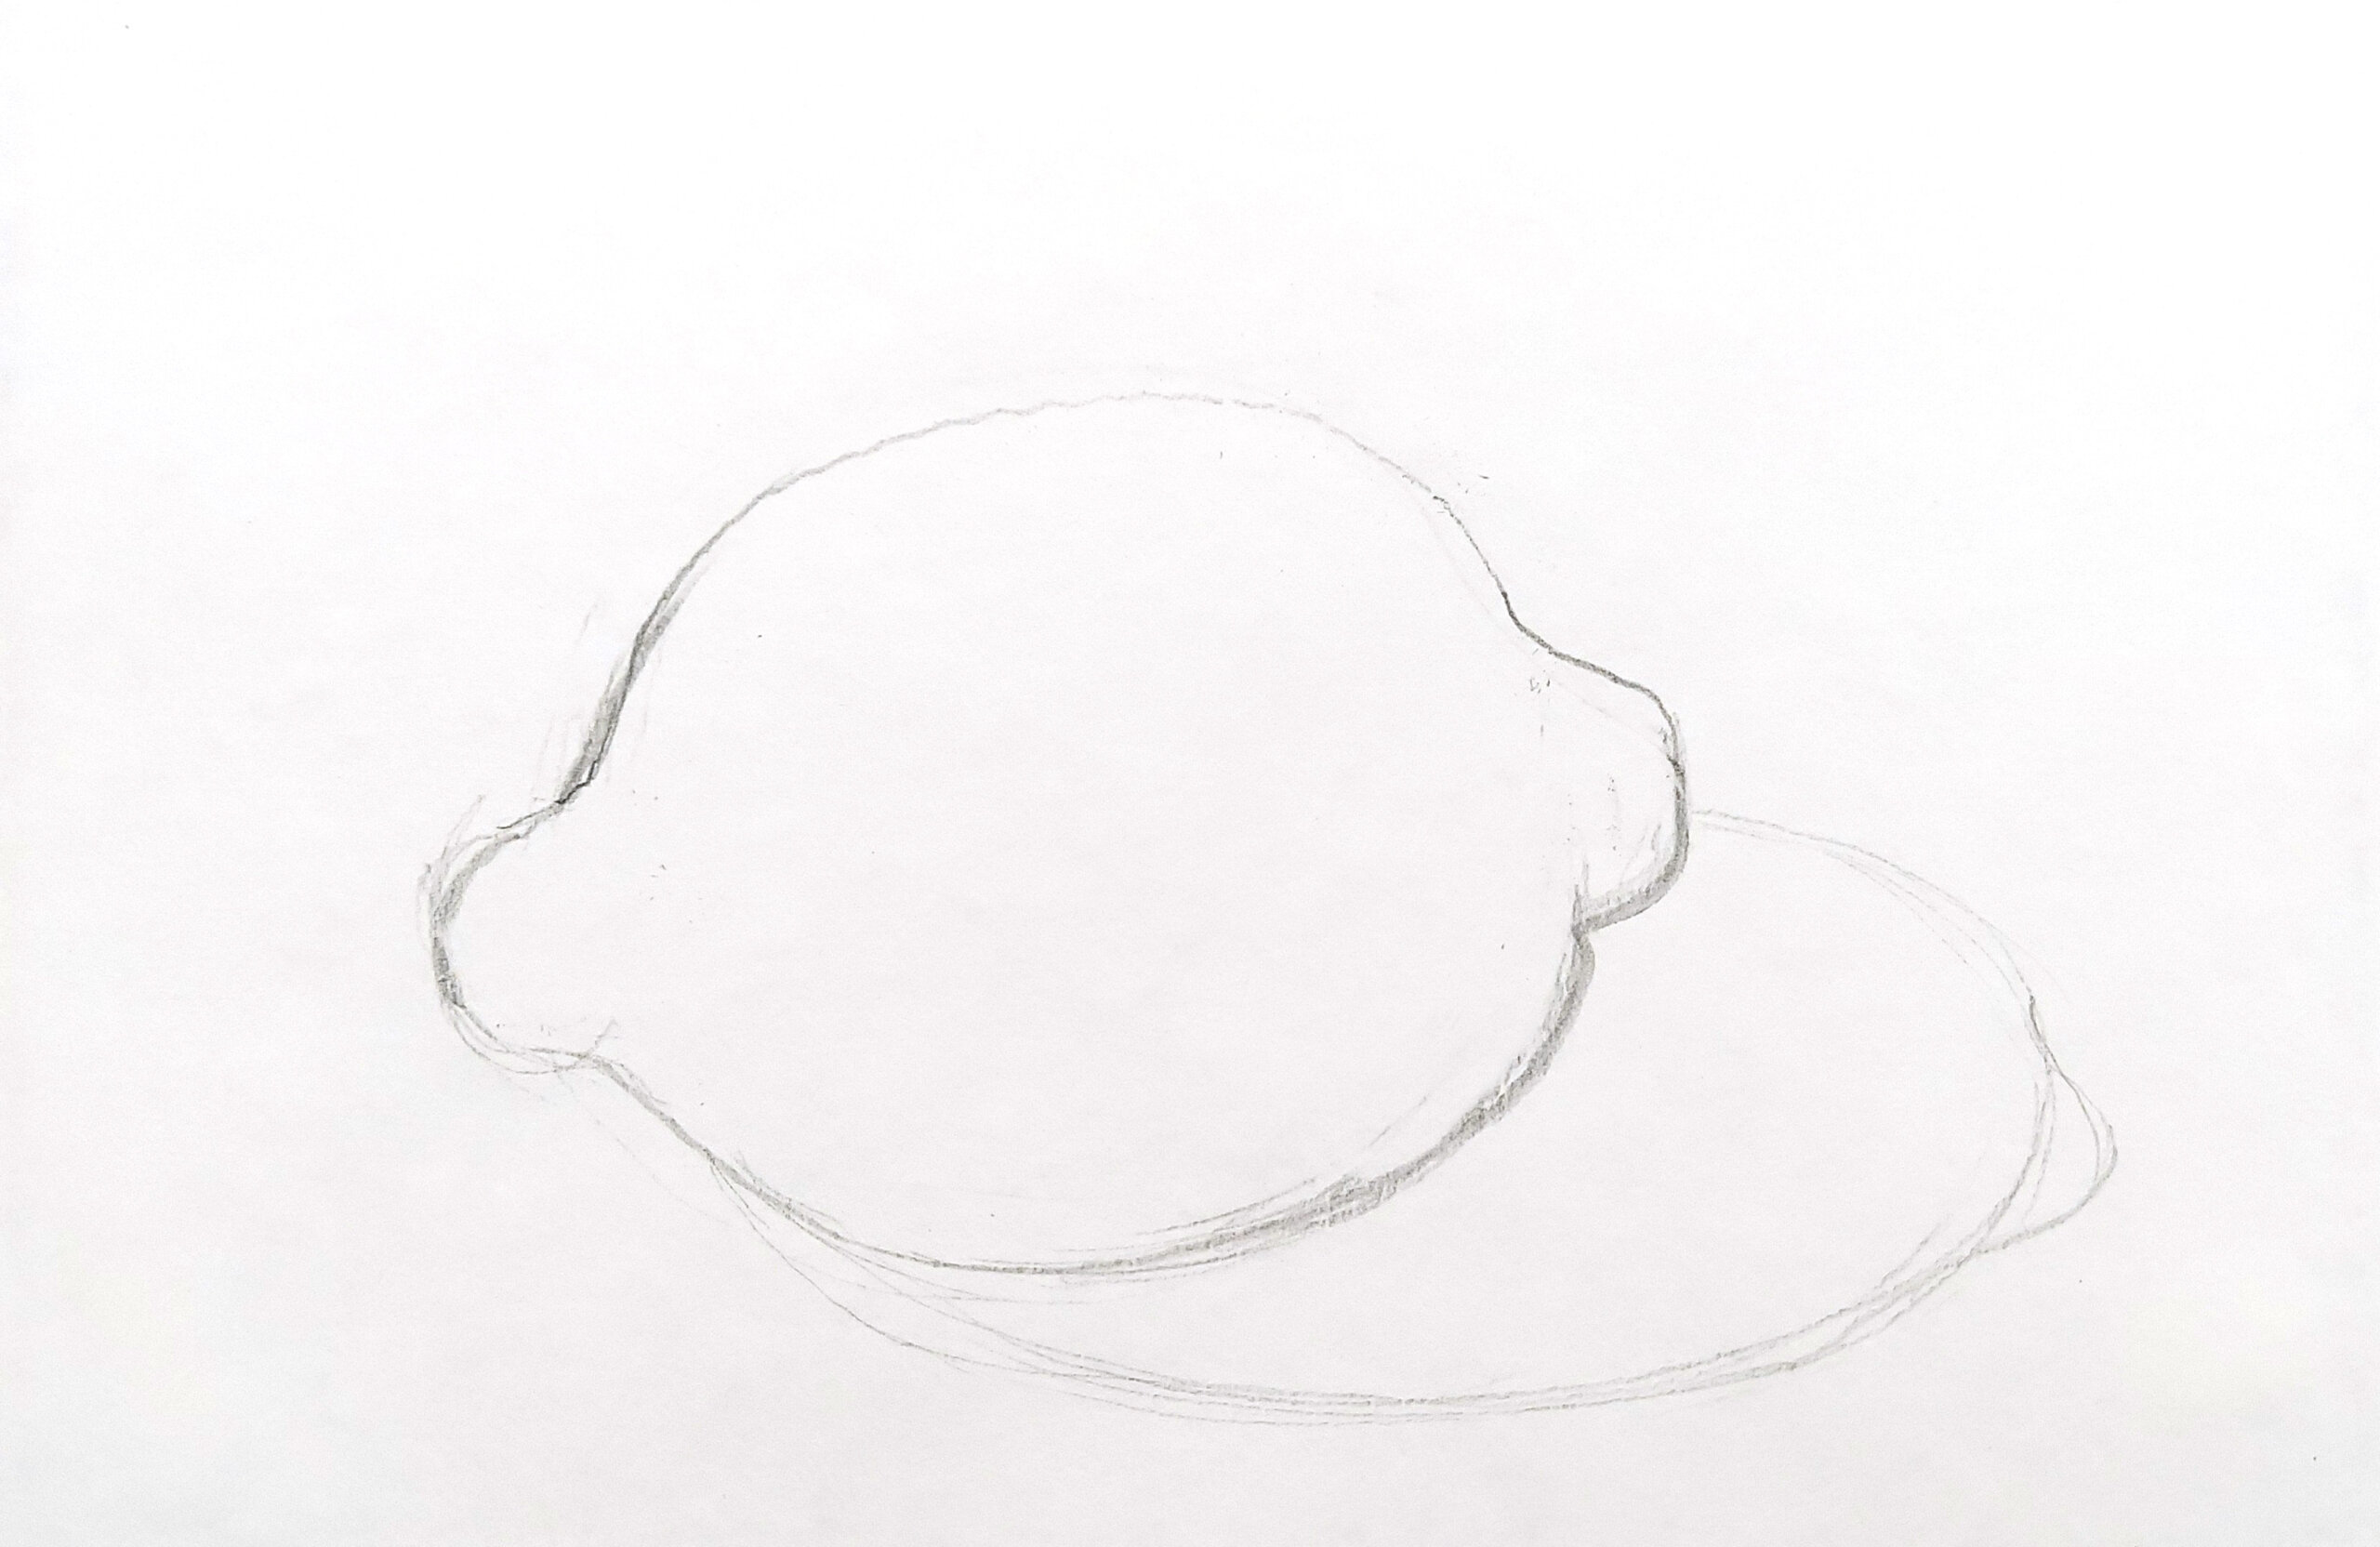
Demonstrate slowly tracing the outline of your object with a finger. Then, lightly sketch the outline and cast shadow. Demonstrate filling the page with your drawing.
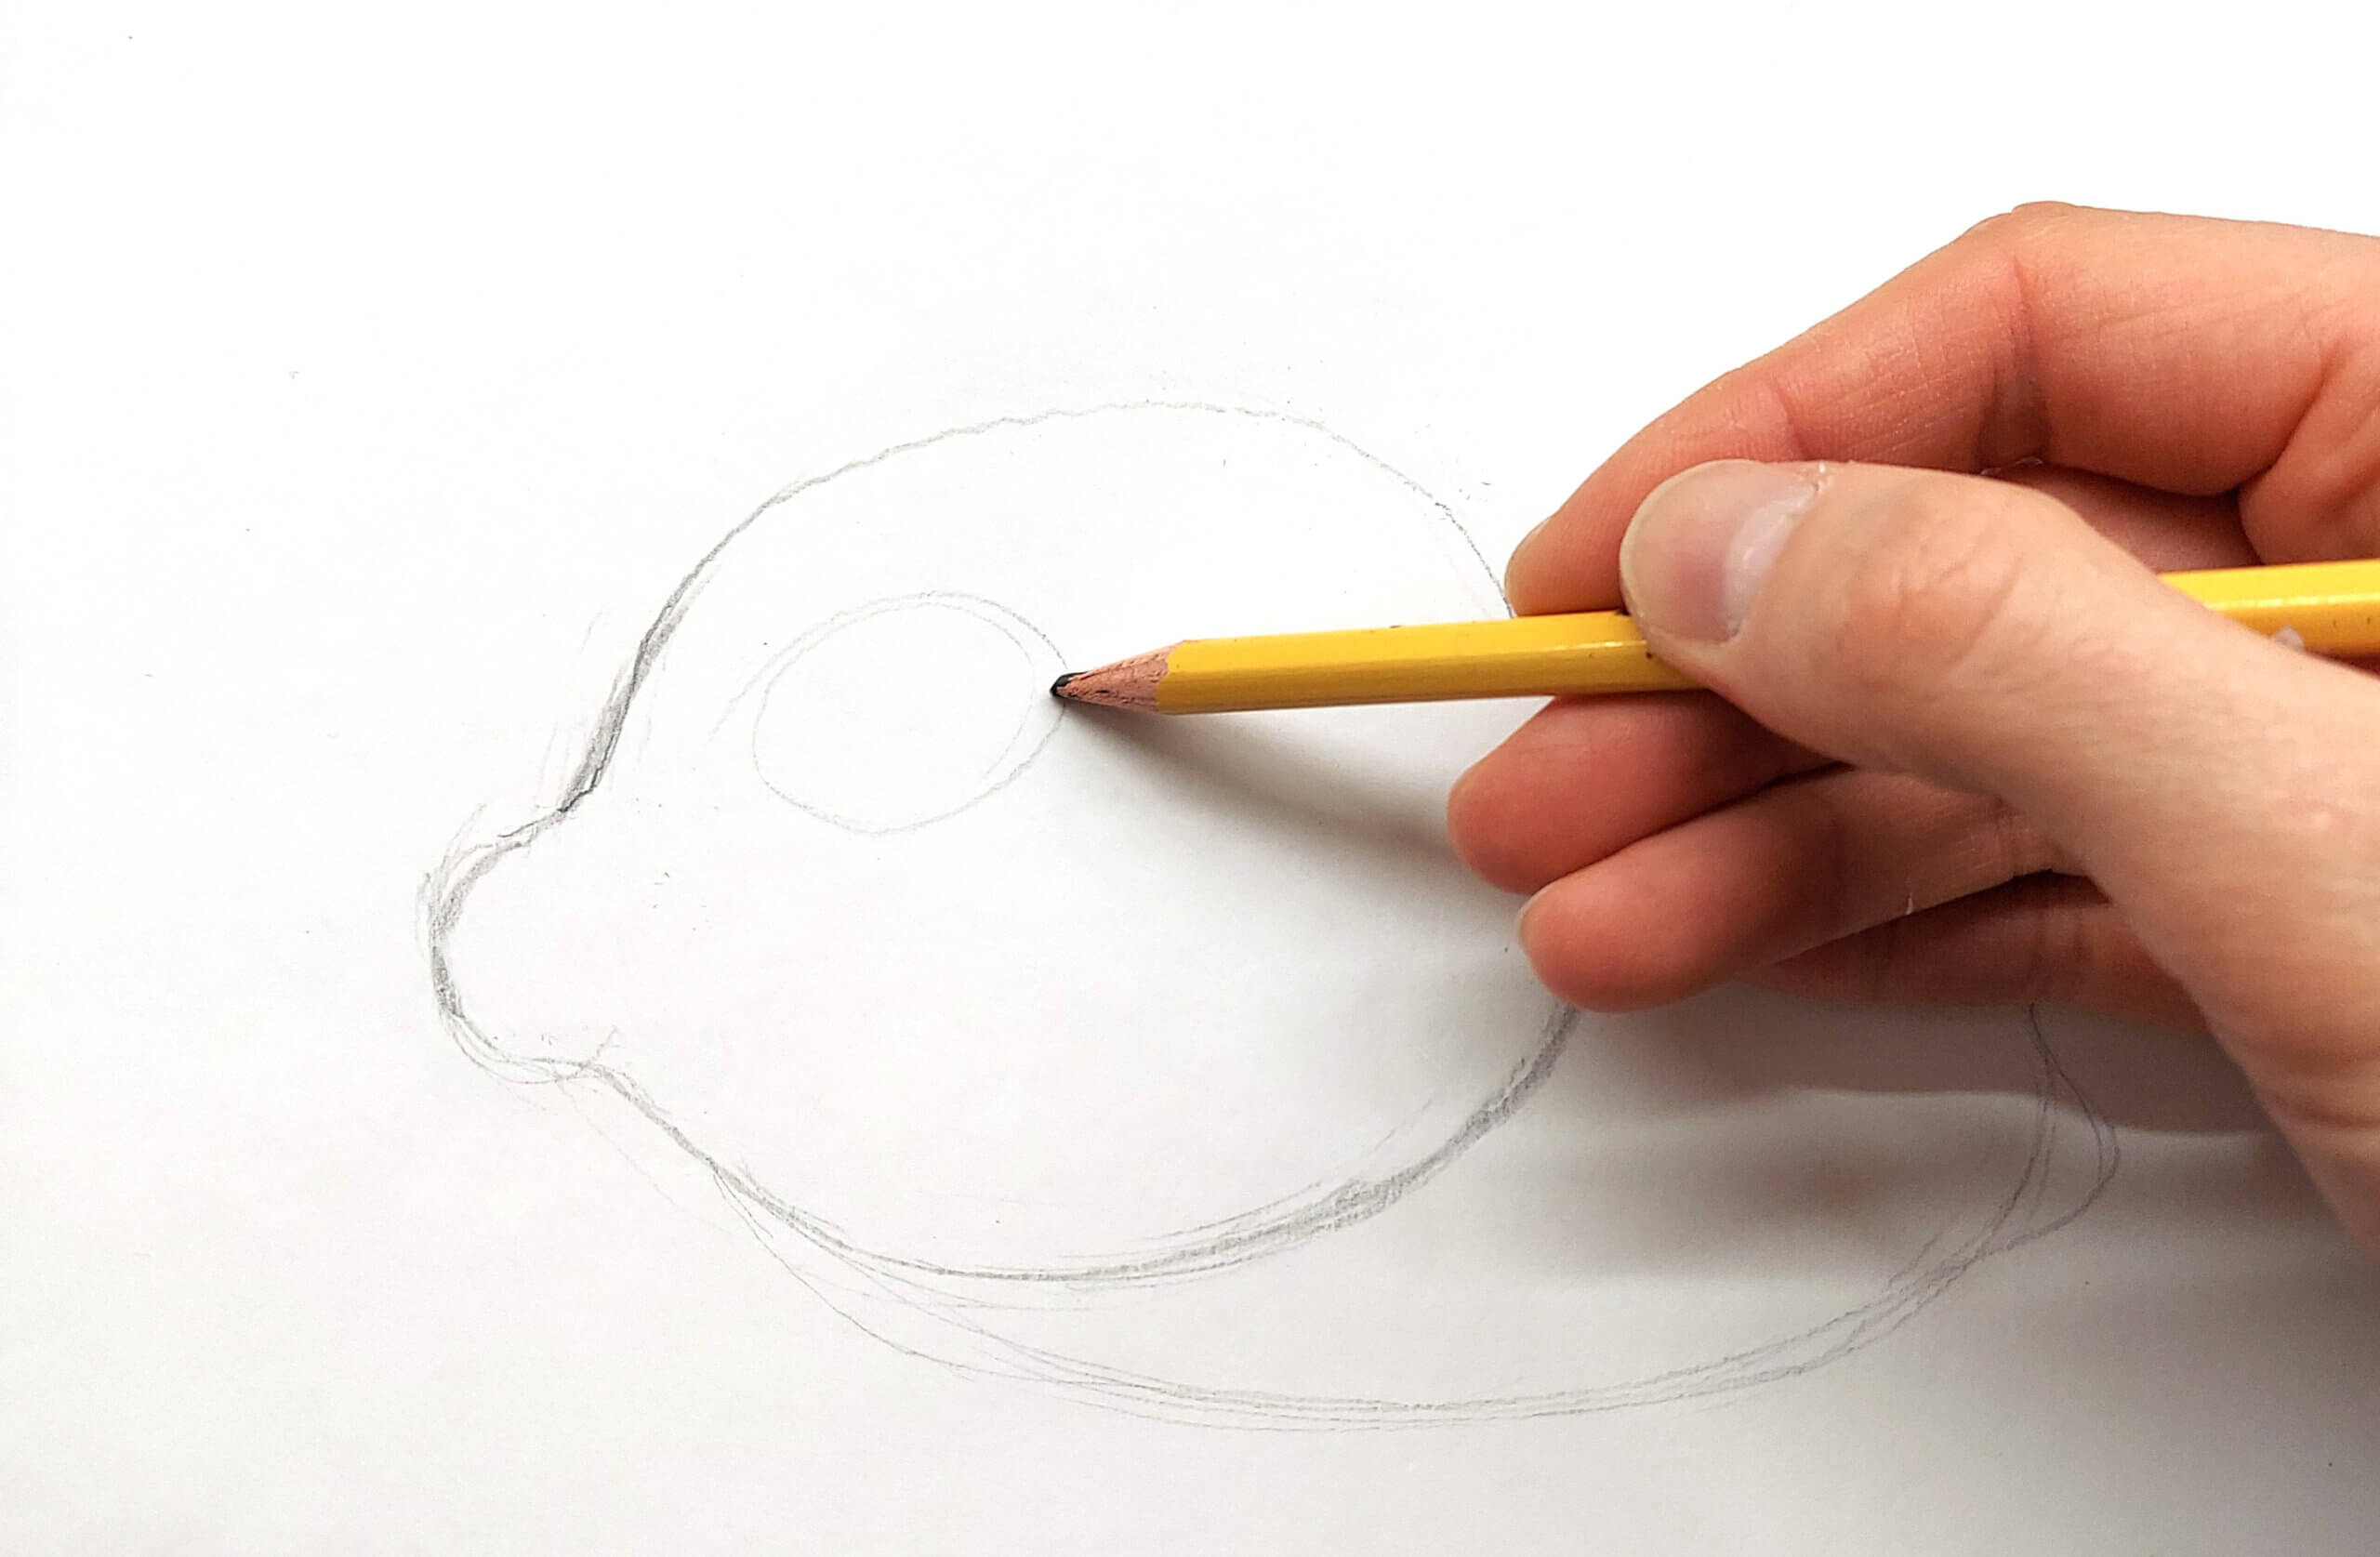
Demonstrate working from light to dark. Demonstrate lightly outlining the highlight before adding value.
Step 5: Adding mid-tone and shadows
Identify and add the mid-tone to your drawing. Demonstrate working in the direction of the contours of the object. Ask students how this is different from adding value in other directions.
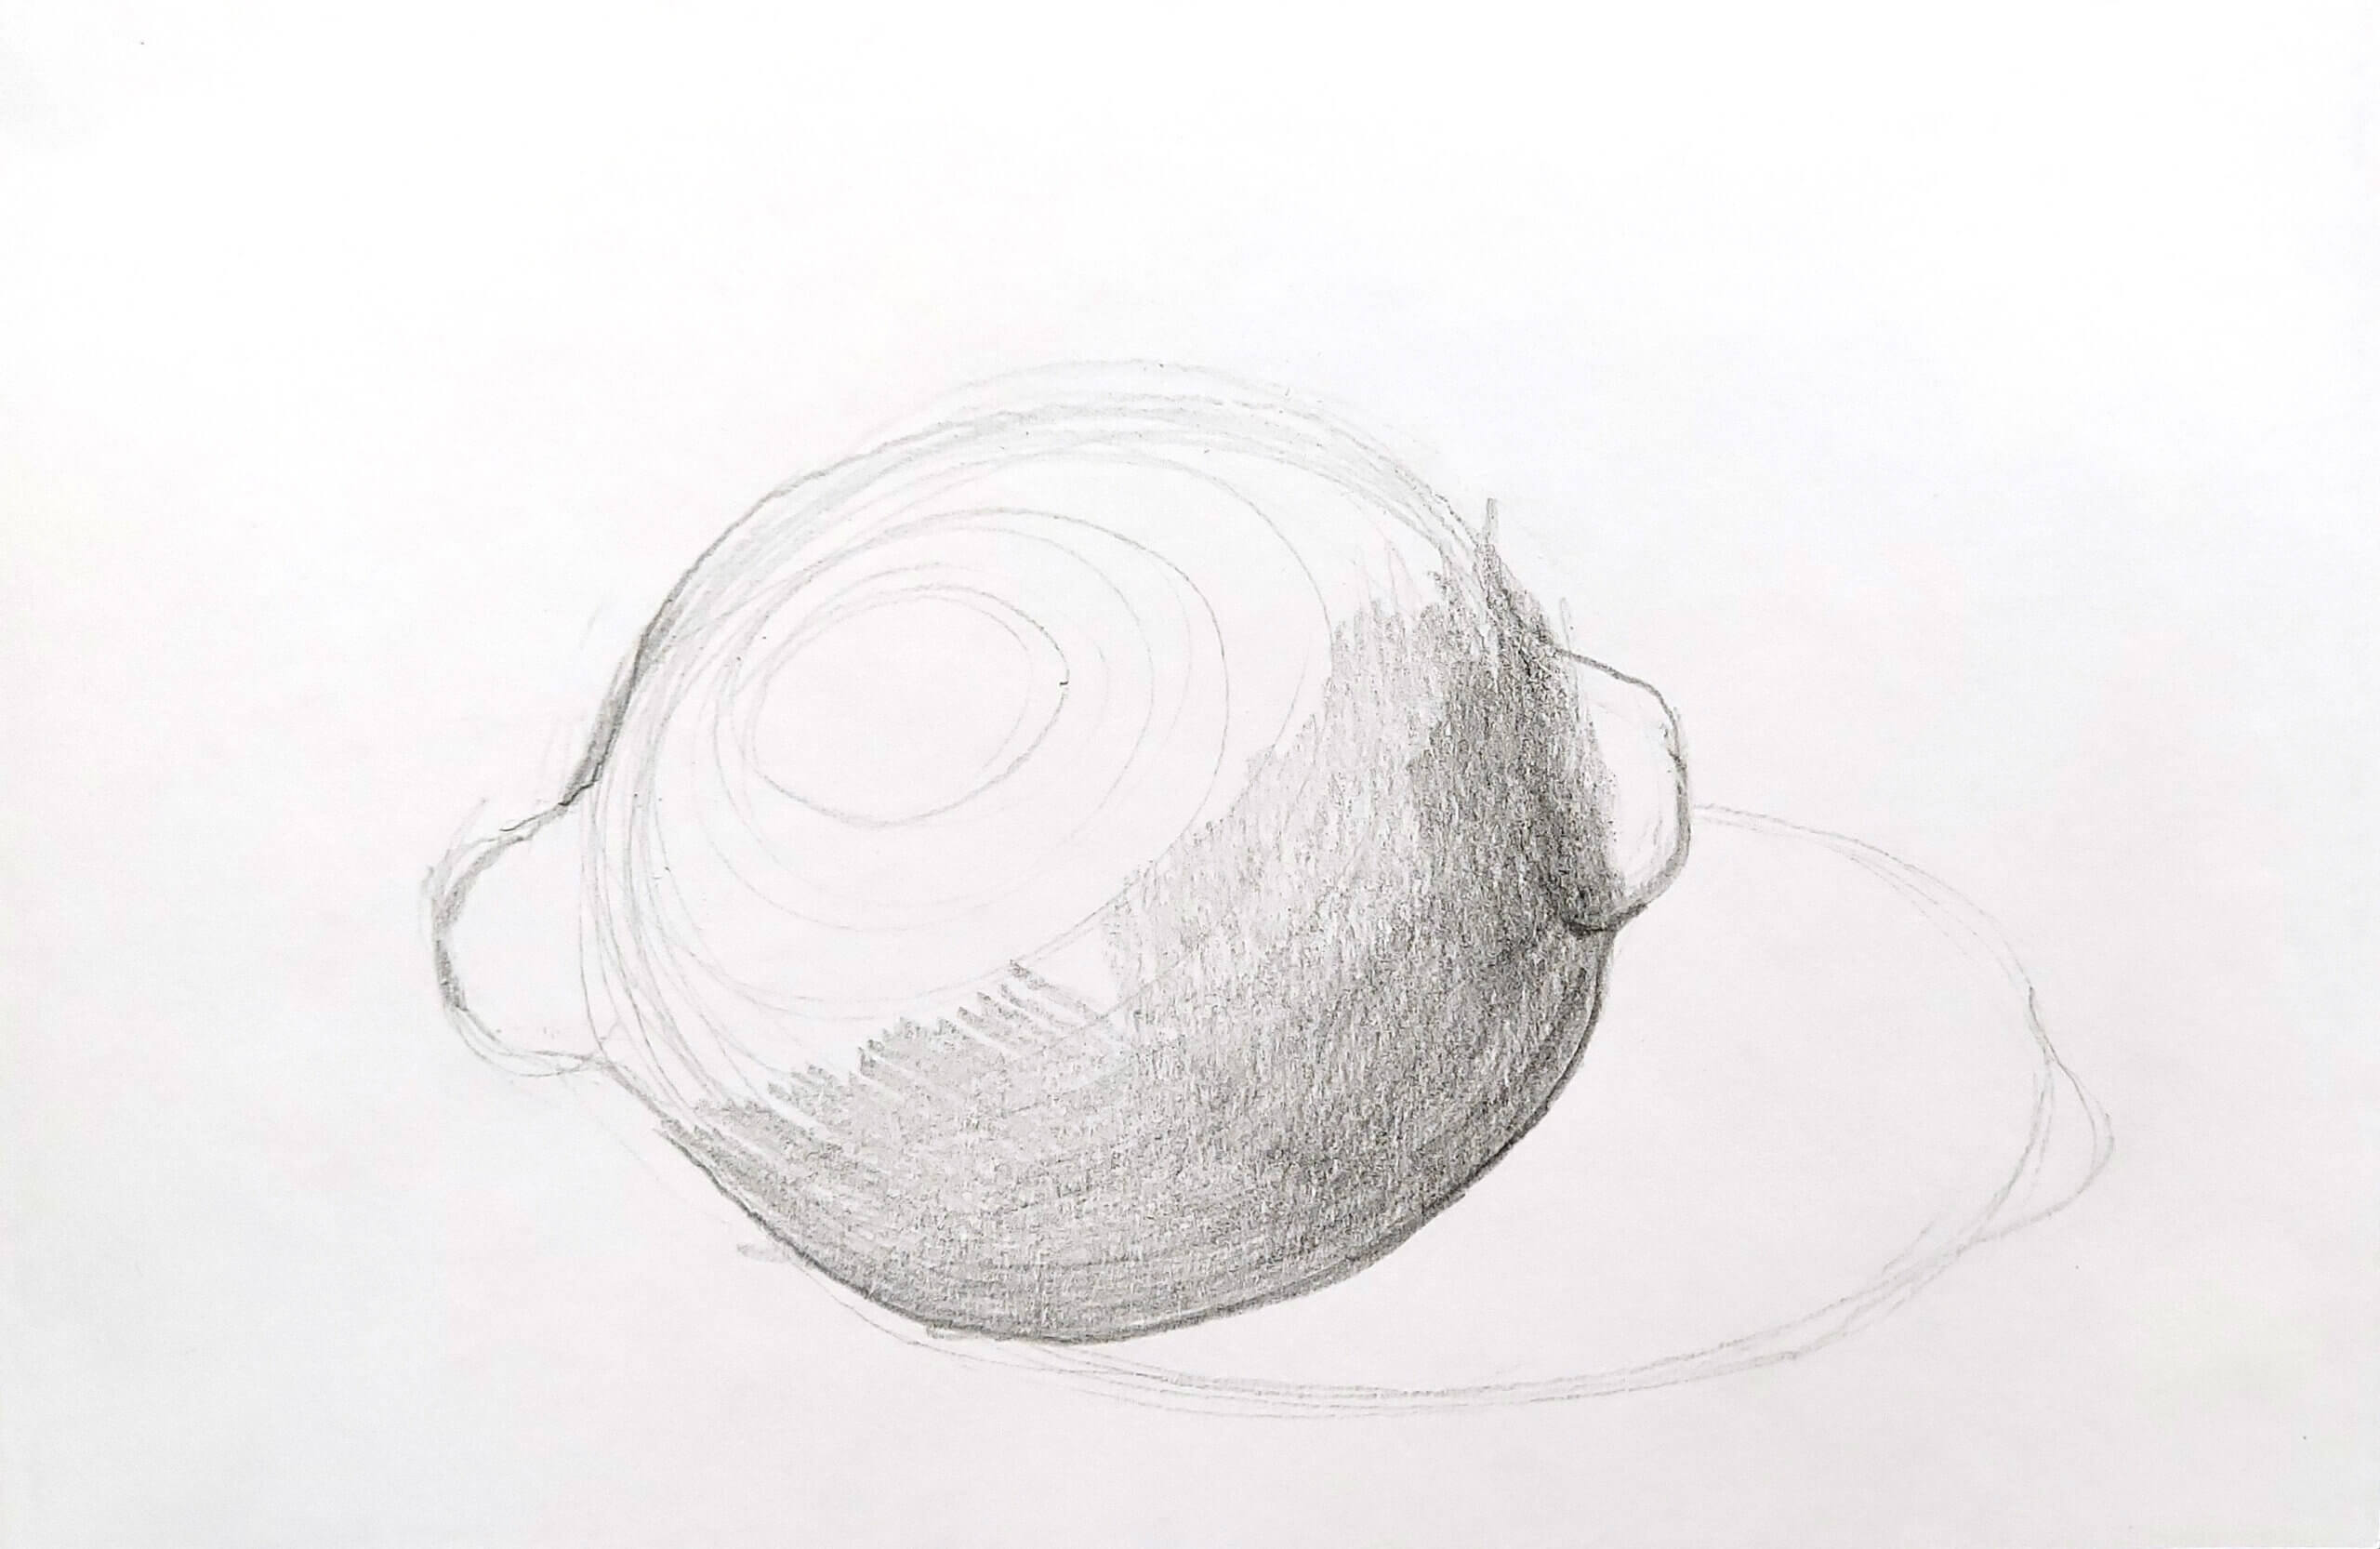
Add the shadow to your object. Demonstrate continuing to add value slowly with layers of shading. Demonstrate shading in different directions. Ask students to observe how the value changes.
Ask students what values they notice in the cast shadow. Demonstrate matching the value of the cast shadow with the appropriate values on your drawing.
Describe how you’ll continue to add value and details to finish the entire drawing.
Work Time
Have students set up their objects and light source.
Ask students:
- Where is the highlight on your object? Can you see more than one?
- Where are the mid-tones on your object? What value will best describe these?
- Where does the shadow fall on your object? What value will best describe it?
- What value or values best represent what you see in the cast shadow?
As students finish their drawings, ask:
- Did you use a full range of value in your drawing?
- Did you include all the details?
Reflection
- What surprised you when you looked closely at the values in your object?
- What steps did you take to make your drawing?
- What techniques do you think were most helpful to create volume in your drawing? Why?
- How do you think using value can make your drawings more interesting in the future?
Vocabulary
Volume, light source, highlights, mid-tone, shadow, cast shadow
Resources
Looking at the different ways that artists use value can inspire more ideas.
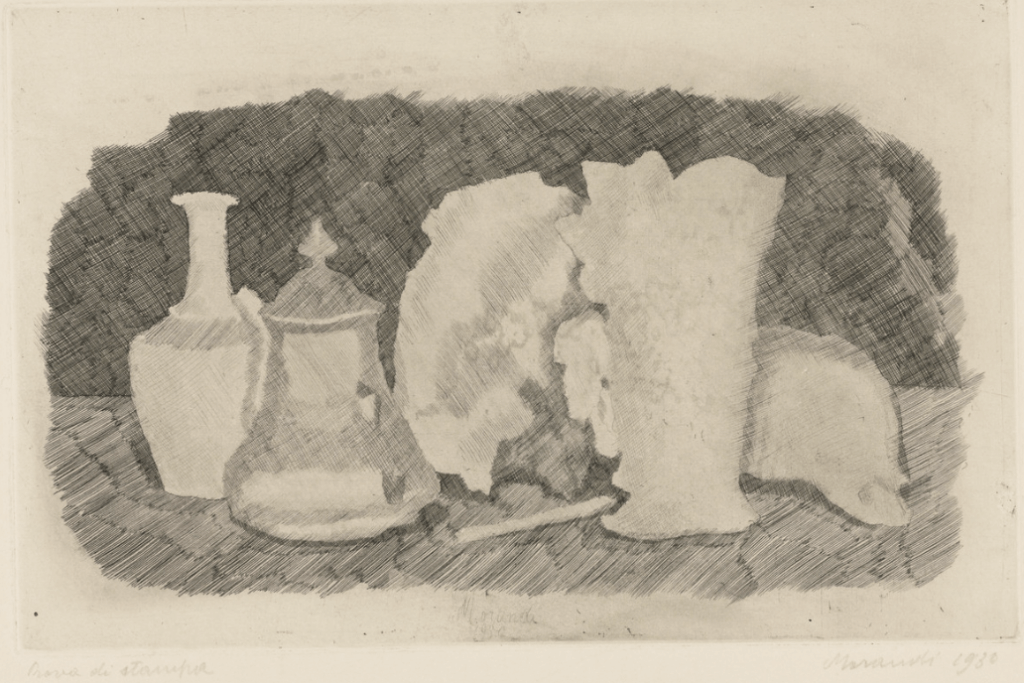
- How did these artists use value similarly/differently?
- Which artists use smooth transitions?
- How does it affect their drawing? Which artist’s work do you like the most? Why?
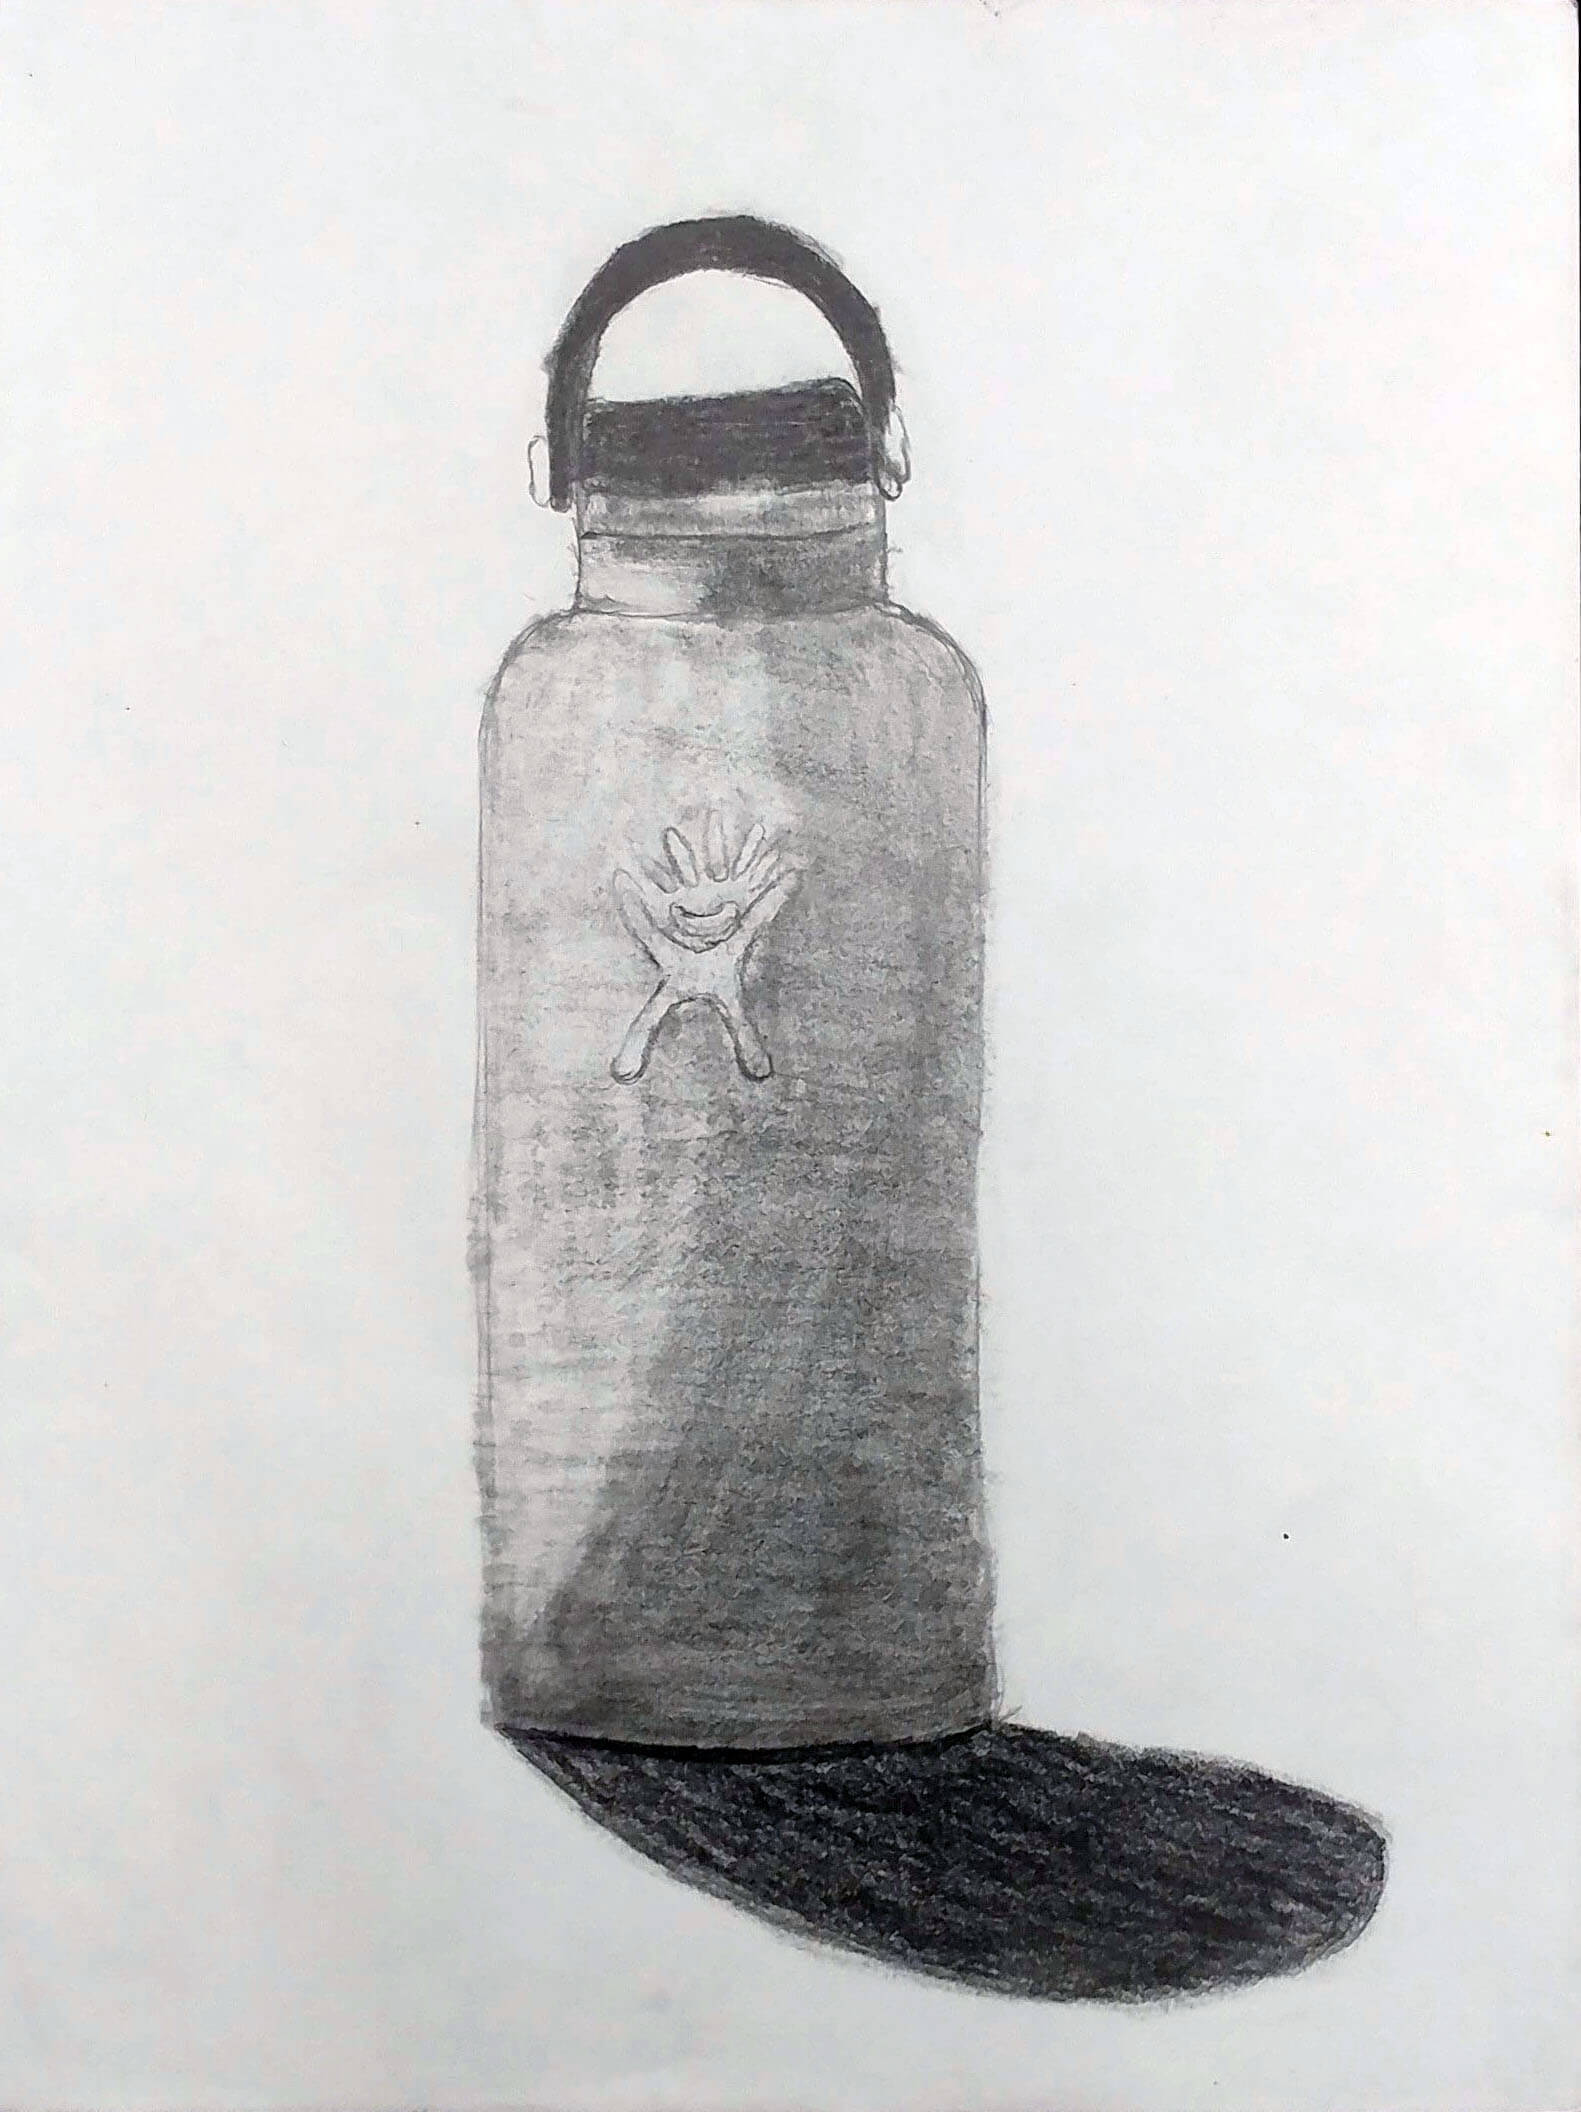
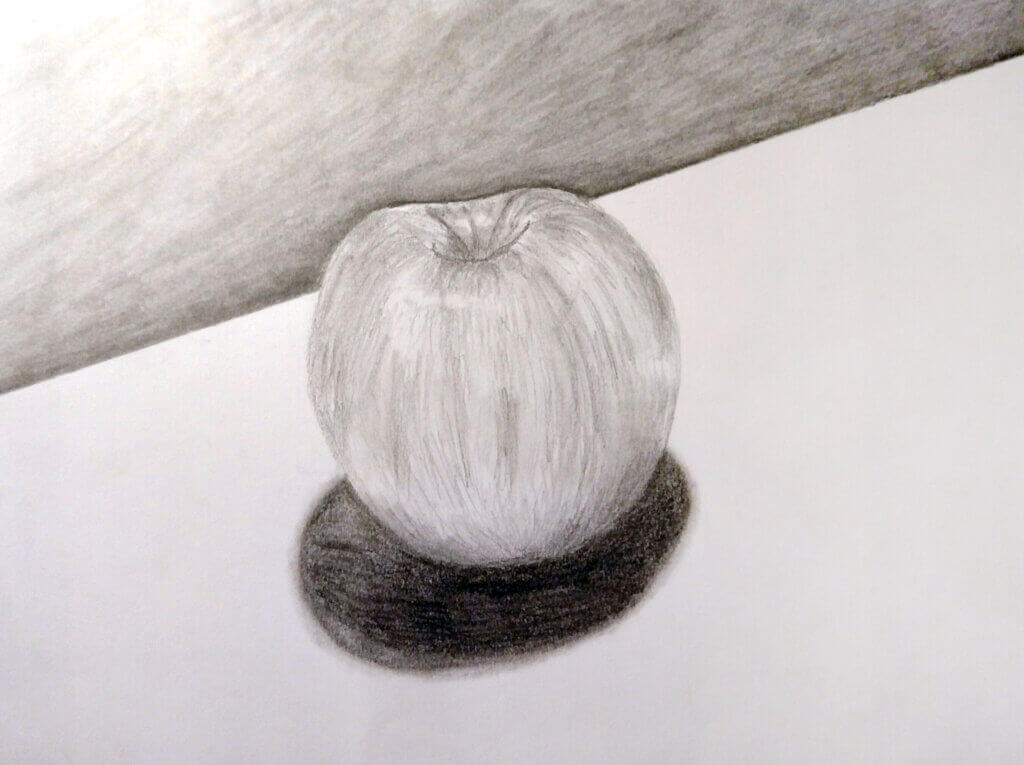
Student Examples
Credits
Written By
Matthew Mahler
Lesson Development
Julie Applebaum, Senior Director
Andrea Burgay, Director of Digital Learning
Copyright © 2024 Studio in a School NYC LLC