Overview
In this activity, children will find and collect beautiful 3D objects, then sort and arrange their “Beautiful Stuff”.
Materials and Tools
- 3D objects found in your home
- A piece of cardboard for a base –
- this can be cut from any box
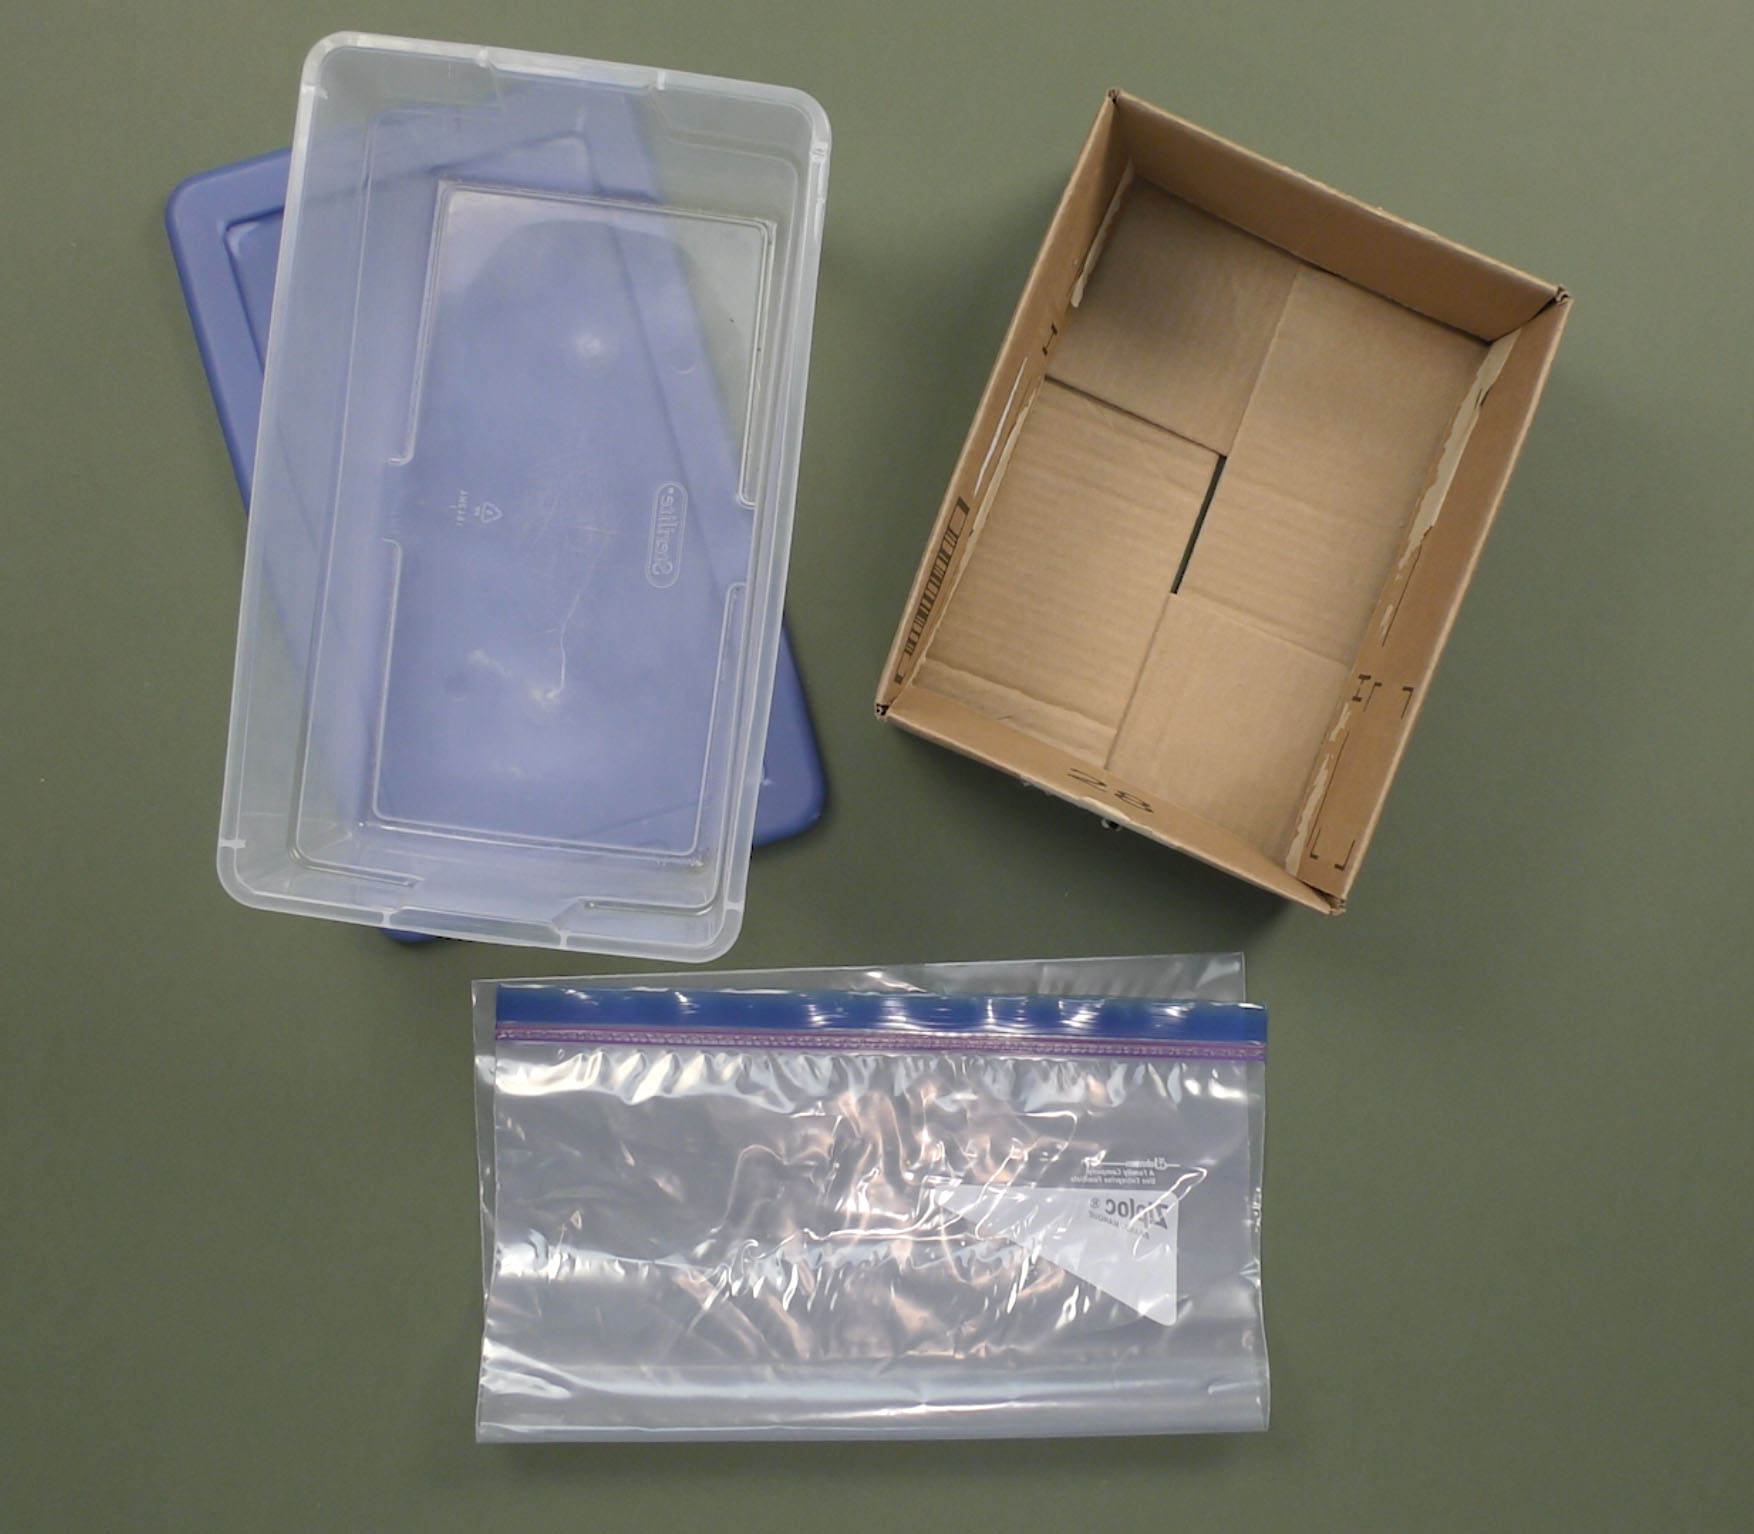
- A basket, bag or box to store your collection
- Optional: camera or paper and pencil to photograph or draw your arrangements
Activities
An object that has a top, a bottom and sides is called 3-dimensional, or 3D.
Collecting our Materials
Today, you will need to find and collect 3D objects from your home to work with.
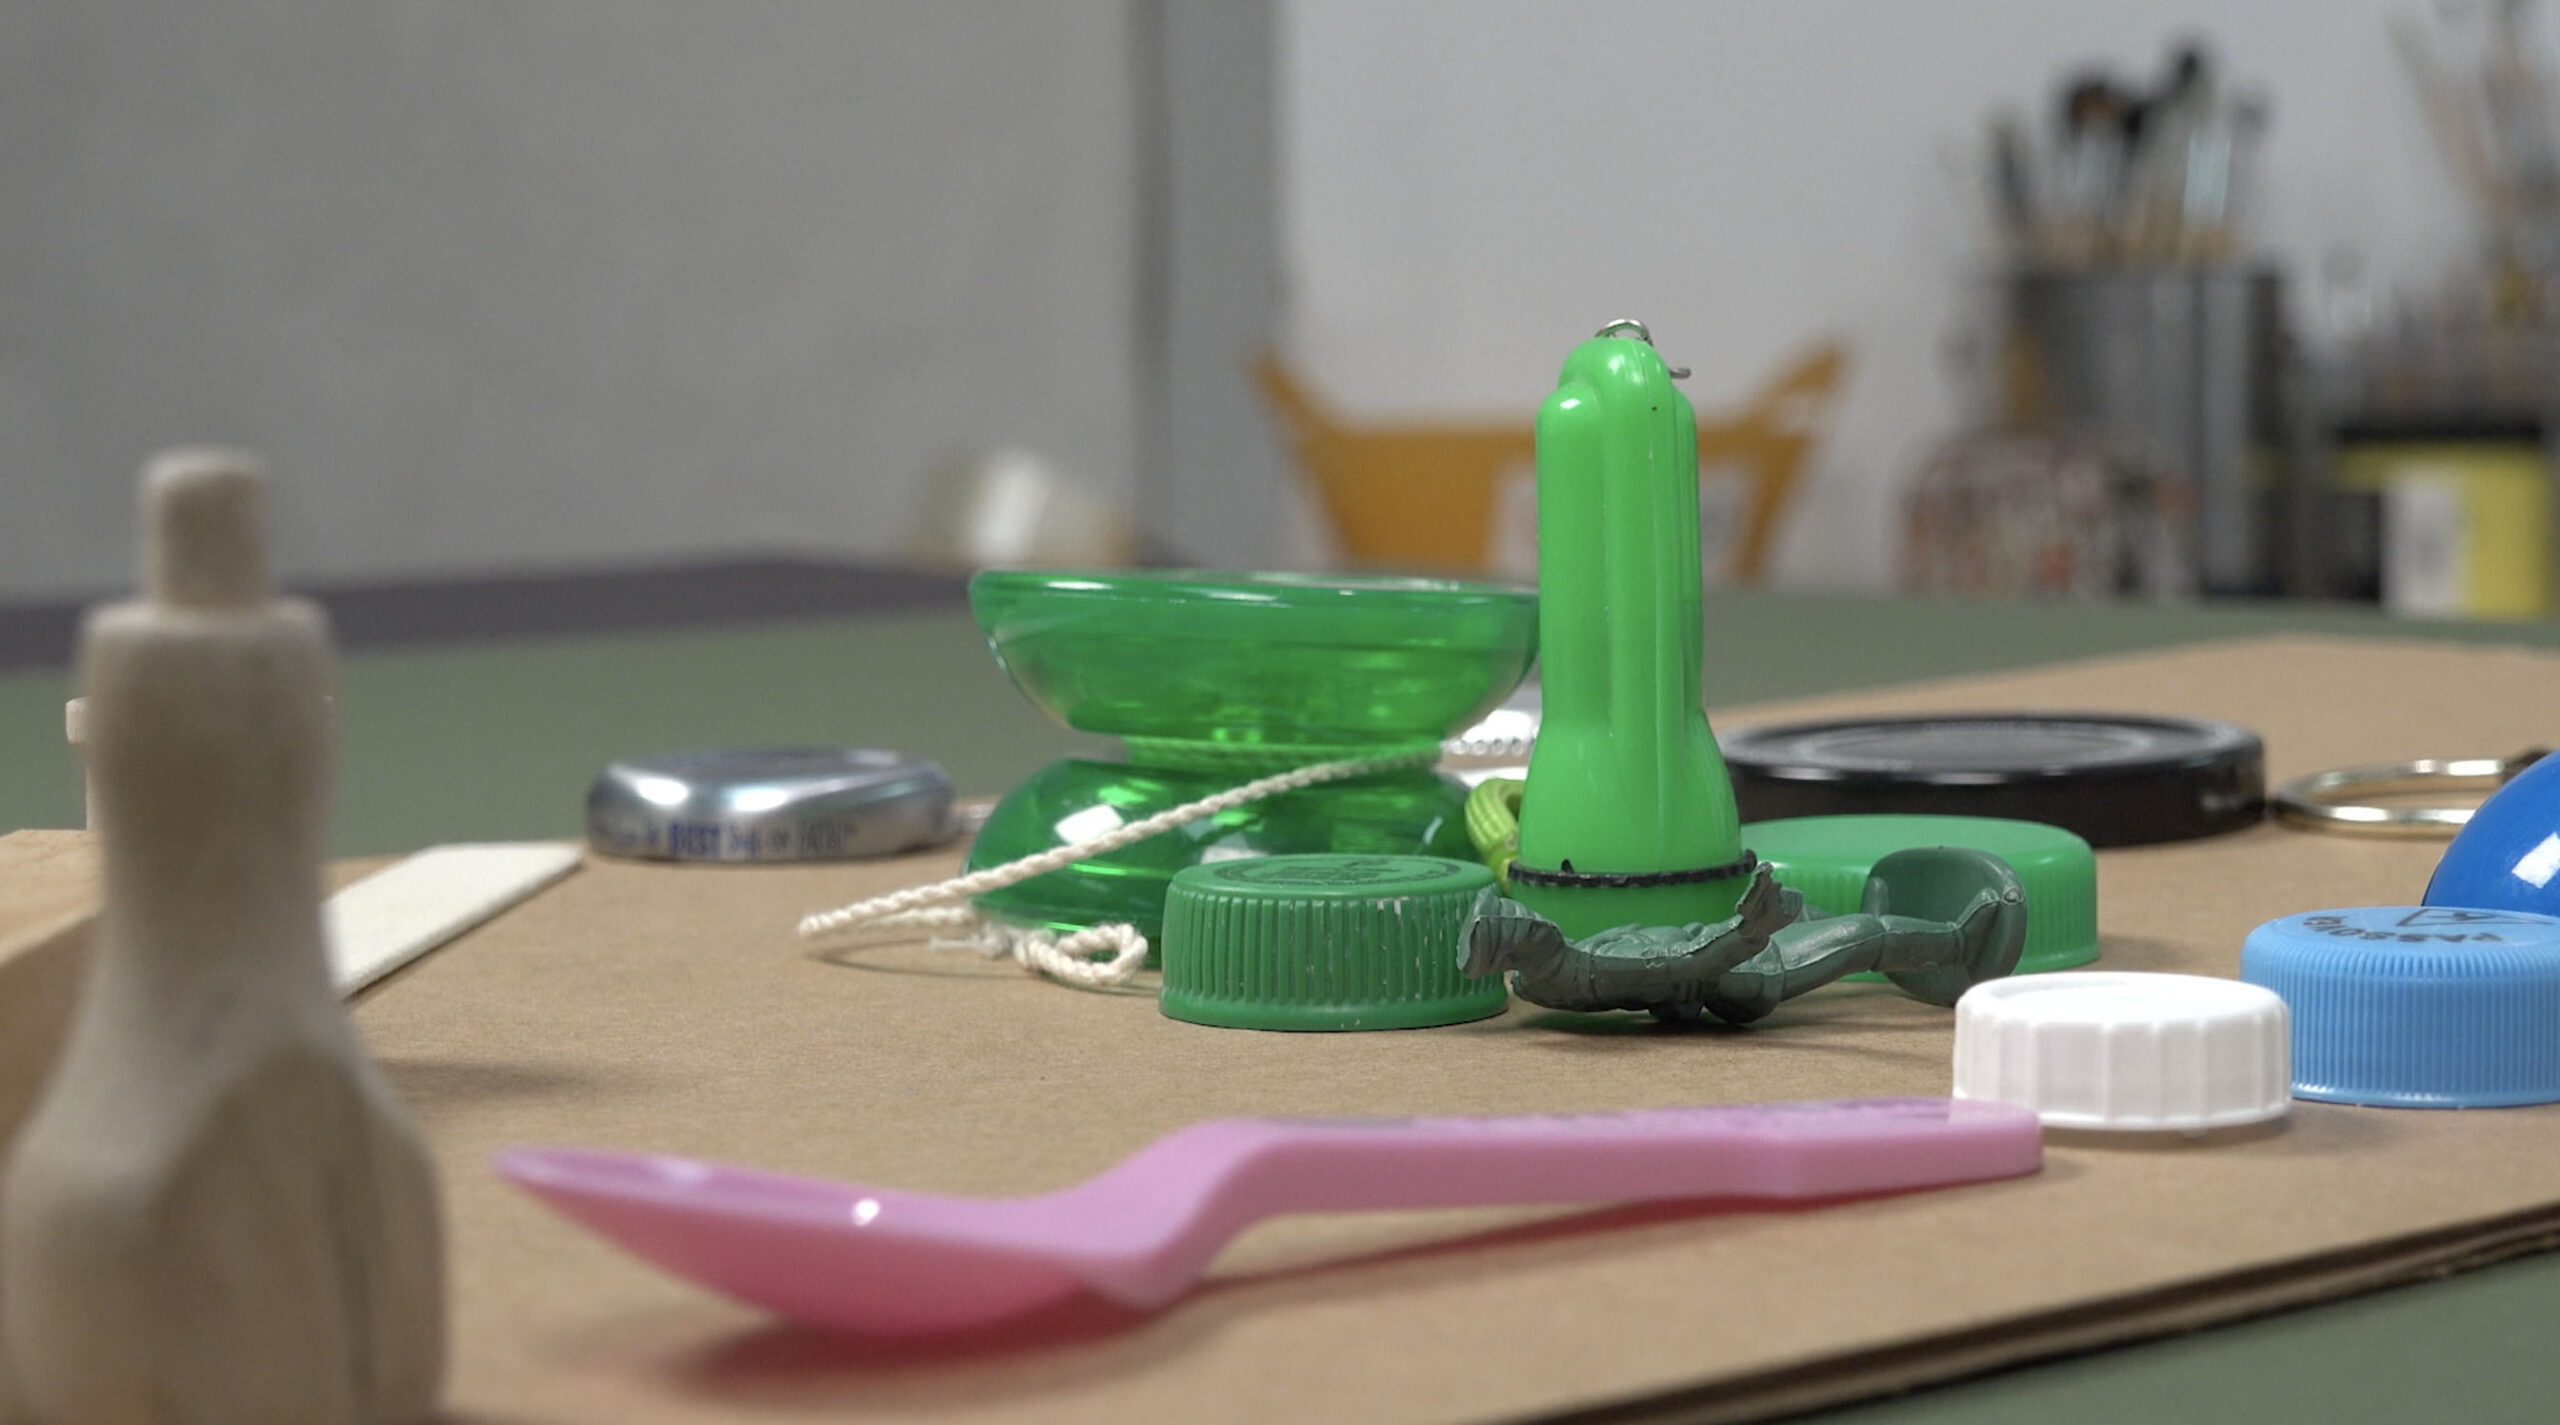
These may be any 3D items like: shells, buttons, screws and bolts, old keys, paper clips, rubber bands, popsicle sticks, stirring sticks, straws, spools, wood scraps, corks, bottle caps, lids, wire, string, yarn, ribbons, feathers, cotton balls, Q-Tips, tin foil, hair curlers, small cloth remnants, toilet cardboard rolls, egg cartons, empty aluminum cans or anything else you can find.
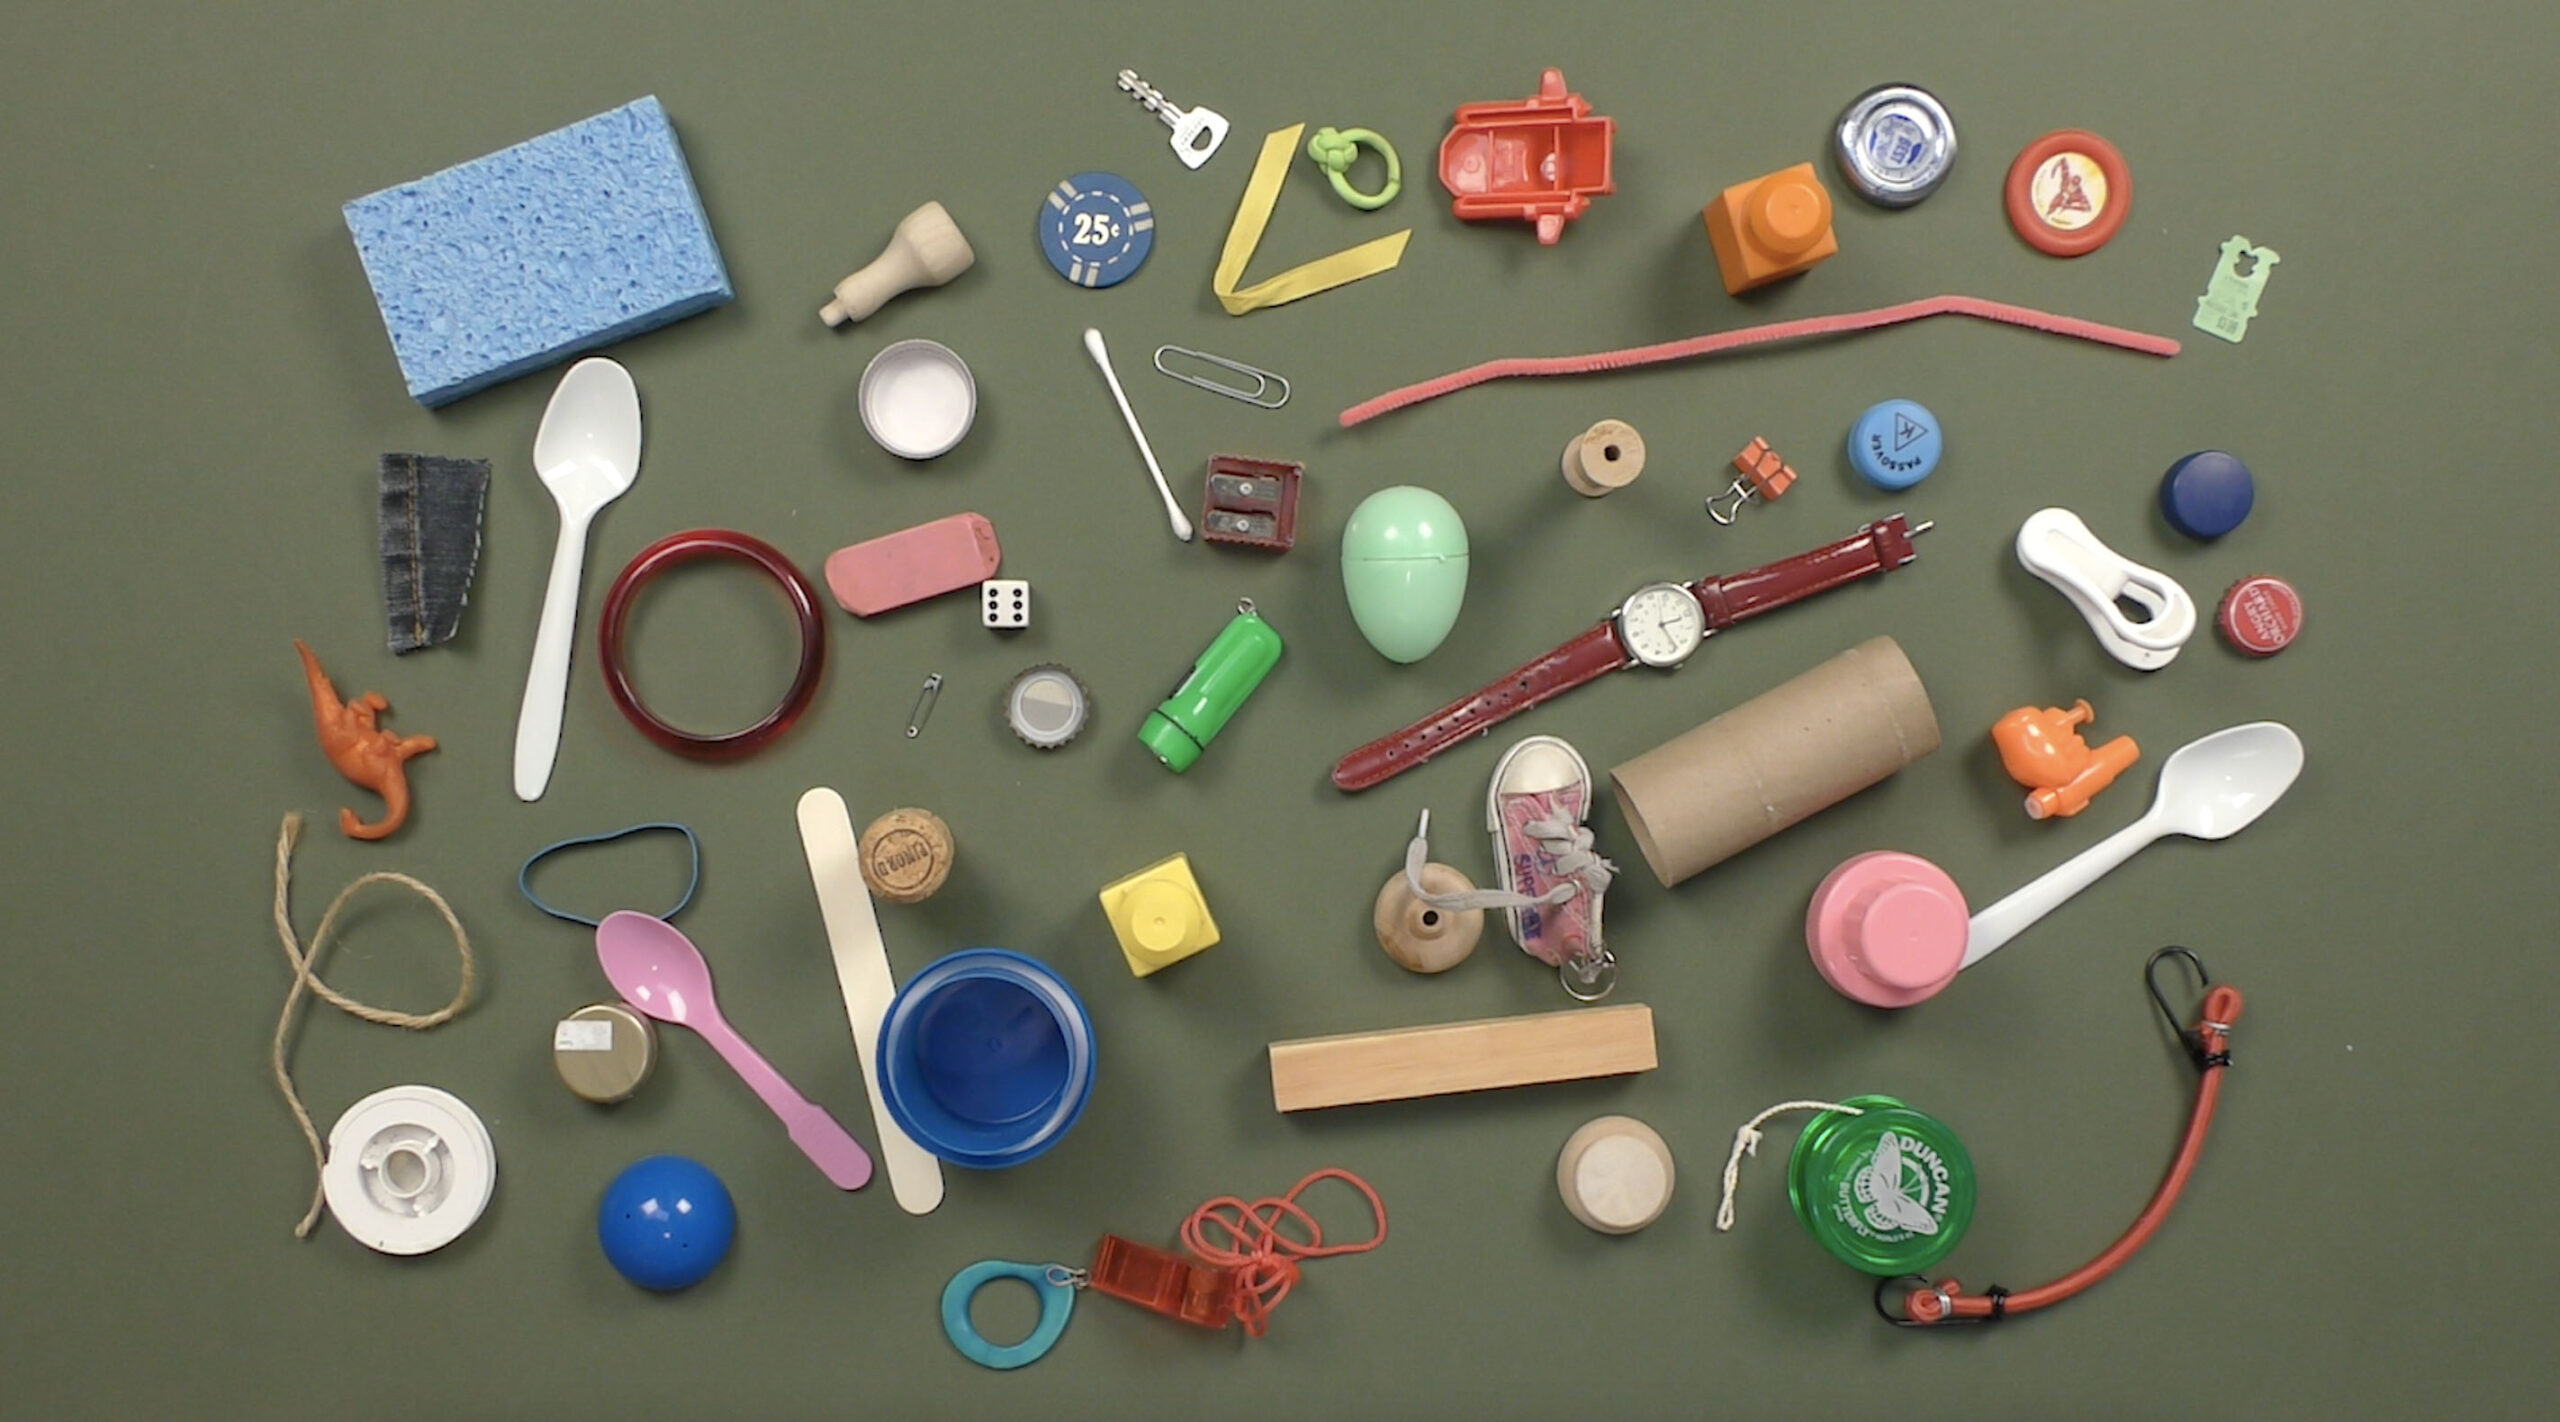
Step 1: Sort and Organize by Shape
What can you do with these interesting objects? What ideas do you have?
First, let’s sort and organize your objects.
What are some things you notice that are the same about your objects?
Some might be the same shape. What shapes can you find?
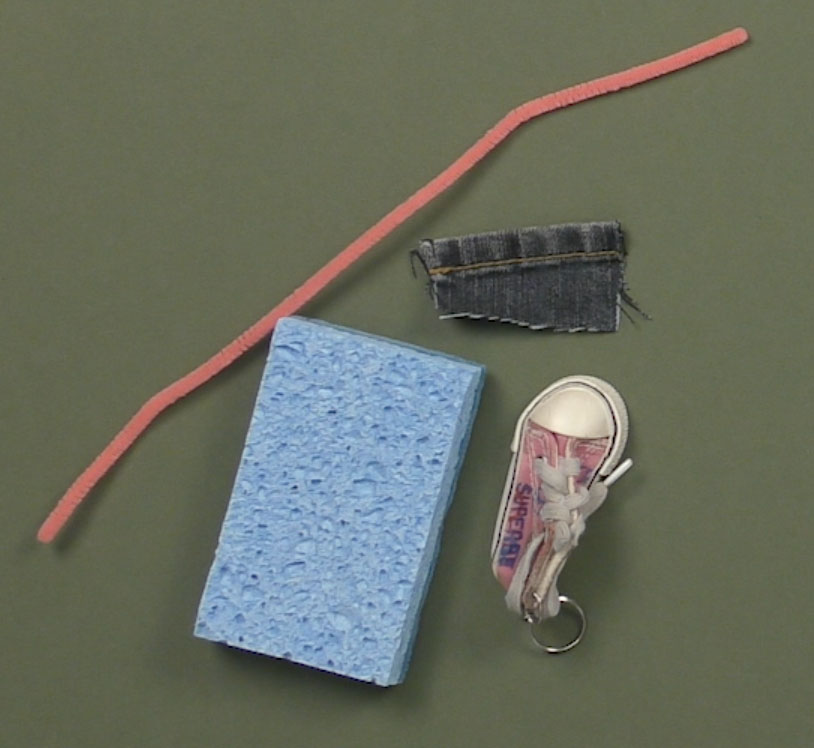
Step 2: Sort and Organize by Texture
Some objects have the same texture. Texture is a way to describe how something feels. What different textures do your objects have?
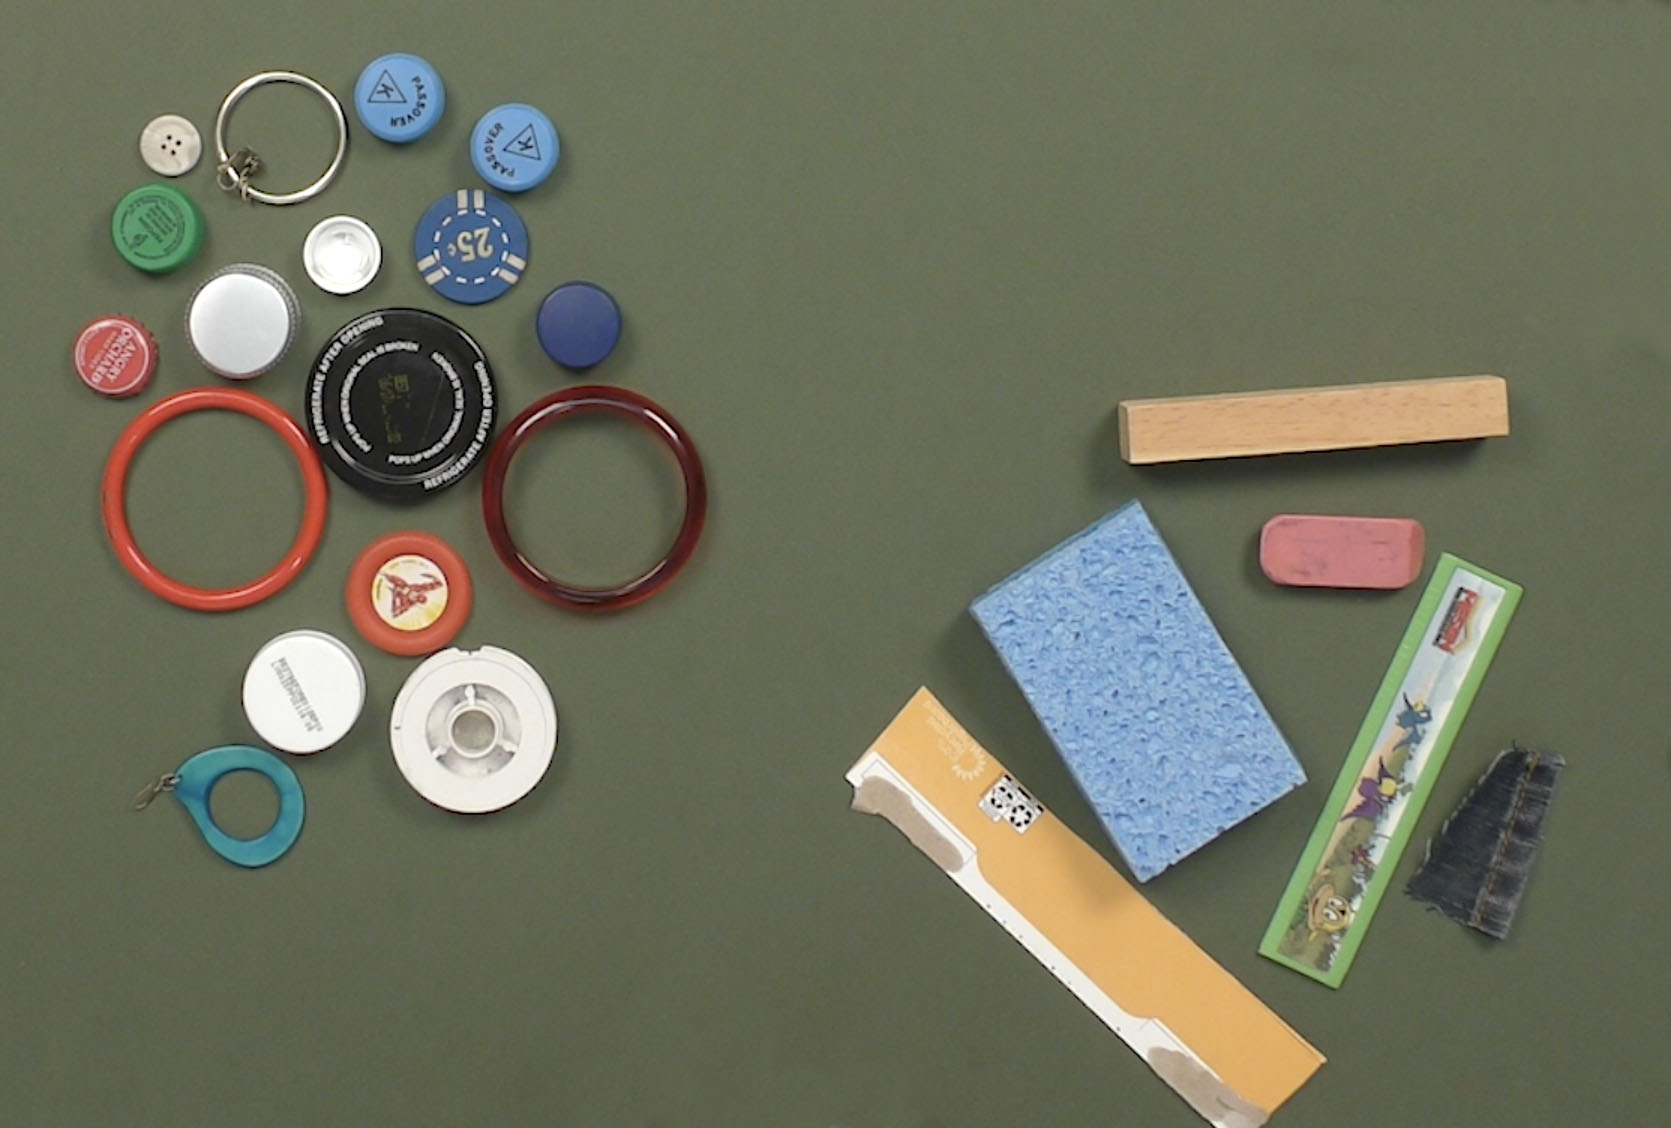
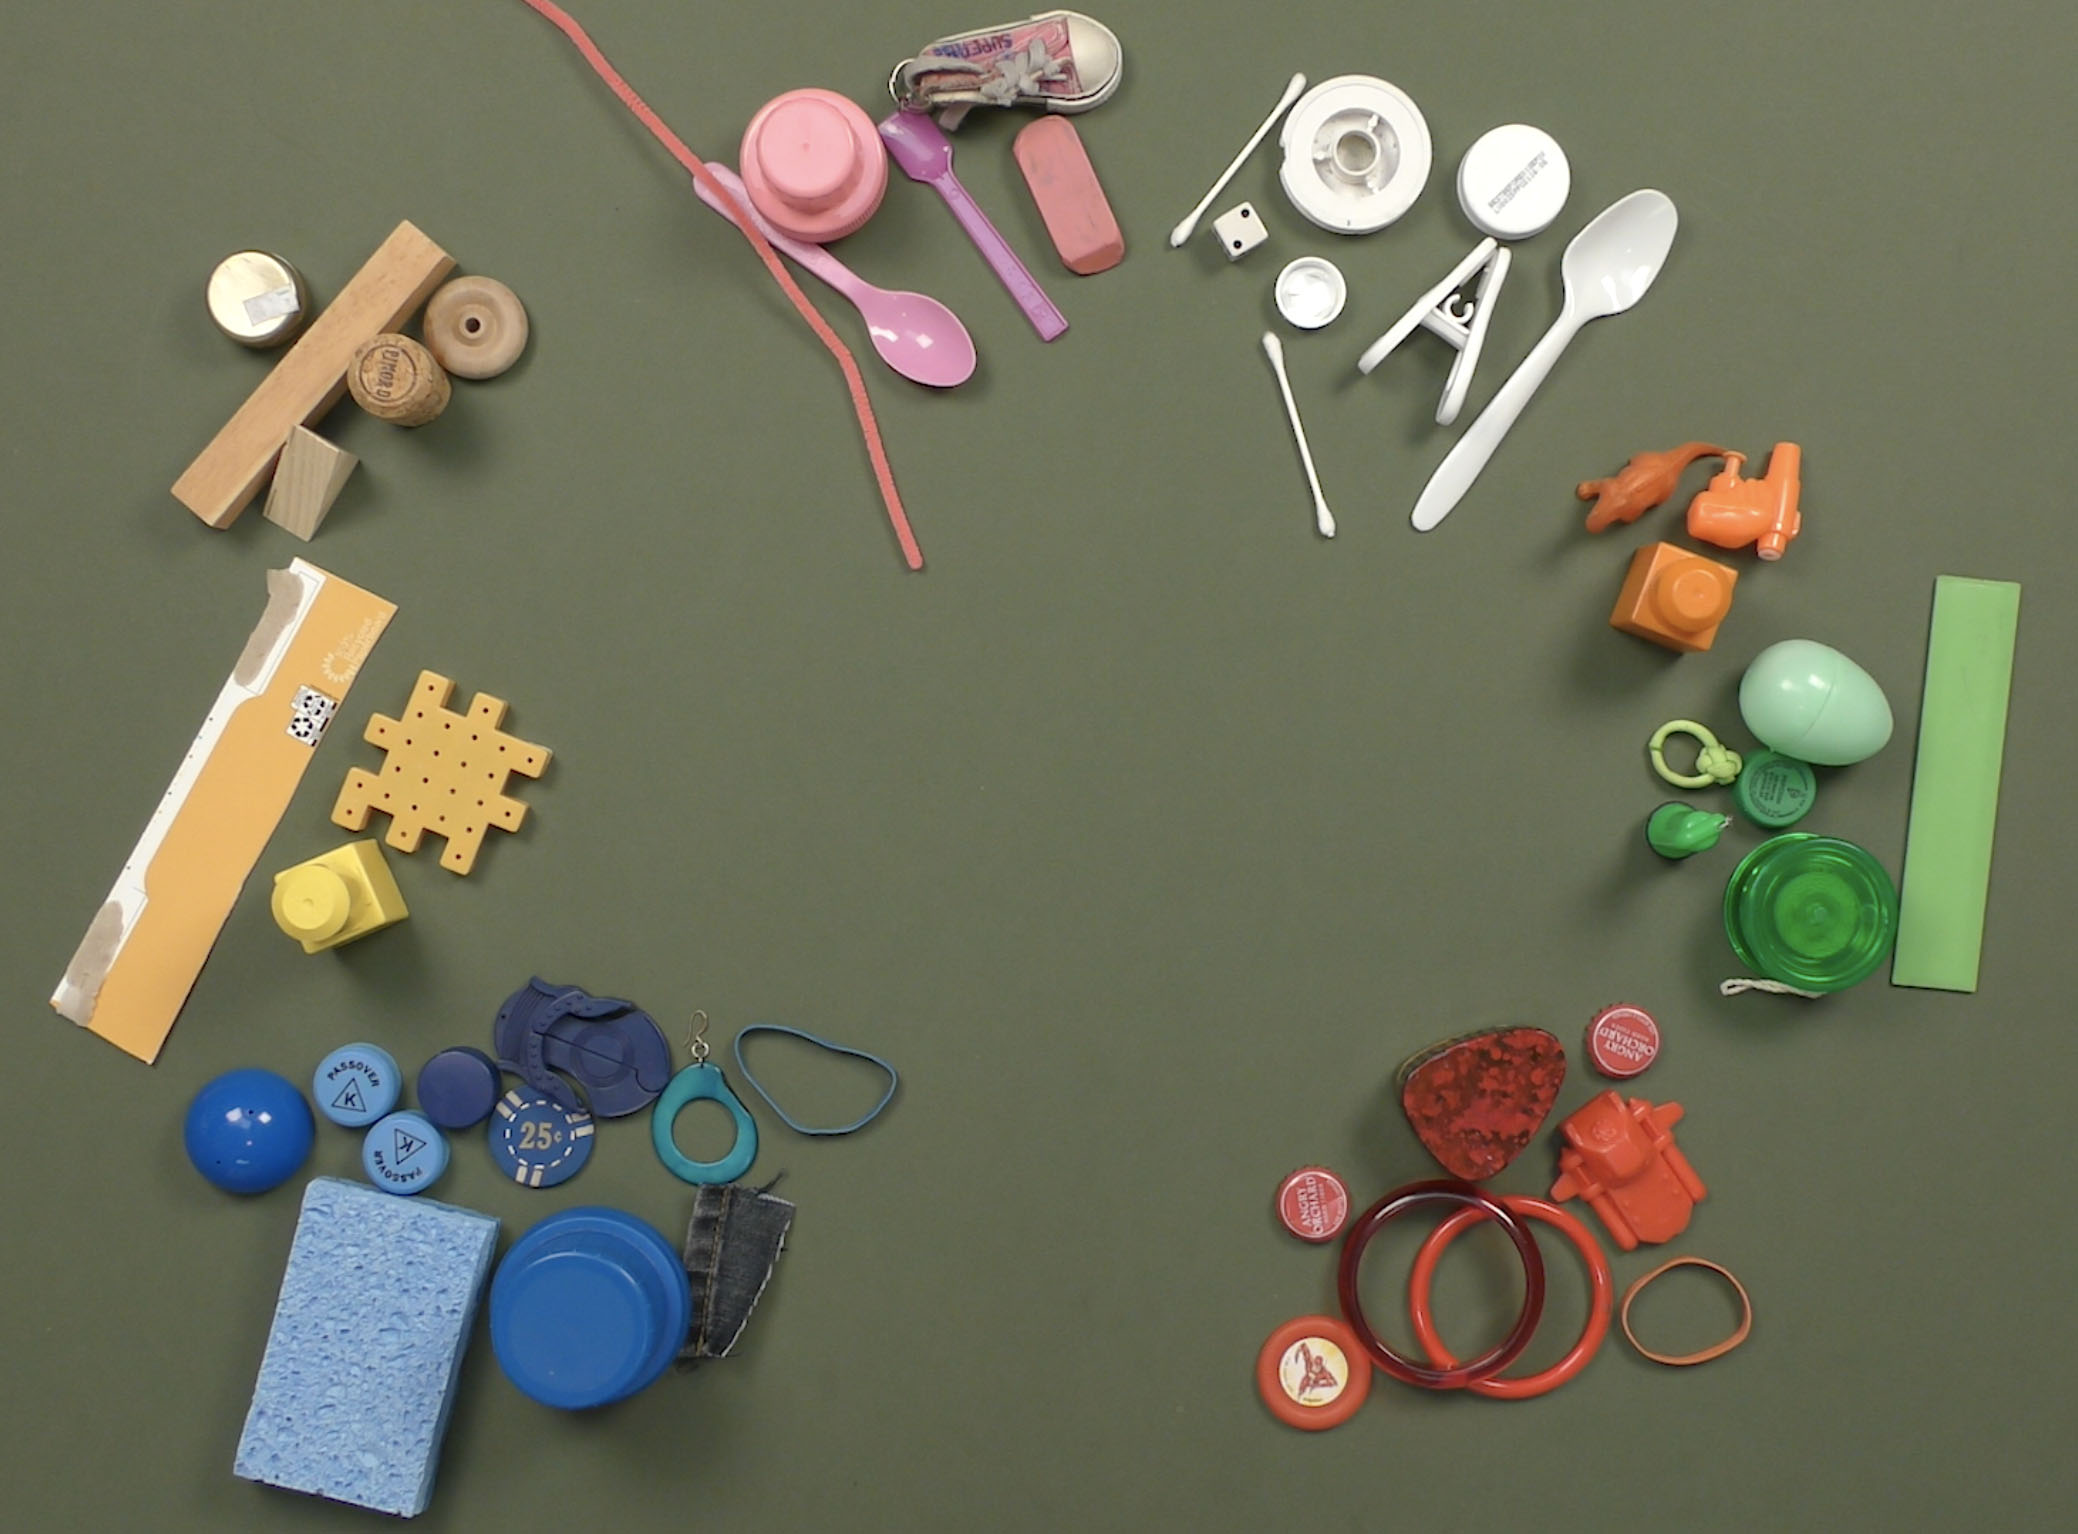
Step 3: Sort and Organize by Material
Some objects are made of the same material. The objects here are made of wood, plastic and metal.
What materials are your objects made of? How can you tell?
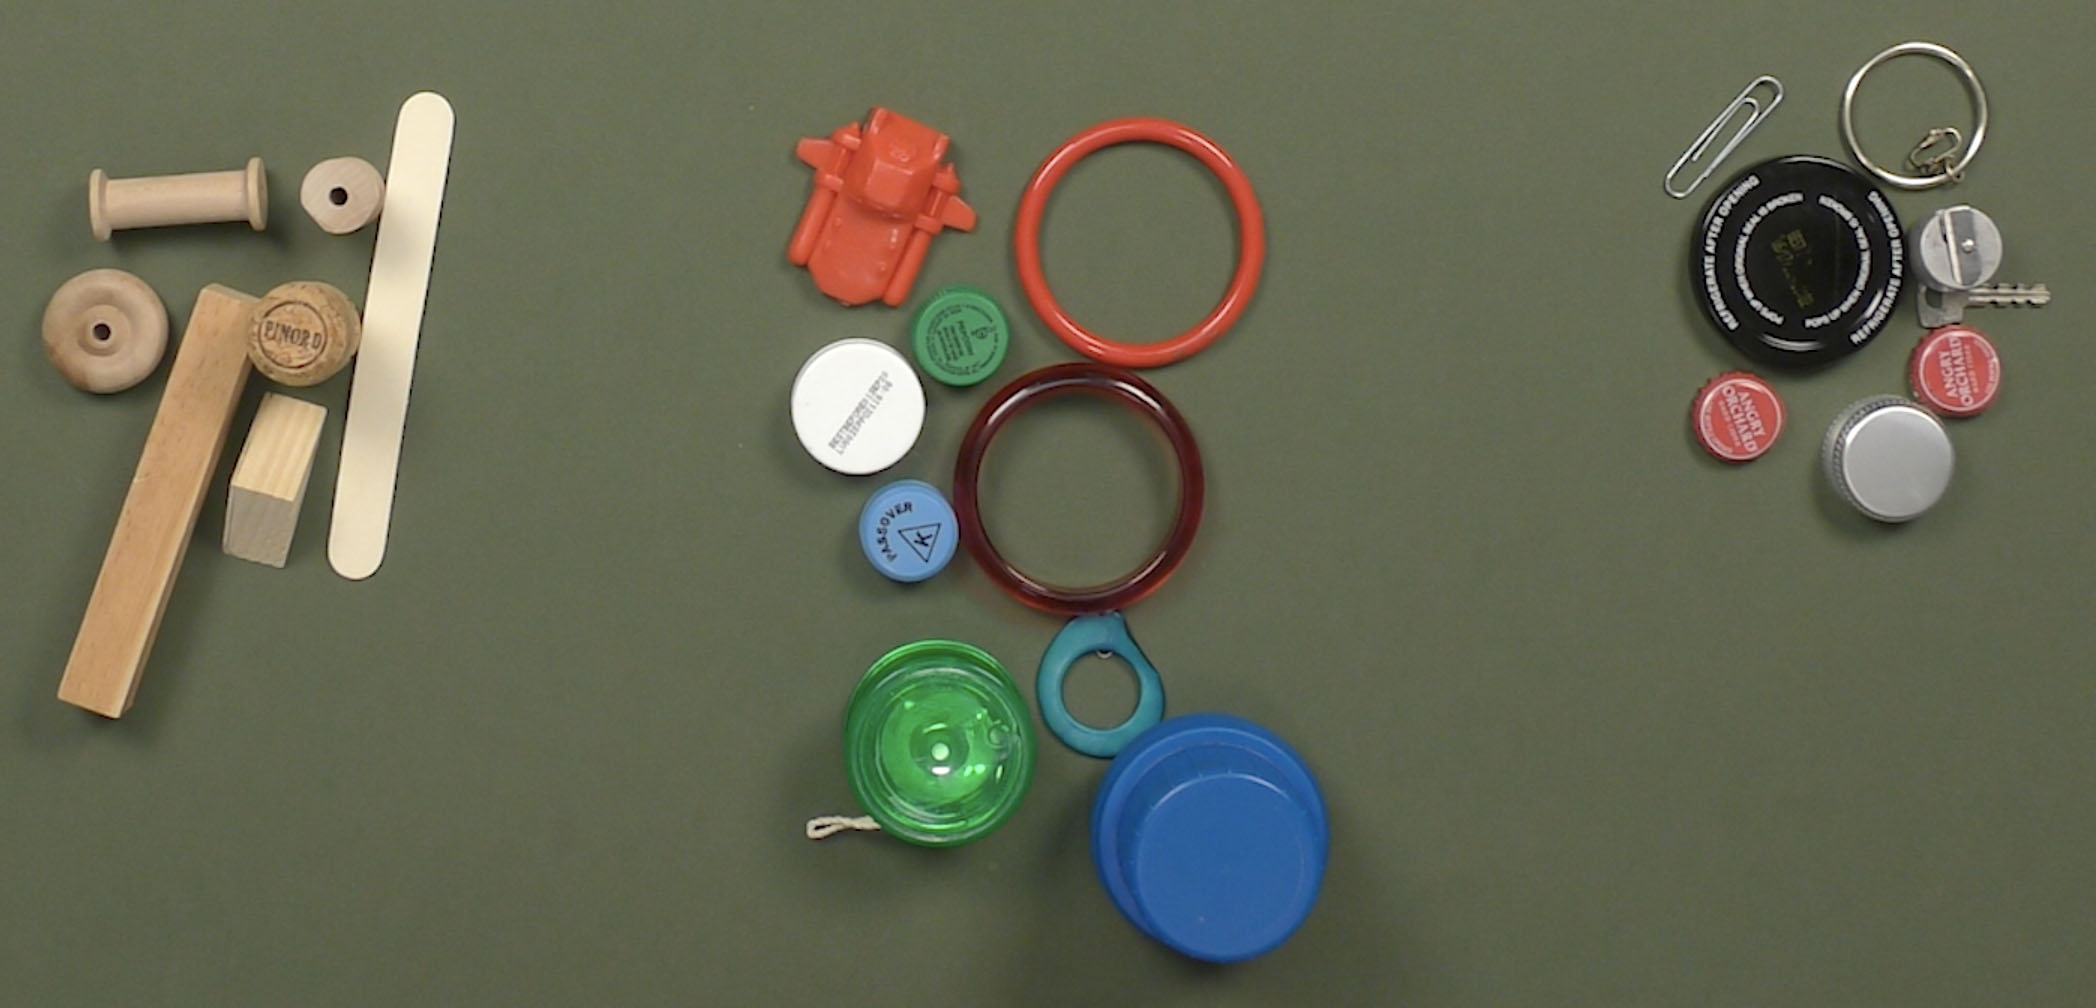
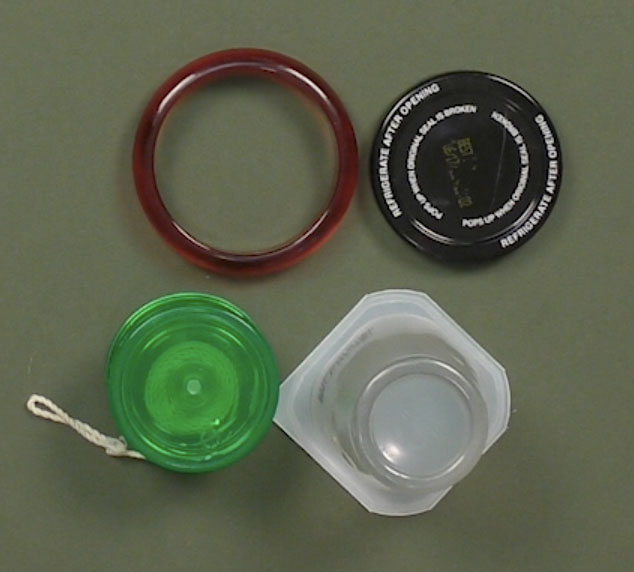
Step 4: Sort and Organize by Color
Many objects are the same color. What colors do you notice in your objects?
What other ways can you think of to sort your objects?
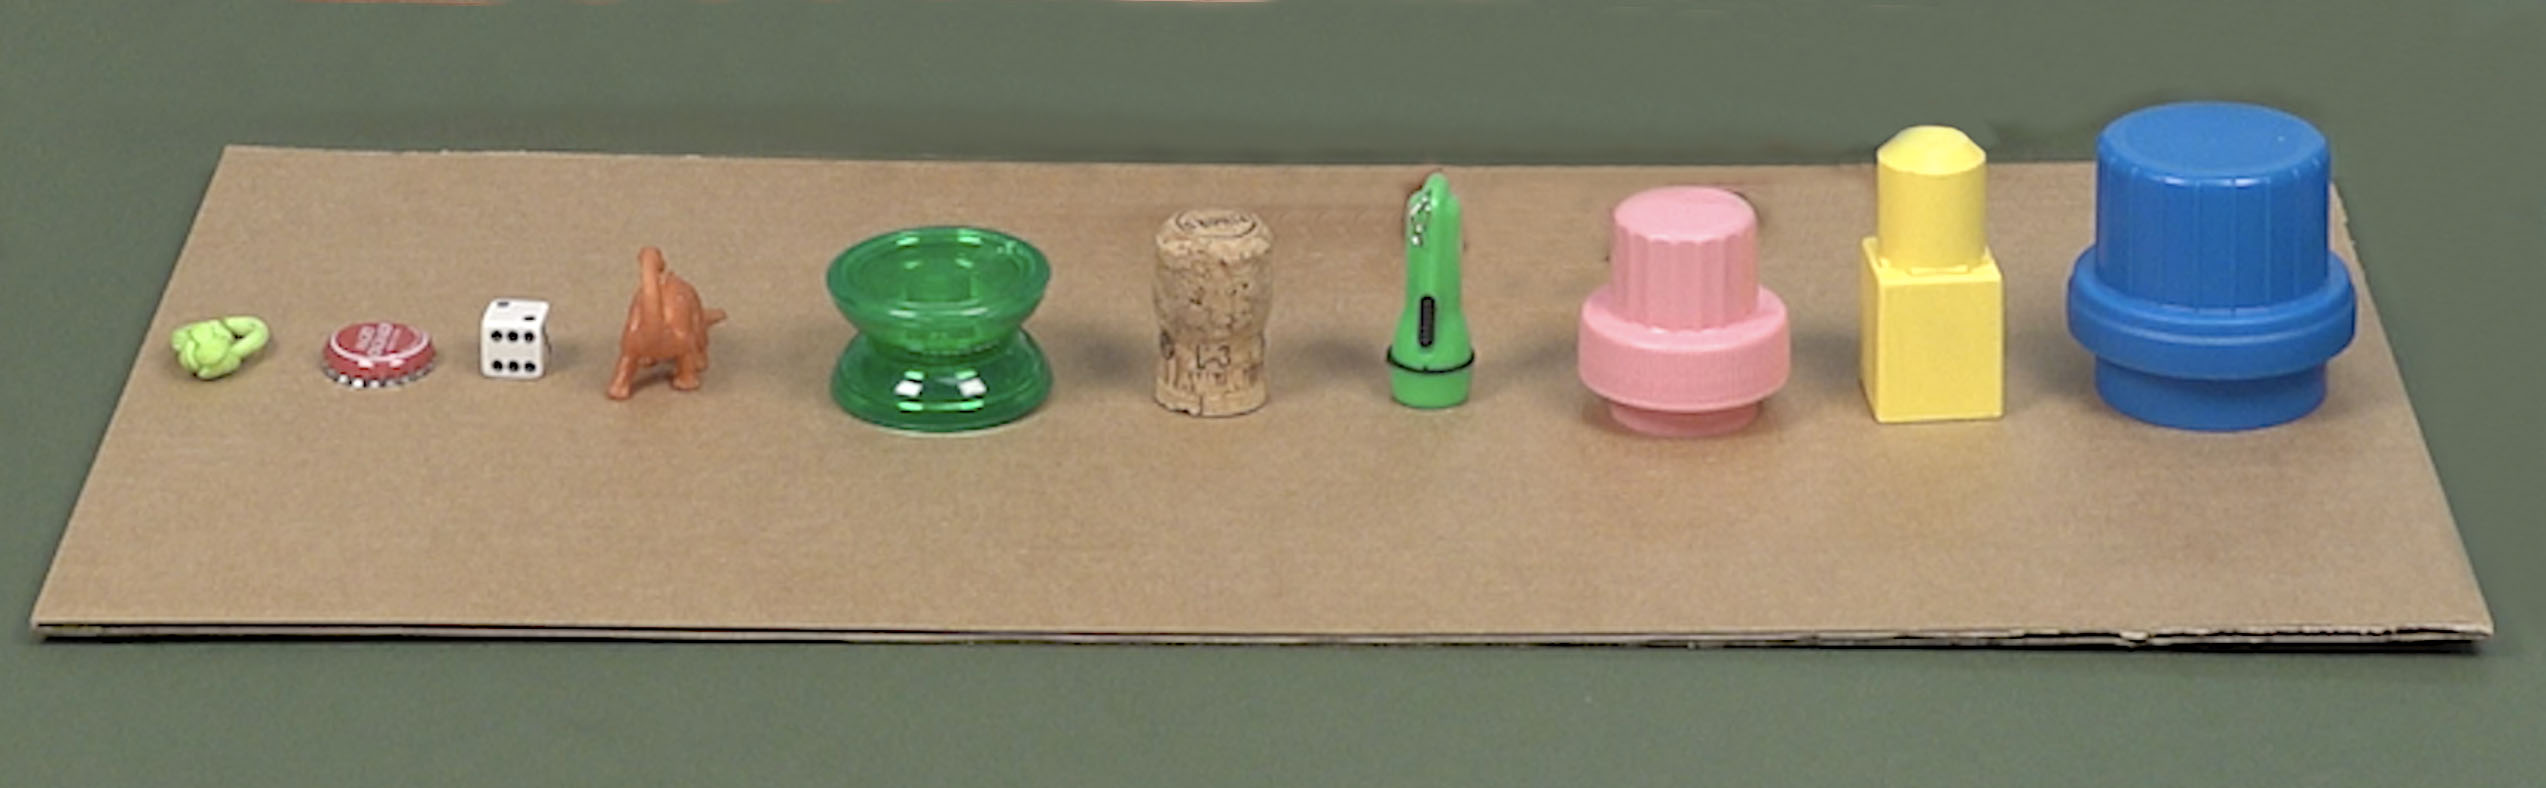
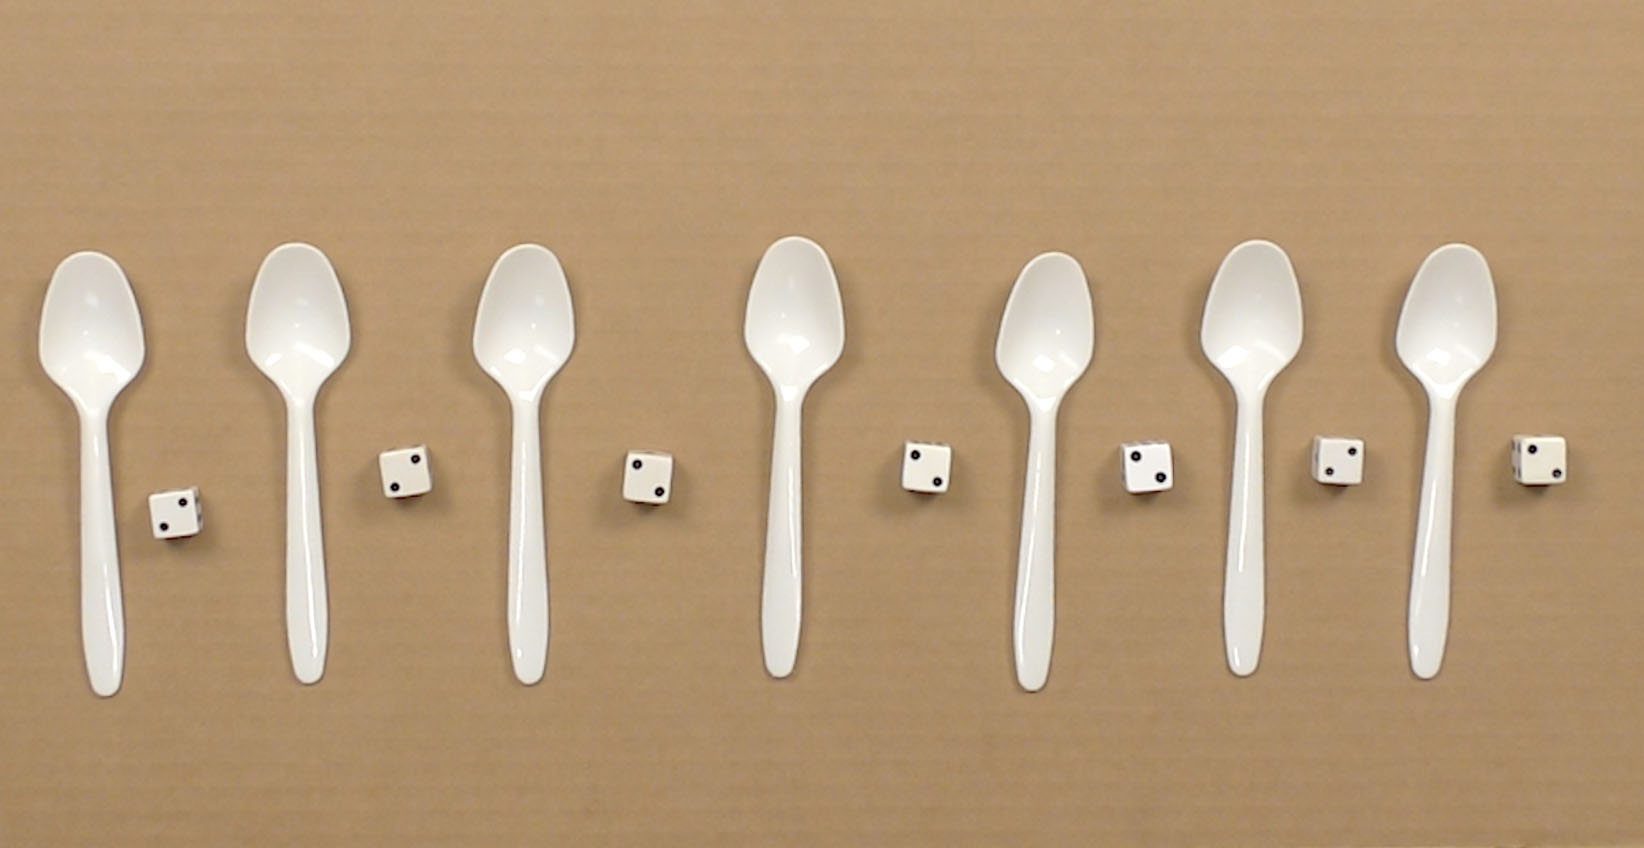
Step 5: Arrange Objects In a Line
Now let’s get your cardboard piece to use as a base.
A base is a home for your arrangement.
How can you arrange your objects in an interesting way?
You can make a long line with all of your objects. These objects lined up in a straight line, going from small to big. What other kinds of lines can you make with your objects?
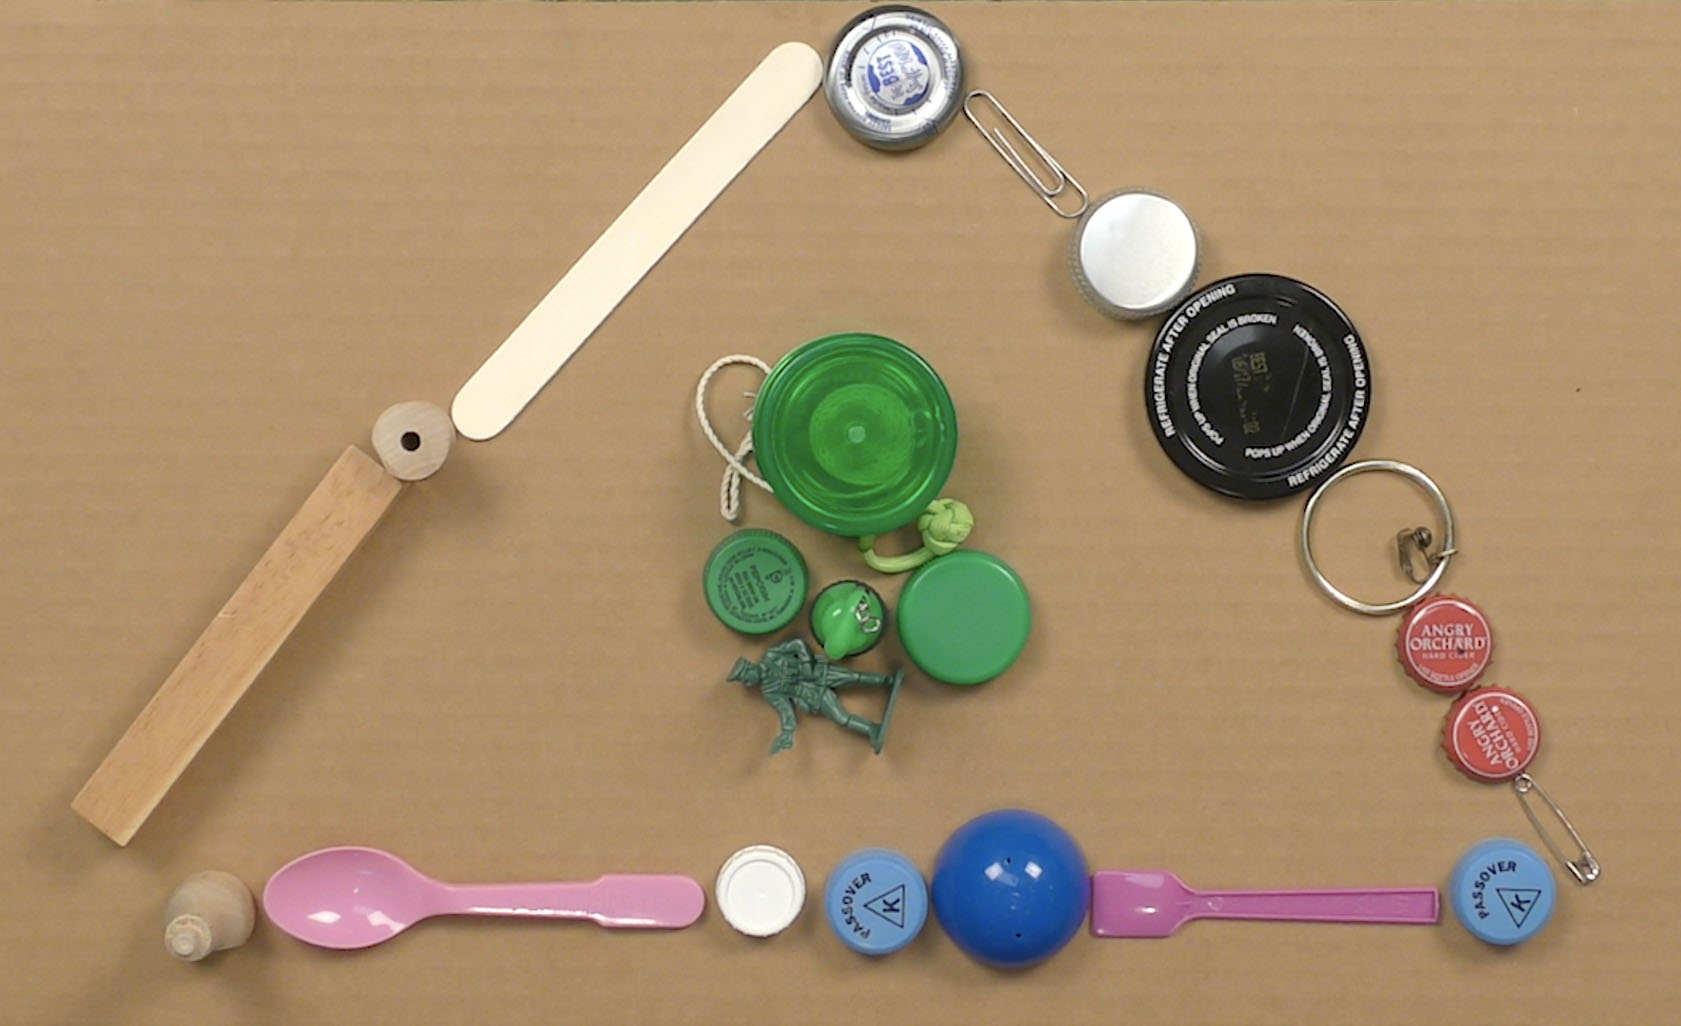
Step 6: Arranging into a Shape
What shape do you see in this arrangement?
What else do you notice about how the objects
are arranged?
What kinds of shapes can you make by arranging
your objects?
Step 7: Arranging Patterns
How can you arrange your objects to make a pattern? A pattern is a design where a line, shape, color or texture repeats.
Step 8: Looking from Different Angles
Take a minute to look at your arrangement from a different angle.
What do you notice if you look at it up-close?
How does it change when you look at it from
the side?
Step 9: Reflection
Which is your favorite arrangement of your objects?
How did you arrange them?
How did you sort them before making this arrangement?
If you have a camera, you can take a picture of your favorite arrangement of objects. Or you can always draw it.
Step 10: Storing Your Collection
Remember to save your collection to try more ideas next time! You can keep your collection in a basket, bag or box.
Video
Credits
Copyright © 2023 Studio in a School NYC LLC