Overview
In this activity, children will explore arranging, building, and connecting 3-dimensional objects to make an arrangement and a sculpture.
Materials and Tools
- A collection of 3D objects found in your home (suggestions can be found in Lesson 1)
- A piece of cardboard for a base – this can be cut from any box
- Optional: camera or paper and pencil to photograph or draw your arrangements
Activities
An object that has a top, a bottom and sides is called 3-dimensional, or 3D.
Beautiful Stuff Collection
Let’s look closely at your collection of objects.
What are some ways that you can arrange them?
What are some ways that you can build with them?

Step 1: Sorting by Shape
Before you start, you can sort your objects by shape or size to get ready to build.

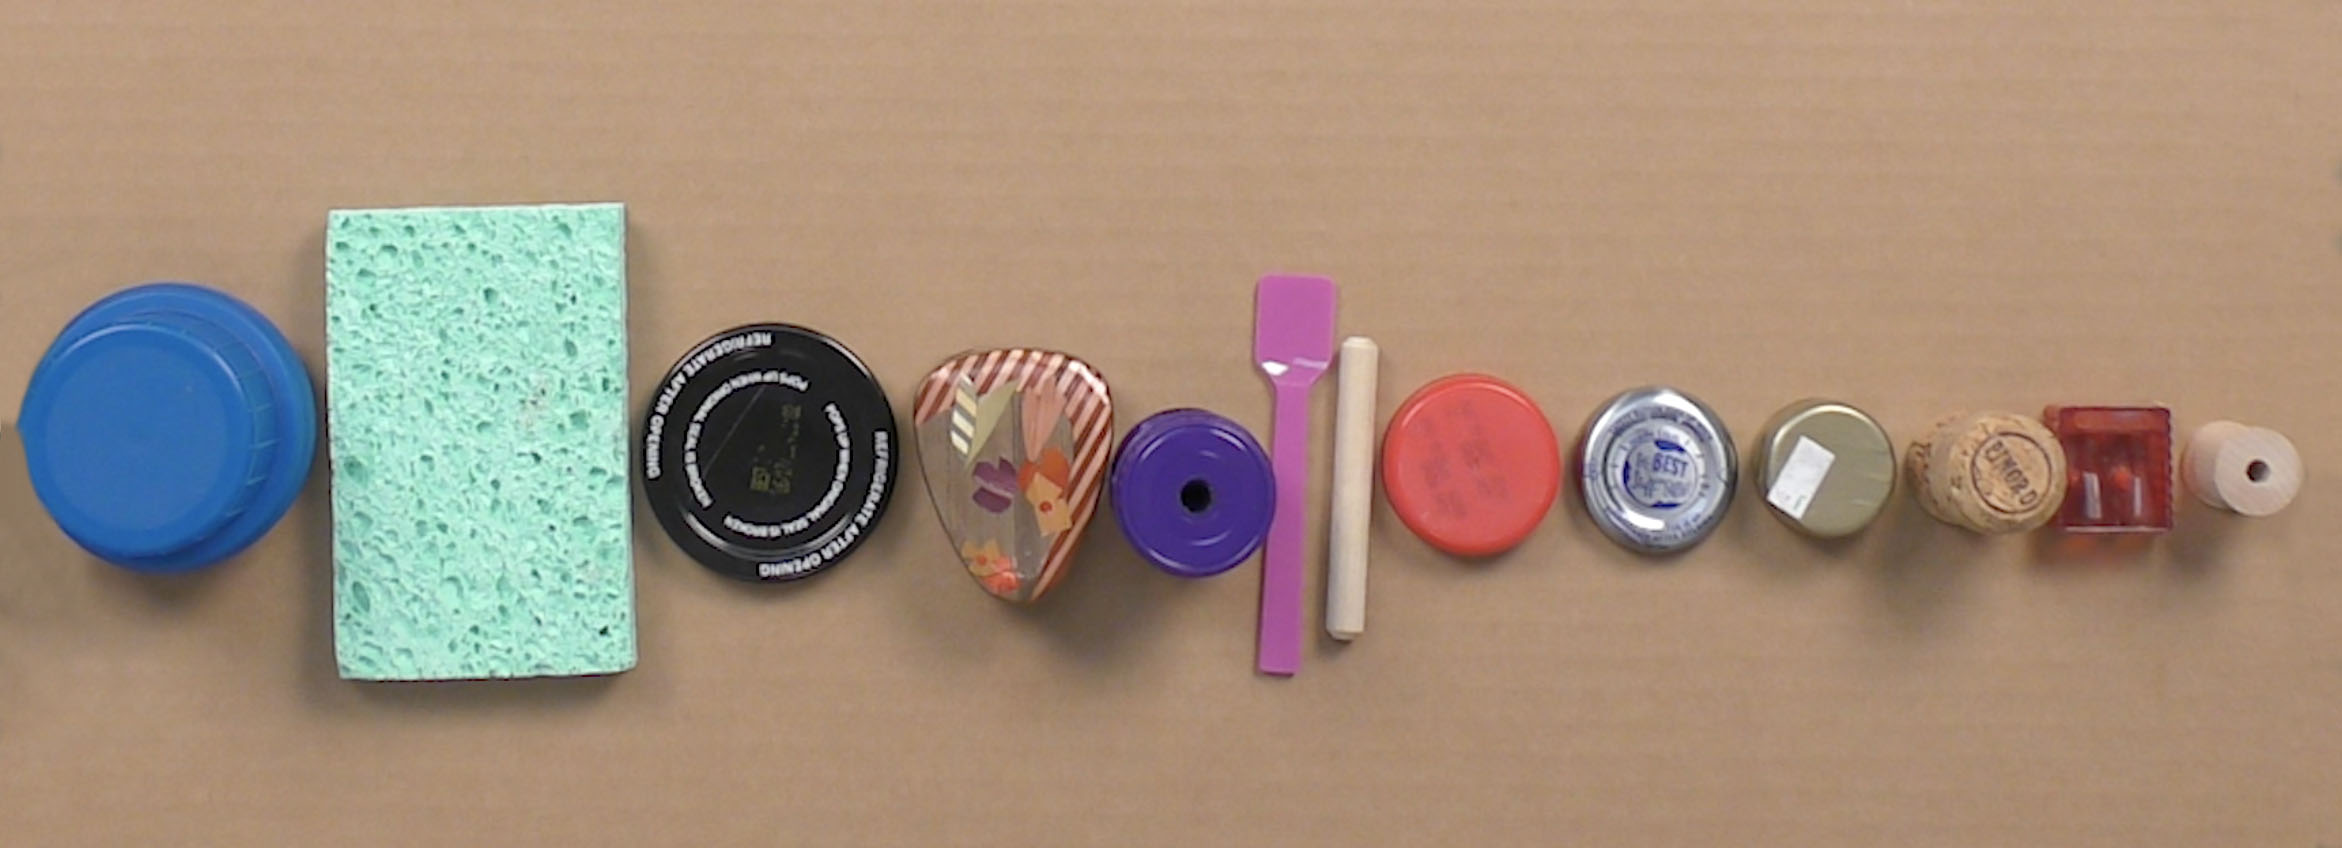
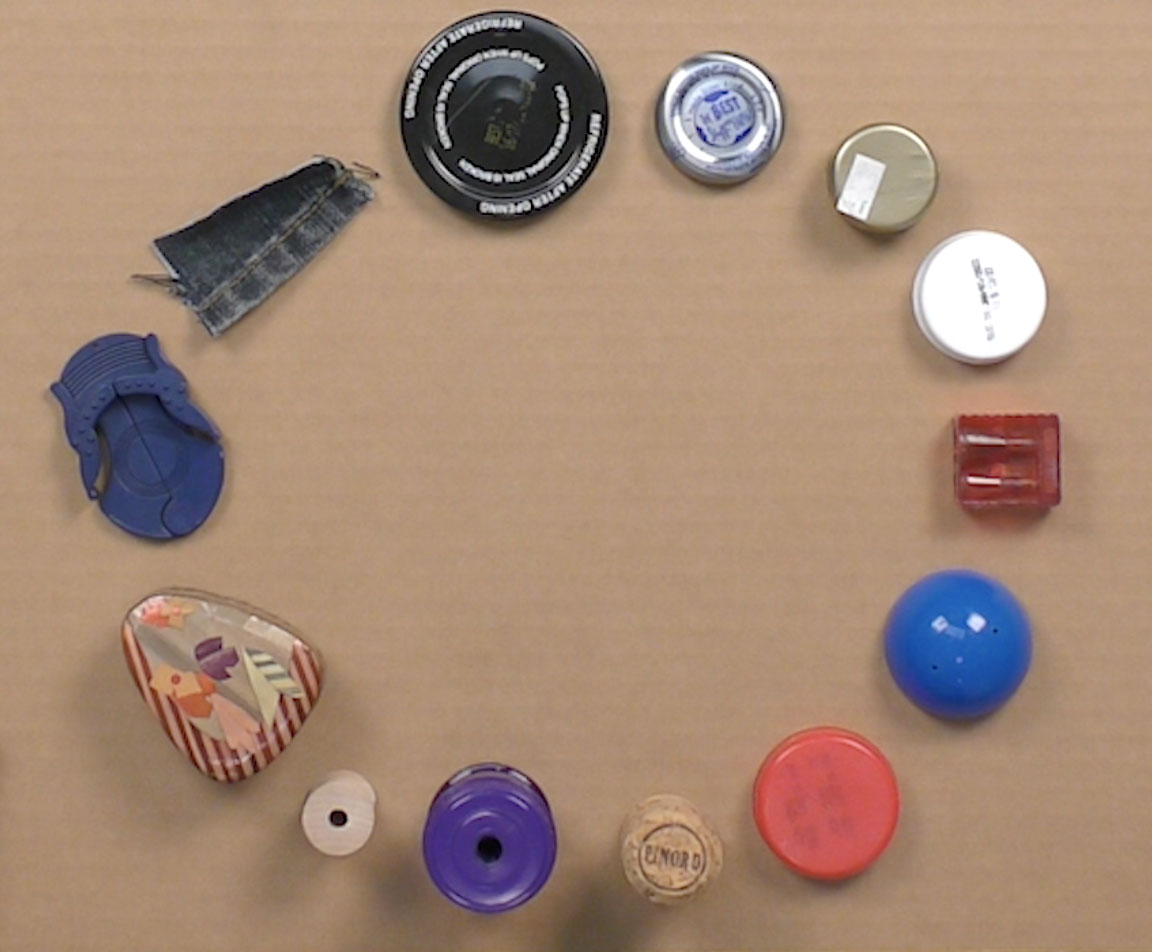
Step 2: Arranging to Make Lines
First, let’s arrange your objects. How can you arrange them in an interesting way?
You can try arranging them into a line. This is a straight line, arranged by size.
What other kinds of lines can you make with your objects?
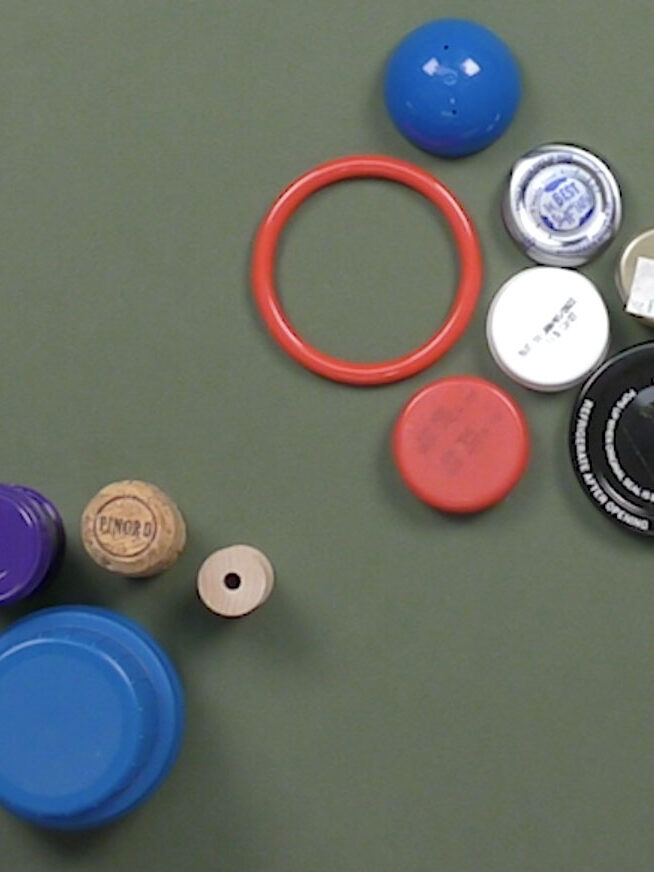
Step 3: Arranging to Make Shapes
You can also arrange your objects into shapes. What kind of shapes can you make?
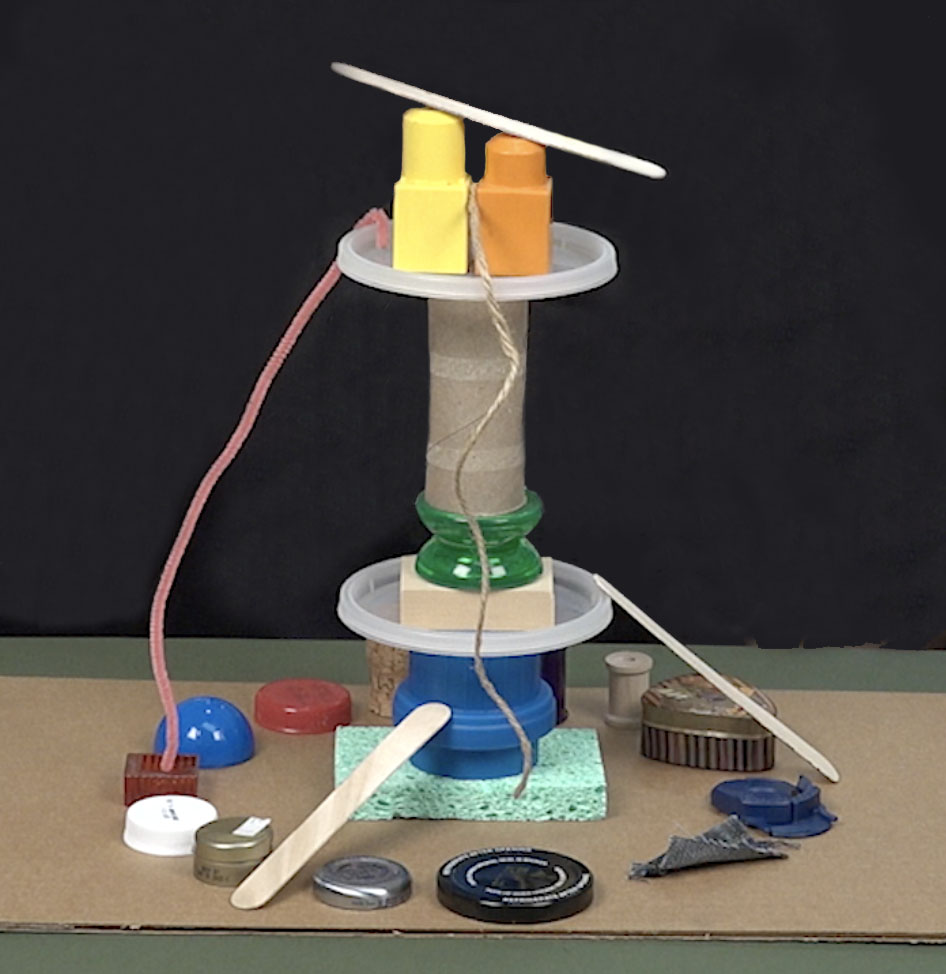
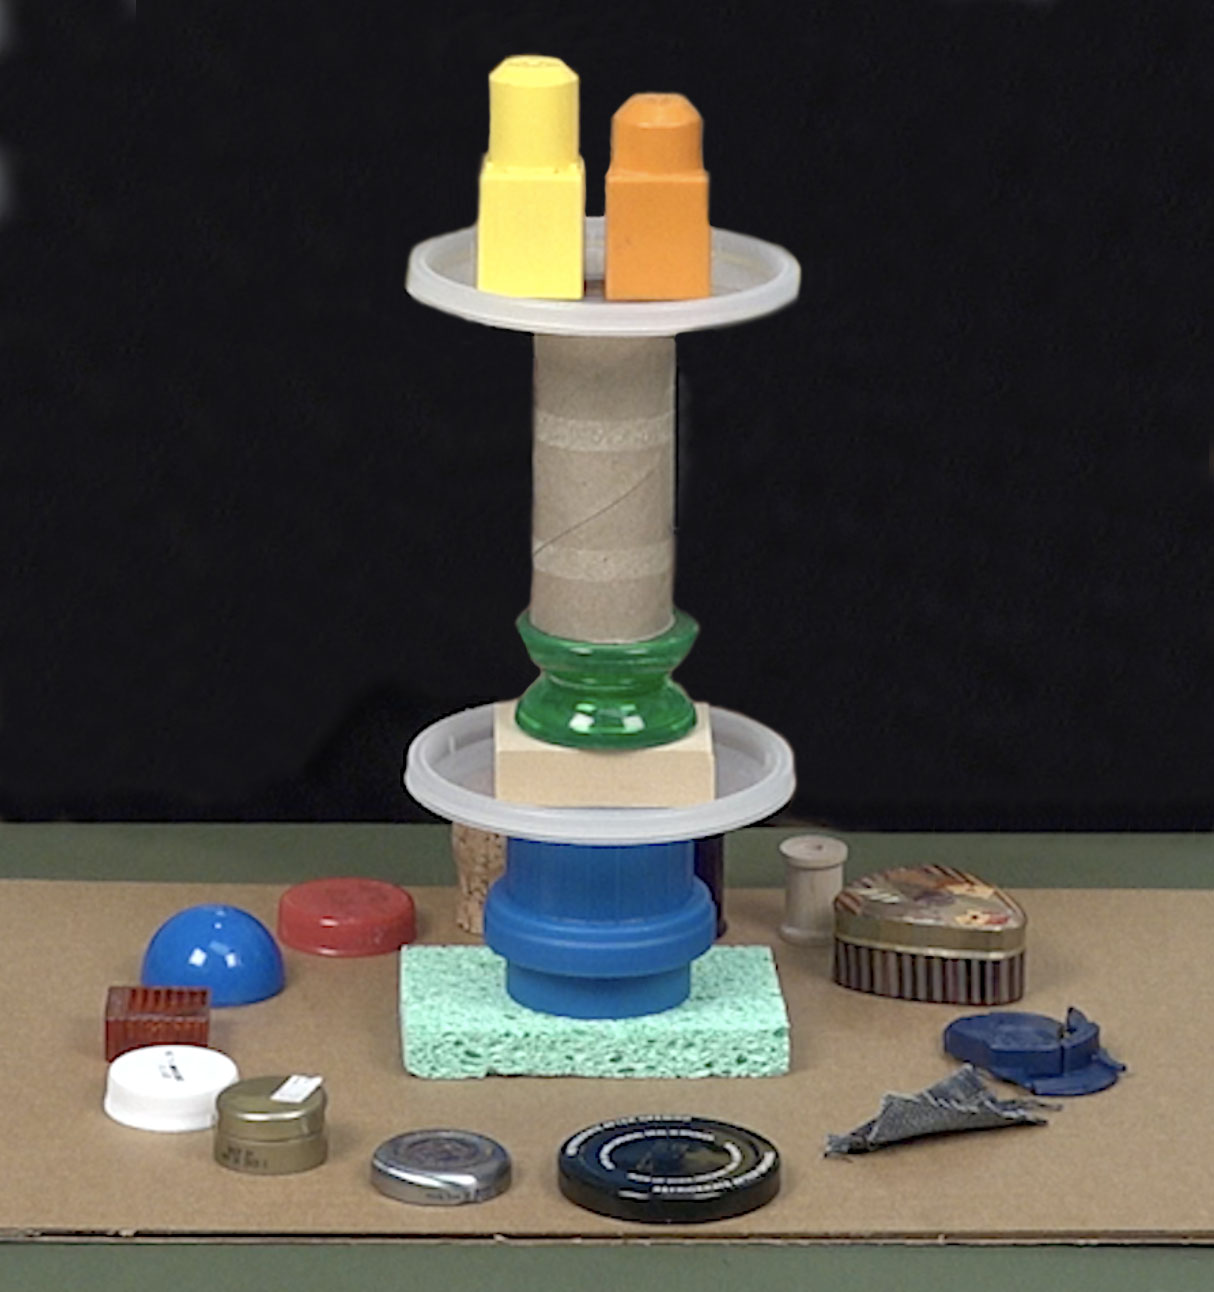
Step 4: Building – Stacking
After you’ve arranged some of your objects, you can use other objects to build. How can you build to make something tall?
Remember that you can put wider pieces on the bottom to make a strong foundation for your sculpture. Then, you can keep building up.
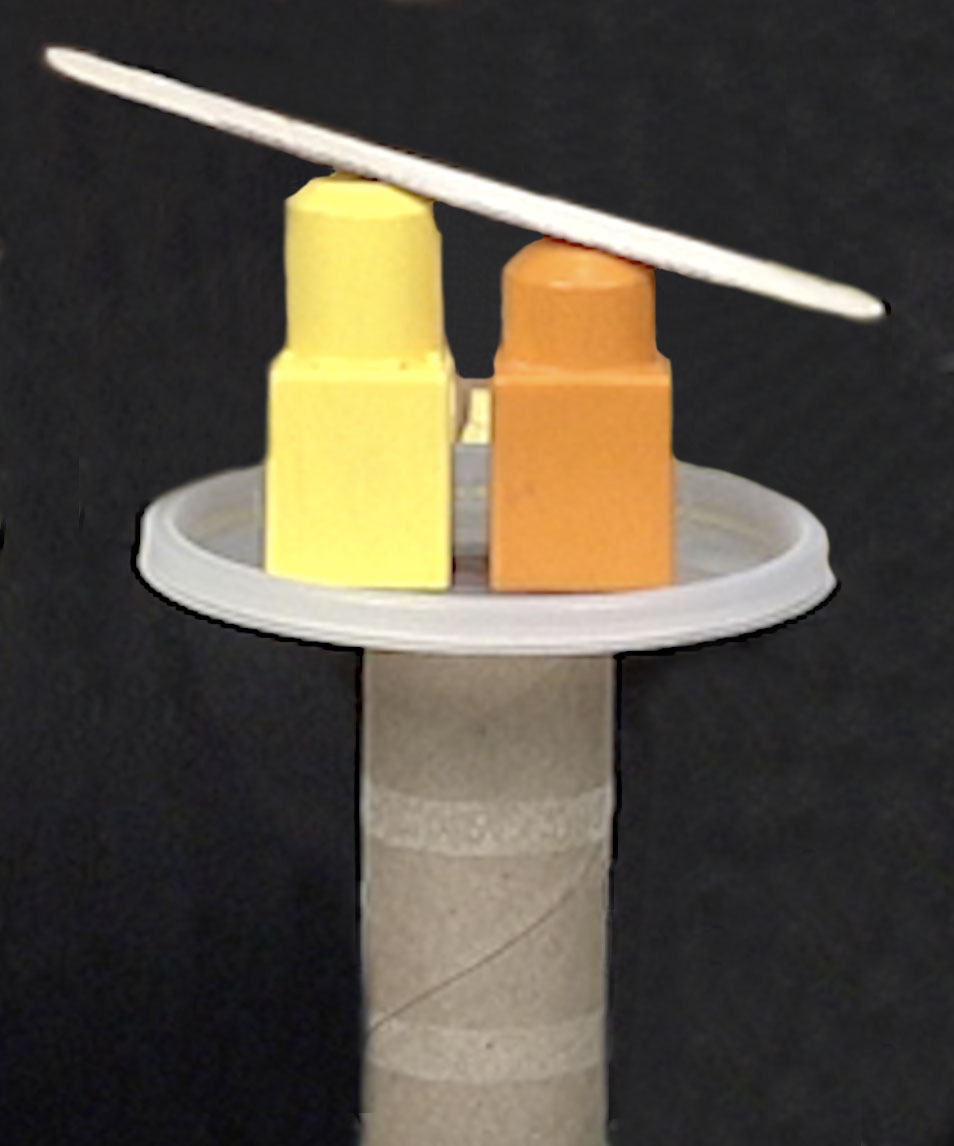
Step 5: Building – Balancing
How can you balance your objects to make bridges or connect pieces?
Step 6: Building – Connecting
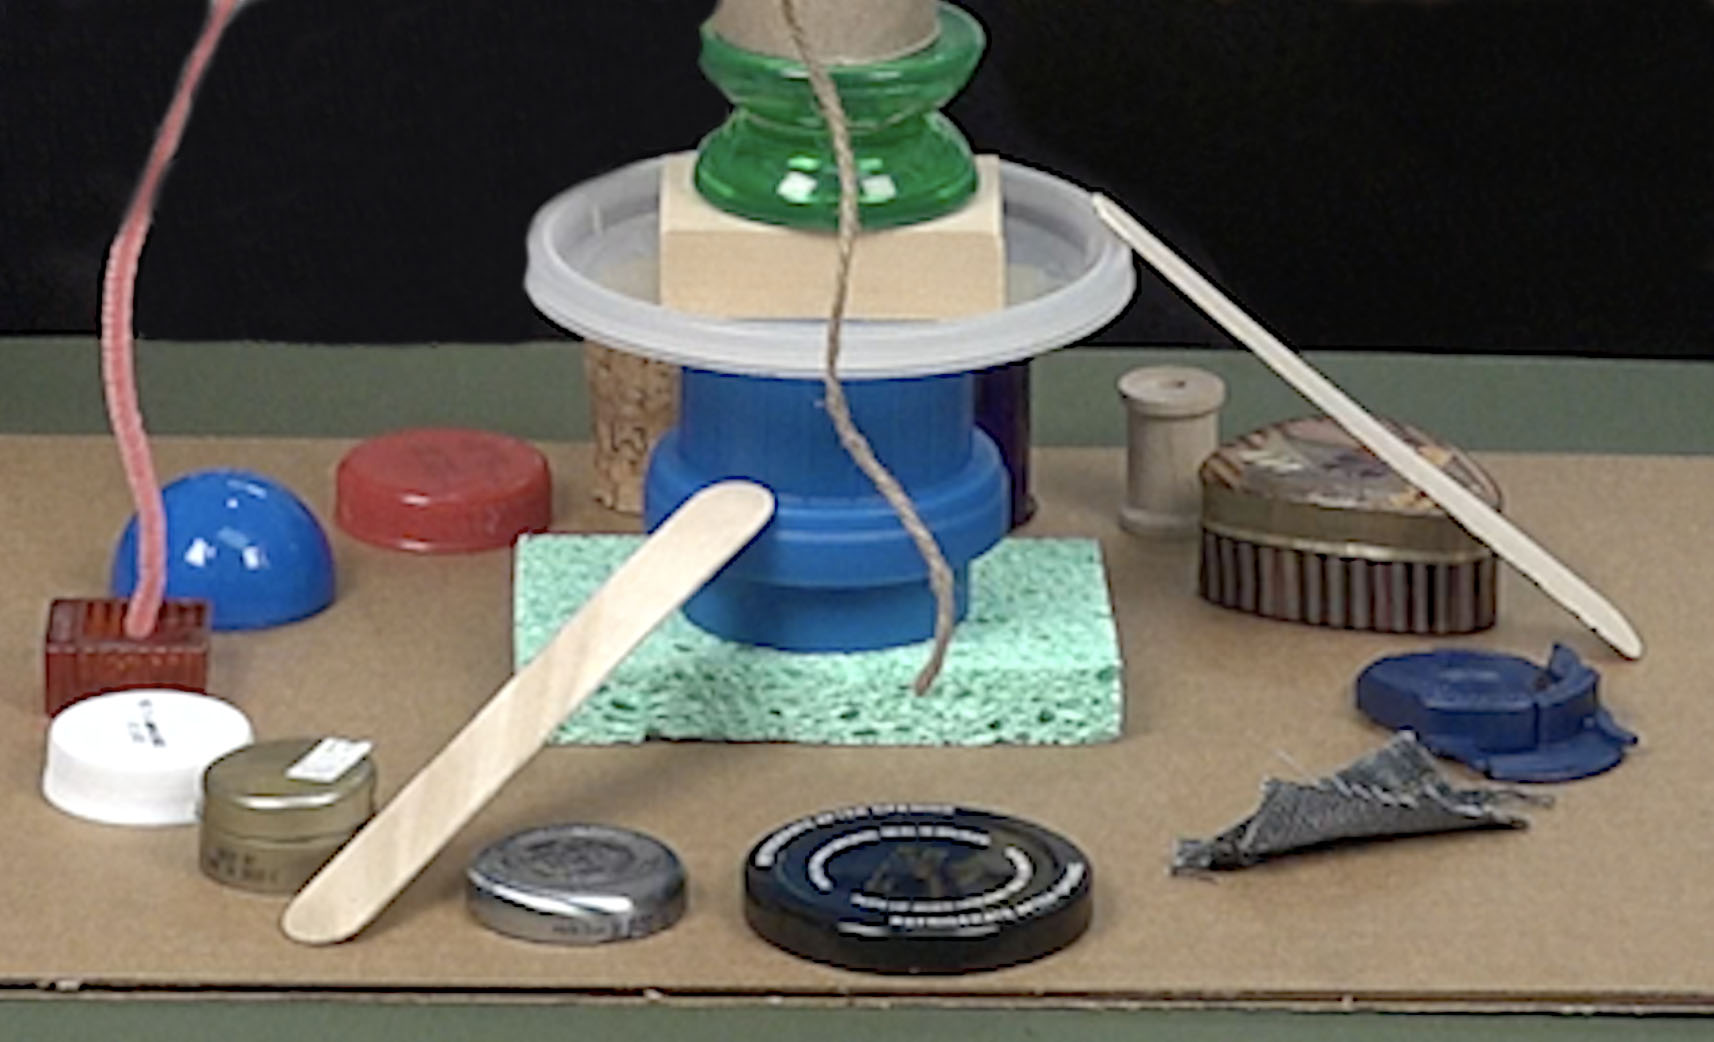
How can you connect objects that are stacked up high with objects on your base?
You can use string, pipe cleaners or wires, and wedge them under or between other objects. You can also tie or bend these to attach them to your sculpture.
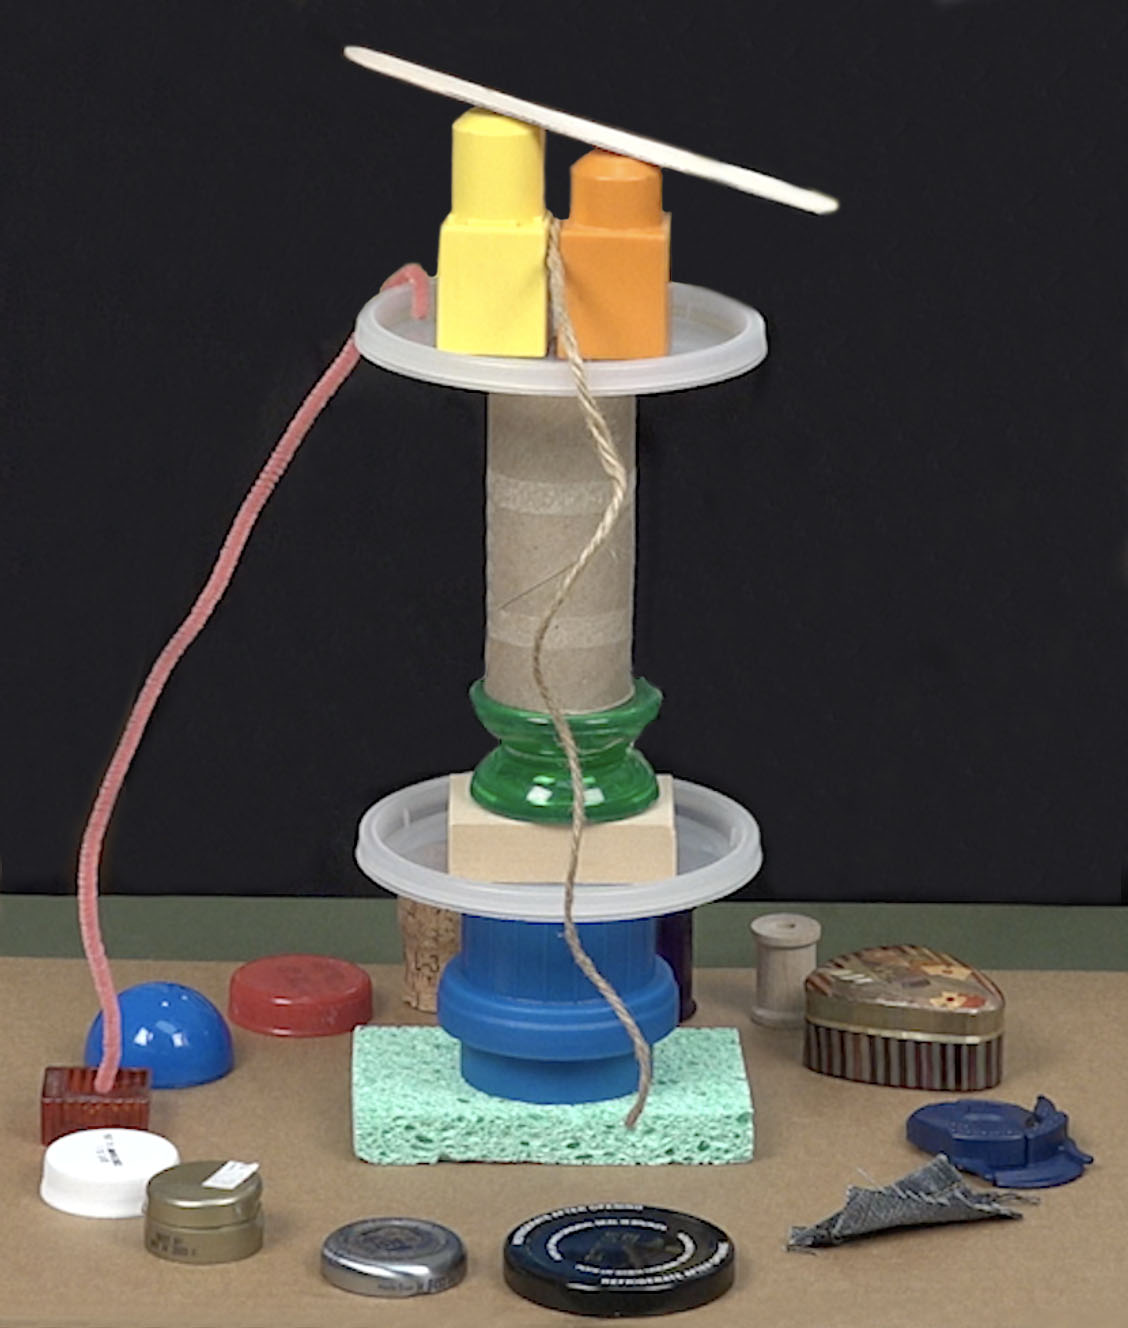
Step 7: Building – Leaning
How else can you connect different parts of your sculpture? Long, flat objects can lean on other parts. These might become ramps or slides.
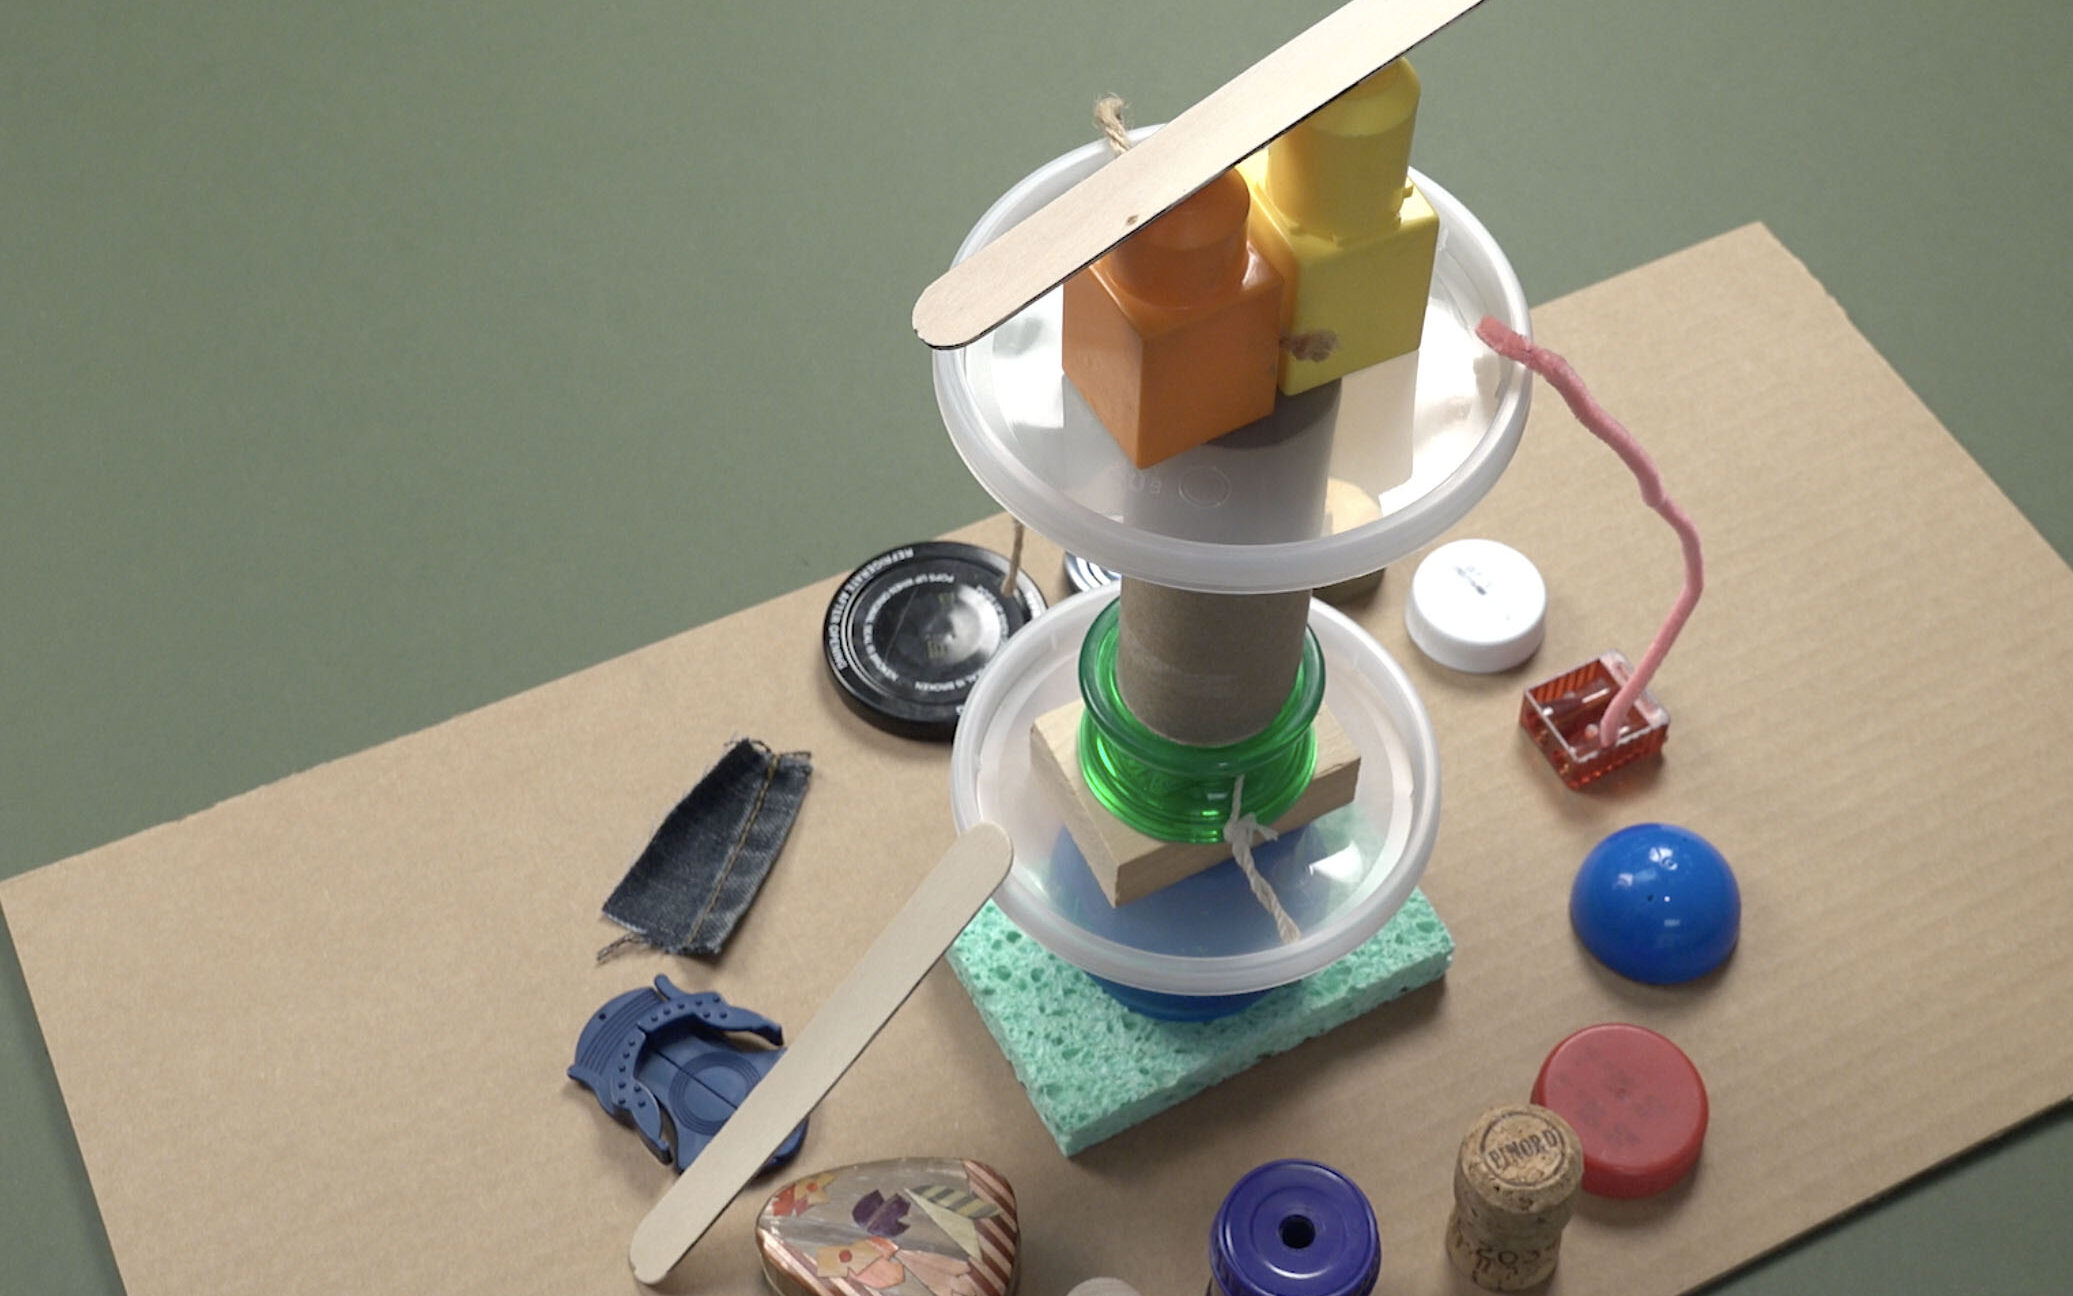
Step 8: Looking from Different Angles
Once you’re done, move around your sculpture to look at it from different angles.
How would you describe the shape of your sculpture?
What shape do you see if you look at it from above?
If your sculpture was as big as a building, how would
you move around or through it?

Step 9: Reflection
How did you arrange your 3-dimensional objects to make a sculpture?
How did you build with them?
How did you connect them?
If you have a camera, you can take a picture of your sculpture. Or you can always draw it.
Video
Credits
Copyright © 2023 Studio in a School NYC LLC