Overview
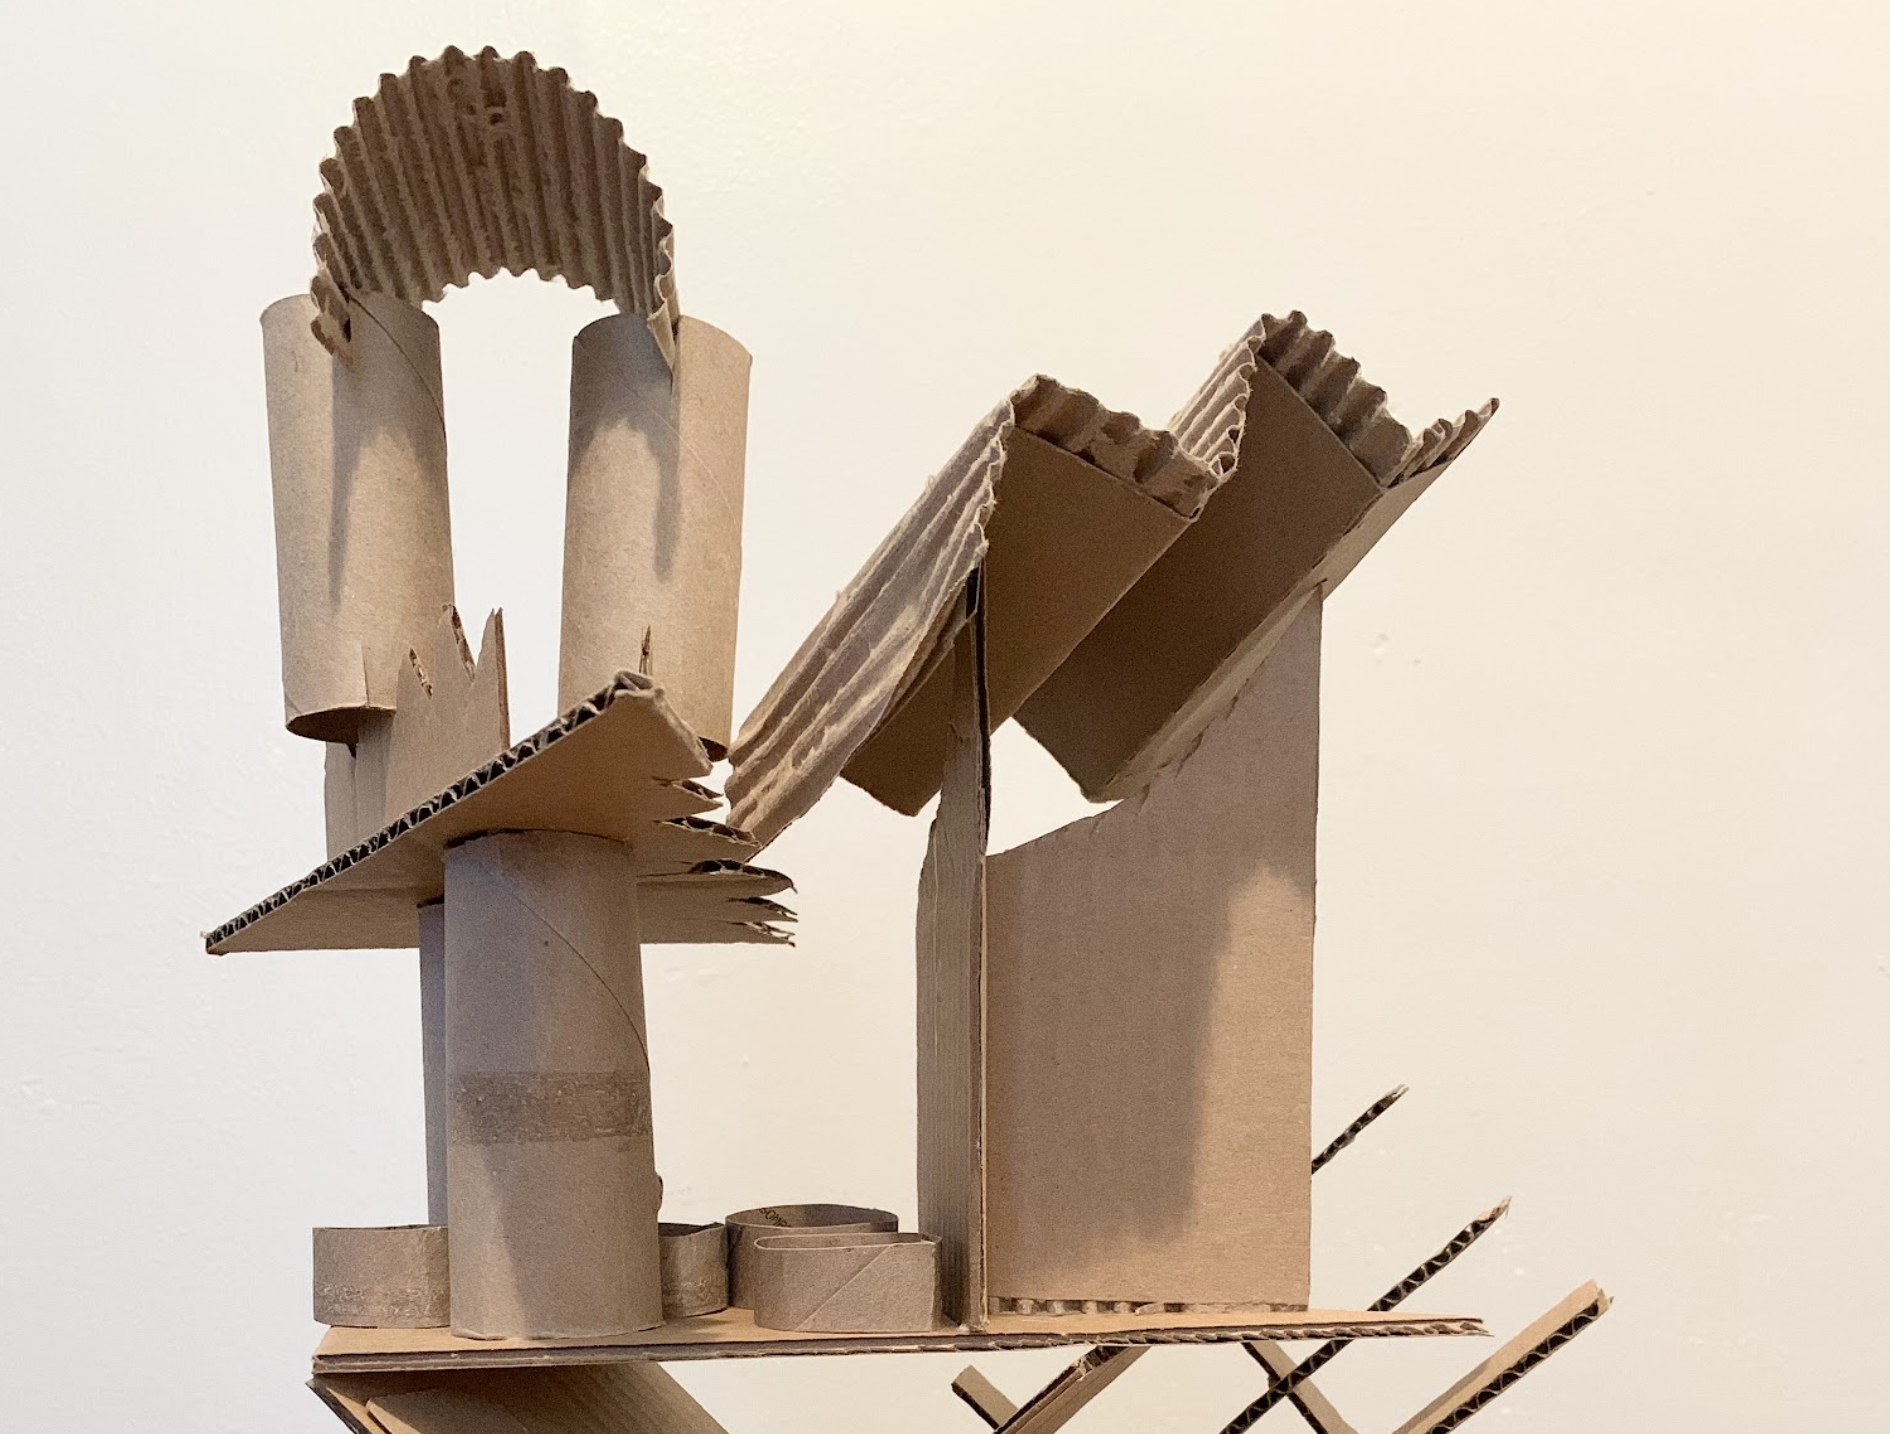
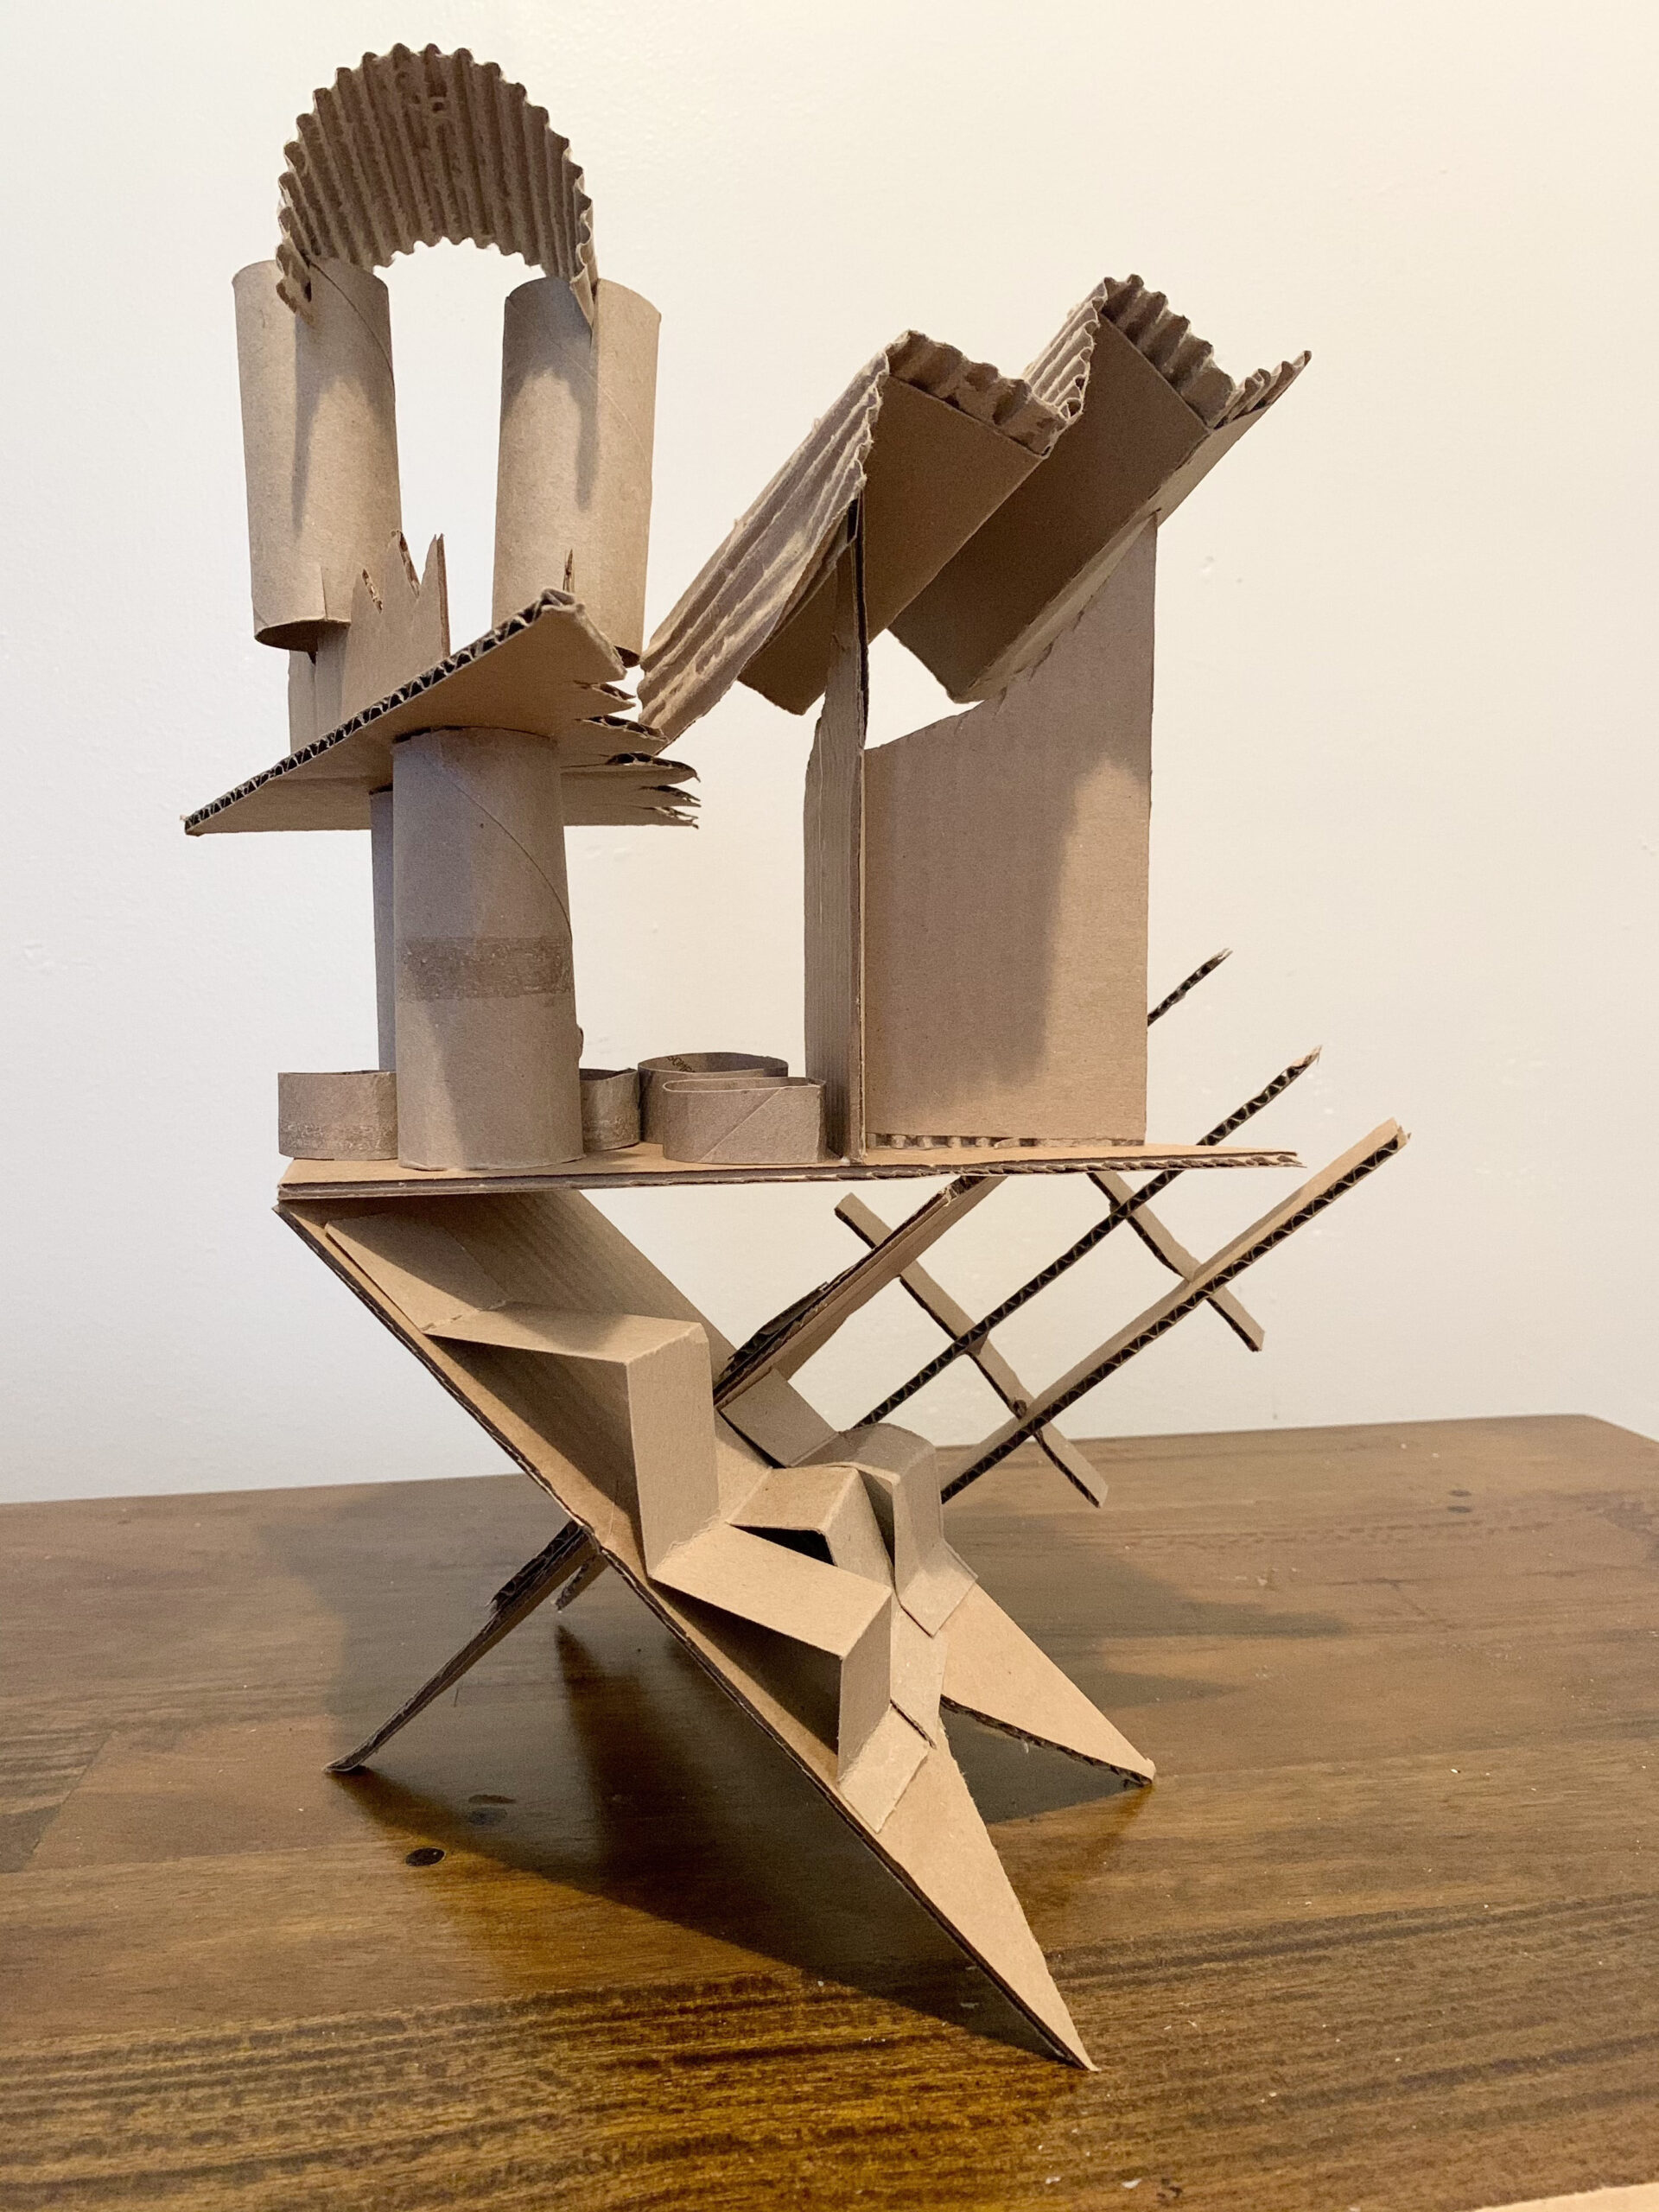
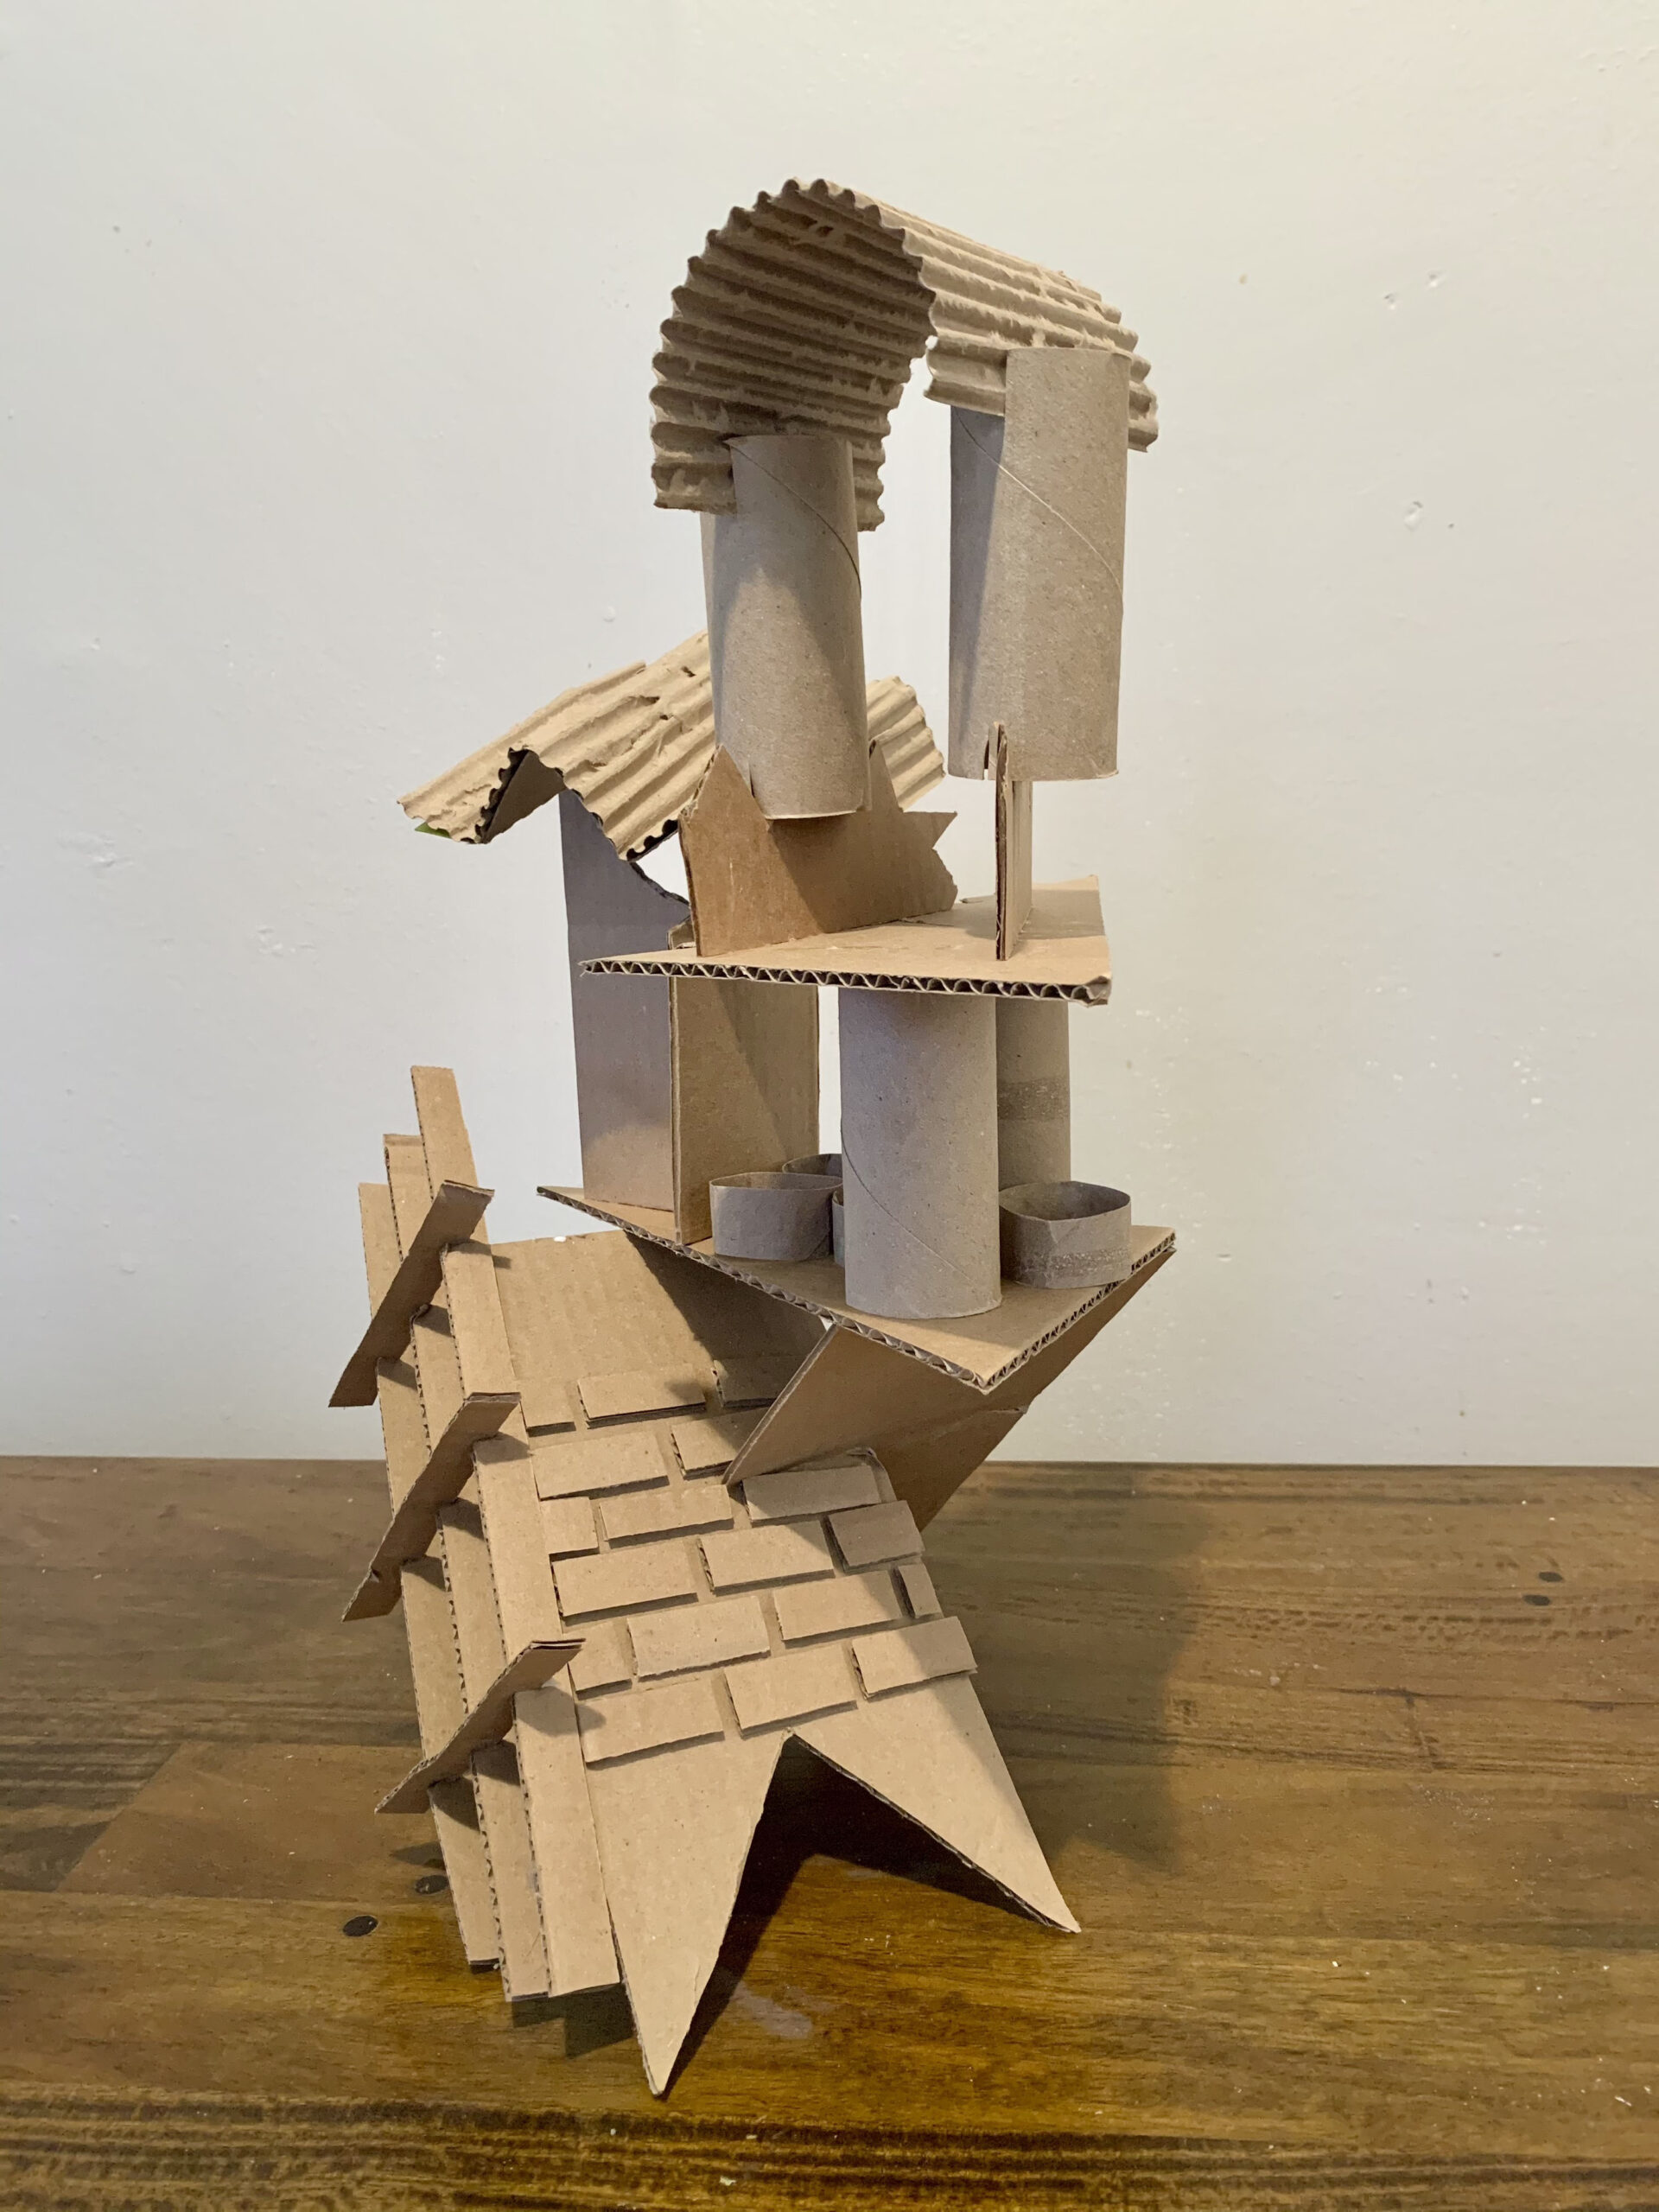
Students will use cardboard shapes from Lesson 5 (or create new shapes, if needed) to create an imaginary structure with positive space, negative space, and pattern.
Materials and Tools
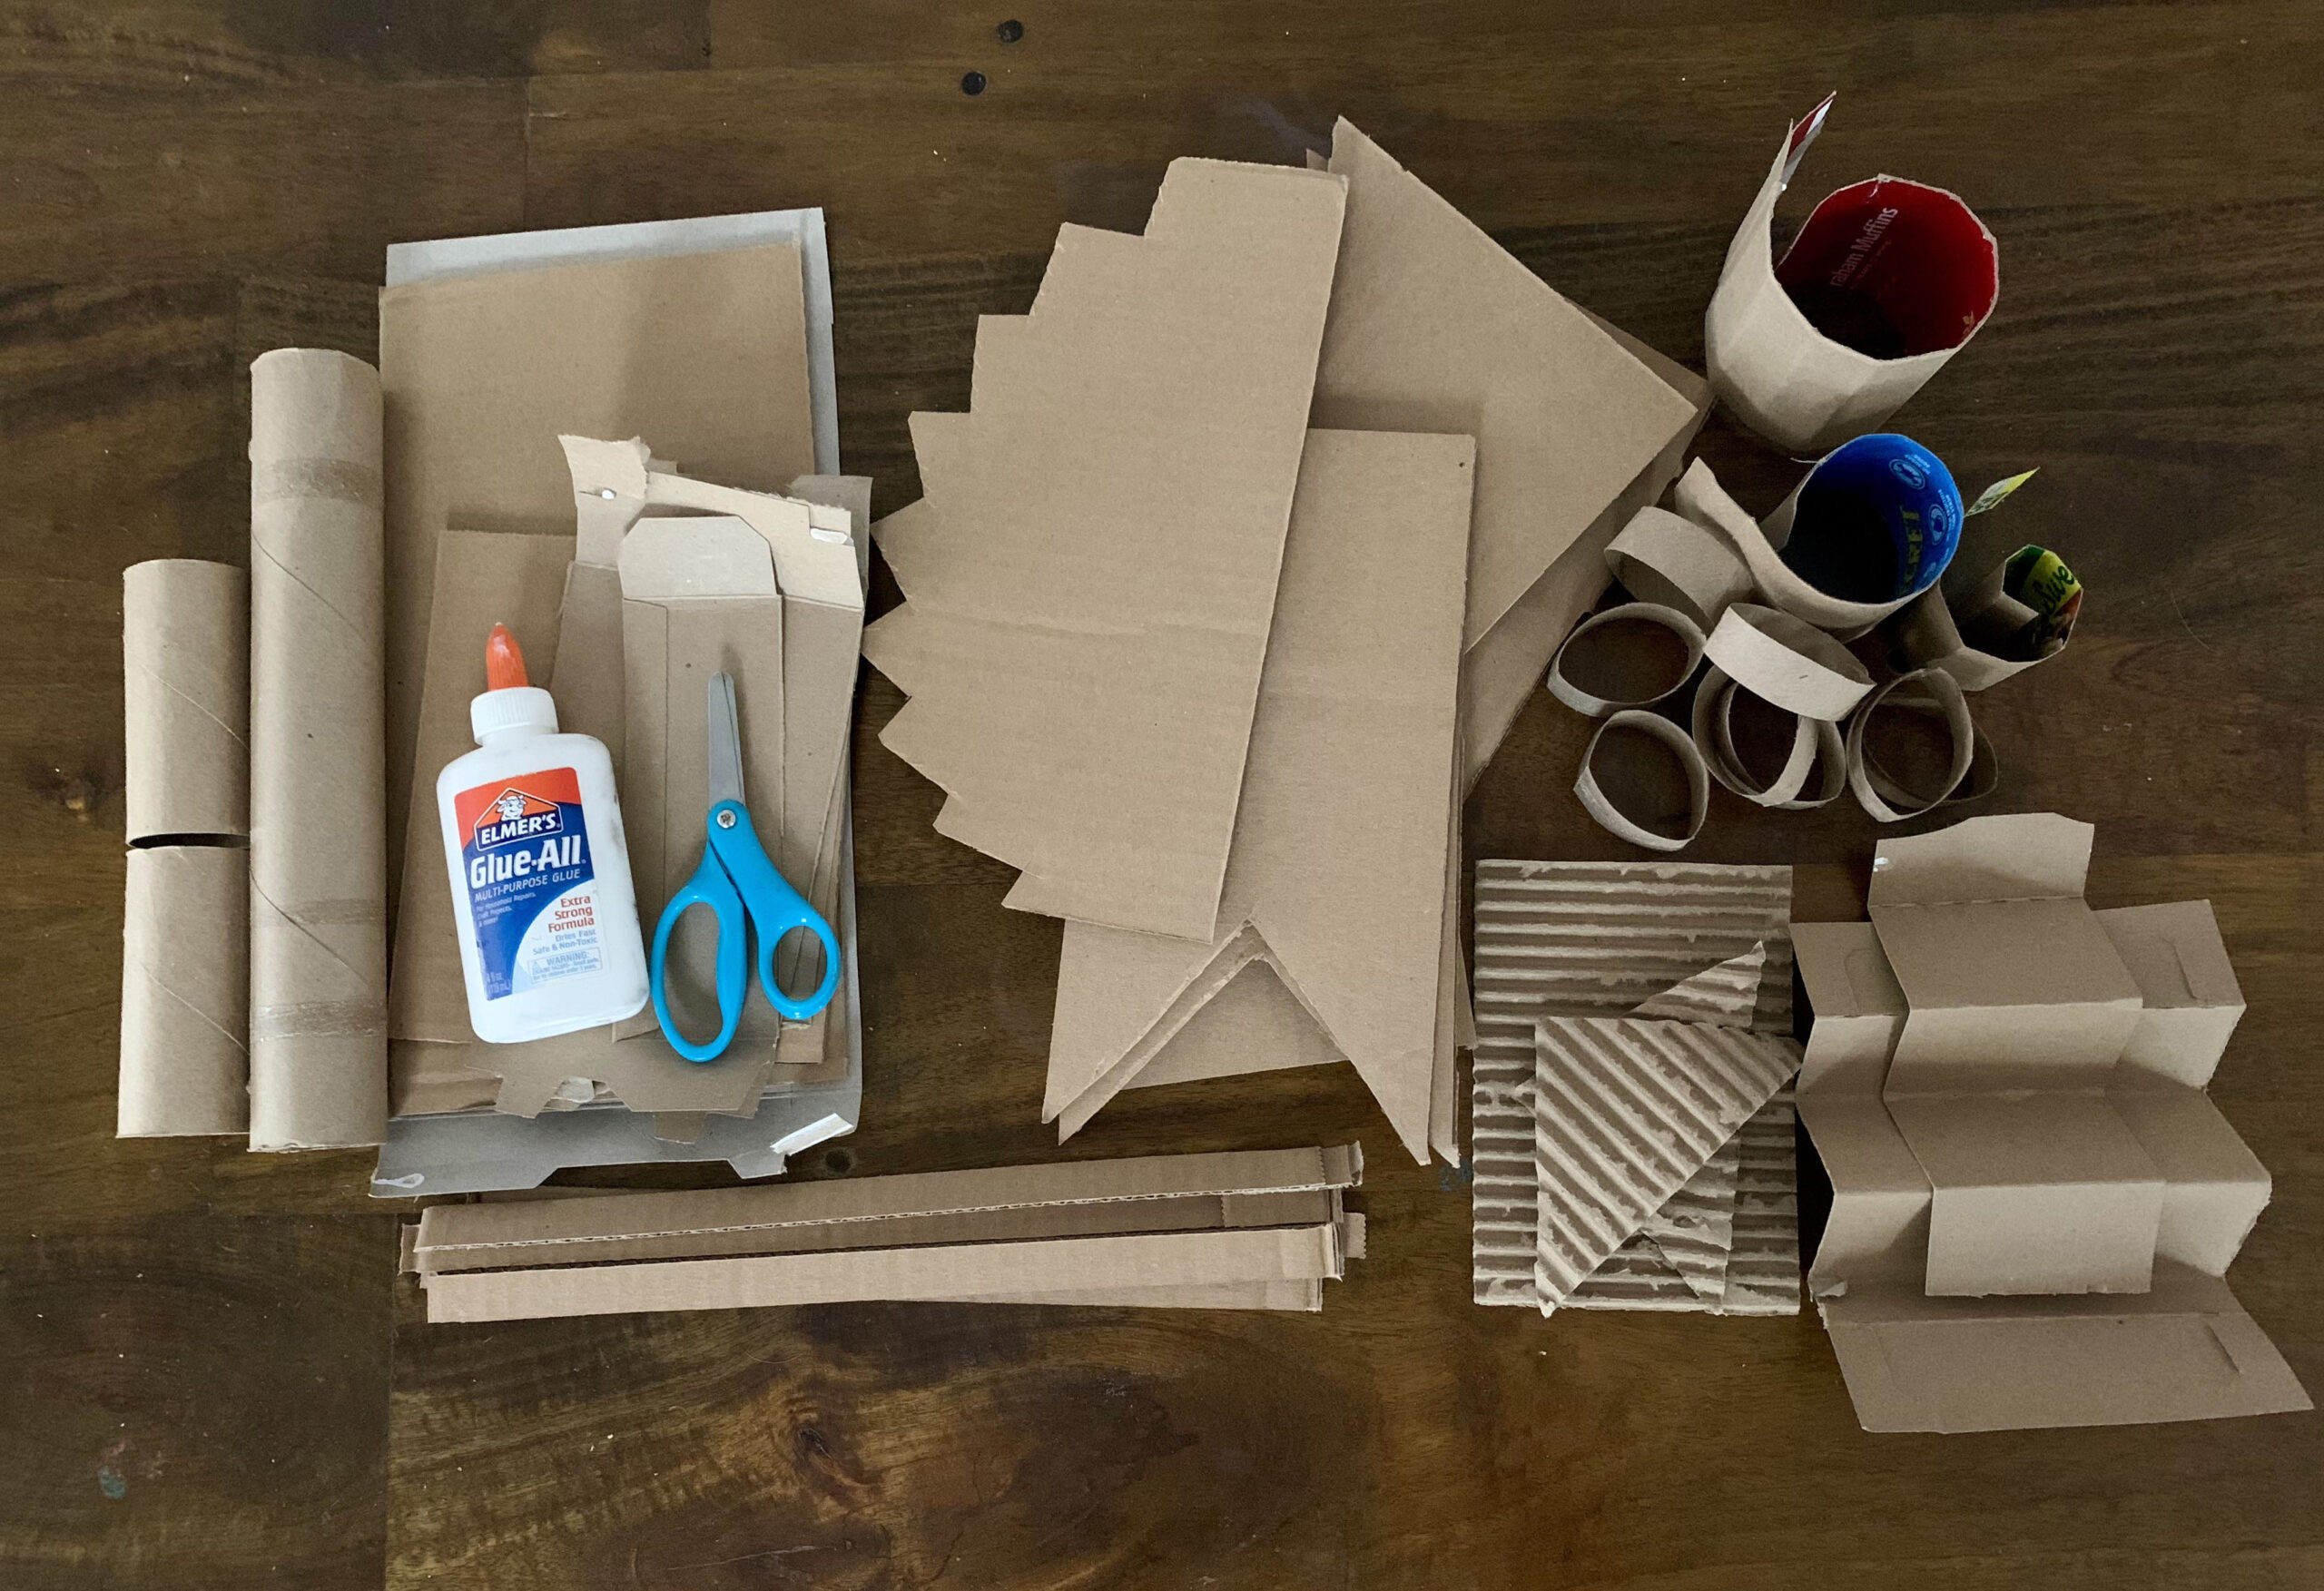
- Saved cardboard pieces from Lesson 5
- Corrugated cardboard (from shipping boxes)
- Thin cardboard (from paper towel rolls, cereal boxes)
- Flat cardboard for base
- Scissors
- Glue or tape
- Imaginary Structure: Positive and Negative Space video
- Imaginary Structure: Positive and Negative Space student slides
Objectives
Students will understand that:
- Positive space is the solid part of a structure
- Negative spaces are the empty spaces in a structure that you can see through
- Artists can use their imaginations to build and create structures
Students will be able to:
- Identify and utilize building techniques: lean, balance, stand, stack, or slot join to build with cardboard
- Create a free-standing imaginary structure using building techniques
- Create and identify positive and negative space in their sculpture
Activities
Note: The following steps are written with sample language you may use with your students as you go through the lesson. Explain to students that the slides and the video they see during the lesson will be shared with them so they can review the lesson on their own and continue to make more art.
Step 1: Introduction/Watch Imaginary Structures: Positive and Negative Space video (14 minutes)
Hello, artists! Previously we created a free-standing sculpture to represent a play space. We learned that cardboard is a strong and flexible material that works well for constructing sculptures.
- What are some techniques that you enjoyed exploring in your work? Why?
- What piece of advice would you give someone who is making their first free-standing cardboard sculpture?
Today we will be making a final sculpture of an imaginary structure. Watch the Positive and Negative Space video to learn more.
Step 2: Close Looking, with Student Slides #2-3 (5-7 minutes)
Let’s look at Student Slide #2 to observe another sculpture by Filip Dujardin.
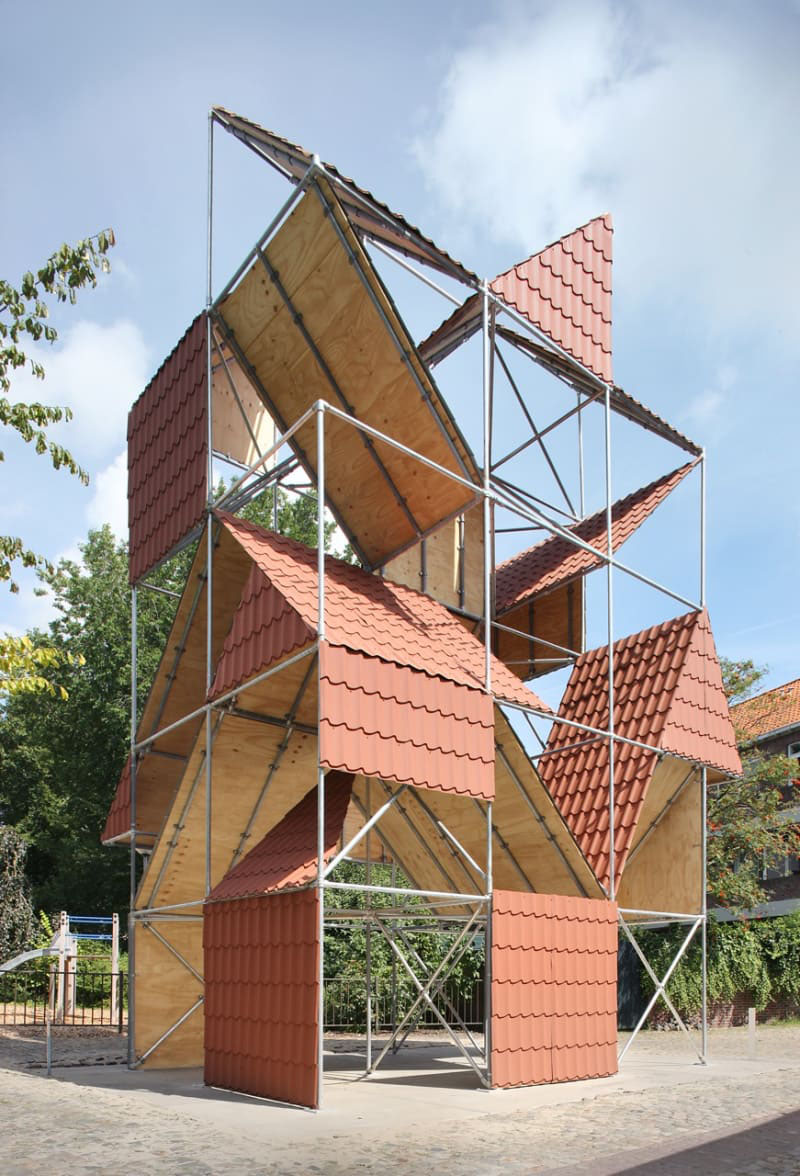
- What do you notice about this work?
- Does it remind you of anything in our environment? What do you see that makes you say that?
- How would this sculpture feel different if the artist used glass panels instead of roofing for the main shapes?
Keep this idea in mind next time you make a sculpture. We can learn a lot about what the artist is trying to tell us by the materials they use.
Apart from the choice of material, space is another important characteristic in sculpture. Artists think about positive and negative space when they are arranging a sculpture. Positive spaces are spaces that are filled. Negative spaces are not filled; they are the empty areas around the positive space.
Let’s look at slide #3.
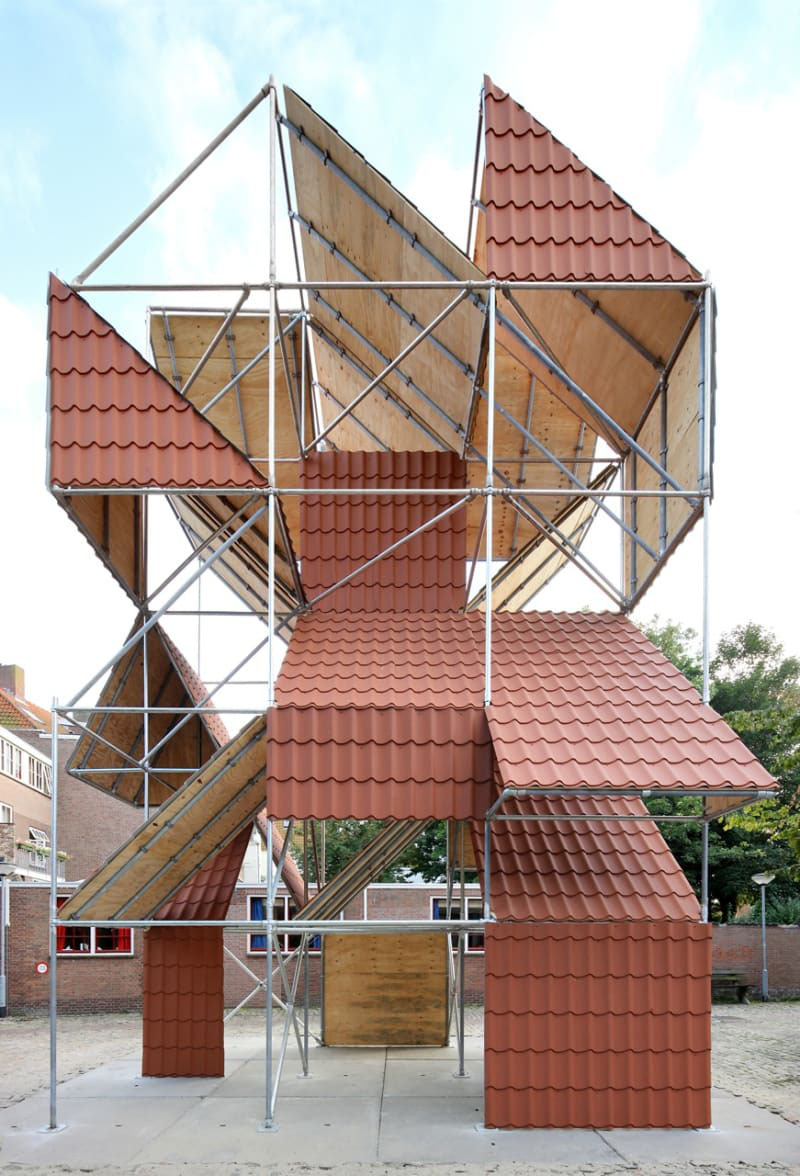
Closely observe the positive space.
- What shapes can you find?
Now, observe the negative spaces. Notice how negative spaces also have shapes. As you arrange your structure today, think about how the empty spaces can be just as interesting as the filled shapes.
Step 3: Creating a Structure, with Student Slides #4-8 (25 minutes)
Let’s get to work. Gather your materials, as explained in Slide #4. Then look at Slide #5. Notice how the artist has created three different structures by attaching two polygon cardboard shapes with slot joining.
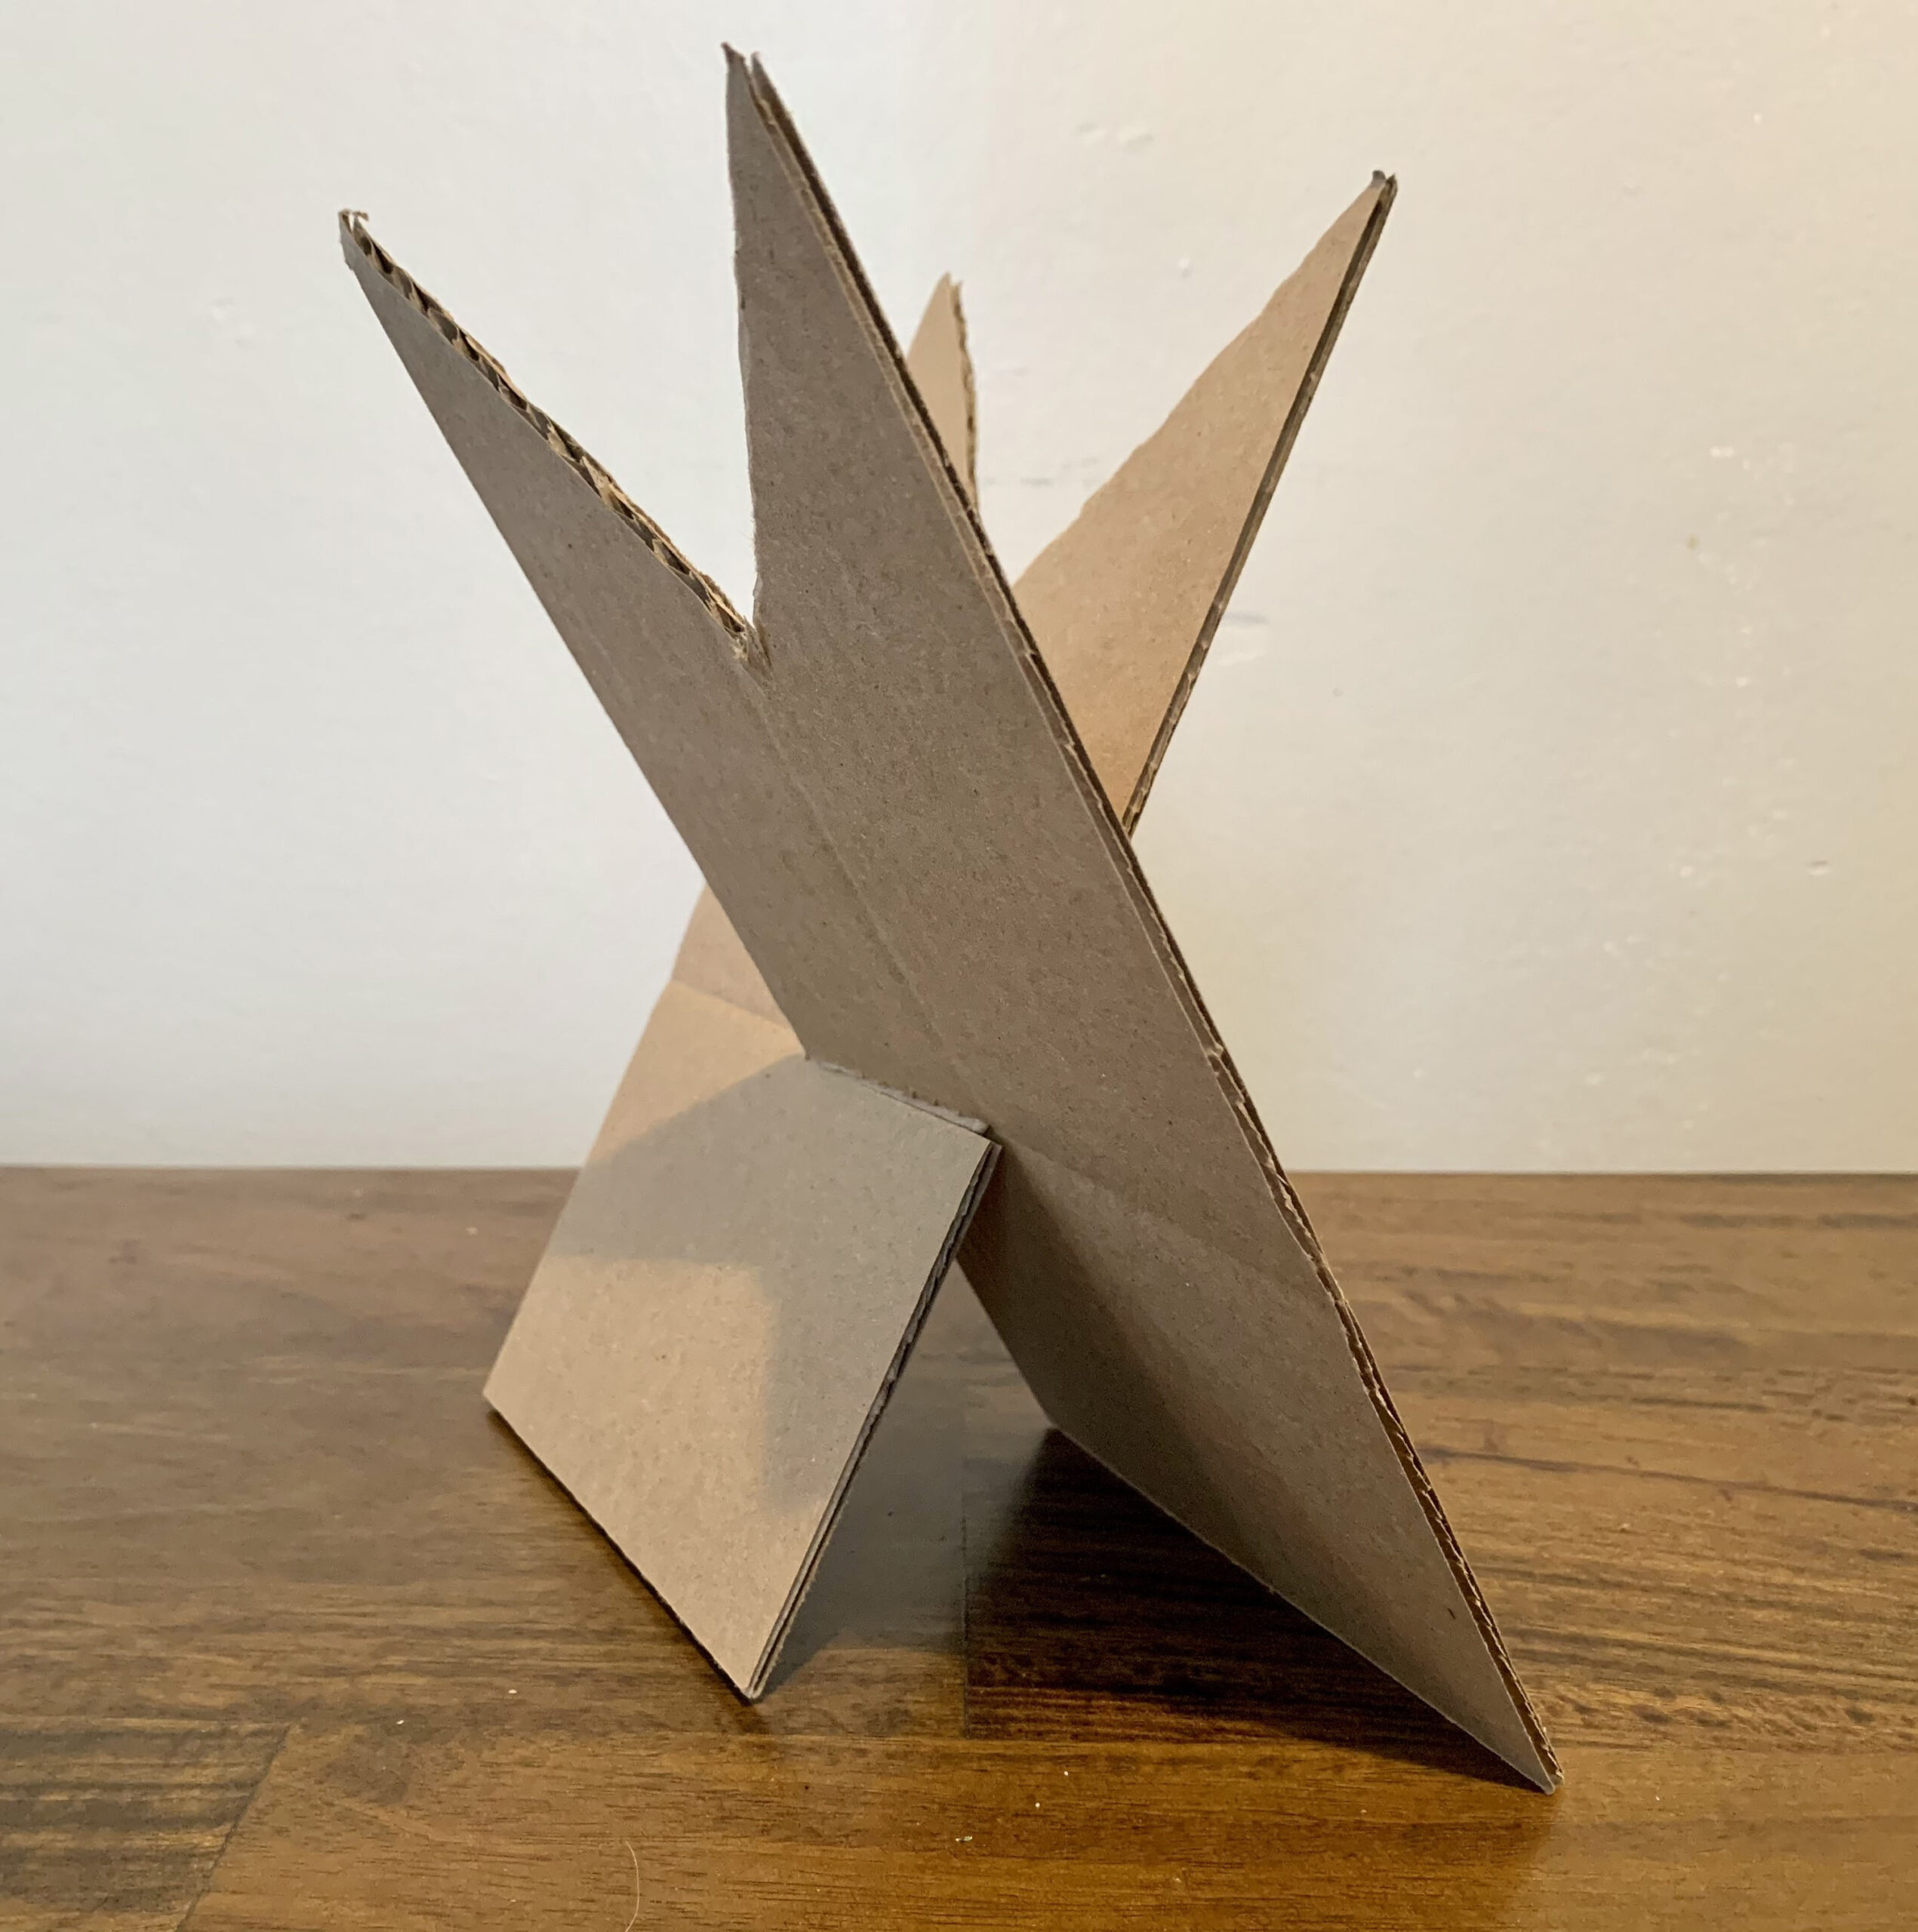
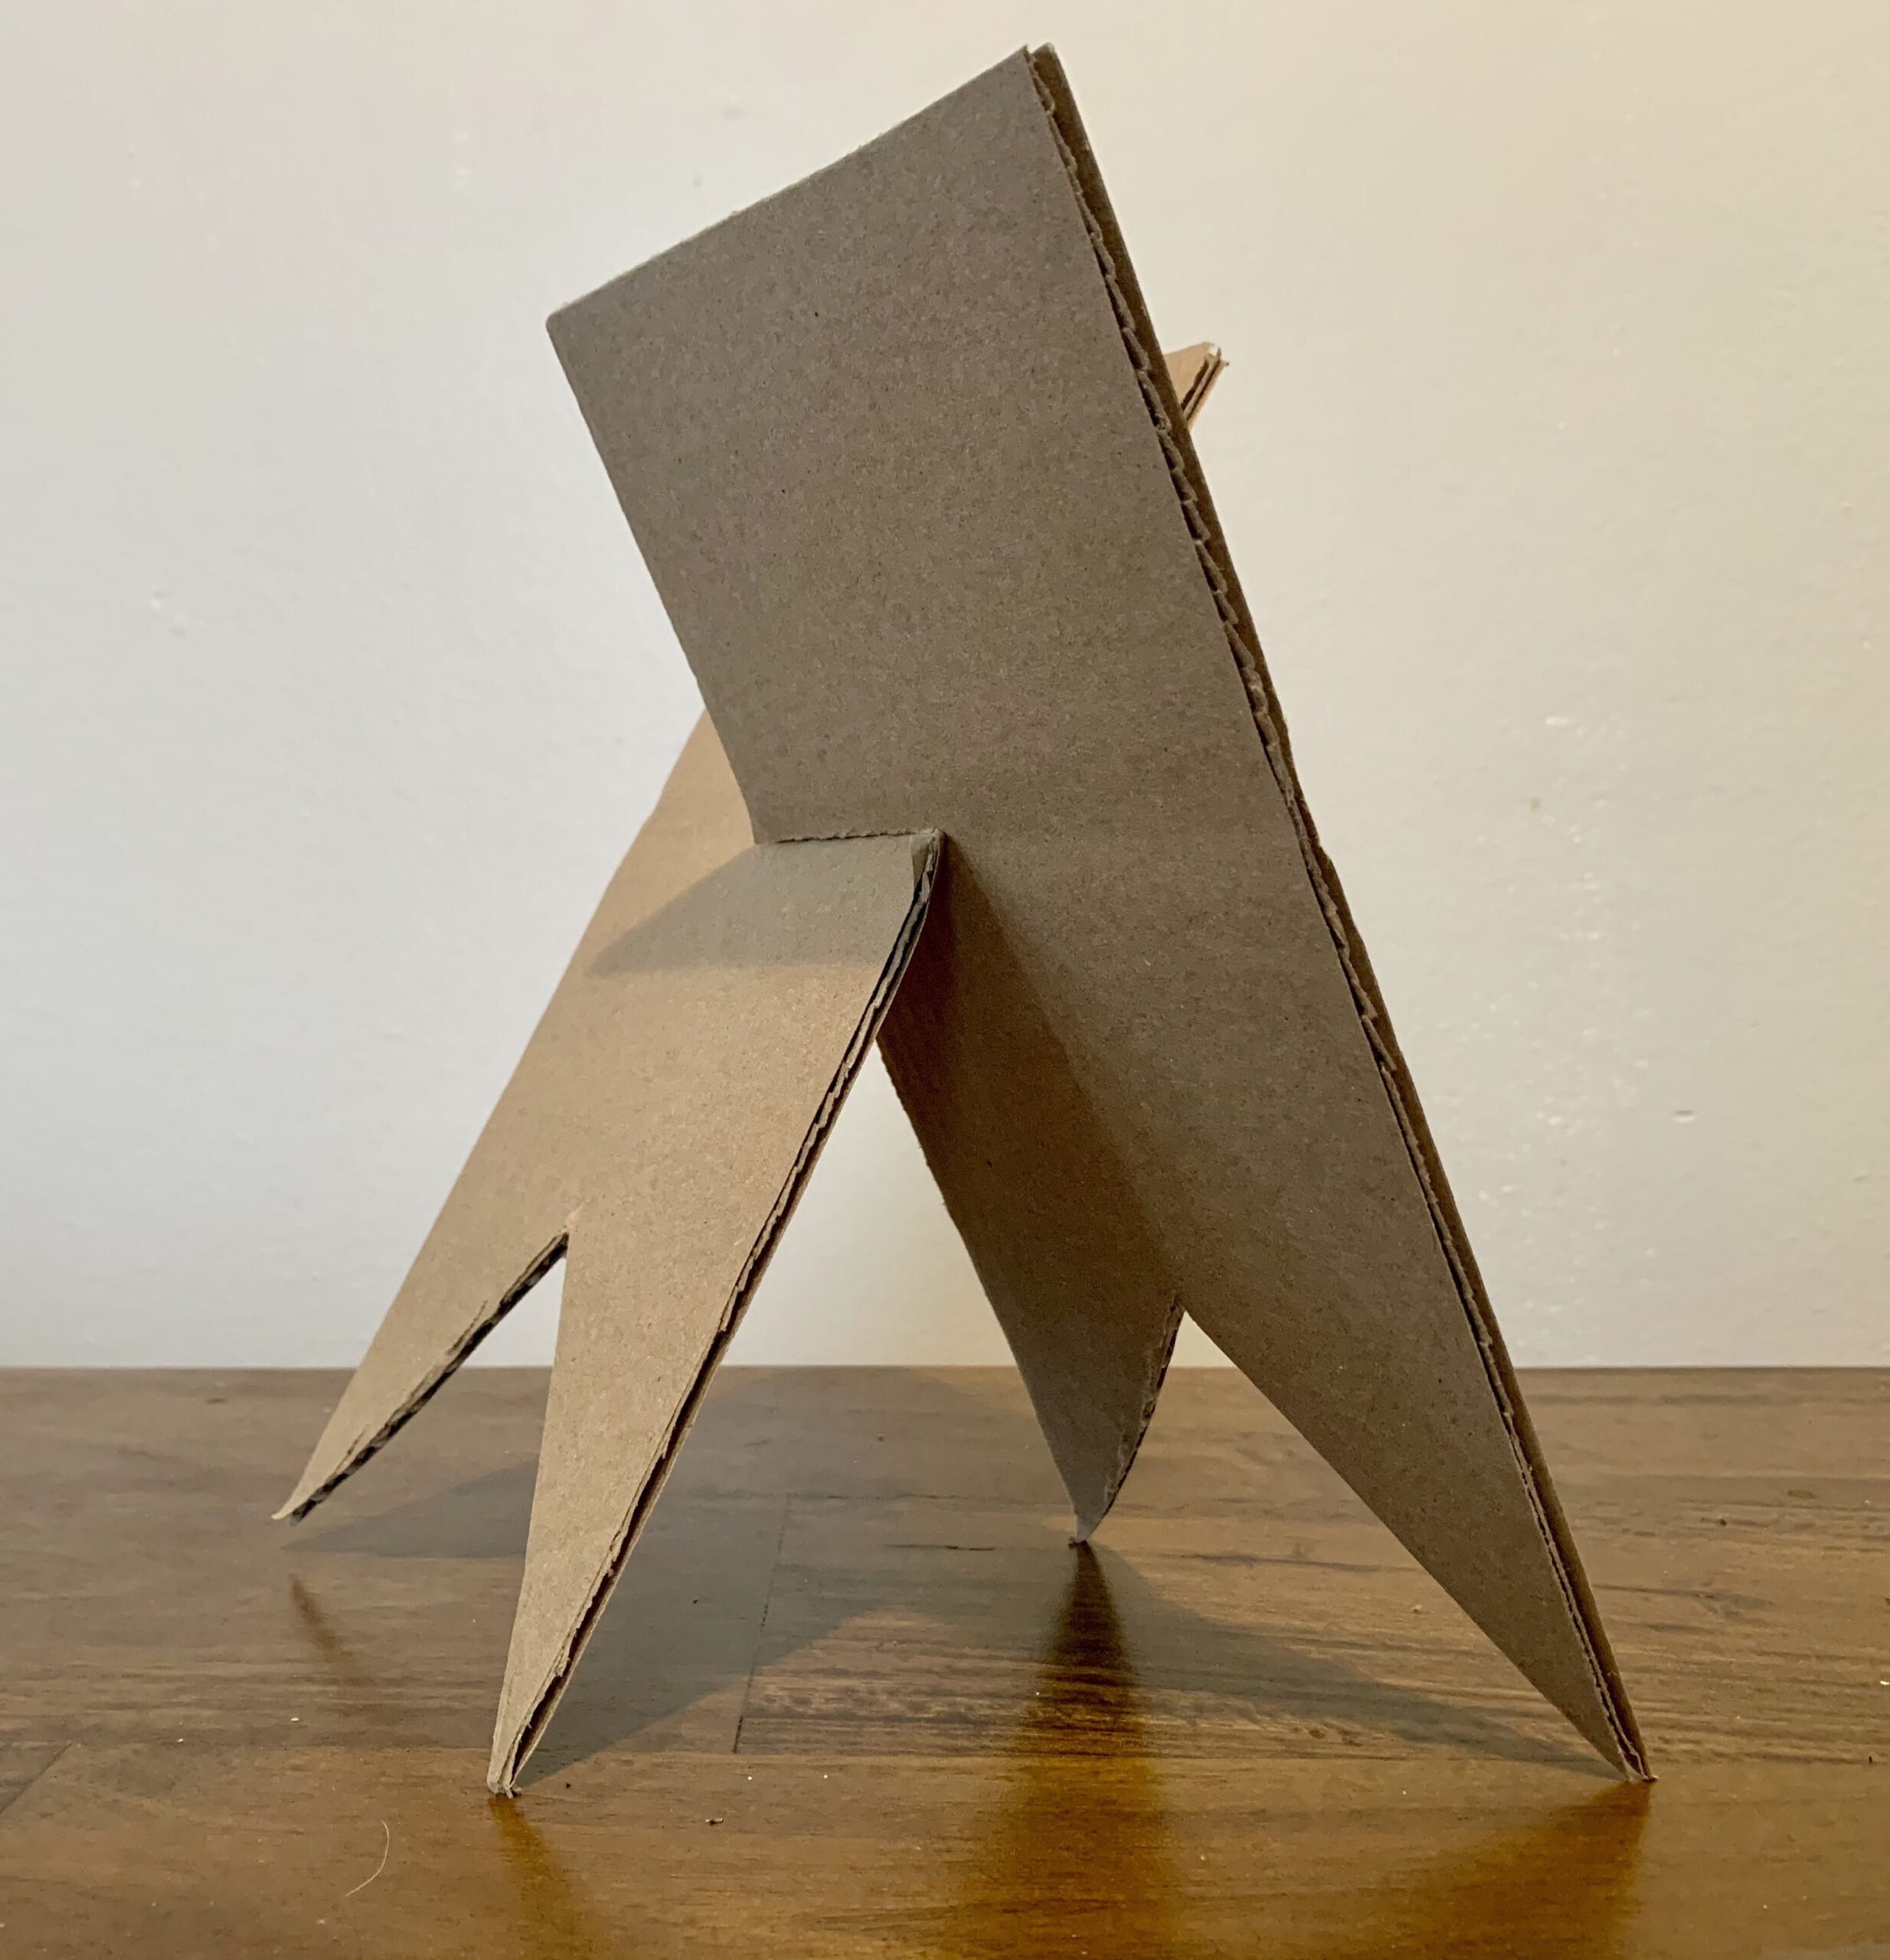
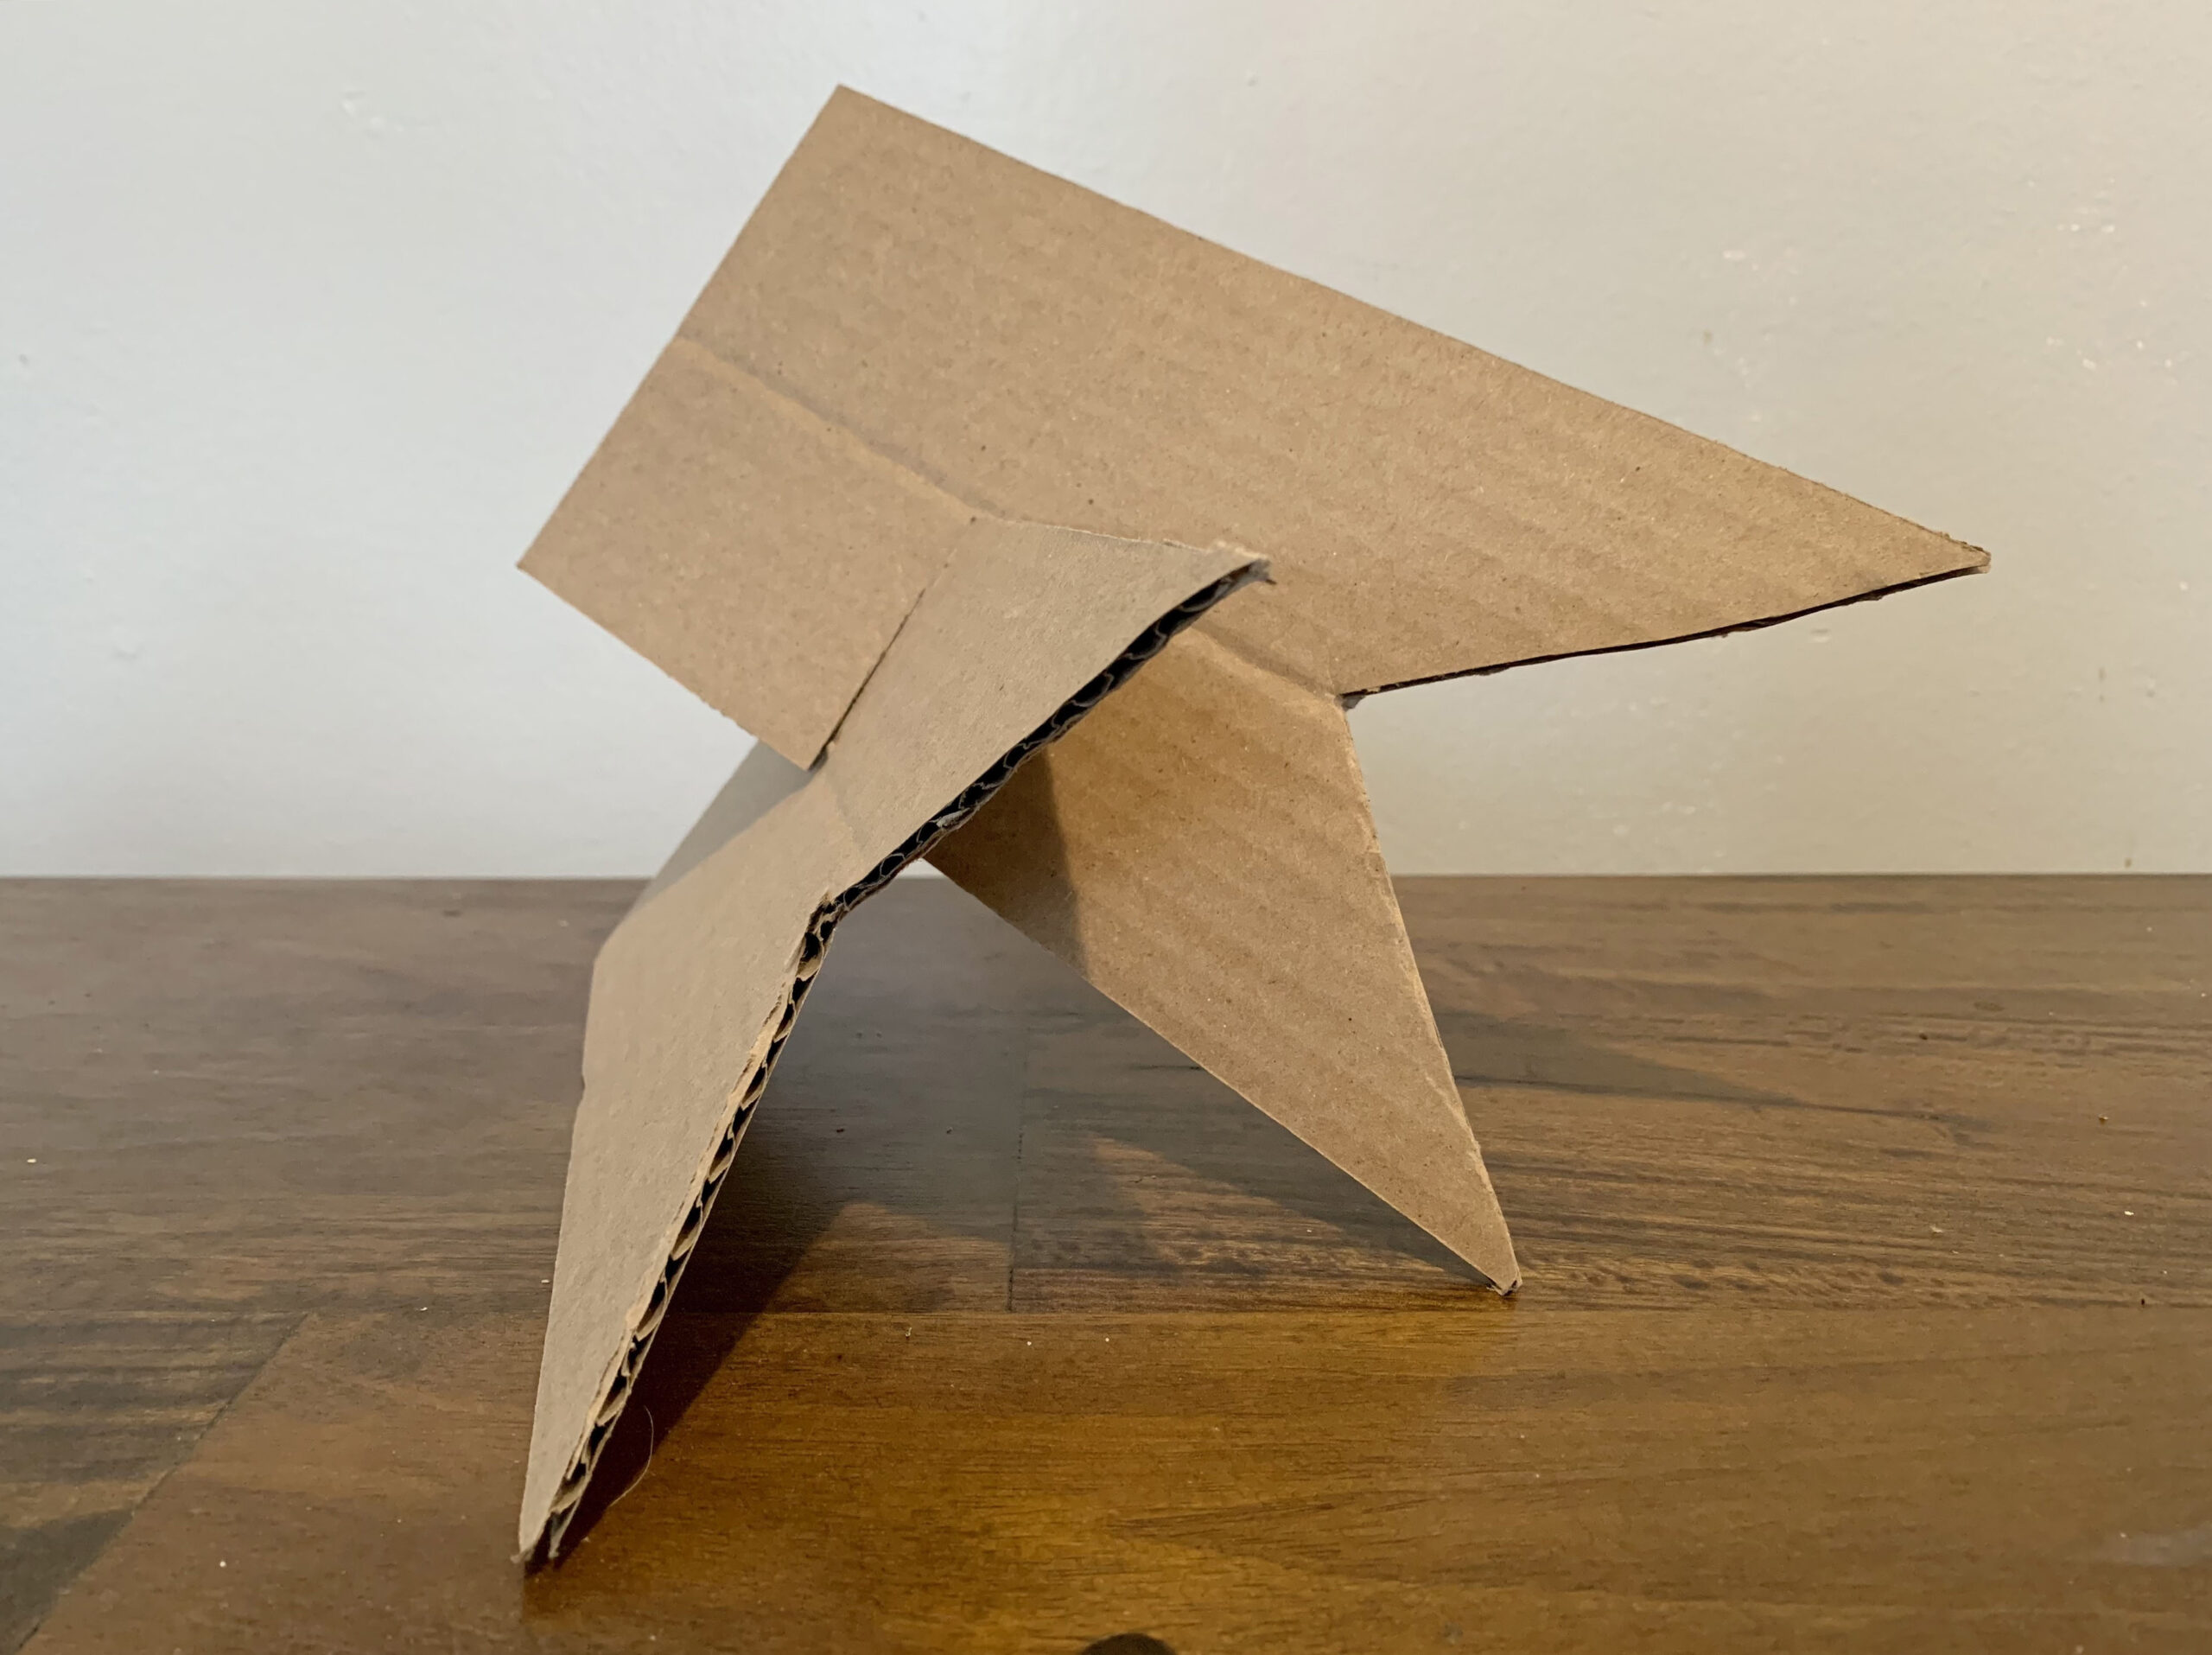
- How are these structures similar and different?
- What do you see that makes you say that?
- Do the different arrangements remind you of different structures, such as bridges or houses? Why?
Read Slide #5 to support your process and thinking. Once you are ready, begin your free-standing structure. For additional tips on how to continue building your structure, look at Slide #6.
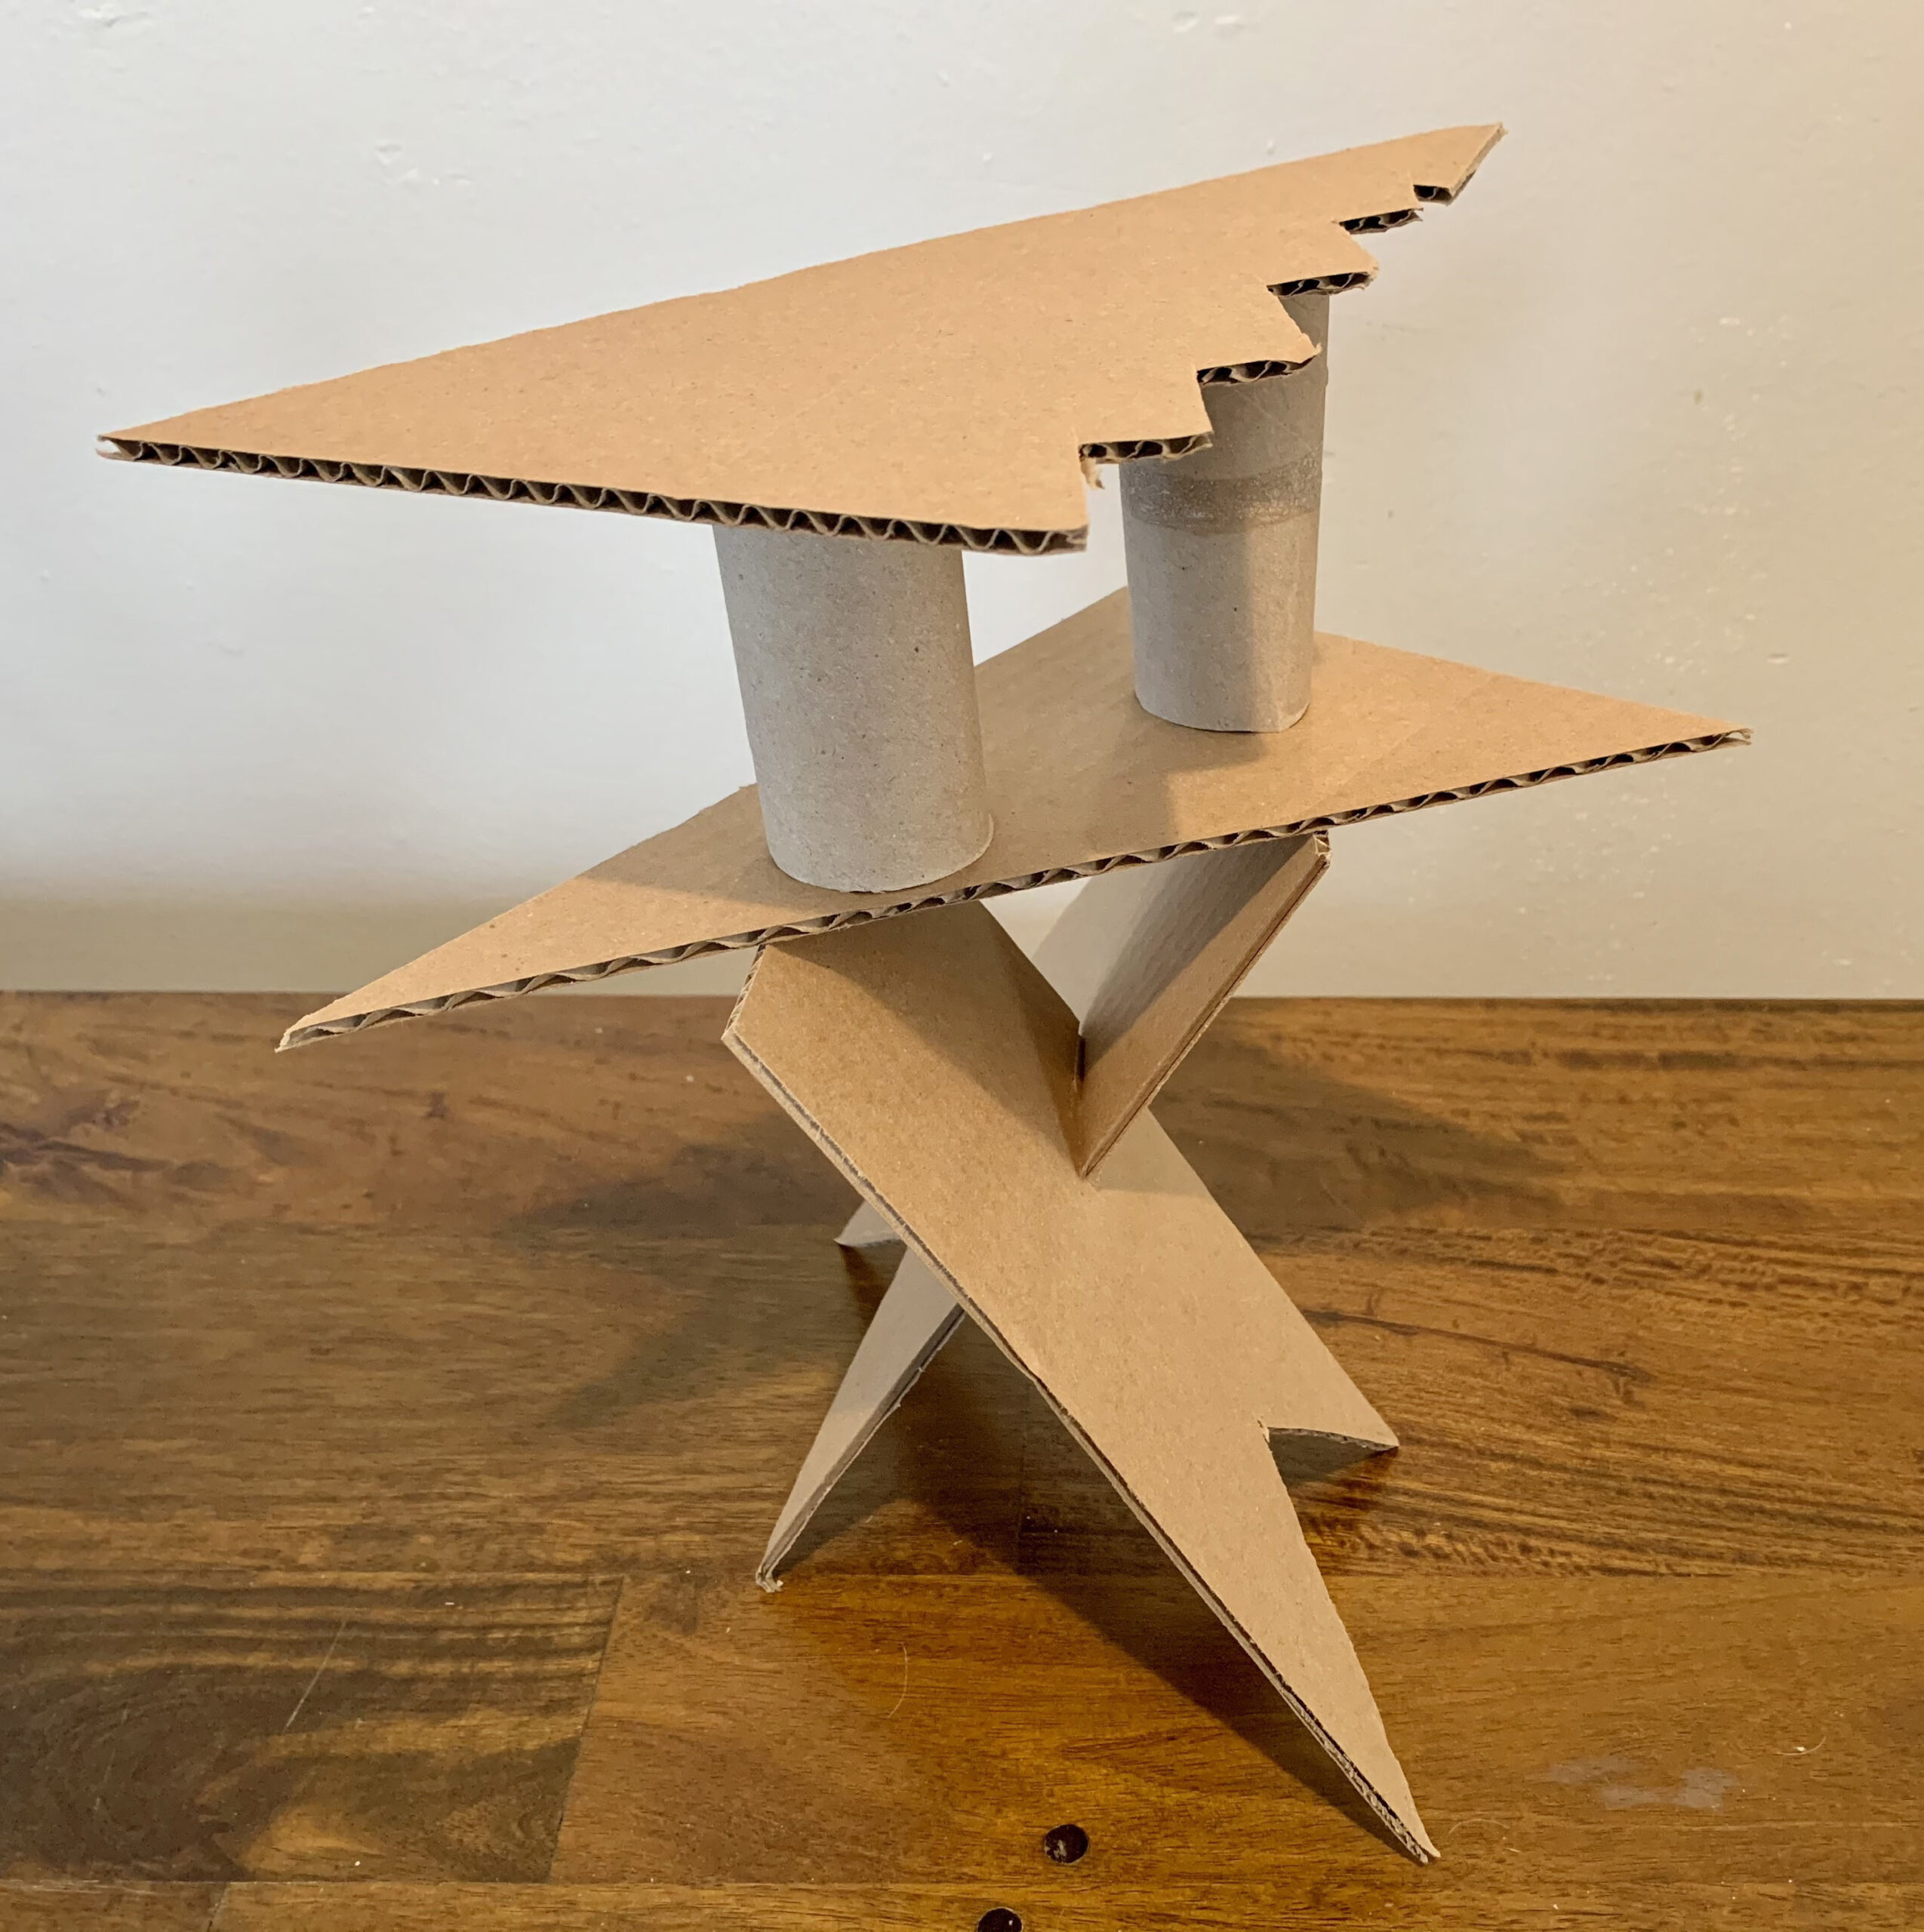
Now, it’s time to think about space. Student Slide #7 asks that you imagine your sculptures are large enough to walk into and move around in. Observe your work.
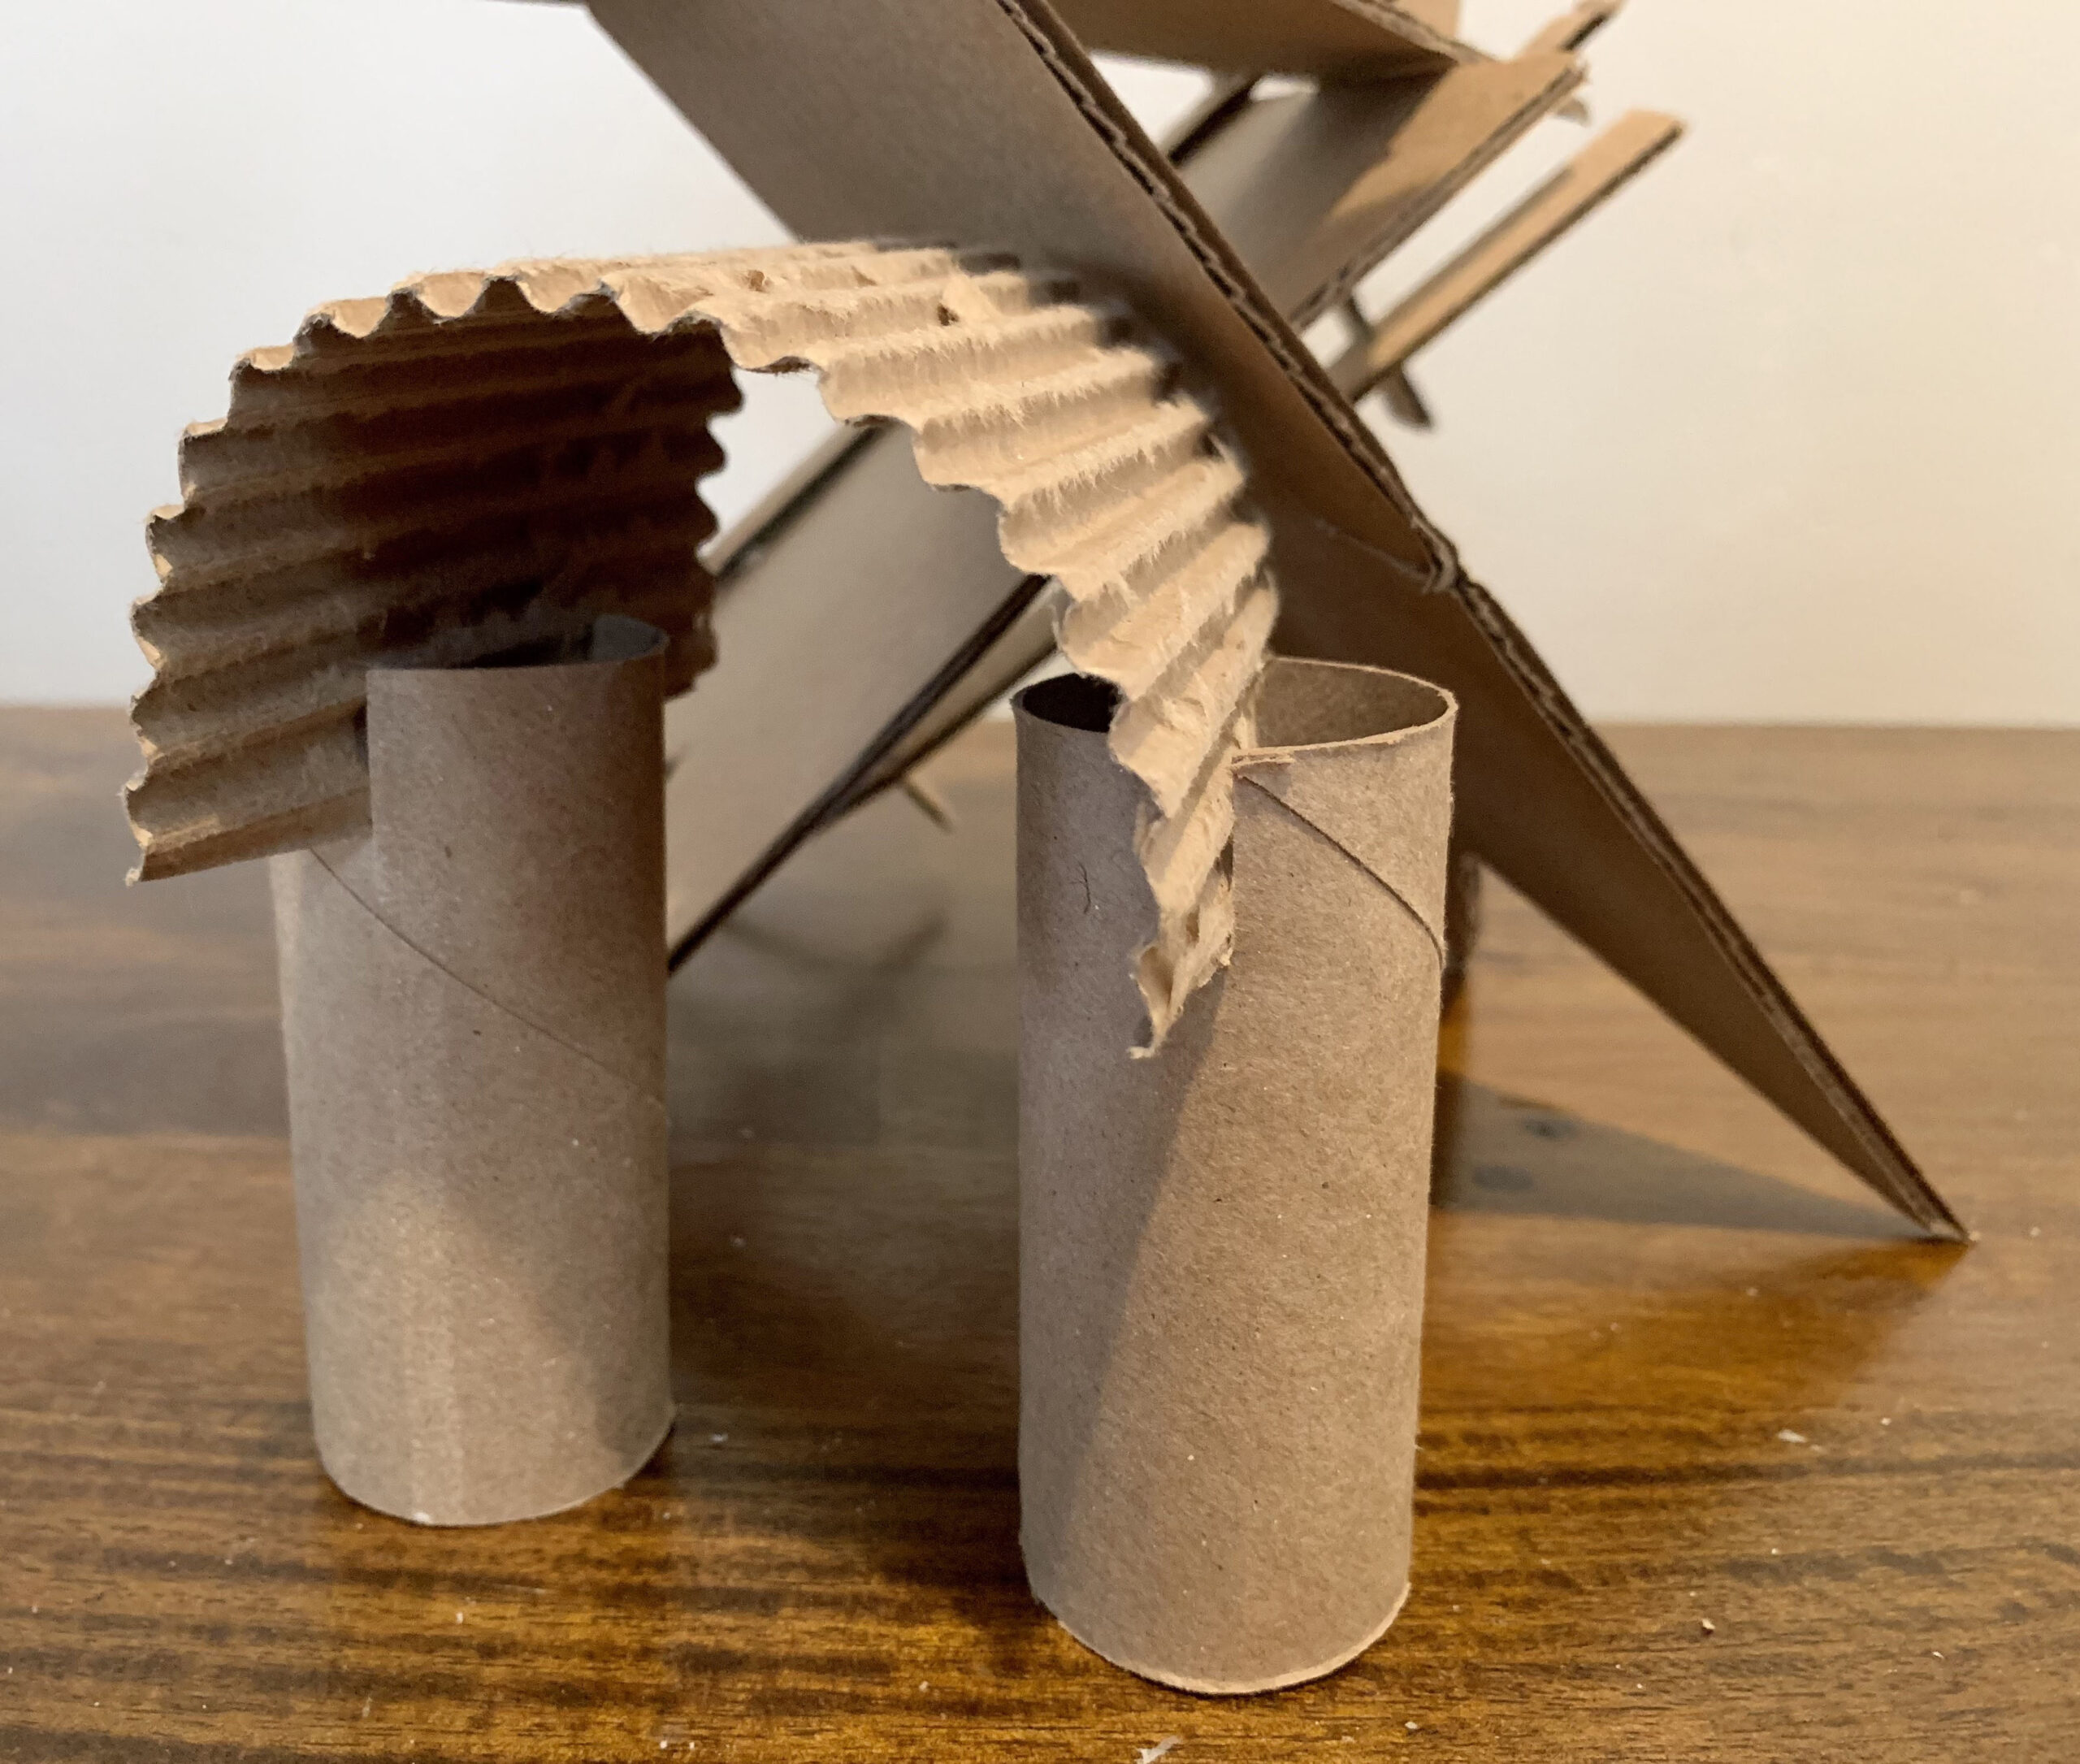
- How would you enter your structure?
- How might you use positive and negative spaces to create an entrance?
- What are some other ways you can use positive and negative spaces to move around your piece?
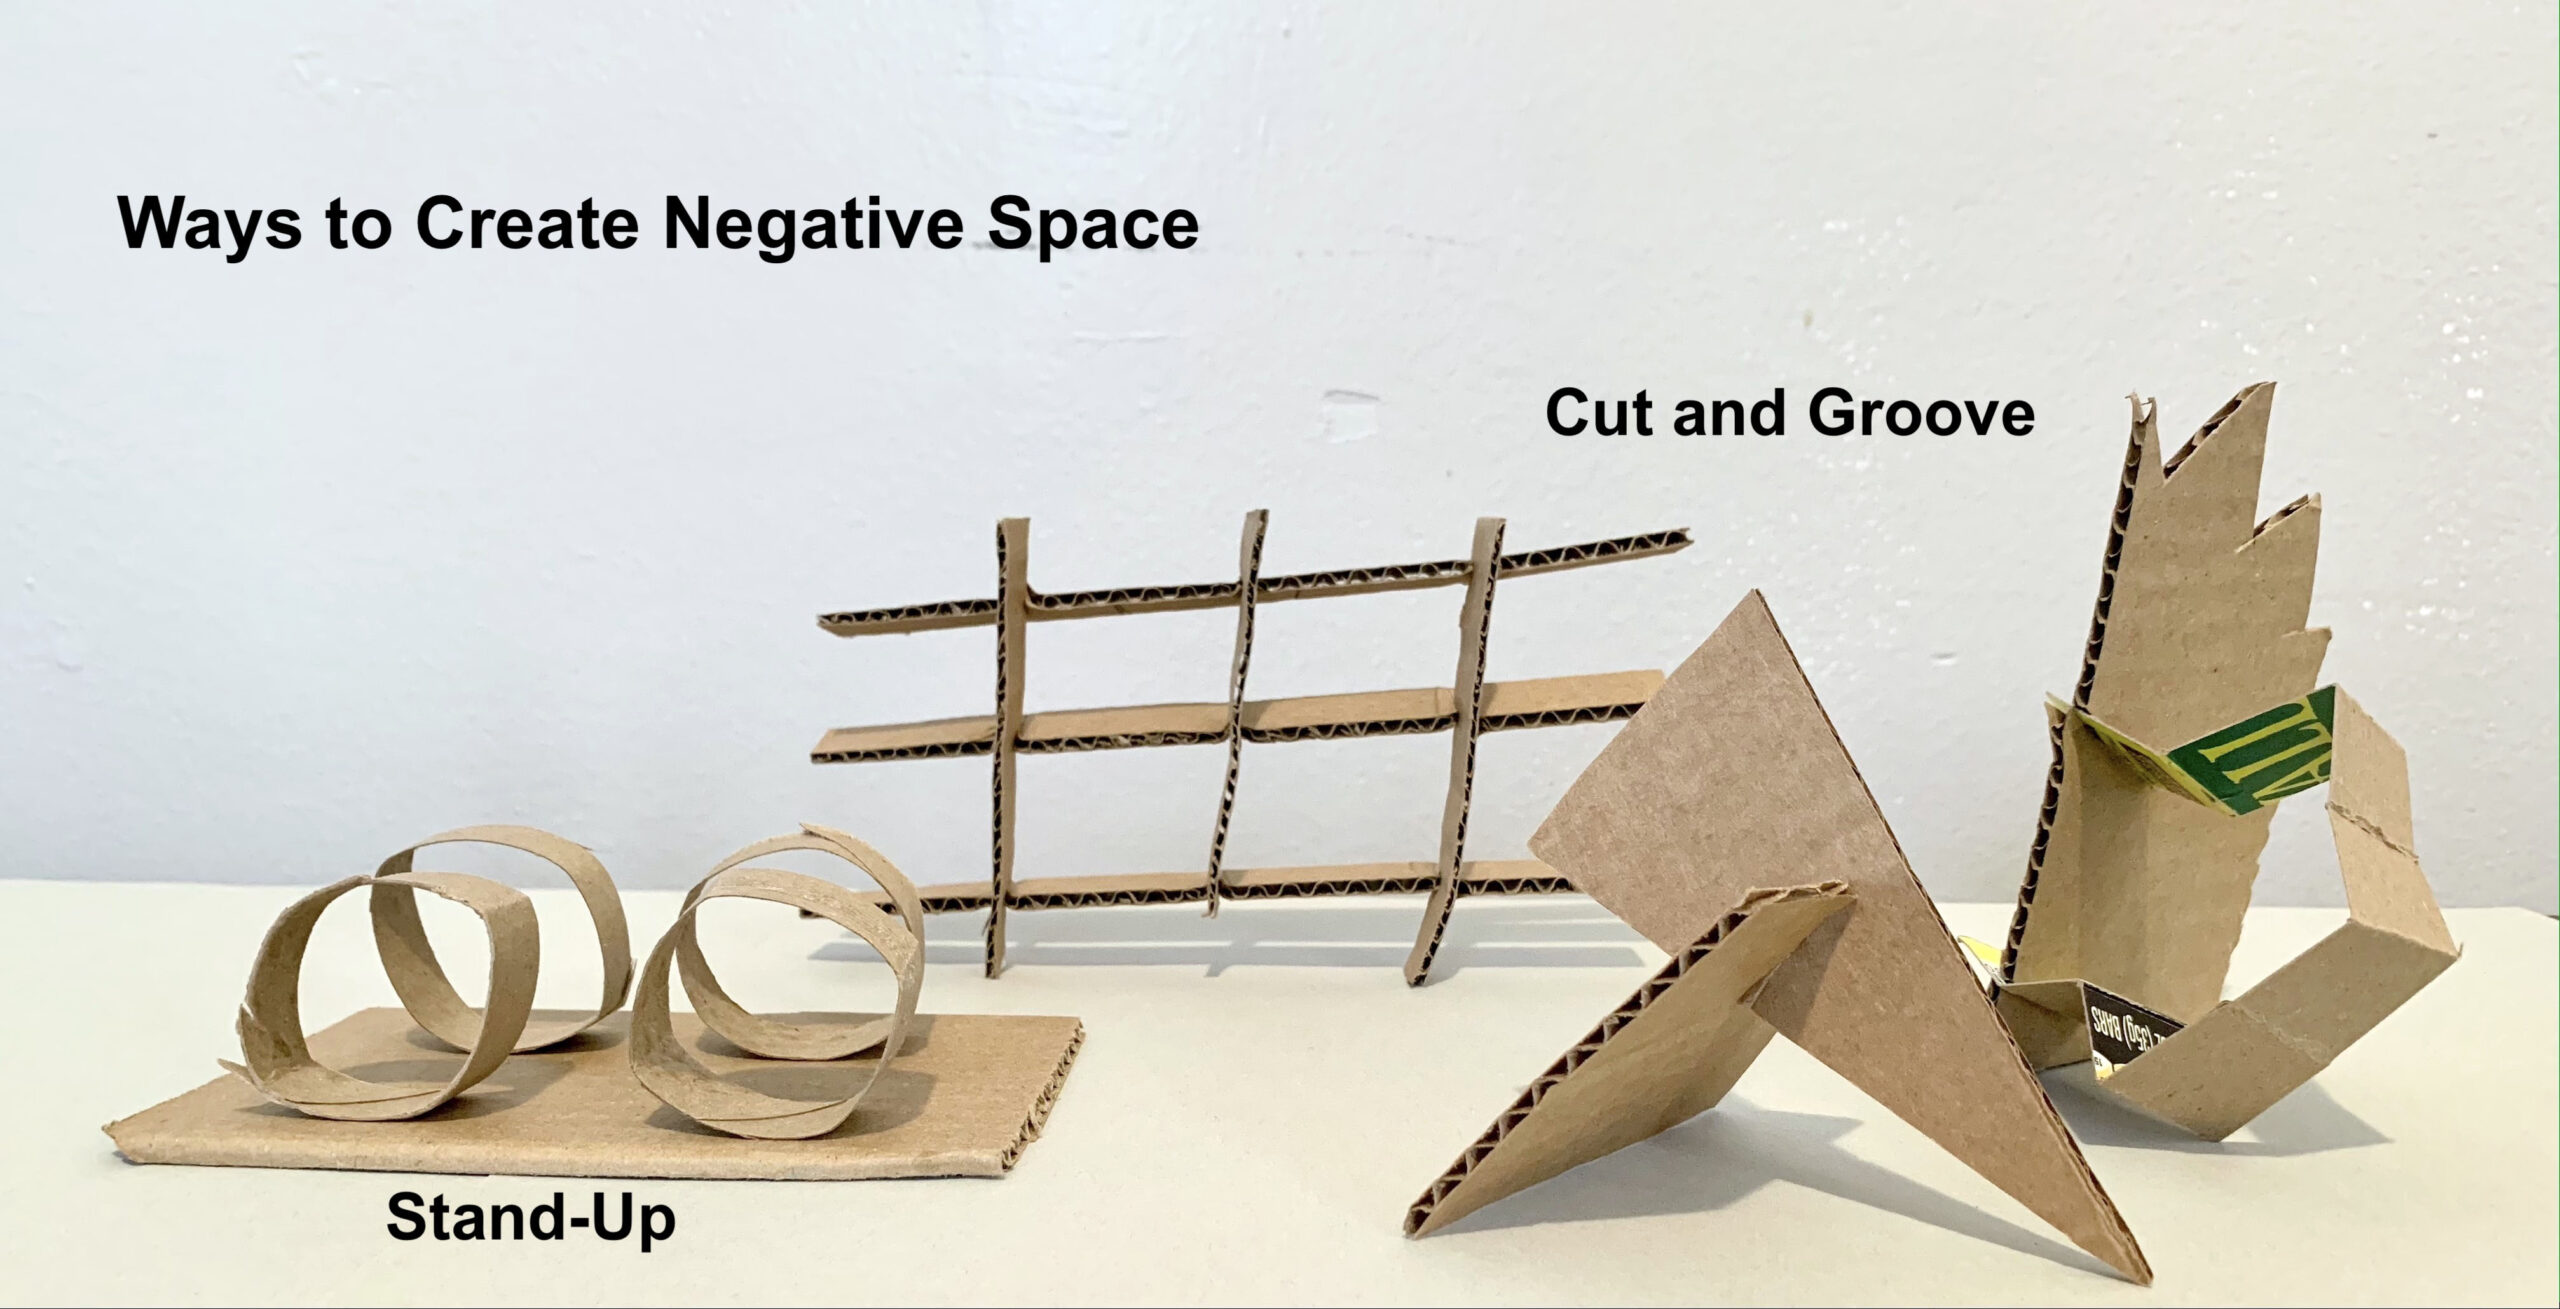
Read and study the images on Slide #7 for some suggestions. Then look at Student Slide #8 for different ways to create negative space.
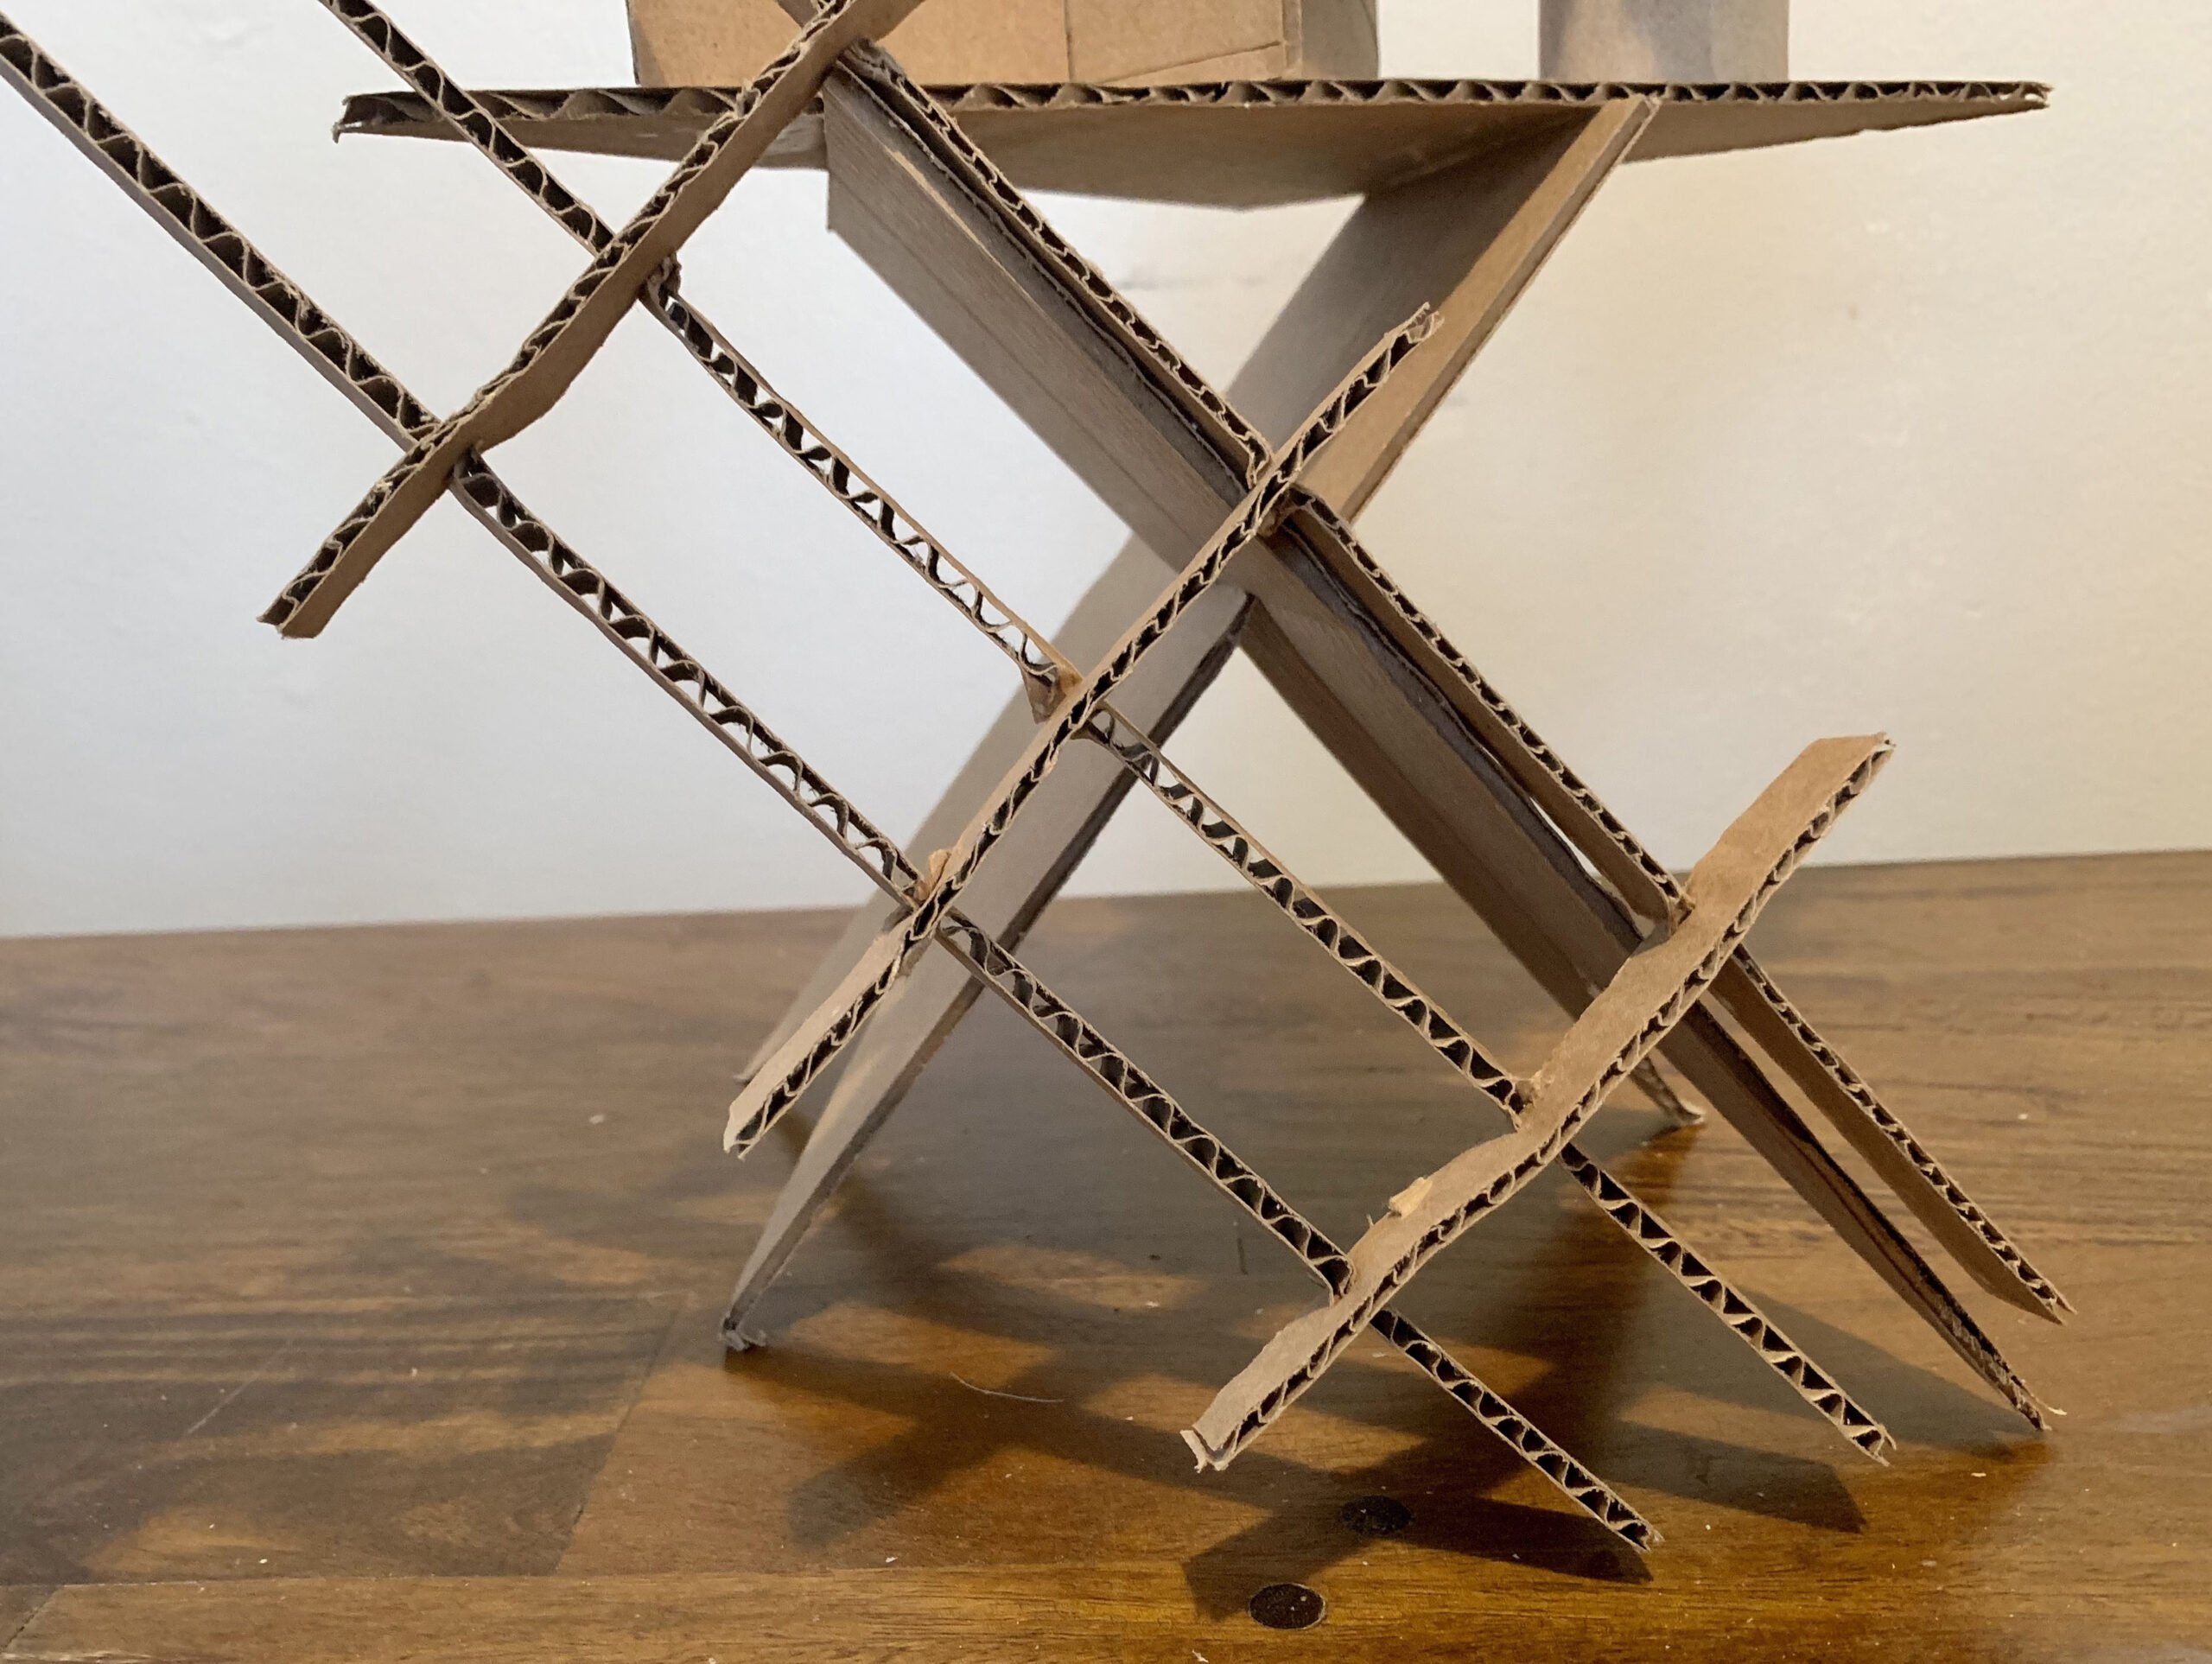
Step 4: Adding Pattern, with Student Slides #3 and #9 (10 minutes)
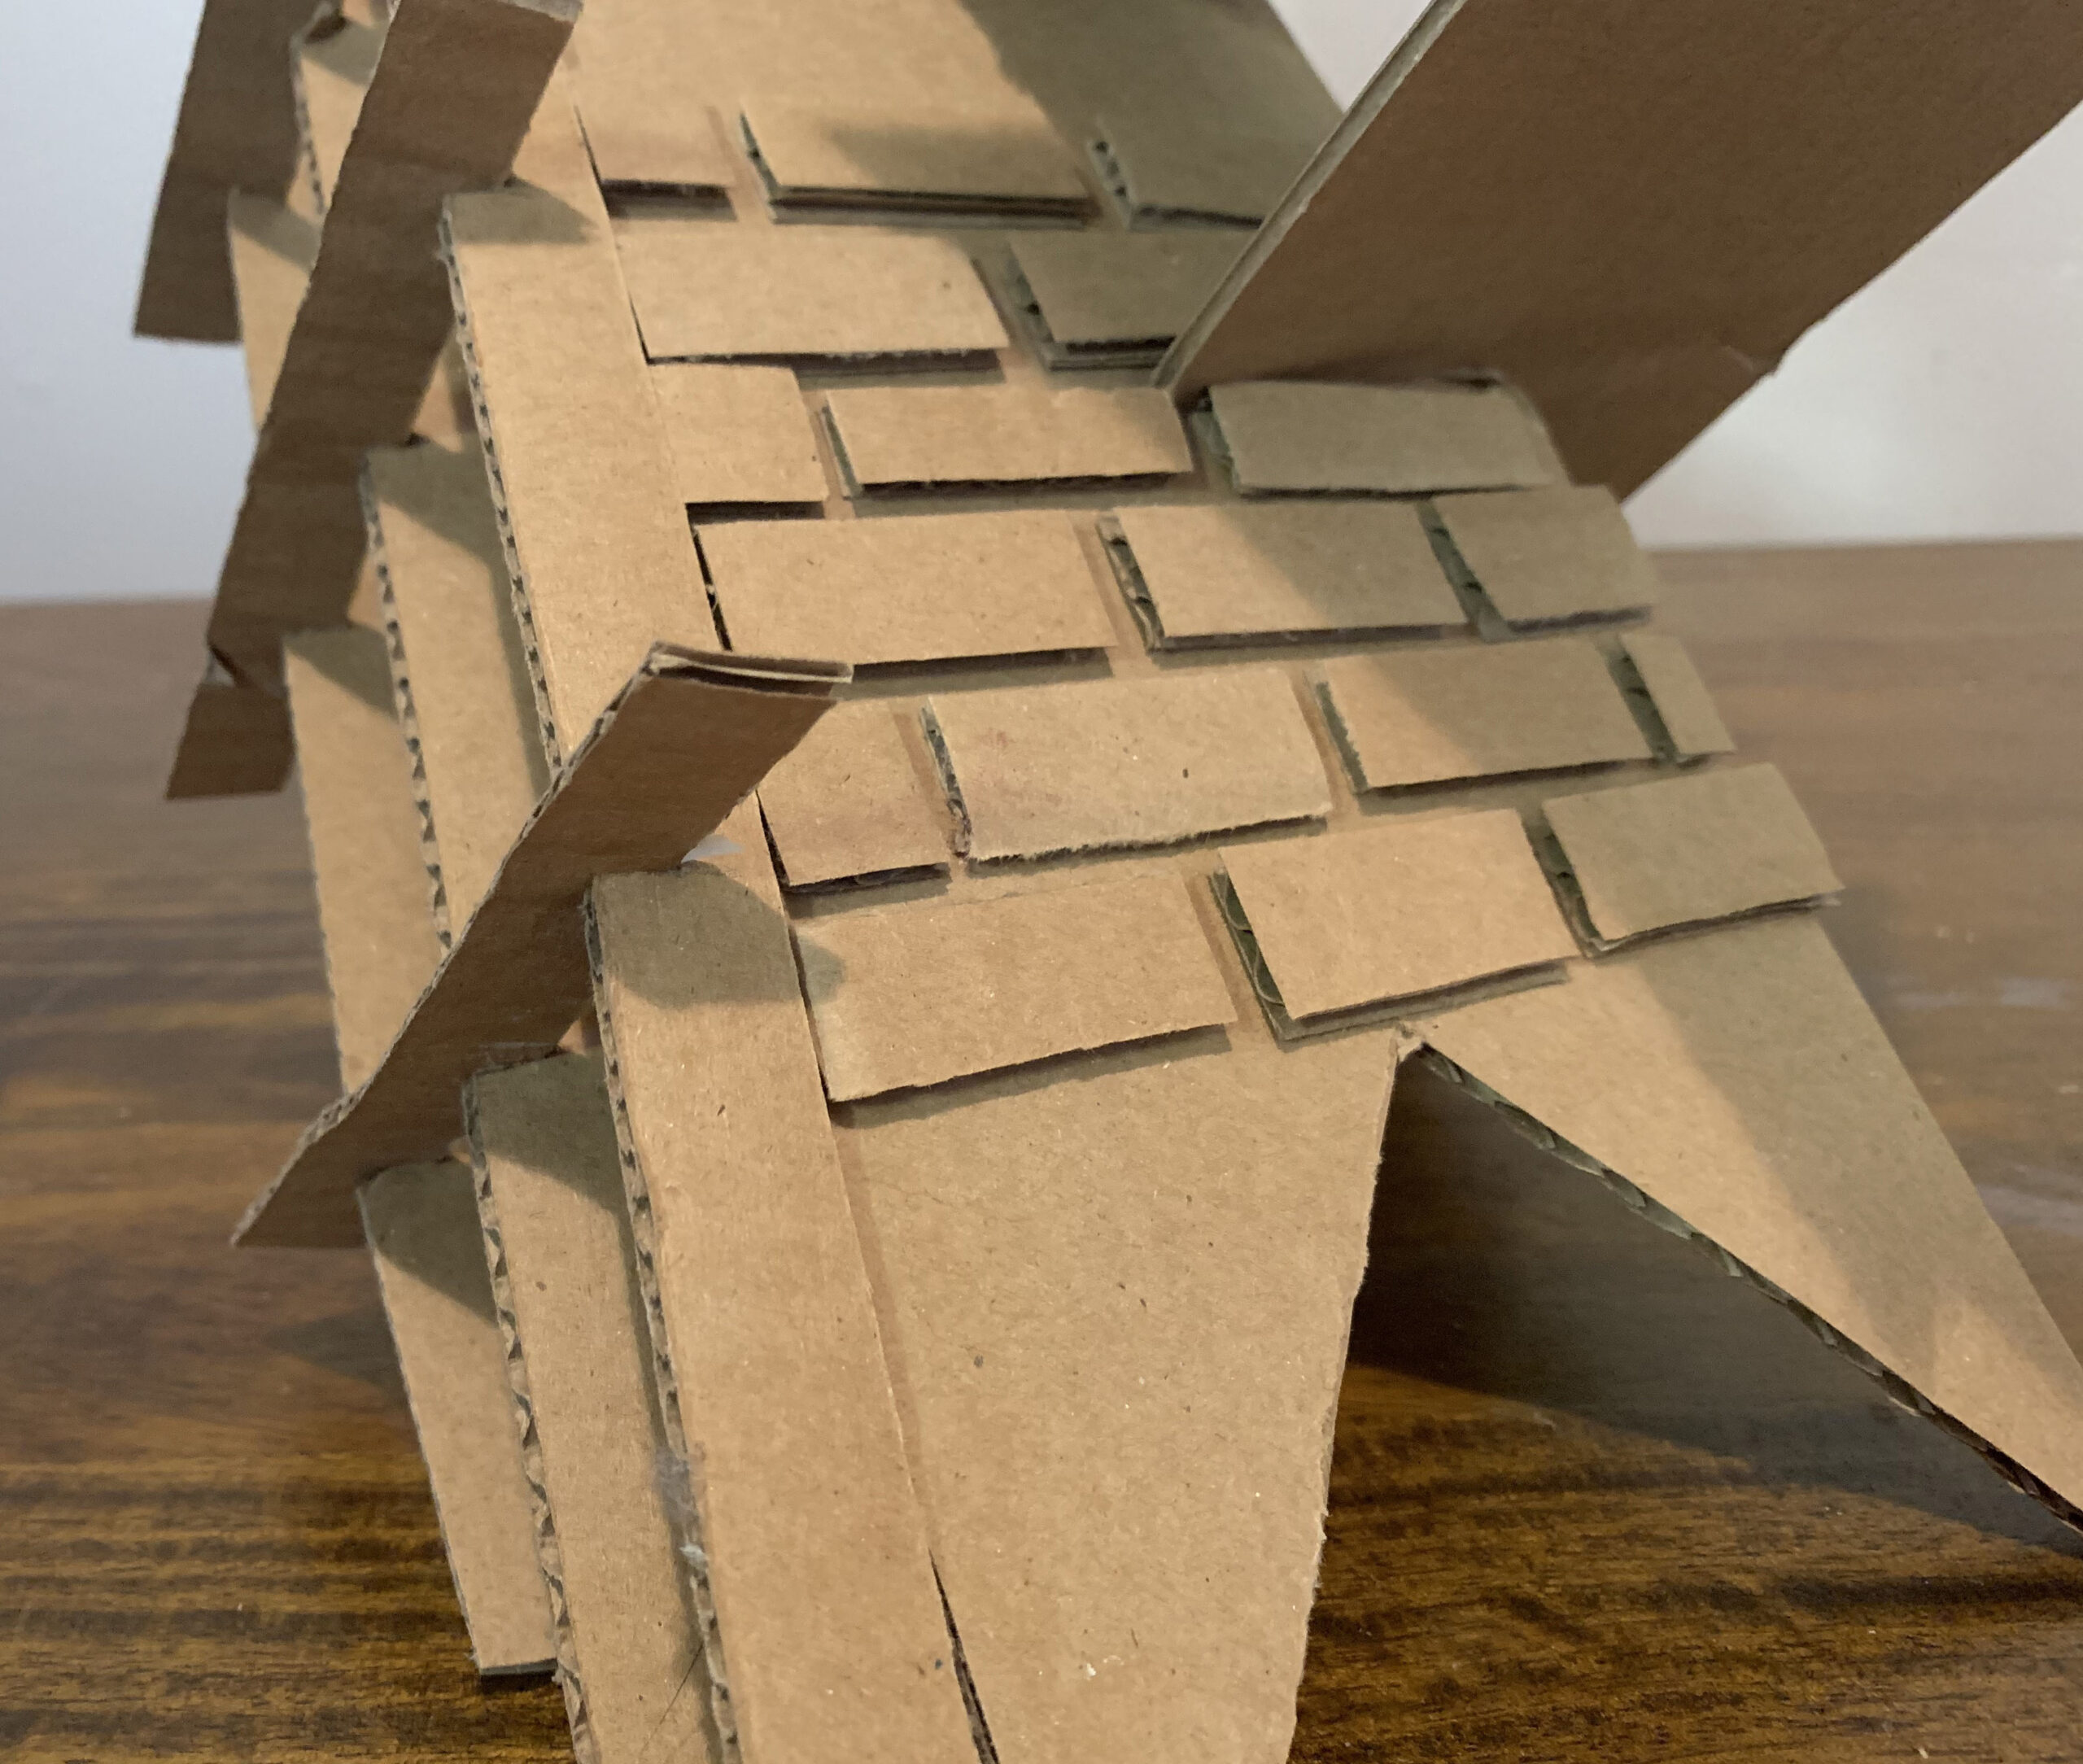
As an added challenge, you can add patterns to your structure. Let’s take a moment to look back at Student Slide #3.

- What does the pattern on the roofing material look like?
- How would the roofing look different if it was smooth and did not include the pattern?
- Do you think the pattern adds to the piece? Why?
Student Slide #9 shows different ways the artist approached creating patterns with cardboard.
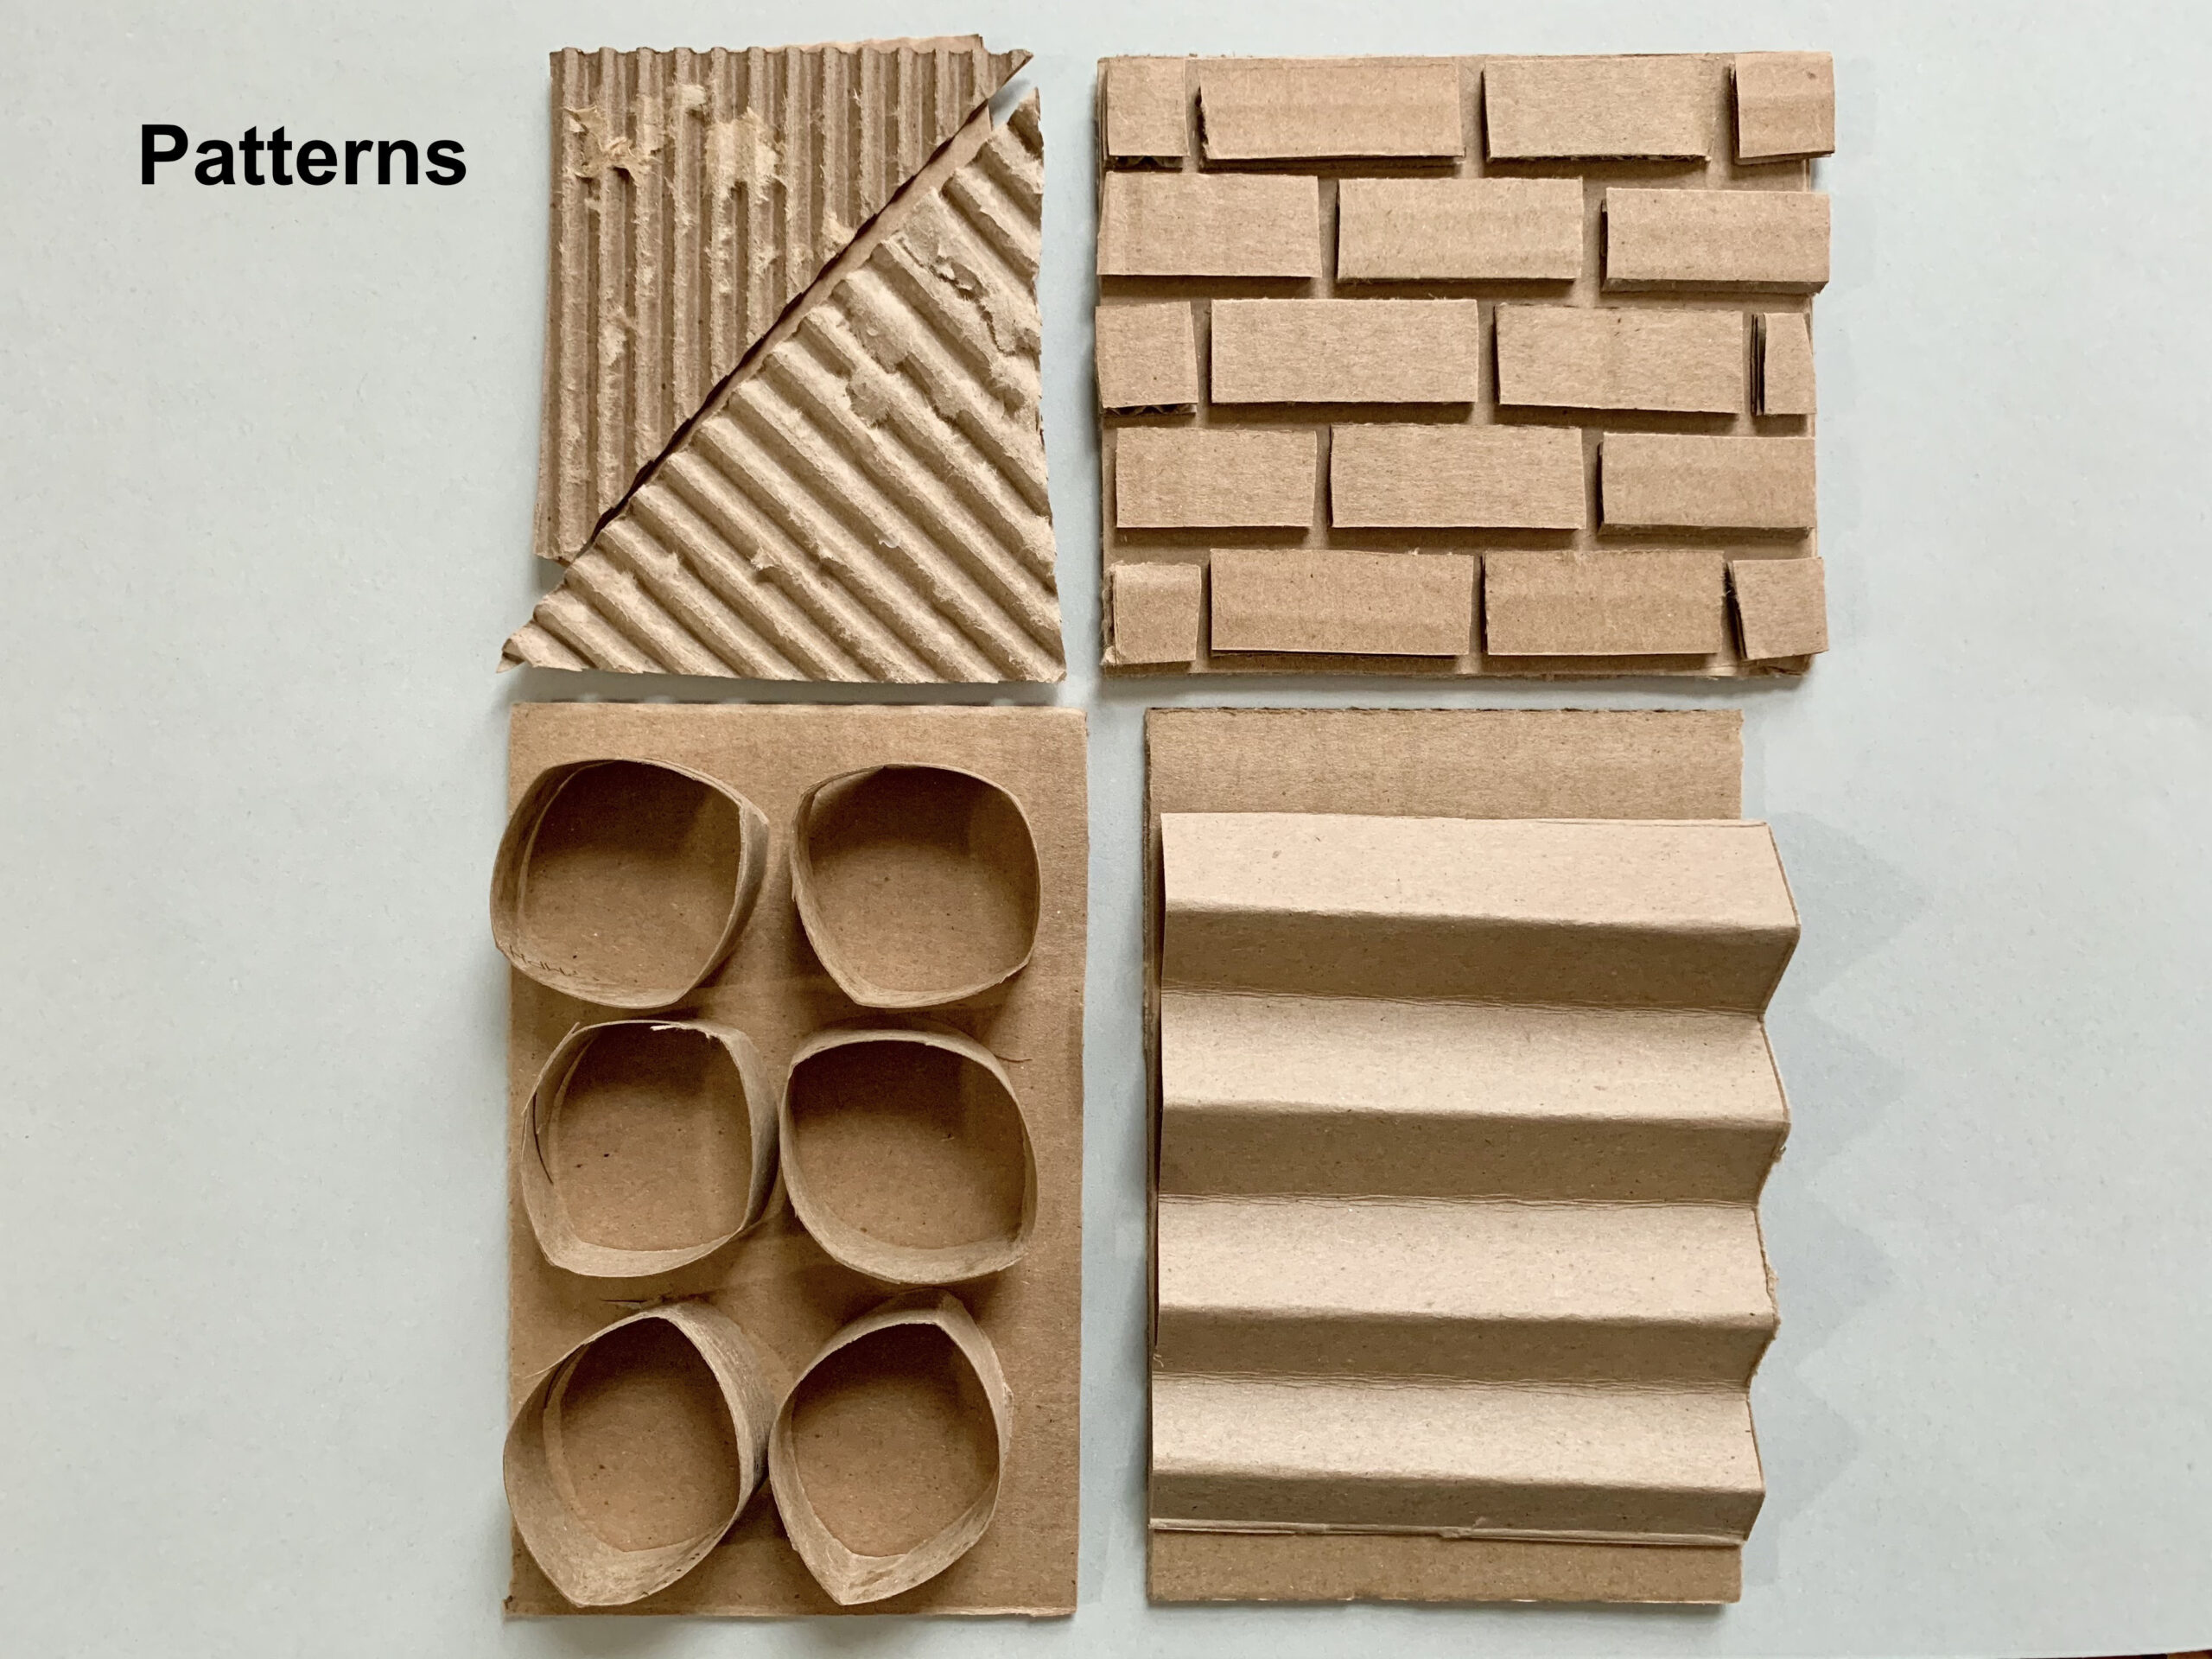
- Which pattern might you use to create bricks? Why?
- What does the pattern on the upper left corner remind you of? What do you see that makes you say that?
Observe your work.
- Is there an area where adding a pattern would help us learn more about your structure? If so, add it to your piece.
Step 5: Reflection Questions for Discussion (7-10 minutes)
- Where did you include positive space and negative space in your sculpture?
- How did you create negative space? How and where did you add pattern?
- If your structure were life-sized, where do you imagine it would be? In a city? On top of a mountain? In outer space?
Vocabulary
Stand
Stack
Lean
Balance
Slot joining
Imaginary
Scale
Resources
Filip Dujardin. 2X3X5 + Middelburg, Façade. 2012. Installation in Middleburg, the Netherlands
Inspiring imaginary architecture by Filip Dujardin:
https://www.gessato.com/imaginary-architecture-by-filip-dujardin/impossible-architecture-photographs-filip-dujardin-gessato-gblog-13/

Adaptations
For Multilingual Learners
Choose one positive or negative space from your sculpture and recreate it with your body.

